Setting Up PyCharm - nikchopda/CanteenAutomation GitHub Wiki
PyCharm
PyCharm is an integrated development environment (IDE) used in computer programming, specifically for the Python language. It is developed by the Czech company JetBrains. It provides code analysis, a graphical debugger, an integrated unit tester, integration with version control systems (VCSes), and supports web development with Django as well as data science with Anaconda.
Steps to set up PyCharm
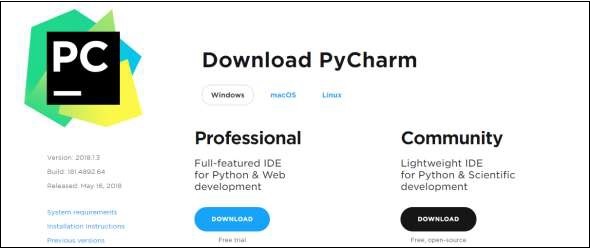
- Download the required package or executable from the official website of PyCharm https://www.jetbrains.com/pycharm/download/#section=windows. Here you will observe two versions of package for Windows as shown in the screenshot given below −
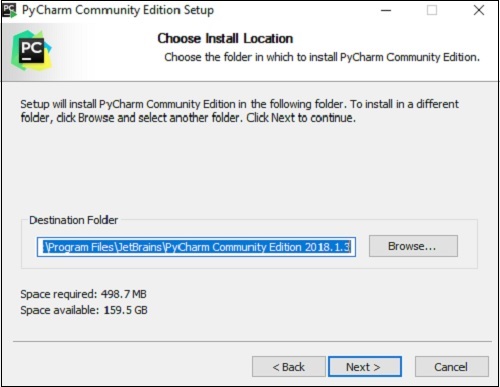
- Download the community package (executable file) onto your system and mention a destination folder as shown below −
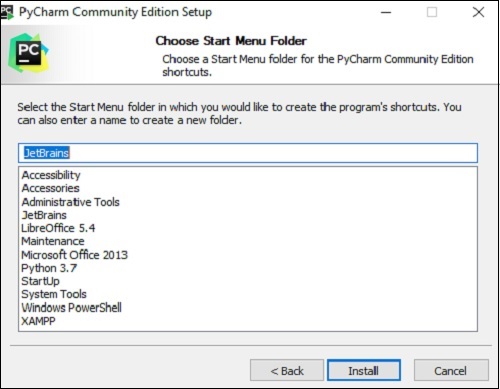
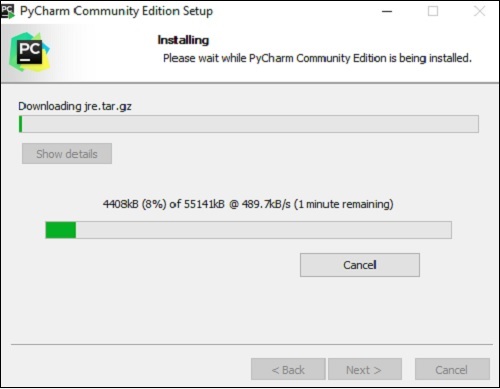
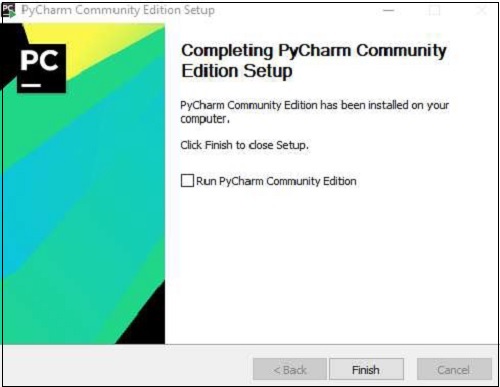
- Now, begin the installation procedure similar to any other software package.
- Once the installation is successful, PyCharm asks you to import settings of the existing package if any.
Referenced from: https://www.tutorialspoint.com/pycharm/pycharm_installation.htm
More about PyCharm: https://www.jetbrains.com/pycharm/download/#section=windows