How to Setup - nerdywoffy/vrchat-obs-controller GitHub Wiki
VRChat
1. Add required VRChat Parameter
In order to use VRChat OBS Controller, you need to setup a new parameter that will be used as Sender/Receiver for OBS Controller later
Locate your avatar, and find your avatar parameters (usually you have to scroll down to find it)
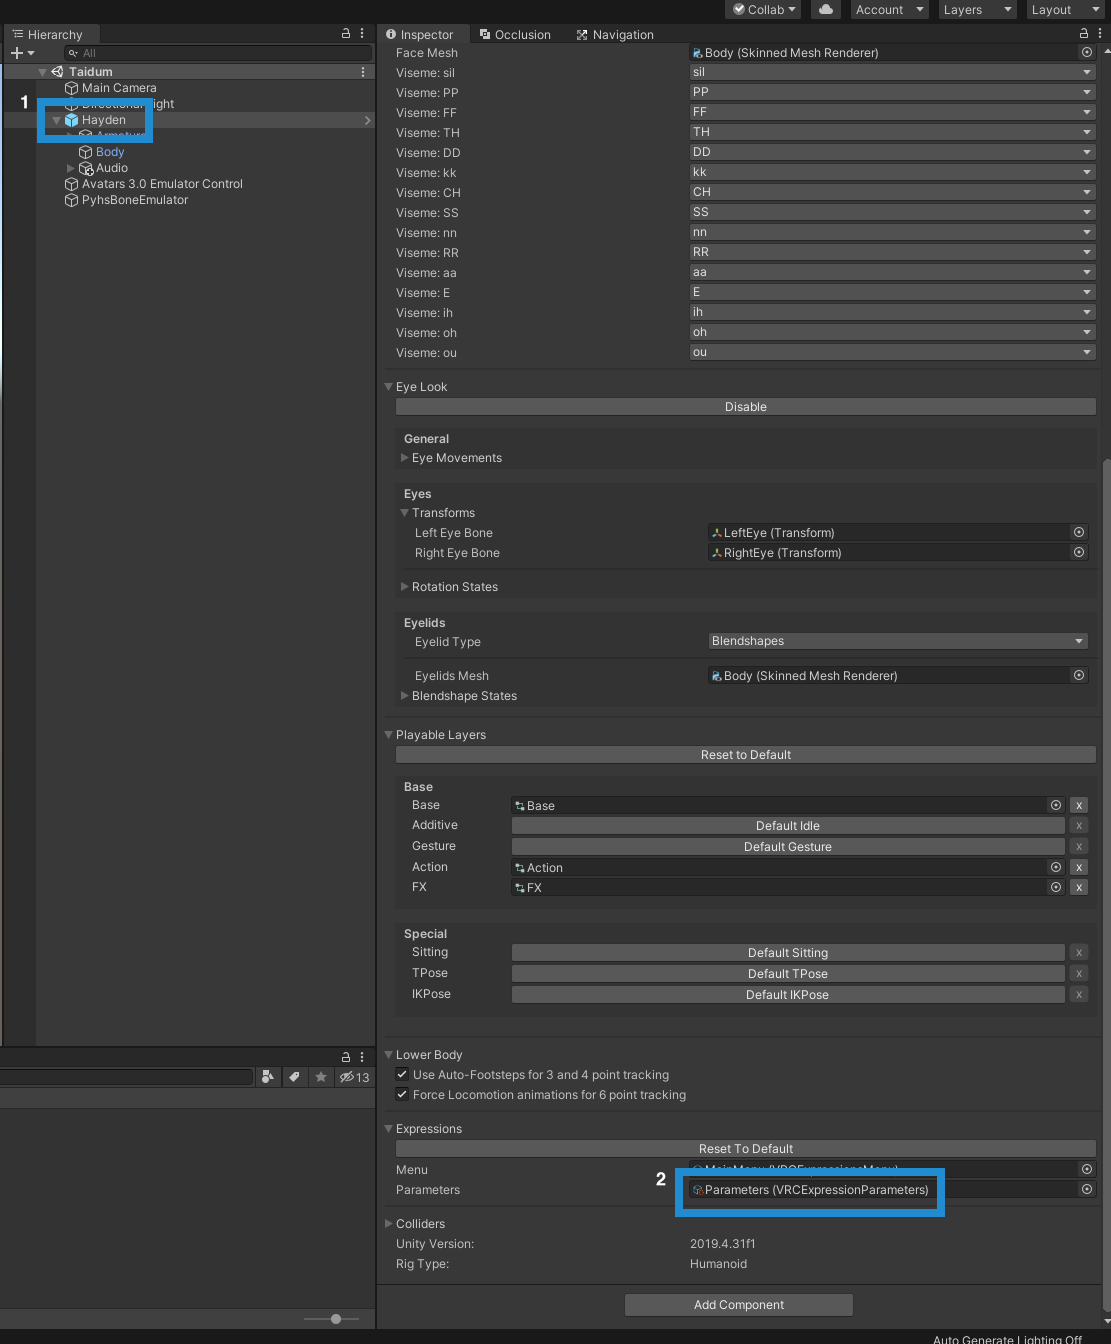
Add required parameters as follows
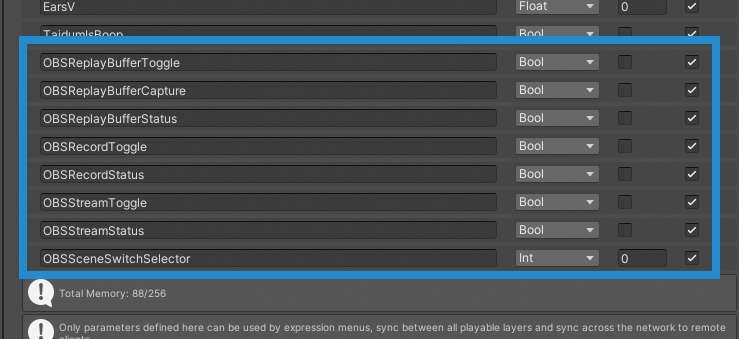
OBSReplayBufferToggle    - bool
OBSReplayBufferCapture   - bool
OBSReplayBufferStatus    - bool
OBSRecordToggle          - bool
OBSRecordStatus          - bool
OBSStreamToggle          - bool
OBSStreamStatus          - bool
OBSSceneSwitchSelector   - Int
2. Get VRC OBS Controller Unity Asset
Get VRC OBS Controller Unity Asset from Gumroad here, drag and drop them to your Unity Avatar Project (it should be available under NerdyWoffy/VRCOBS folder)
3. Add Menu to Avatar's Menu
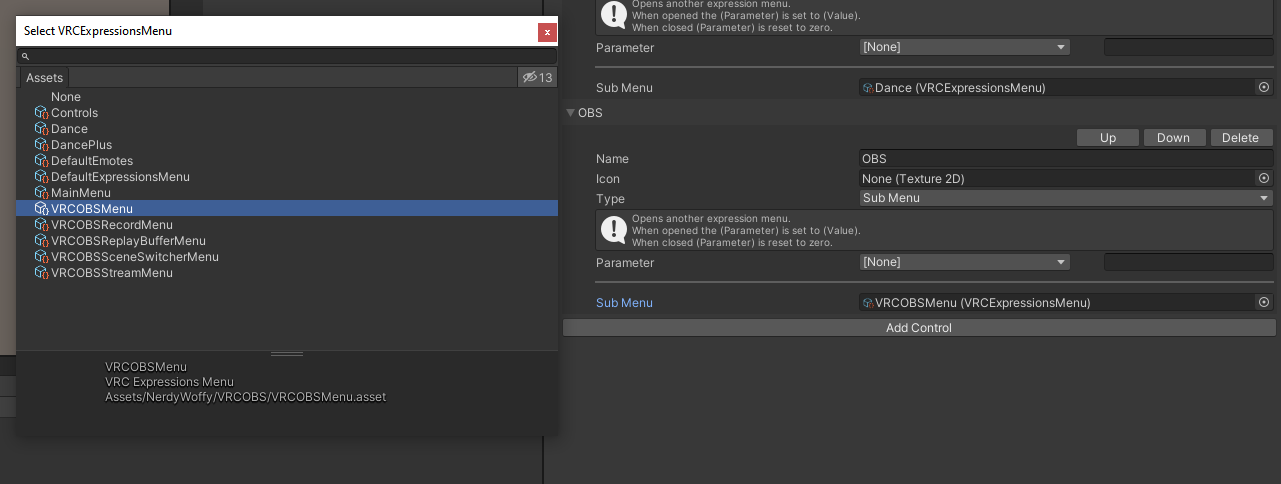
On your avatar, scroll down on Inspector and find Menu of your avatar (refer to first image above), double click it. and add another control with type "Sub Menu" (on top right corner, you might find button called "Add"), choose VRCOBSMenu from Menu selector or just drag VRCOBSMenu to the newly created Sub-Menu.
Setup OBS/Streamlabs
OBS Studio
In order to use this asset, you need to install OBS Websocket for your OBS Studio. You can get obs-websocket installer here
Please note that this feature only works on OBS Websocket v4.x.x for now (Development and testing were done on [OBS Websocket v4.9.1 Compat](https://github.com/obsproject/obs-websocket/releases/tag/5.0.1
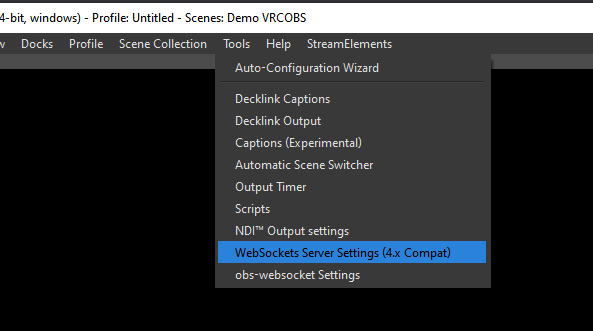
If it's installed correctly, you might able to see "WebSockets Server Settings (4.x Compat) menu under Tools menu
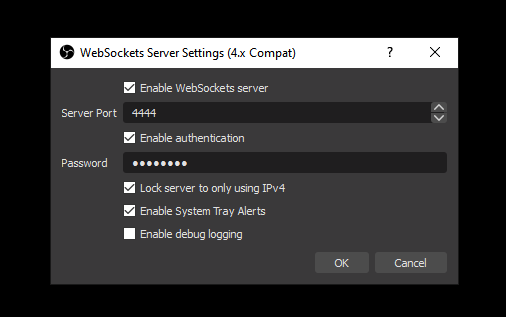
You can change adjust your OBS WebSocket port and password as well there
Streamlabs
Refer to "Streamlabs Integration" wiki to setup your Streamlabs in order to work with VRC OBS Controller
Configuration
Please refer to Configuration section of this wiki
Testing
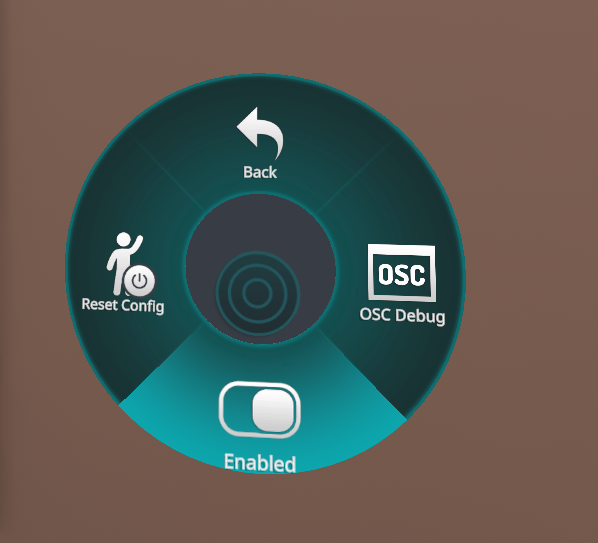
Once it's already installed, Test and Build your avatar to VRChat, and turn on OSC menu from VRChat Radial Menu -> Options -> OSC -> Enable.
