Programming BLHELI ESC for Bi directional Rotation - nakujaproject/Flight-Control GitHub Wiki
In the reaction wheel system to be used in the N2, there is a need for the motor to rotate in both directions. This is easily achievable in brushed motors using H-Bridge motor controllers. However, in the current design, we are using, we want to use a BLDC motor. This type of motor is usually used in quadcopters and other drones where they are controlled using an Electronic Speed Controller. Standard ESCs usually come preconfigured with firmware which allows rotation in a single direction. Changing direction using such an ESC required the swapping of any 2 of the 3 phase wires from the motor.
For our purposes, we needed to have the motor direction to be alterable in software. To solve this we used open-source firmware from BLHeli suite. The software allows for the configuration of a number of ESC parameters.
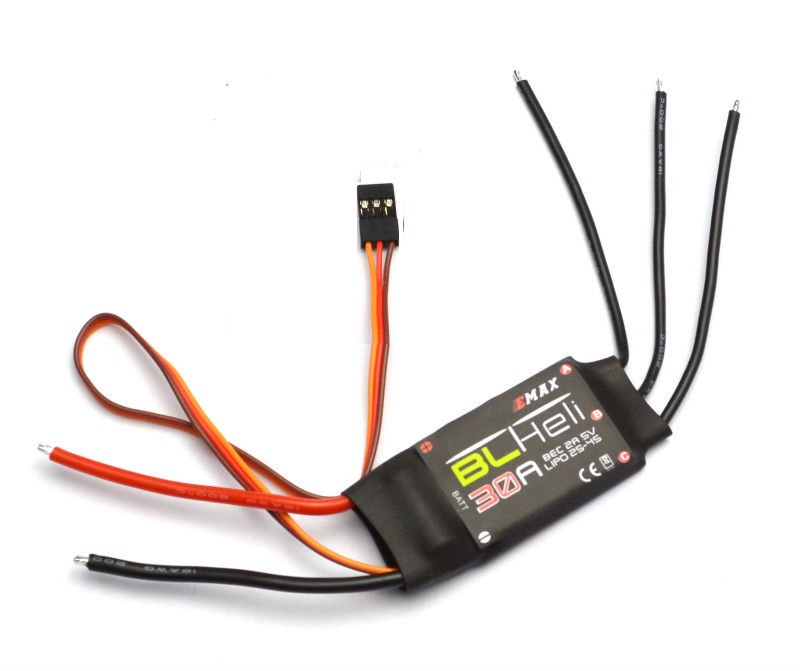
The ESC we were using was a 30A BLHELI ESC from pixelelectric. However this will work with similar ESCs.

The first step was to remove the heat shrinkable tubing to access the PCB.

Once this was done we have to solder wires on the pins cd2 and c2ck. We don't have to solder wires onto the ground pin as we can connect to the standard pin that is already connected to the ESC.

- Finally, reseal the ESC using heat shrinkable tubing or insulating tape.

- Open BLHELI Suite and connect an Arduino to the computer and note its COM port. In our case, we are using the Arduino UNO.
- Click on select ATMEL/SILABS interface and select SILABS BLHELI bootloader (4way-if).

- Click on the make interfaces tab. Select the appropriate Arduino board and baud Rate as well as COM port. Once done click on the Arduino 4way-interface button.
- Click ok on the next prompt. Selected the highlighted file as in the image below and click open. Follow the prompts to flash the file onto the Arduino.
- Once done click on the select ATMEL/SILABS interface menu and select SILABS C2 (4way-if)
- Connect the wire soldered to the C2D pin to the MISO pin of the Arduino and C2CK to the MOSI pin of the Arduino. Connect the ground pin of the Arduino and the ground pin of the ESC. If the ESC is not connected to a motor make sure that the motor wires from the ESC do not touch each other. Power on the ESC by plugging it into its power supply.

- On the ESC setup tab of BLHELI suite select the correct COM port and select connect. Click on flash BLHELI and select ok.
- Once flashed click on the read setup button to get parameters configured to the ESC.
- Set the parameters as required and click on write setup
- Click on disconnect to finish the ESC setup.
- It is important to note the PPM center throttle value because it is the point at which motor direction changes
To test connect the ESC to the Arduino using its standard wires with the ground and signal wire. In our case, the signal wire is connected to pin six. the programs sets rotation in the counter-clockwise direction followed by clockwise rotation. Before the main program the ESC is set first armed using the configuration function.
Servo ESC;     // create servo object to control the ESC
void initESC(){
  ESC.writeMicroseconds(1000);
  Serial.println("setup");
  delay(2000);
  ESC.writeMicroseconds(2000);
  delay(2000);
}
void setup() {
  // Attach the ESC on pin 9
  Serial.begin(9600);
  ESC.attach(6,1312,1832); // (pin, min pulse width, max pulse width in microseconds)

  initESC();

}
void loop() {
  ESC.writeMicroseconds(1313);
  delay(1000);
  initESC();
  ESC.writeMicroseconds(1500);
  delay(1000);
}
The motor is able to run in a bidirectional manner using PWM signals for control. However, the motor is unable to run at very low speeds. The nut used to secure the reaction wheel unwinds in the counterclockwise rotation due to the thread of the shaft on the motor hence the need for a different motor shaft and alternative method to secure the reaction wheel. Youtube Video
