Installing on Linux - mips-open-ide/Releases GitHub Wiki
MIPS Open IDE Install Flow
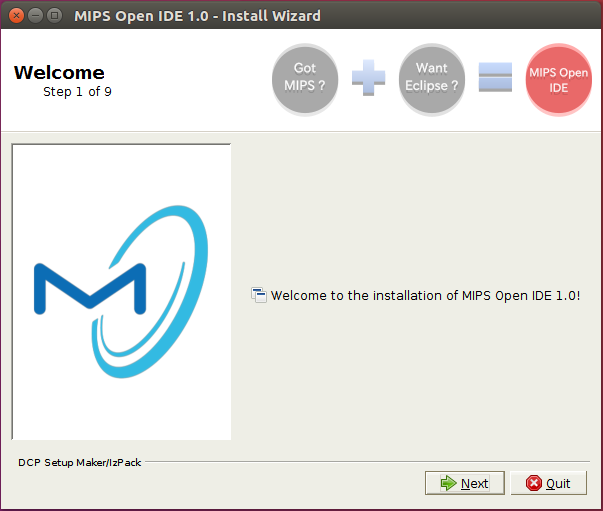
MIPS Open IDE utilizes izPack to manage installation on the host machine. To install MIPS Open IDE, run the executable installer, either from the command line, or by double-clicking on it from the desktop. The main MIPS Open IDE installer screen is shown below:
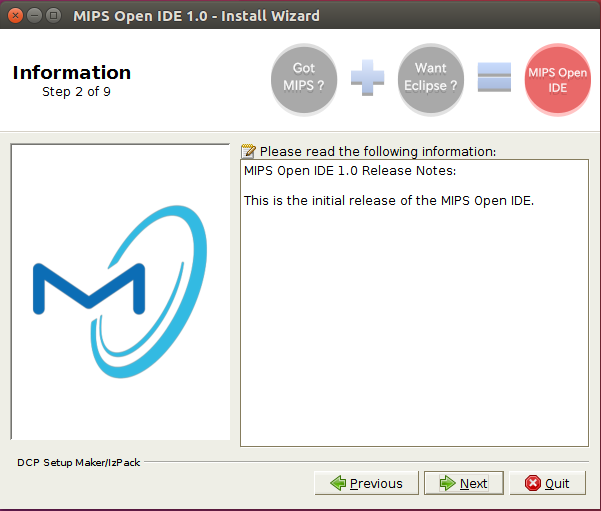
Select the “Next” button to proceed with the installation. The MIPS Open IDE release note is shown. Please read over to verify if the contents meet your expectation, and select the “Next” to proceed:
Once “Next” is selected, you shall be presented with the MIPS Open IDE End User License Agreement. Review this agreement carefully, select “I accept the terms of this license agreement” and “Next” to continue or “Quit” to exit.
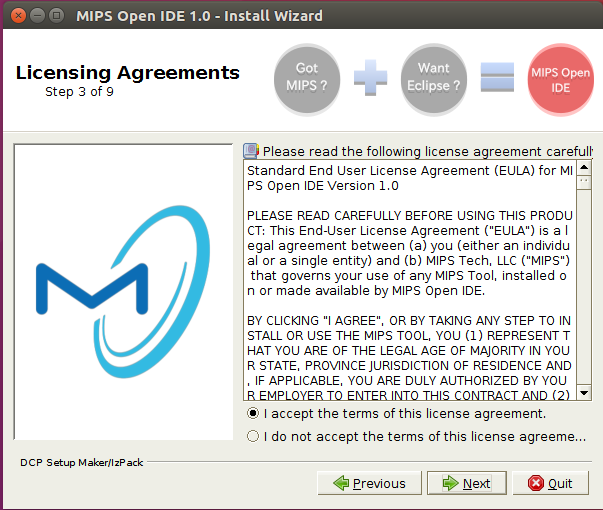
Figure 6 - MIPS Open IDE License Agreement
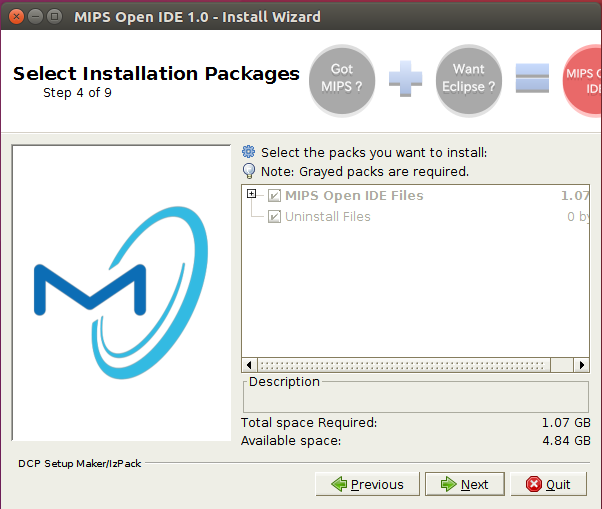
Once “Next” is selected, MIPS Open IDE presents the packages to install in Figure 7. It is recommended that you simply select “Next” to proceed.
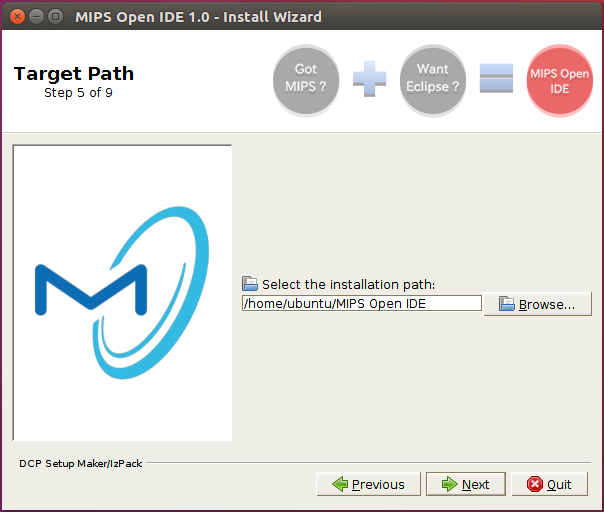
Once “Next” is selected, MIPS Open IDE installer presents the installation path in Figure 9. You can choose to keep the recommended installation path, or enter an alternative. Select “Next” to continue.
If MIPS Open IDE has previously been installed in the selected path, you will be asked whether or not to overwrite the existing installation as shown. It is strongly recommended that you select an alternate path in this case
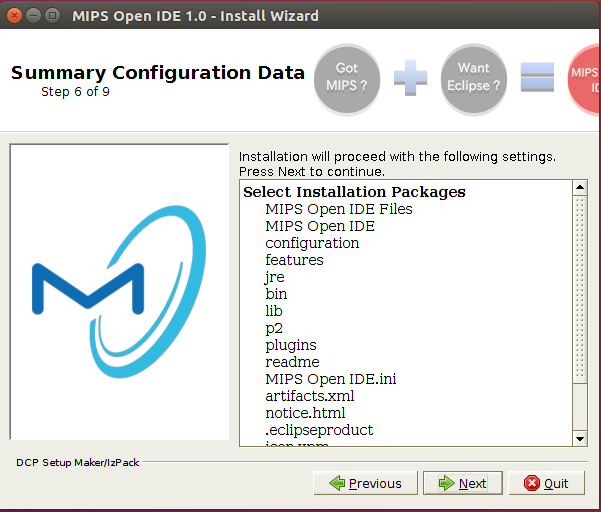
The MIPS Open IDE installer presents a summary of packages to be installed. Simply select “Next” to proceed.
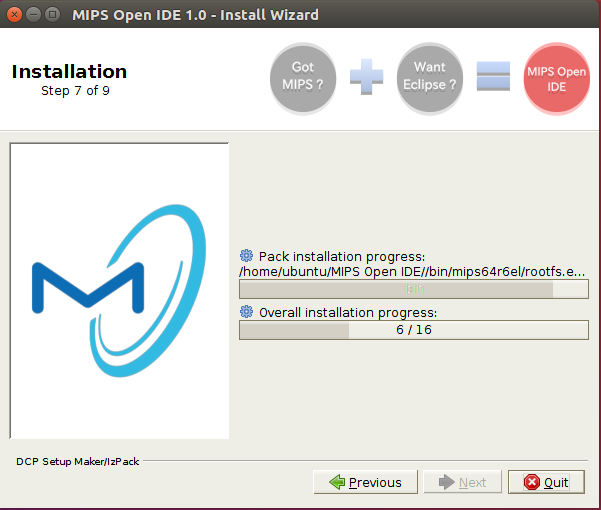
Once “Next” is selected, MIPS Open IDE shall begin to copy the selected packages into the installation directory.
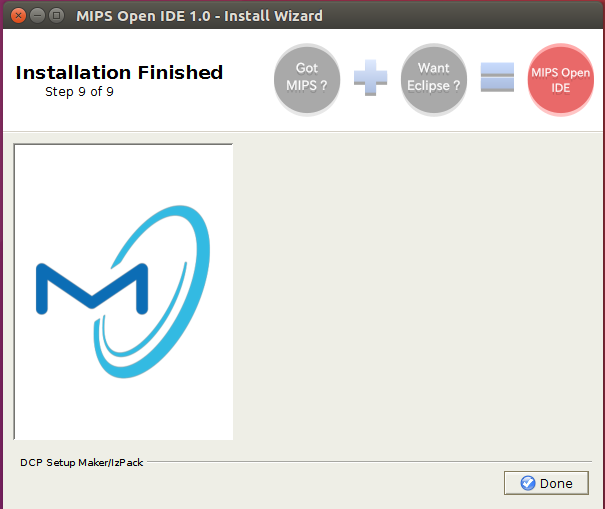
After all the MIPS Open IDE files have been copied, one final dialog is presented below. Simply select the “Finish” button to complete the installation of MIPS Open IDE.
You are now ready to use MIPS Open IDE for MIPS Processors!