Importing Source Files Stand Project - mips-open-ide/Releases GitHub Wiki
Importing files into newly created project is straightforward; simply drag and drop the desired files into the project. Files may also be imported to the project through menu selections. To explicitly import one or more files, “right-click” on the project as shown below and select the Import menu selection as shown in Figure 41.
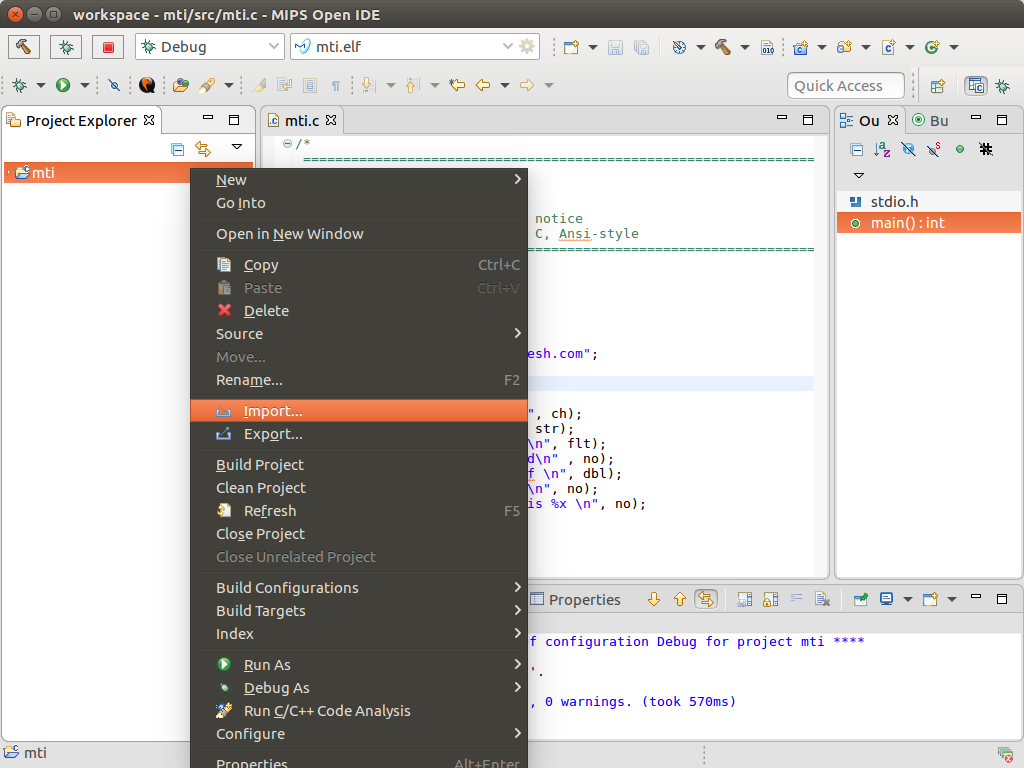
Figure 41 - Import Menu Selection
Once Import is selected, MIPS Open IDE displays the Import dialog, showing many options for the source of the files to import. Generally, the “File System” option is the most used source for importing. Select this option to import one or more files from the file system into your project. The File System Import dialog is now displayed. Next, expand the “General” folder, select “File System,” and select the “Next” button. Simply use the Browse button to navigate to the specific folder containing the source files to import, select the files to import within that directory, and select “Finish.” You will now observe the selected files being imported into the selected project.
At this point, all the necessary files for building an MIPS Embedded Linux executable for MIPS MCUs are contained in the project.
Note that additional files might be required for executable projects and are specified in the linker settings dialogs. Such files include linker control files and the desired library files to be linked with the exec