Running MetaProD - mgtools/MetaProD GitHub Wiki
This page will include the general process to create a new project, generate a FASTA, run the files, and view the results. More information about specific steps may be available in the Available Commands, Admin Website or Results documentation pages.
Summary of steps for a project (see below for more details):
- Create a project and add and configure the search settings for that project.
- update_queue for a project to add the files for the project to queue
- generate_fasta for a project to generate the initial profiling FASTA and copy it to the correct place
- run_queue for a project (profile step) to run through all the programs.
- update_queue again to look at the top species and generate the full-proteome FASTA.
- run_queue for a project (proteome step).
- update_queue one final time to update the final NSAF values.
Multiplexed projects and projects with fractions will require more steps due to the need to configure samples and labels ahead of time. See x for details.
Creating the superuser
Before running the webserver, create a super user who will have initial access to the admin panel. See python3 manage.py createsuperuser under Available Commands for more information.
Running the webserver
The webserver should be run via python3 manage.py runserver ip_address:port See Available Commands for more information.
Configuring settings for the software
Software installation directories and data locations need to be configured before the software can be run. More information is available in the Settings documentation.
The noteworthy things that should be changed are "Install folder". This is the base directory MetaProD has been installed in. For example, if it is in /home/metaprod/install, include only that directory rather than /home/metaprod/install/MetaProD.
The "Data folder" is the location where data is stored. Each project's data will then be installed in /data_folder/project_name. For example, if the configured data folder is /home/metaprod/data and the project name is "example", then example's data will be stored in /home/metaprod/data/example.
Memory and threads should also be configured depending on the system.
Software versions need to be changed if the software is change to a different version.
Creating a Project
A project must be created before running files. Two projects (example and example2) are available by default. To create a new project, navigate to the website admin page (e.g. http://10.0.0.10:8080/admin depending on the IP address and port used for the runserver command).
On the admin website, one can create a brand new project. Navigate to the "Projects" section on the admin website and click "ADD PROJECT" at the top right.
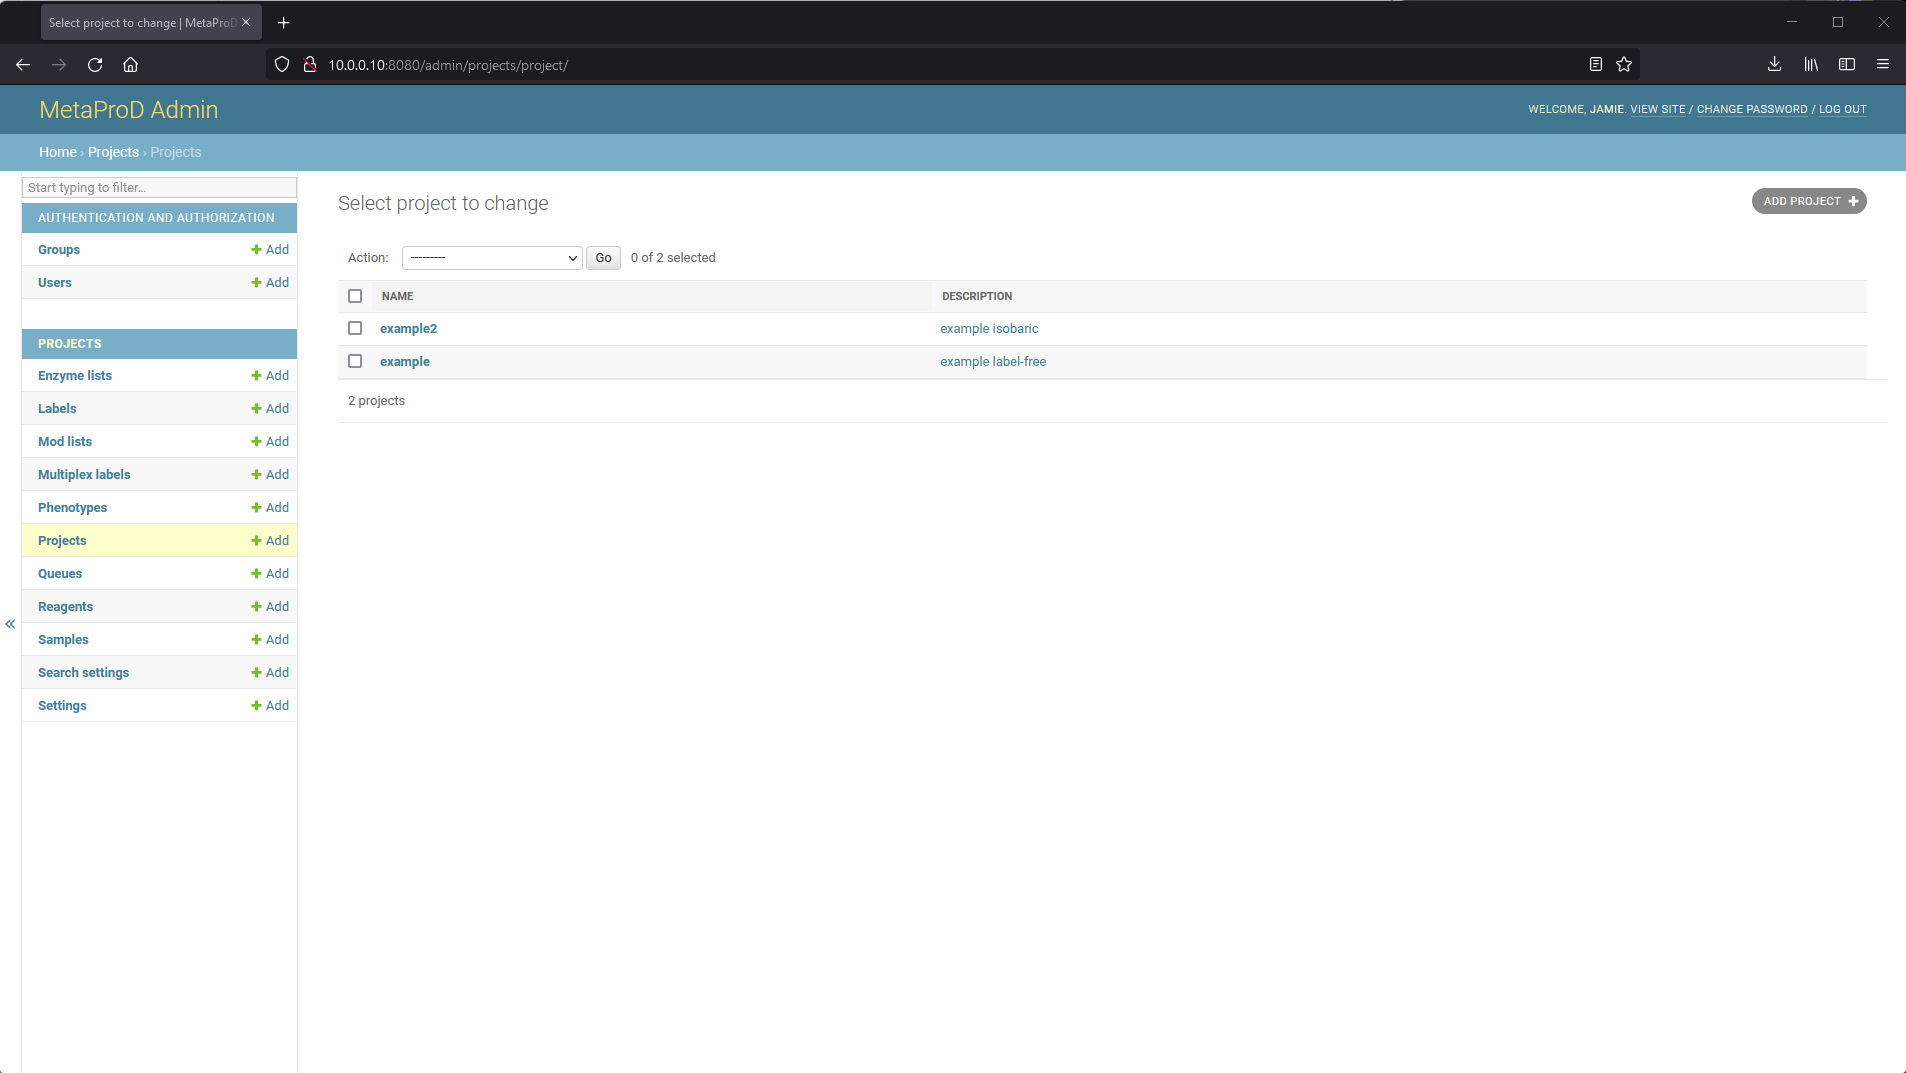
From there, one can specify a project name and an optional description. Project names must be unique (will be enforced automatically).
Creating Search Settings For a Project
Once a project has been created, search settings need to be specified for the project. Navigate to the "Search settings" section on the admin website and click "ADD SEARCH SETTING" at the top right.
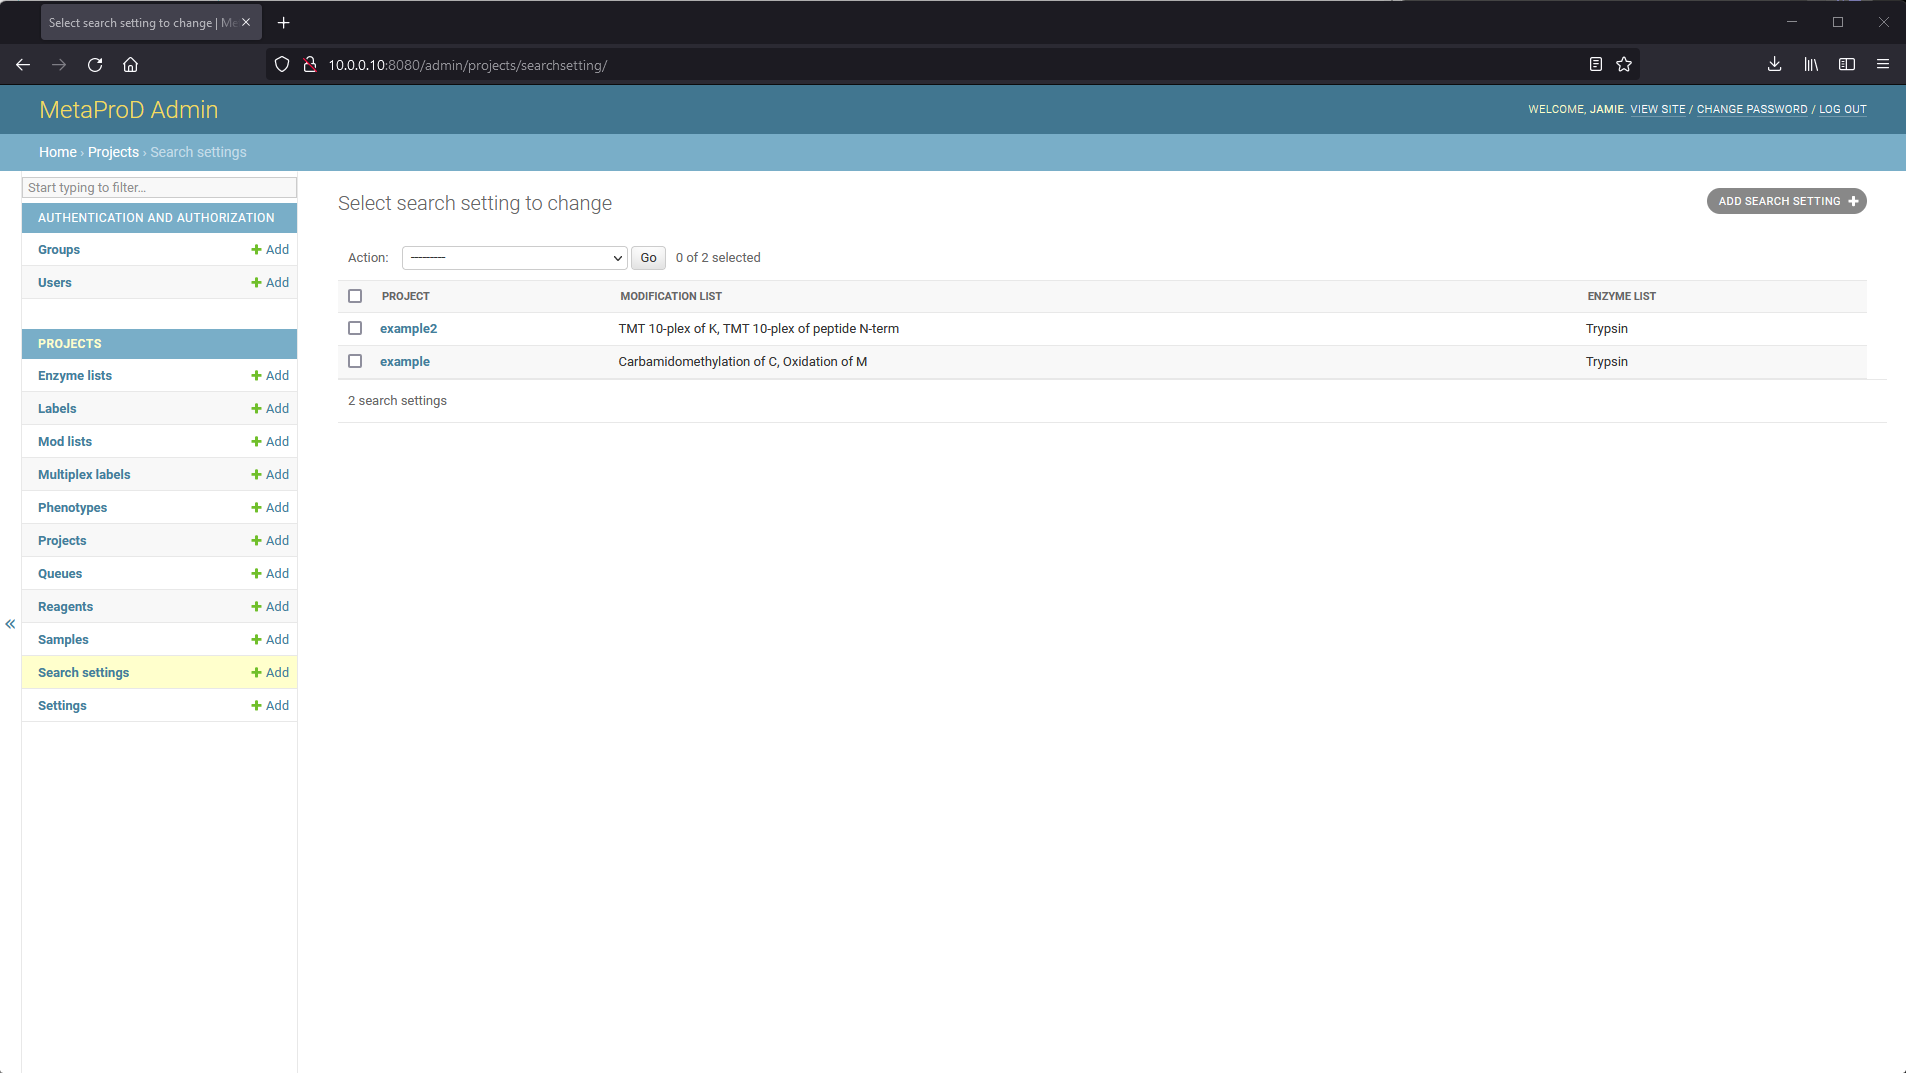
From here, various settings can be specified per project with some defaults pre-configured. More information about the settings is available in the Search Settings part of the documentation.


Click save at the bottom right once the desired settings have been configured.
Adding files to a project
Files for a project should be installed in the "raw" folder for a project in the configured data folder. For example, if the data folder for the software is /home/metaprod/data and the project name is "example", then all MS files should be in the /home/metaprod/data/example/raw folder. These files can either be in the mzML or RAW format. If they are not in that format, consider using "msconvert" or other conversion software to convert them ahead of time.
Once all the desired files are in the "raw" folder, files can be added to a project by running the following command from inside the MetaProD folder:
./update_queue project_name or ./update_queue project_name jobs (jobs is optional and will automatically assign files to a job in sequential order for HPC situations).
If the project name is "example", then the command is: ./update_queue example
The software will automatically search the "raw" folder, add the files to the queue in the database, create any needed directories, and otherwise prepare the files for processing.
Generating the FASTA
Once files have been added to the queue, a profile FASTA containing high-abundance bacterial proteins needs to be generated for the project. Depending on the configured search settings, this may also add the human proteome to the FASTA file as well and the CRAP (contaminants) database. The FASTA generated will also include decoy-sequences for FDR calculations.
The FASTA for a project can be generated by using the following command inside the MetaProD folder: ./generate_fasta project_name so if the project is "example" then the command is ./generate_fasta example
Running files
Once the files have been added to the queue and the FASTA has been generated, processing can be started by using the ./run_queue project_name or ./run_queue project_name job command (job is optional and specifies that only files assigned to that job should be run). If the project name is "example" then the command is ./run_queue example
Updating the queue once profiling is complete
Once profiling has been done for all files in the queue, the queue can be updated using ./update_queue project_name
If each file in the queue has finished profiling, this will calculate NSAF values and determine the species to be added to the full-proteome FASTA and then generate the full-proteome FASTA used for further processing. This will generate a unique FASTA per file or sample depending on the settings specified in the search settings.
Running files
As above, once the queue is updated, the files can again be run using ./run_queue project_name or ./run_queue project_name job
Finalizing Results
Once files have completed the full-proteome search, ./update_queue project_name will update the final NSAF values, mark the files as completed, and clean up any temporary files.
Analyzing Results
For multiplexed projects (as configured in the search settings), ./analyze_results project_name will attempt to run PEMM and DEqMS (if also configured in the search settings) to determine the differentially expressed proteins for a project. Upon successful completion of the script, the results will available on the results webpage and as files within the "Results" folder within the data folder for a project.
Note: Running this the first time may prompt to install packages in a personal directory (select yes) and compile some R packages.