IP Camera - mekya/antmedia-doc GitHub Wiki
Ant Media Server can pull RTSP streams from IP Cameras easily and it can be configured on the management panel. In other words, you don’t need to write any commands or use the terminal to add IP Cameras. IP Camera re-streaming is available both in Community and Enterprise Edition.
The main point is that the Ant Media Server is compatible with IP Cameras that supports ONVIF standard. In fact, almost all IP Cameras in the market supports ONVIF because it creates a common way manage IP Cameras from different manufacturers.

Let’s have a look at how to pull stream from IP Camera.
1. Add & Watch IP Camera
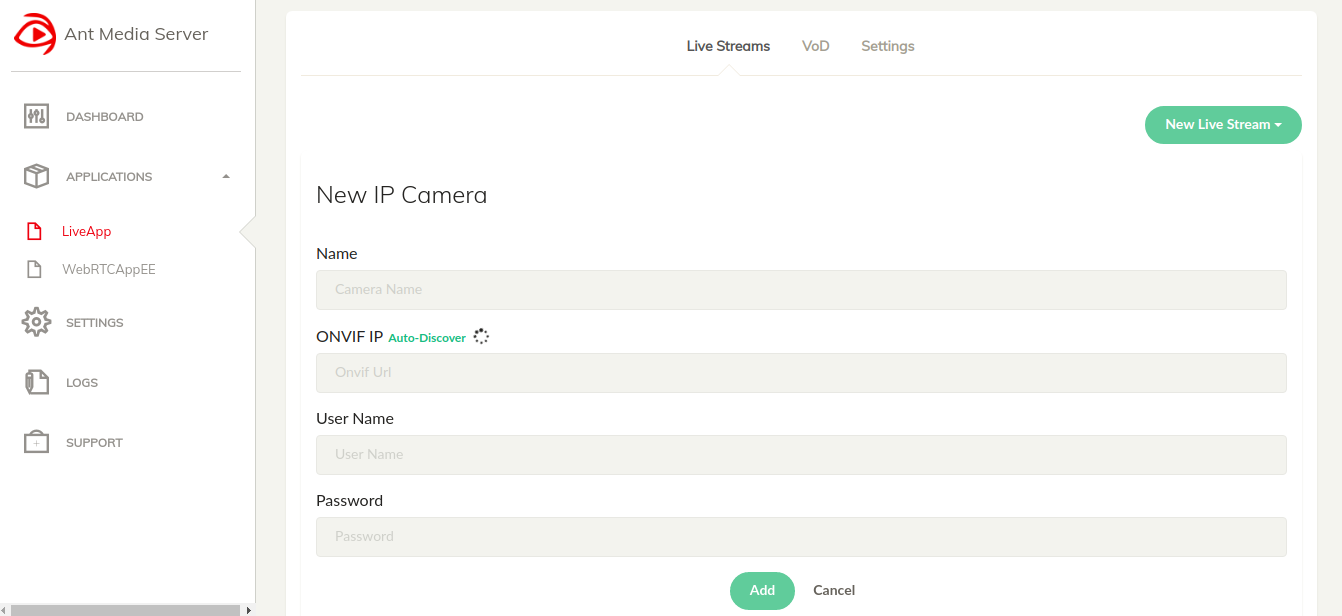
Select LiveApp from applications on the left side menu, then click New Live Stream and select “IP Camera”. Fill camera name, camera username, and camera password. You should add the ONVIF URL of the IP Camera. Generally, it is http://IP-ADDRESS-OF-IPCAMERA:8080.
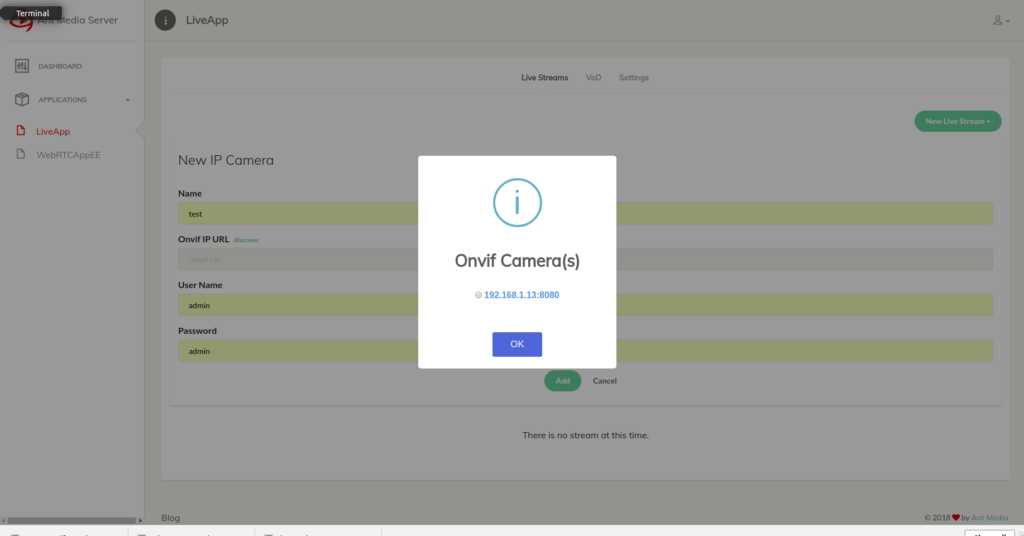
You can also use Auto-Discovery feature! If IP cameras and Ant Media Server are in the same network, Ant Media Server can automatically discovers them. The screenshot of the Auto-Discovery result is shown below.
If the IP cameras are reachable and configured correctly, Ant Media Server starts the pull live streams from them. You can see its status on the management panel.
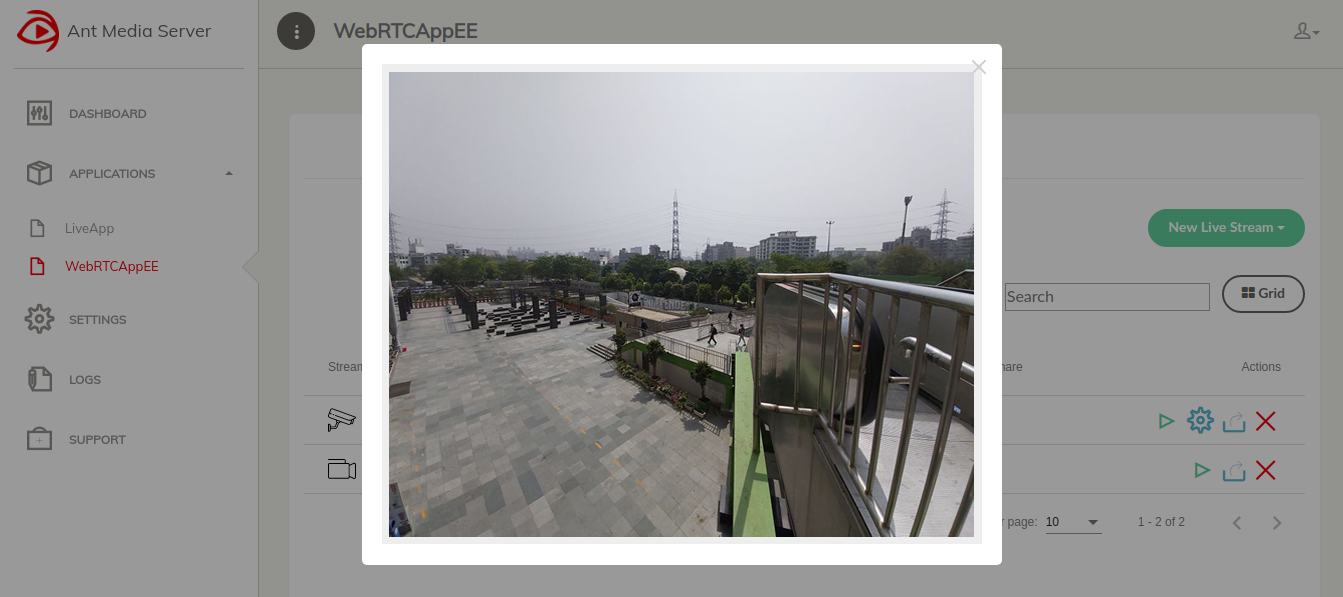
Watch the IP Camera, just click the Play button on Actions.
2. Record IP Camera Streams
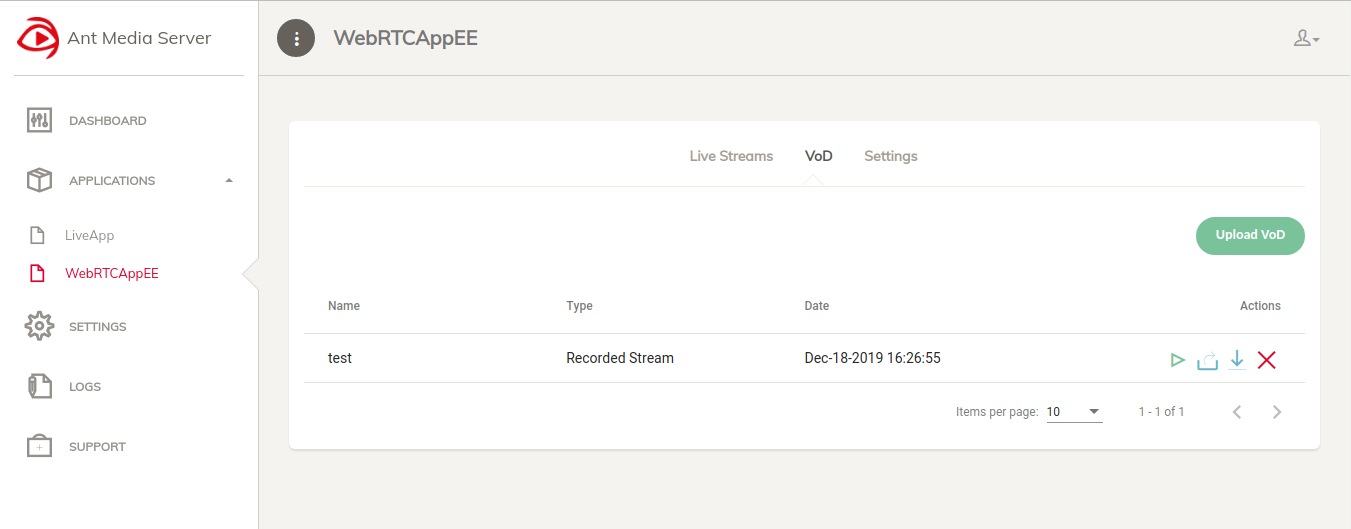
The Ant Media Server can save IP Camera streams as MP4 format. In addition, it record streams with defined periods such one hour, ten hours interval. You can see these recorded files on the VoD tab in the management panel. You can set the period the settings.streamFetcherRestartPeriod in App Configuration
3. PTZ(Pan-Tilt-Zoom) and REST API
Ant Media Server supports PTZ calls through REST API. So that you can move your cameras left, right, top, bottom and change the zoom level.
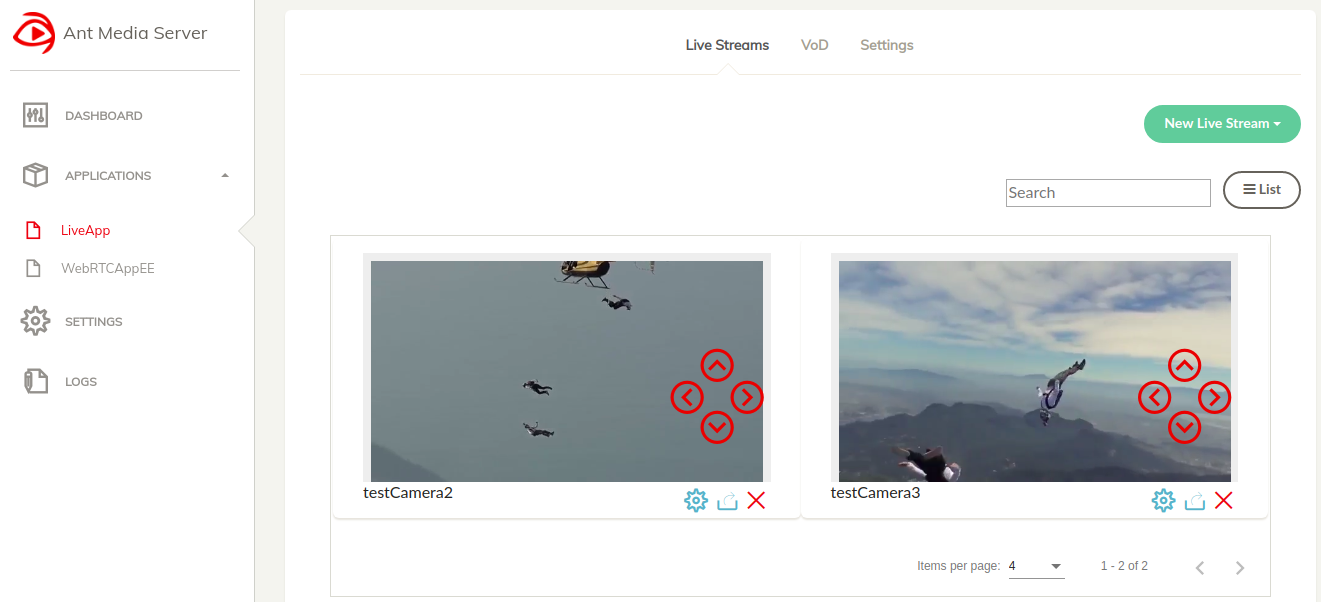
All operations in here and more can be done programmatically via REST API.
Quick Links