Sample 1 - mcneel/Rhino.Inside-Workshop GitHub Wiki
Rhino.Inside Sample-1: A basic console application
In this sample, we create a .NET Framework Console Application which demonstrates the basic elements needed to call into Rhino. In this sample, Rhino runs in the background.
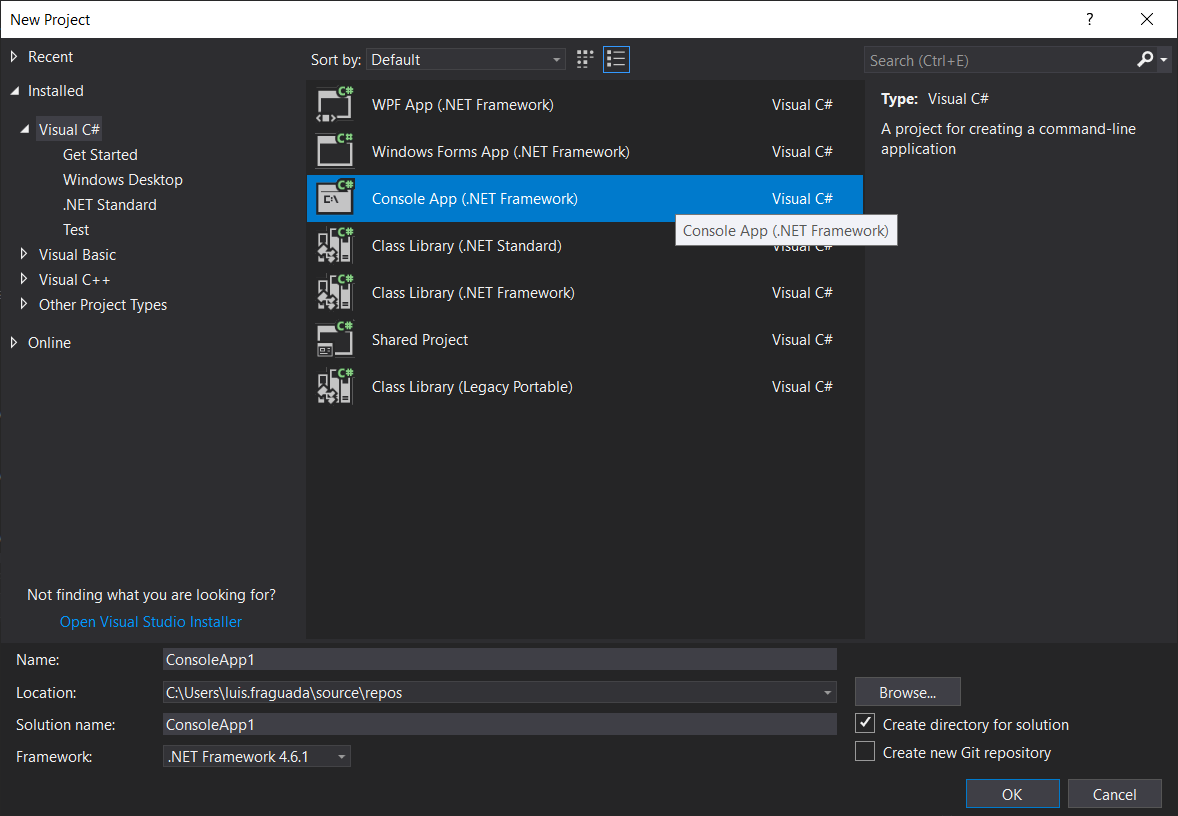
1. Create a 64-bit Console Application.
1.1 Open Visual Studio 2017 and create a new .NET Framework Console Application.
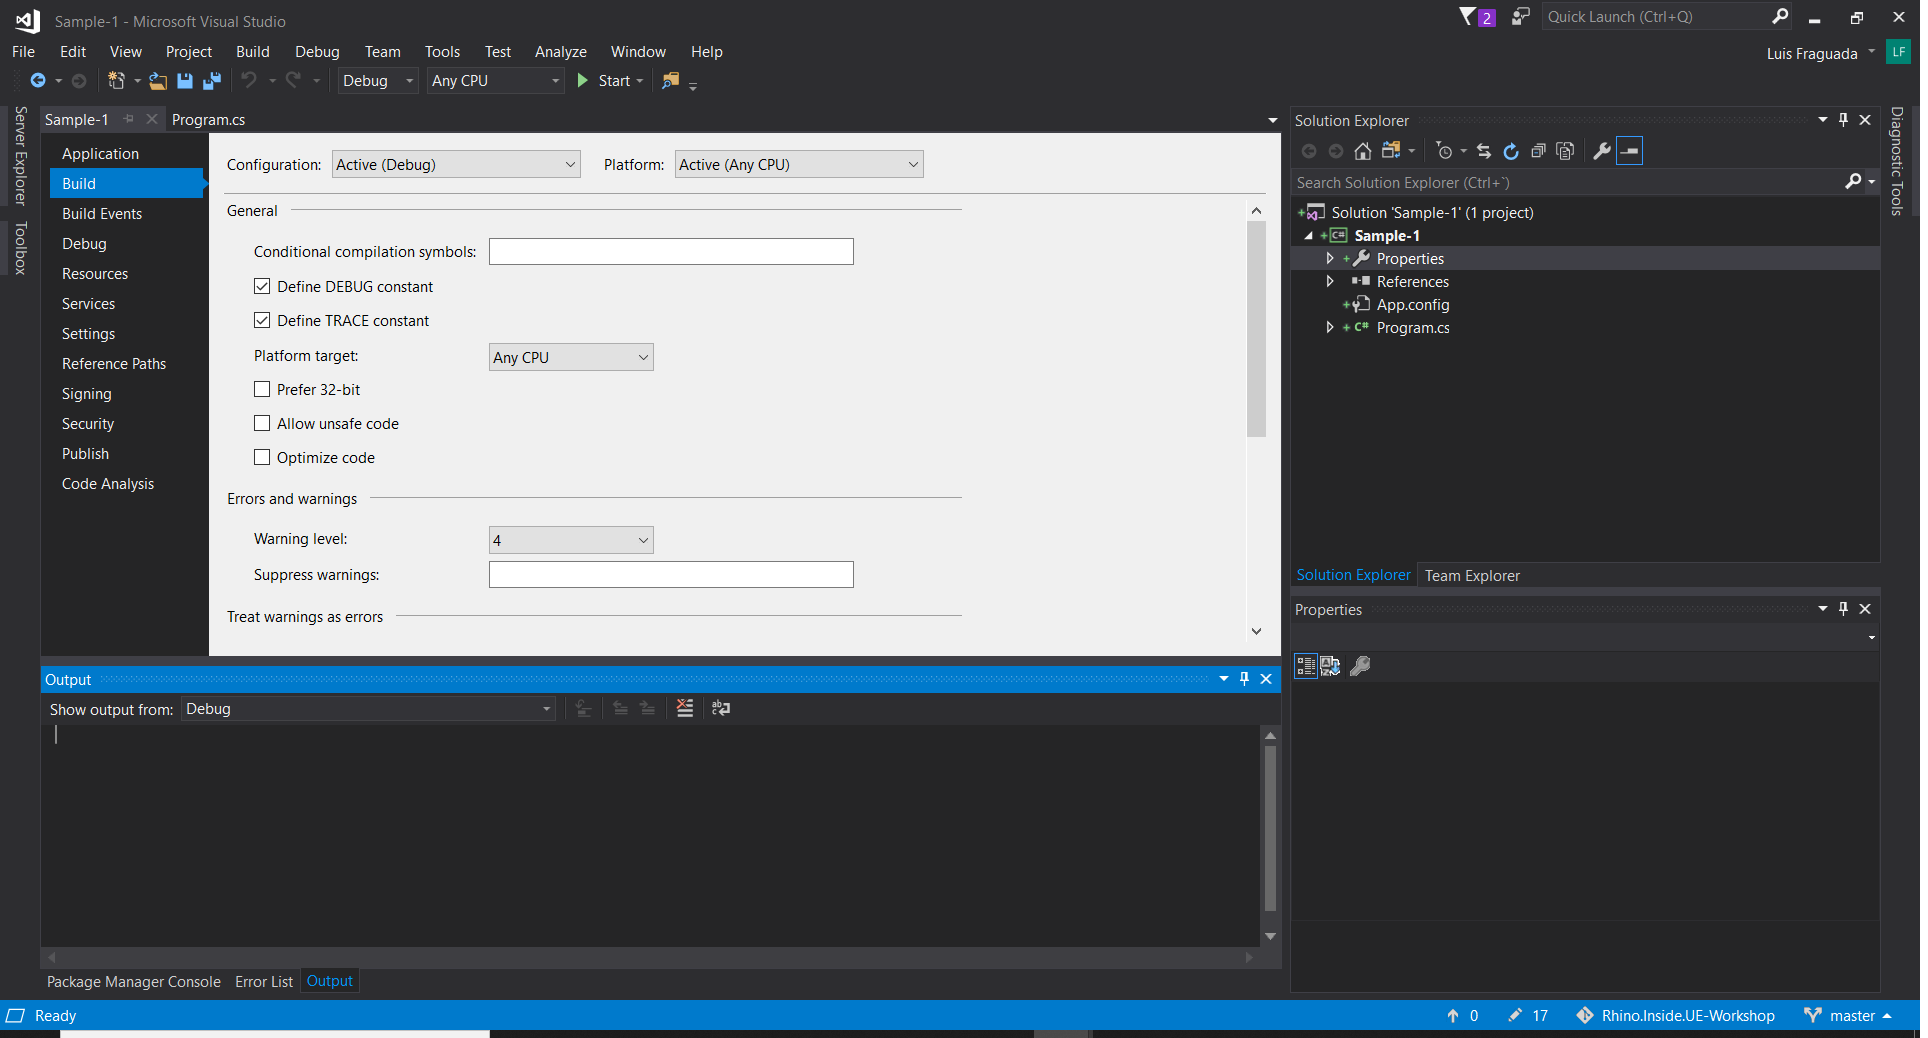
1.2 In the Solution Explorer, Right-click on the project and select Properties. Select Build from the left hand side. Uncheck Prefer 32-bit.
2. Add the assembly references to the project.
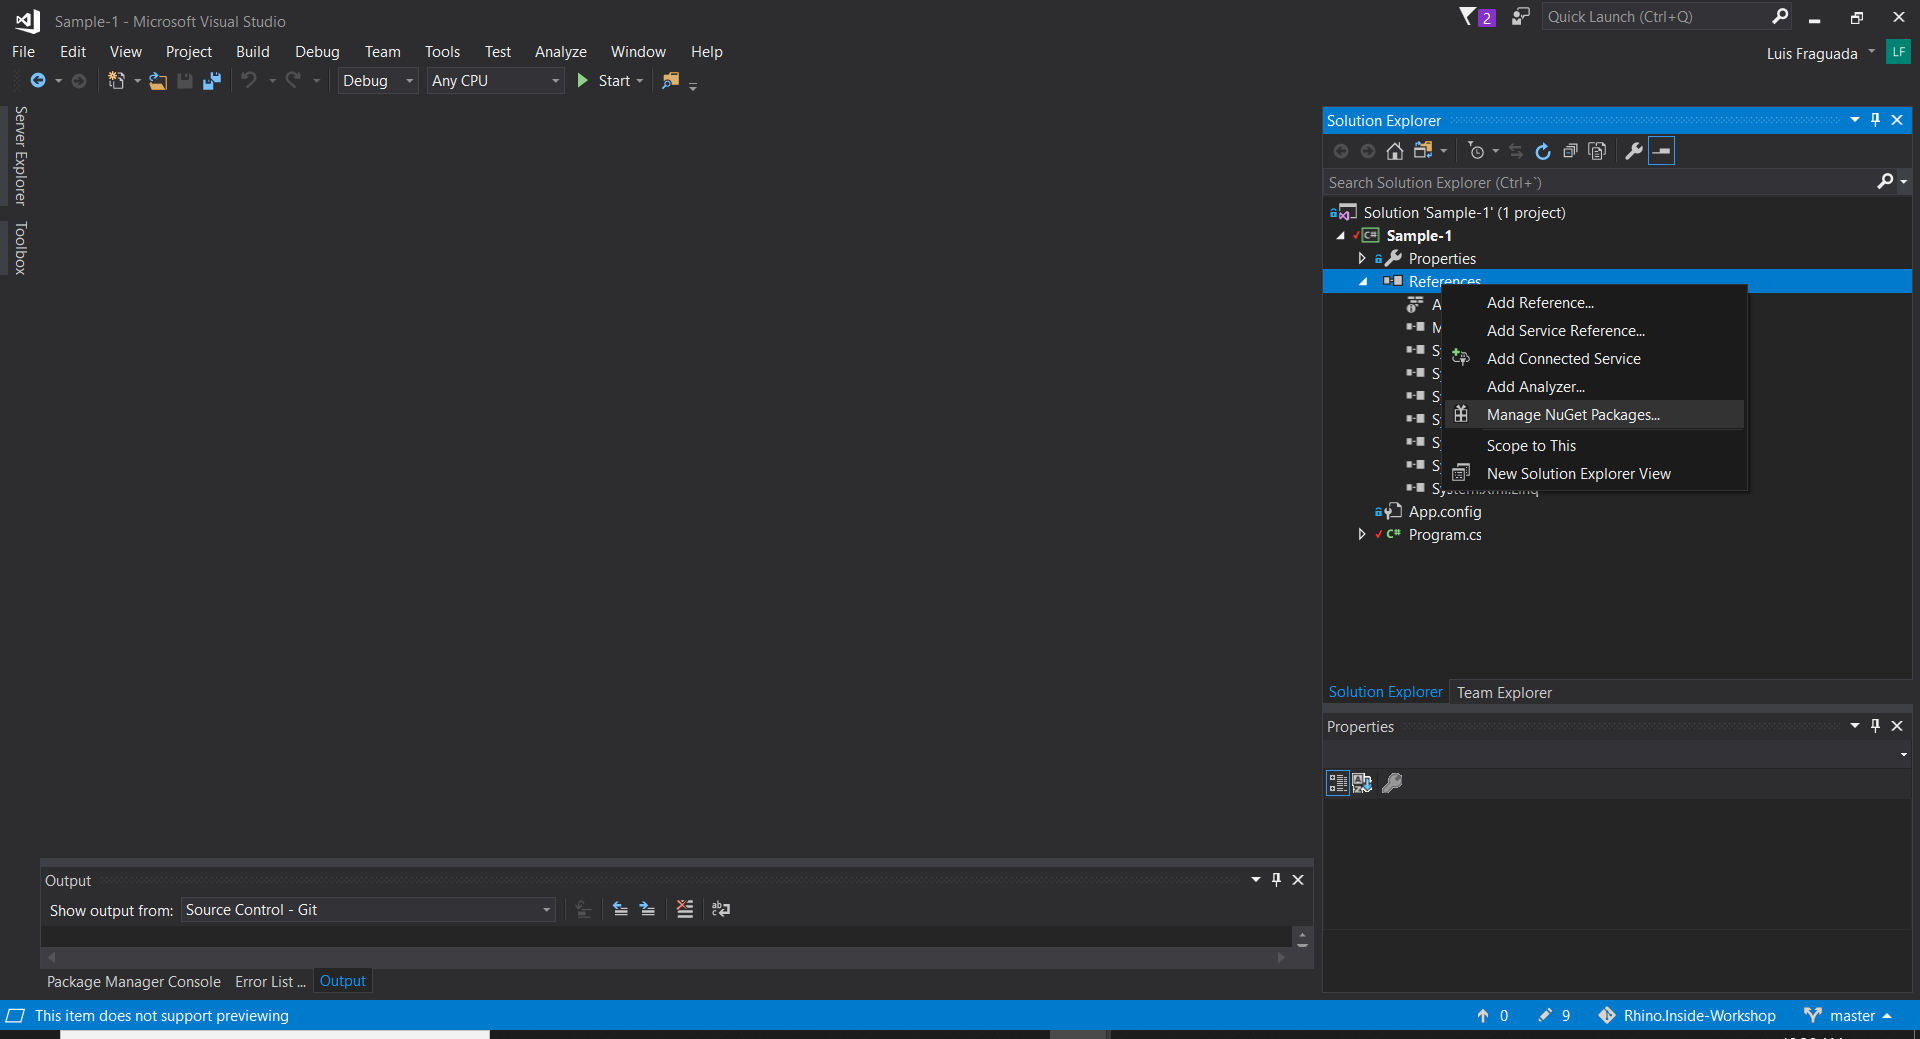
2.1 In the Visual Studio Solution Explorer, right-click on Sample-1 > References and select Manage NuGet Packages... to open the NuGet Packages Manager.
2.2 In the NuGet Packages Manager, select Browse, enter Rhino.Inside. Once found, click Install to add the references.
NOTE: The Rhino.Inside NuGet package adds references to RhinoCommon.dll, RhinoWindows.dll, and Grasshopper.dll and includes assembly resolving code found here: https://github.com/mcneel/rhino.inside/blob/master/DotNet/RhinoInside/Resolver.cs
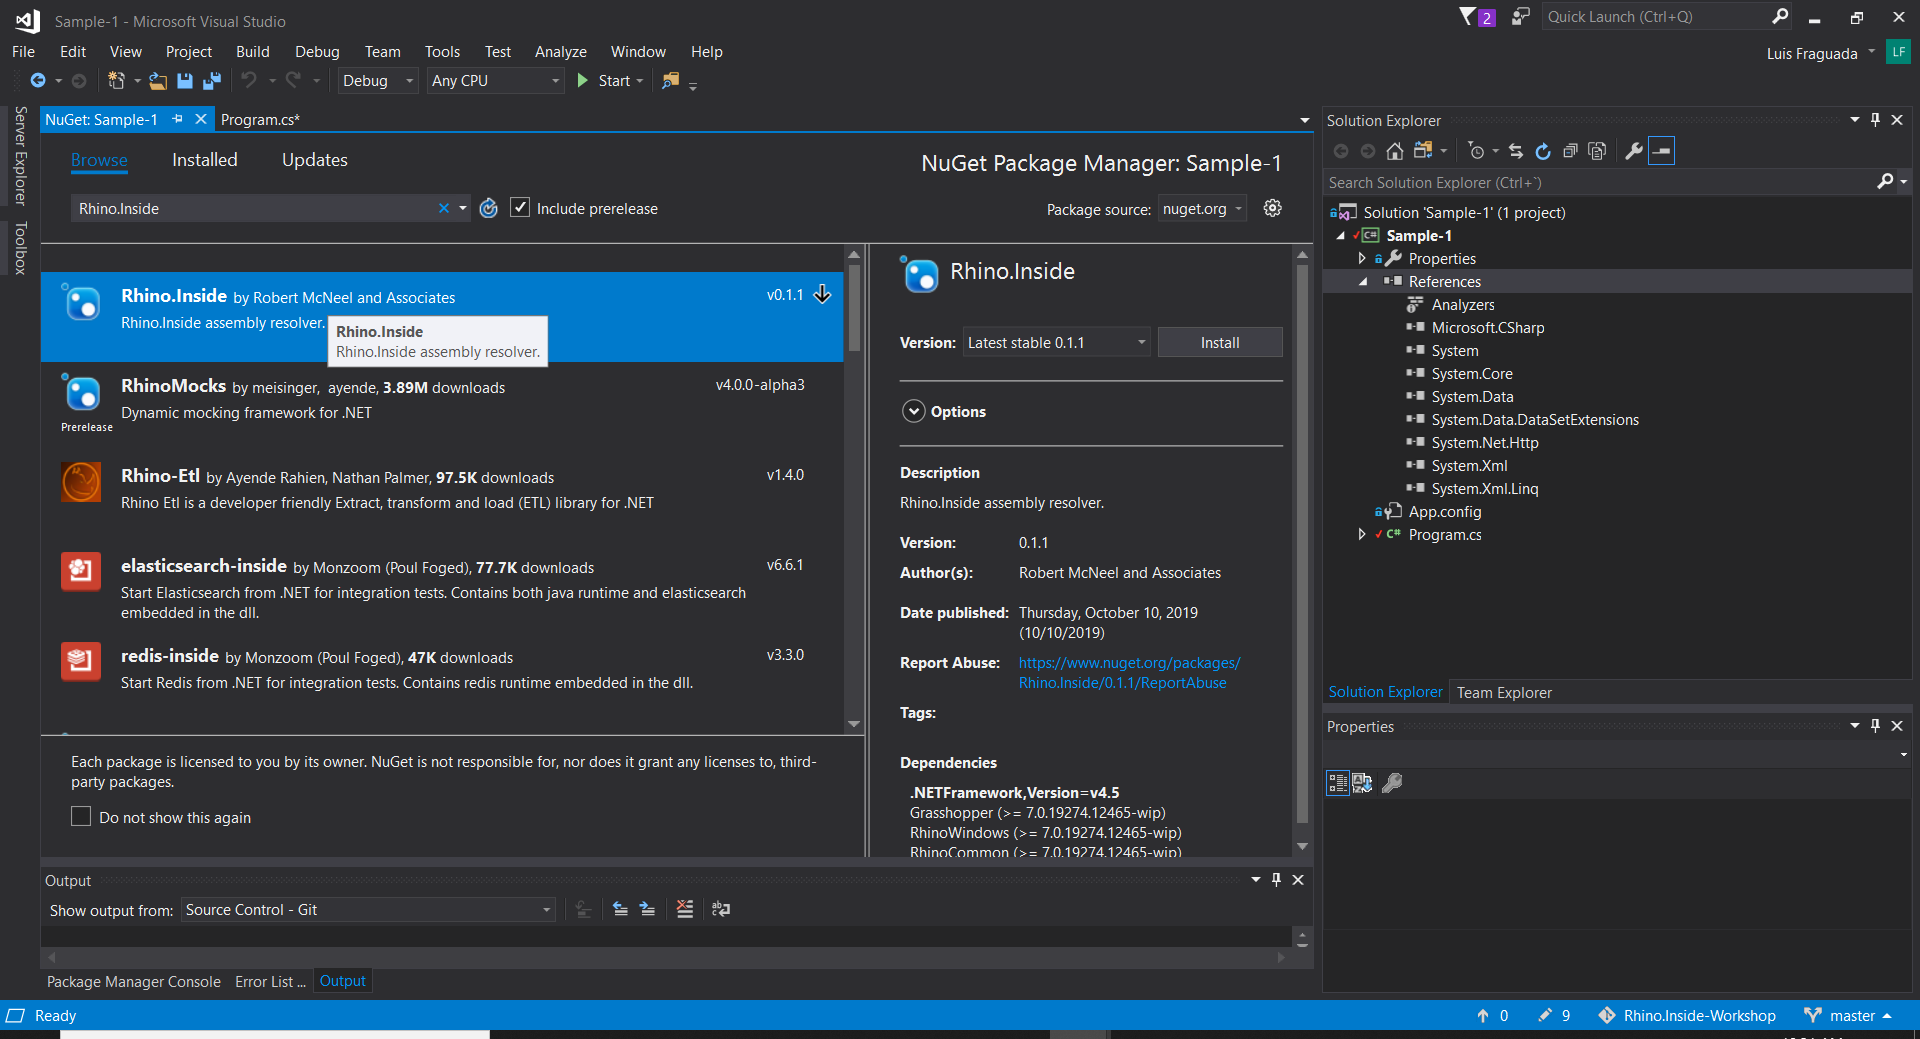
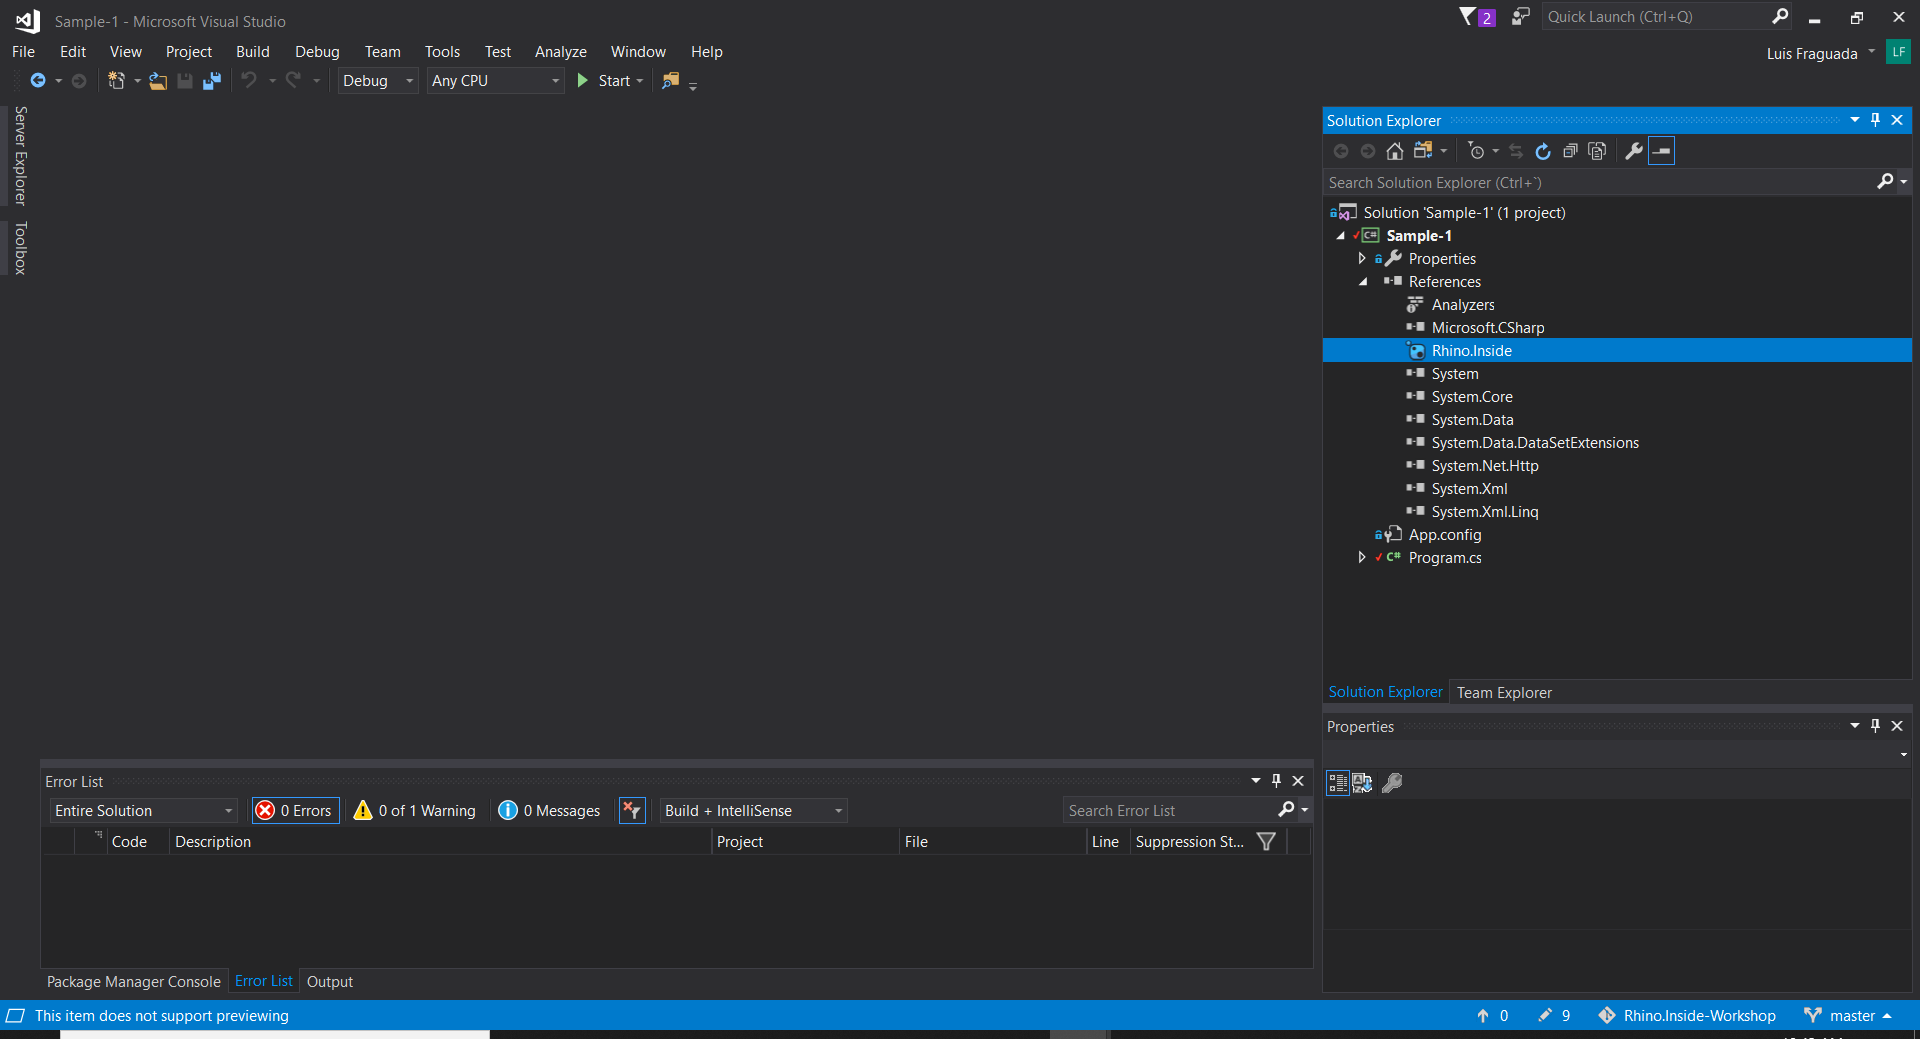
2.3 You should see the Rhino.Inside reference under the References section of your project.
3. Write code to call Rhino.
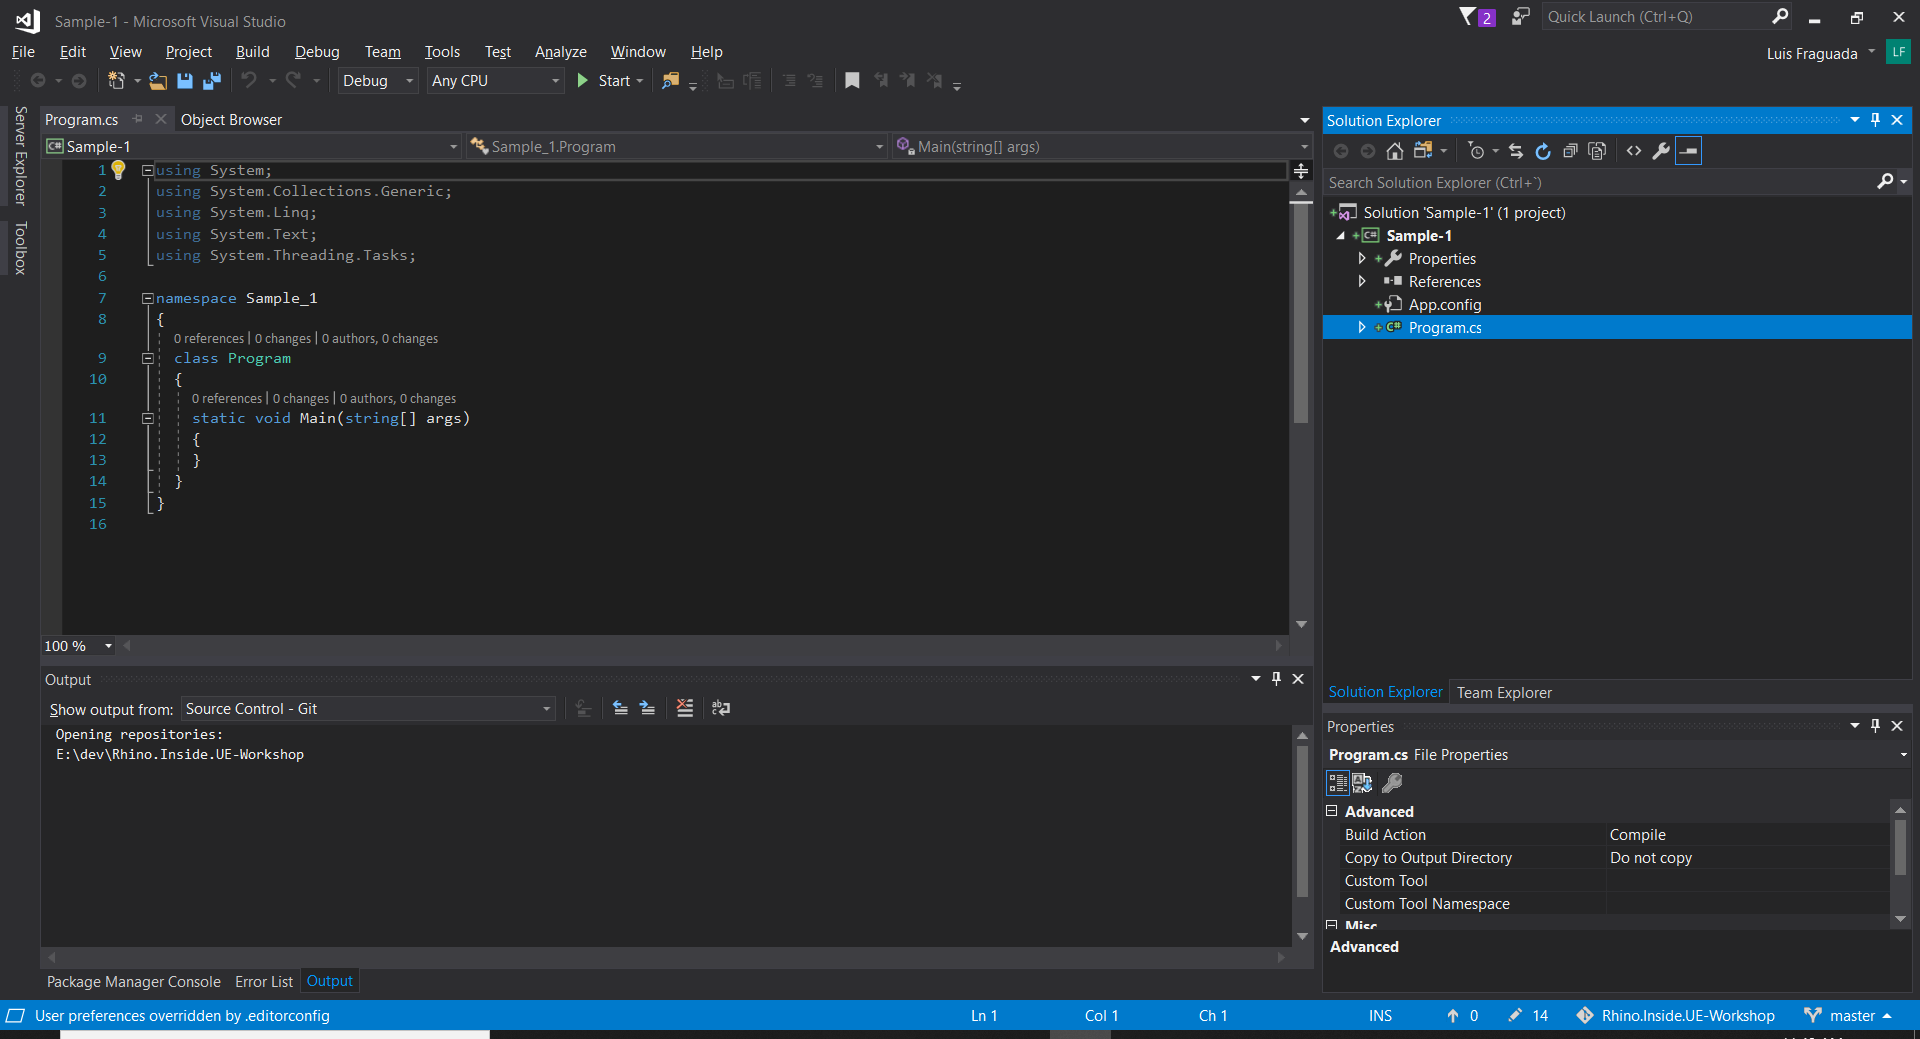
3.1 Open the Program.cs file from the Visual Studio Solution Explorer. We will add all of our code to this file.
3.2 In the Program class, create a static constructor and add assembly resolving code from the Rhino.Inside library.
static Program()
{
  RhinoInside.Resolver.Initialize();
}
3.3 In the Main method, create a new RhinoCore object and run some RhinoCommon code.
static void Main(string[] args)
{
  try
  {
    using (new Rhino.Runtime.InProcess.RhinoCore(args))
    {
      var sphere = new Rhino.Geometry.Sphere(Rhino.Geometry.Point3d.Origin, 10);
      var mesh = Rhino.Geometry.Mesh.CreateFromSphere(sphere, 10, 10);
      System.Console.WriteLine("Created a mesh with {0} vertices and {1} Faces.", mesh.Vertices.Count, mesh.Faces.Count);
      System.Console.WriteLine("press any key to exit");
      System.Console.ReadKey();
    }
  }
  catch (System.Exception ex)
  {
    System.Console.Error.WriteLine(ex.Message);
  }
}
The Program.cs file now has the following code:
namespace Sample1
{
  class Program
  {
    static Program()
    {
      RhinoInside.Resolver.Initialize();
    }

    static void Main(string[] args)
    {
      try
      {
        using (new Rhino.Runtime.InProcess.RhinoCore(args))
        {
          var sphere = new Rhino.Geometry.Sphere(Rhino.Geometry.Point3d.Origin, 10);
          var mesh = Rhino.Geometry.Mesh.CreateFromSphere(sphere, 10, 10);
          System.Console.WriteLine("Created a mesh with {0} vertices and {1} Faces.", mesh.Vertices.Count, mesh.Faces.Count);
          System.Console.WriteLine("press any key to exit");
          System.Console.ReadKey();
        }
      }
      catch (System.Exception ex)
      {
        System.Console.Error.WriteLine(ex.Message);
      }
    }
  }
}
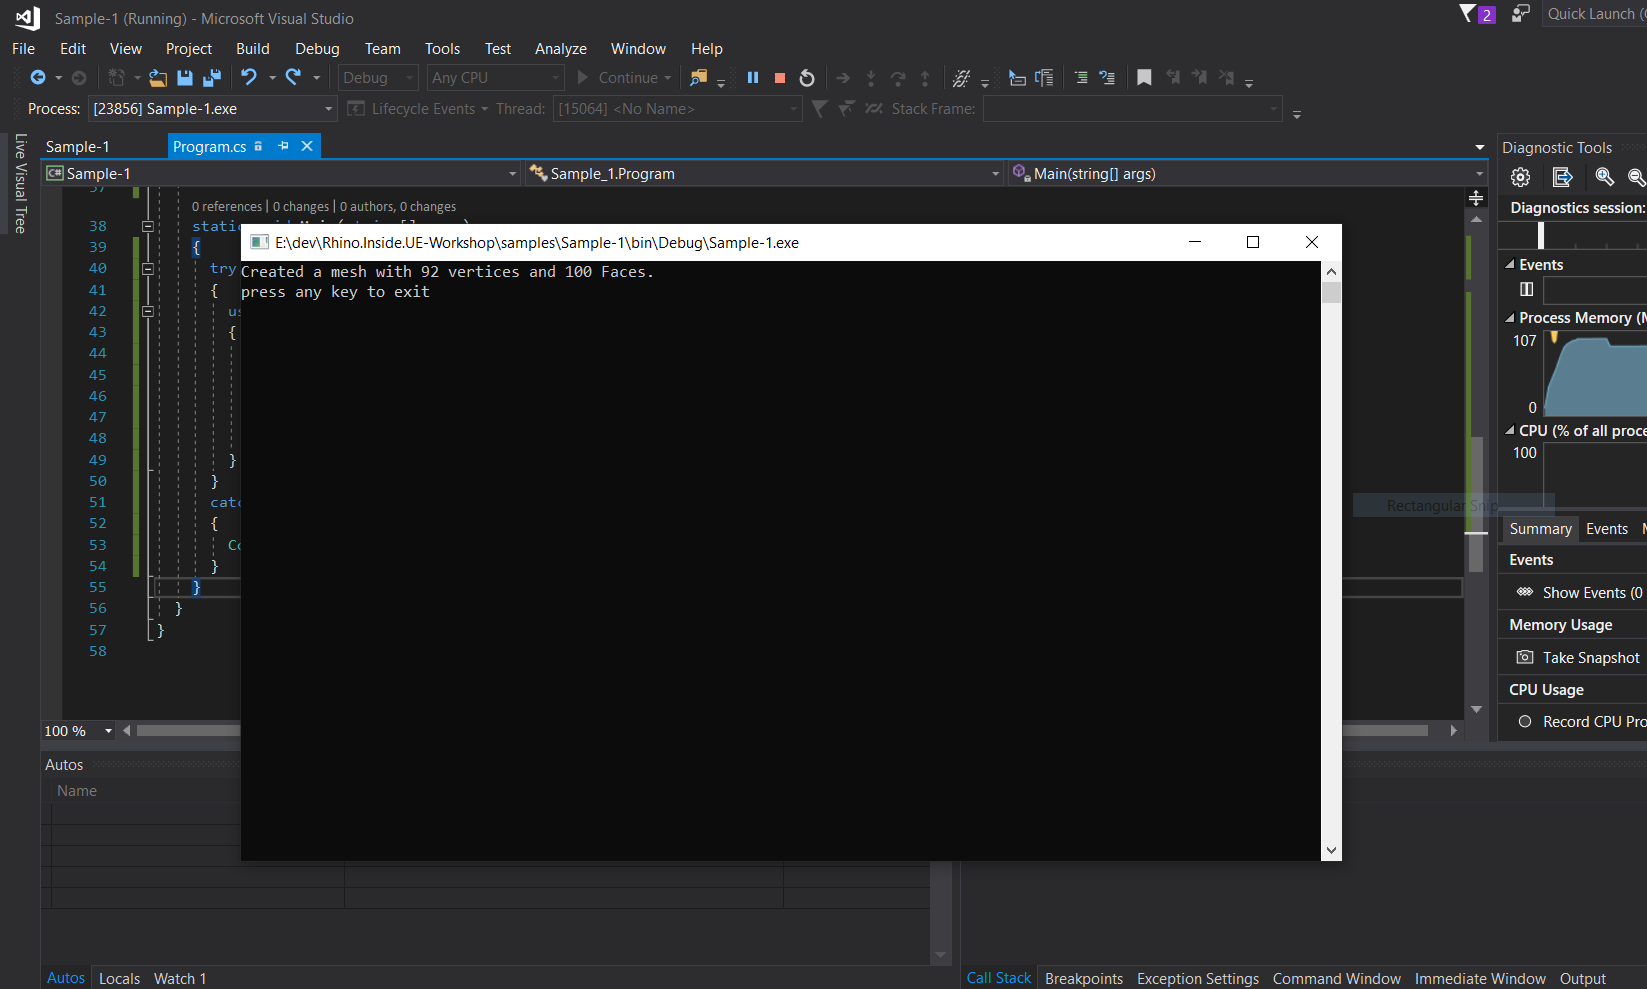
4. Debug the sample.
Press the Start button in Visual Studio. You should see a console appear and print some text related to the geometry created.
5. Extending the sample: Headless vs UI
So far this example has shown you how to run Rhino without a UI, or "headless" (though we really don't like to think about headless rhinos).
When you construct the RhinoCore, you can pass a WindowStyle which will determine how Rhino is used.
The WindowStyle enum has the following elements:
| Member Name | Value | Description |
|---|---|---|
| NoWindow | -1 | The no window style. |
| Normal | 0 | The normal, visible window style. |
| Hidden | 1 | The hidden window style. |
| Maximized | 2 | The minimized window style. |
| Minimized | 3 | The maximized window style. |
NOTE: You can check out the RhinoCommon WIP Documentation here: https://developer.rhino3d.com/wip/api/RhinoCommon/html/R_Project_RhinoCommon.htm
If no arguments are passed to the RhinoCore object, then the NoWindow default is used.
Let's modify the sample to show the Rhino UI.
5.1 Add [System.STAThread] line above the Main function. We should add this because the Rhino UI is single threaded. It should look like this:
//...
[System.STAThread]
static void Main(string[] args)
//...
5.2 Declare a variable for the RhinoCore object and give it a WindowStyle:
//...
using (var rhinoCore = new Rhino.Runtime.InProcess.RhinoCore(args, Rhino.Runtime.InProcess.WindowStyle.Normal))
//...
5.3 Comment out the last two System.Console lines and add rhinoCore.Run():
System.Console.WriteLine("Created a mesh with {0} vertices and {1} Faces.", mesh.Vertices.Count, mesh.Faces.Count);
// System.Console.WriteLine("press any key to exit");
// System.Console.ReadKey();
rhinoCore.run();
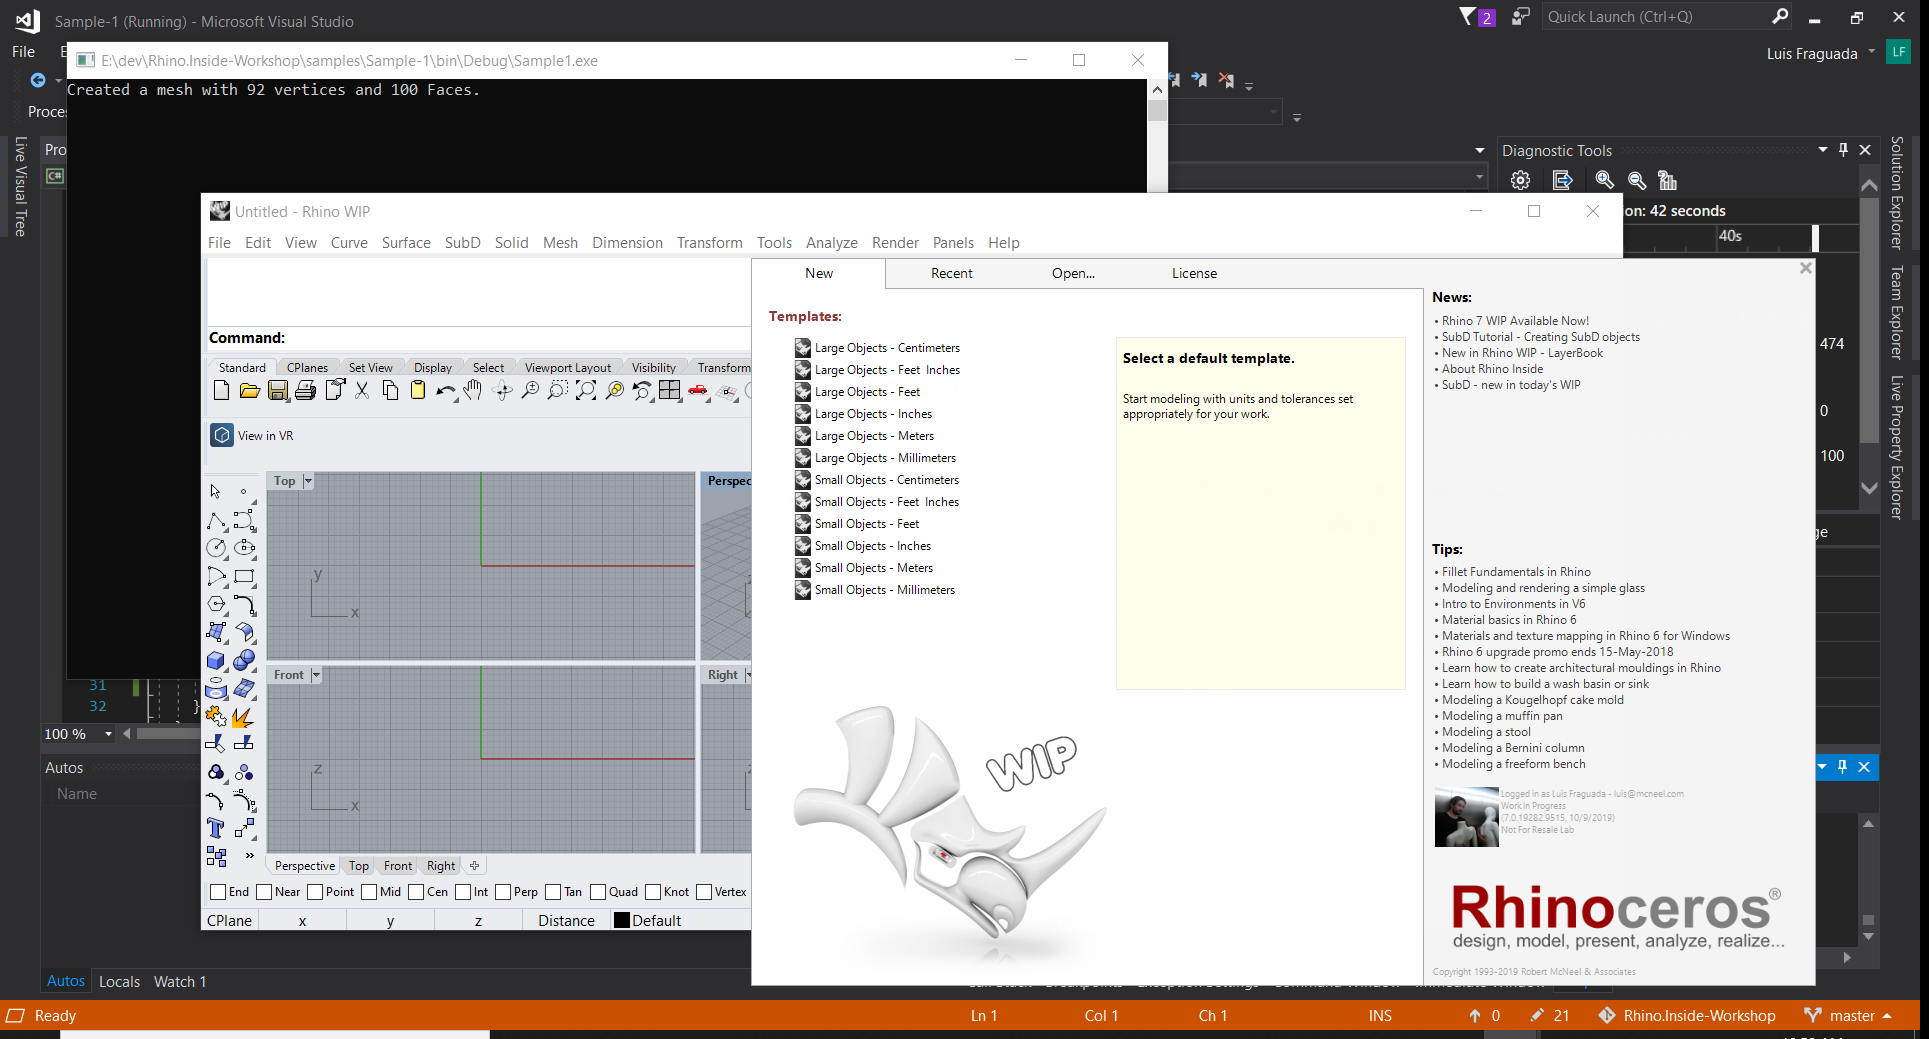
5.4 Debug the sample. You should see the console appear, followed by the Rhino Splash screen, followed by the Rhino UI.
5.5 Get rid of the Rhino Splash screen.
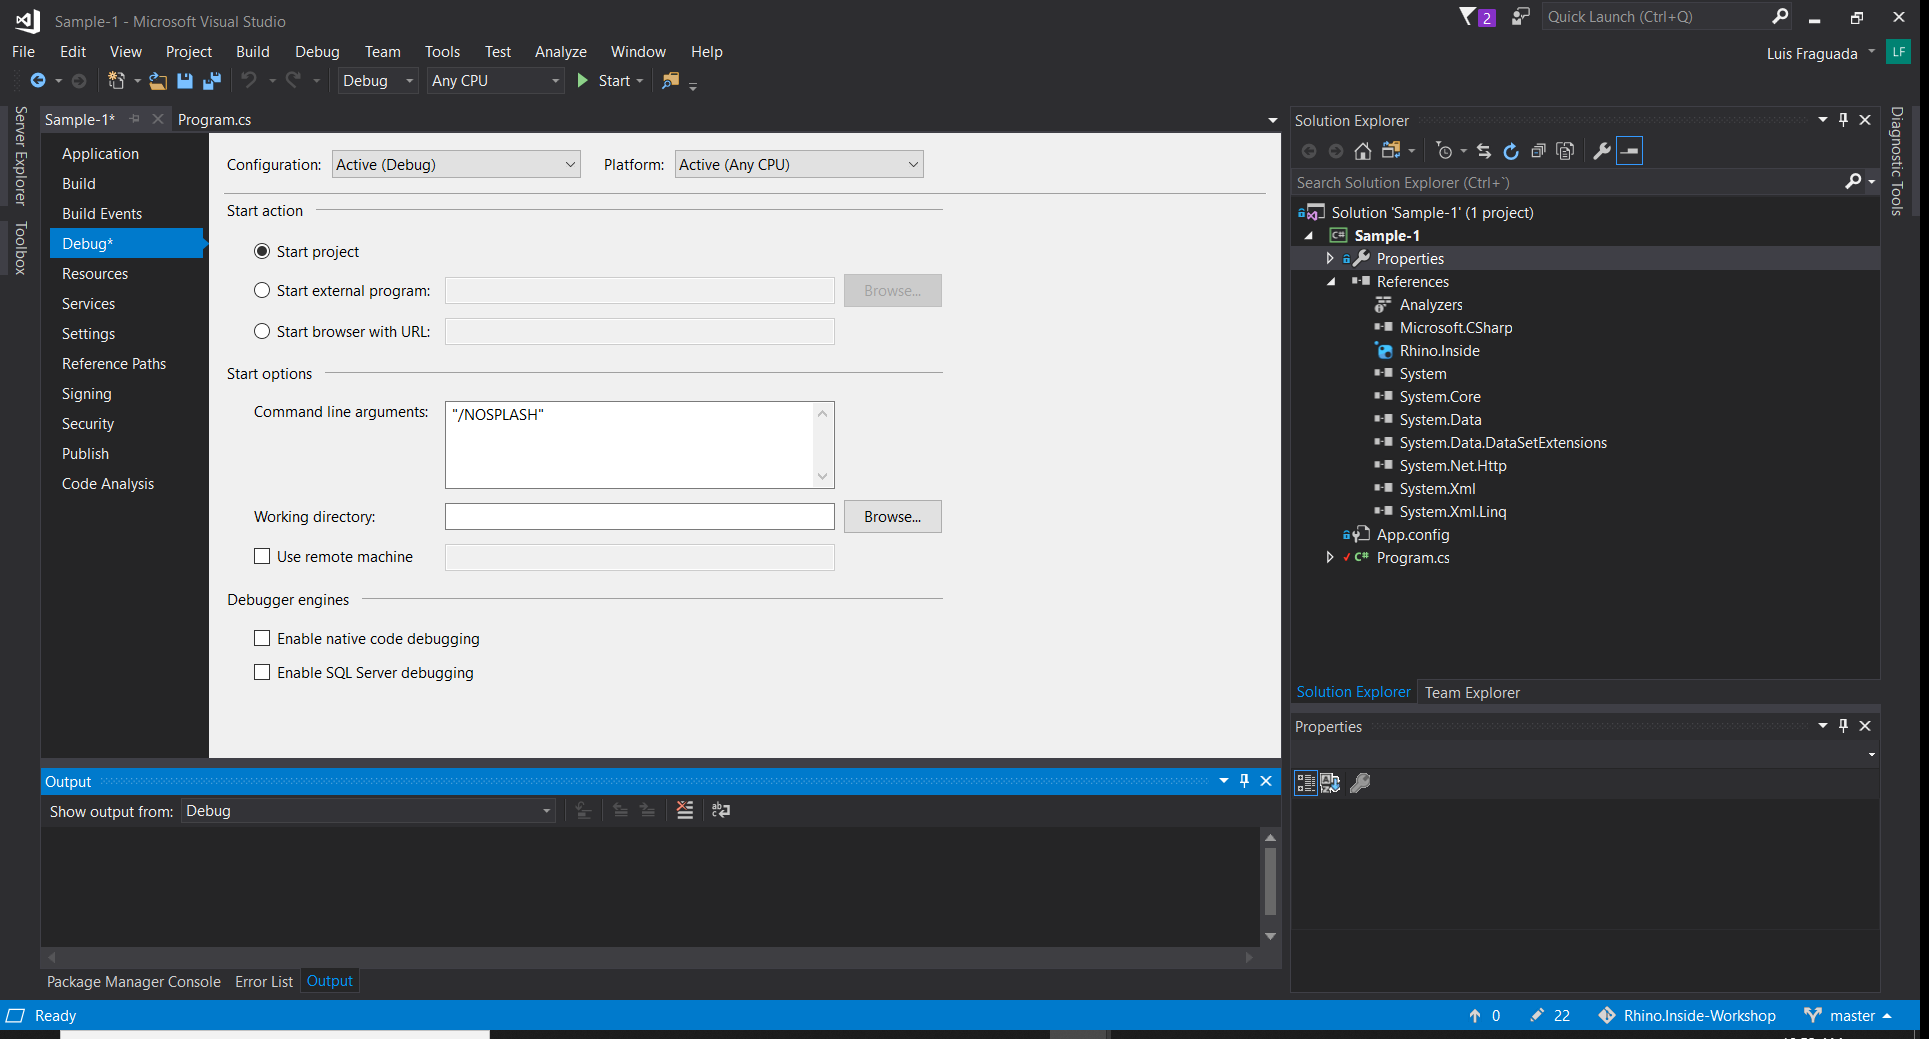
If you'd like to get rid of the Splash screen, you can pass in a command line argument to the RhinoCore object. We could add that directly as a new string[] { "/NOSPLASH" } instead of the args in the RhinoCore constructor, but let's instead simulate this as if we were entering that information into the command line. To do this, open the properties of the project and in the Debug page, add "/NOSPLASH" to the Command line arguments text field under Start options.
NOTE: For more information on Rhino's command line options, please see: https://developer.rhino3d.com/guides/cpp/running-rhino-from-command-line/
6. Finished Example
The example in the repository shows a finished example that reads the command line arguments for the WindowStyle.