Lesson 9: Real OpenGL (GLSL) application - mattcodez/tinyrenderer GitHub Wiki
The goal
Once upon a time I had to render (fast) molecules. For example, a molecule can be represented as a set of spheres, like in the following image (clickable):
This is a virus consisting of roughly three million atoms. You can download the model from a wonderful site called rcsb.org.
It is a nice task to start learning shaders. First I will show how to create an OpenGL context and how to link our shaders.
OpenGL helloworld
As usual, I created a repo. It is in a separate repository from the tinyrenderer, since it actually uses 3rd party libraries. At the moment OpenGL does not provide a cross-platform way to create the rendering context. Here I use libraries GLUT, GLU and GLEW.
Attention, glut is really outdated, my choice is based on the fact that in our university hardware as well as software are really old. I do not even have a C++11 compiler. You should probably use sfml/sdl other. I am not worried though about glut, since this writing focuses on shaders (GPU side) and not on OpenGL context (CPU side). The same applies to the fixed pipeline in our rendering routine. I do not have access to OpenGL 4+ on our school computers.
Here is a code to draw the Utah teapot.
Let us see how it works starting from main() function:
- First line initializes the library, telling that we will use two framebuffers, colors and a z-buffer
- Then we specify window dimensions, position, title and a background color, here it is blue
- Next something interesting happens: glutDisplayFunc, glutReshapeFunc and glutKeyboardFunc specify our callback functions that will be called on redraw, redimension and keyboard press events.
- Next a bit of checkboxes telling us that yes, we actually use z-buffer, we have a bit of lighting etc
- Finally - the call to the main window loop. glutMainLoop is working while the operating system shows the window.
Here keyboard processing is simple, I quit the application (a bit brutally) after hitting the ESC key. On resize event I pass to OpenGL new window size and specify that our projection is still orthogonal and we must map the bi-unit square [-1,1]x[-1,1] onto the screen.
The most interesting part is inside our render_scene() callback:
- first we clear our frame- and z-buffers
- next we clear our ModelView matrix and load inside the camera position (here it is constant)
- set the red color
- draw the teapot
- swap the framebuffers
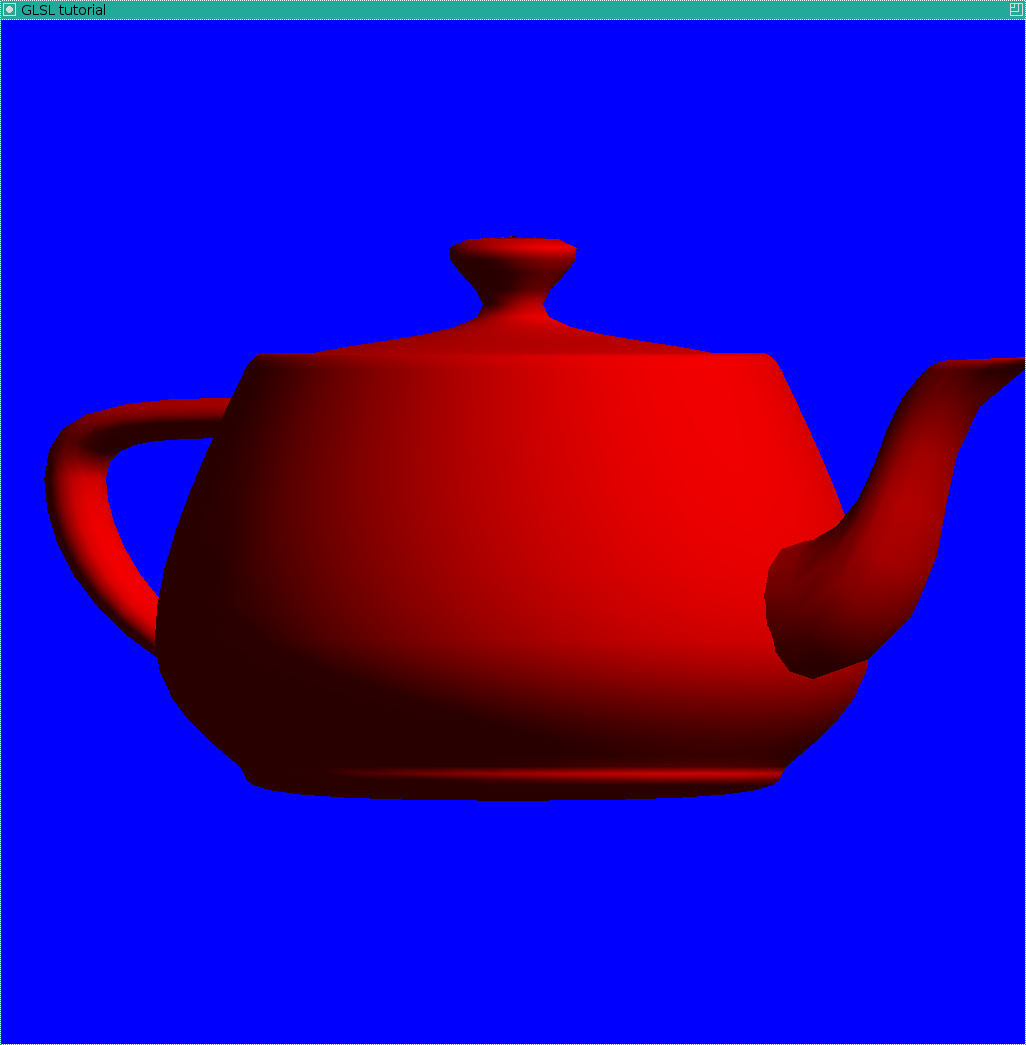
Finally we should get the following picture:
GLSL helloworld
Here you can find source code of the simplest use of shaders. Github is really handy to see the changes between versions, compare what was actually changed.
The image we should get is the following one:

What were the changes? First, I added two new files: frag_shader.glsl and vert_shader.glsl, written not in C++, but in GLSL. Those are our shaders, that we feed to the GPU. In main.cpp we added necessary wrapping code telling the GPU to use these shaders.
More precisely, I created prog_hdlr handler and linked the source code of shaders: first we read the text files, then we compile it on-the-fly and then link to the program handler.
Drawing a "molecule" with standard OpenGL means
So, we know how to create an OpenGL context and how to link shaders. Let us put it aside for a while and draw 10000 of random spheres. I want to have our source code as simple as possible, so I would not load an actual molecule, even if (ascii) .pdb format is really simple. Then the task is formulated as follows: let us draw a lot of random spheres of random color.
Here is a commit drawing the spheres without using shaders, it calls glutSolidSphere().
Do not forget to check the changes. I added atoms array with seven entries per atom: its center, radius and RGB color.
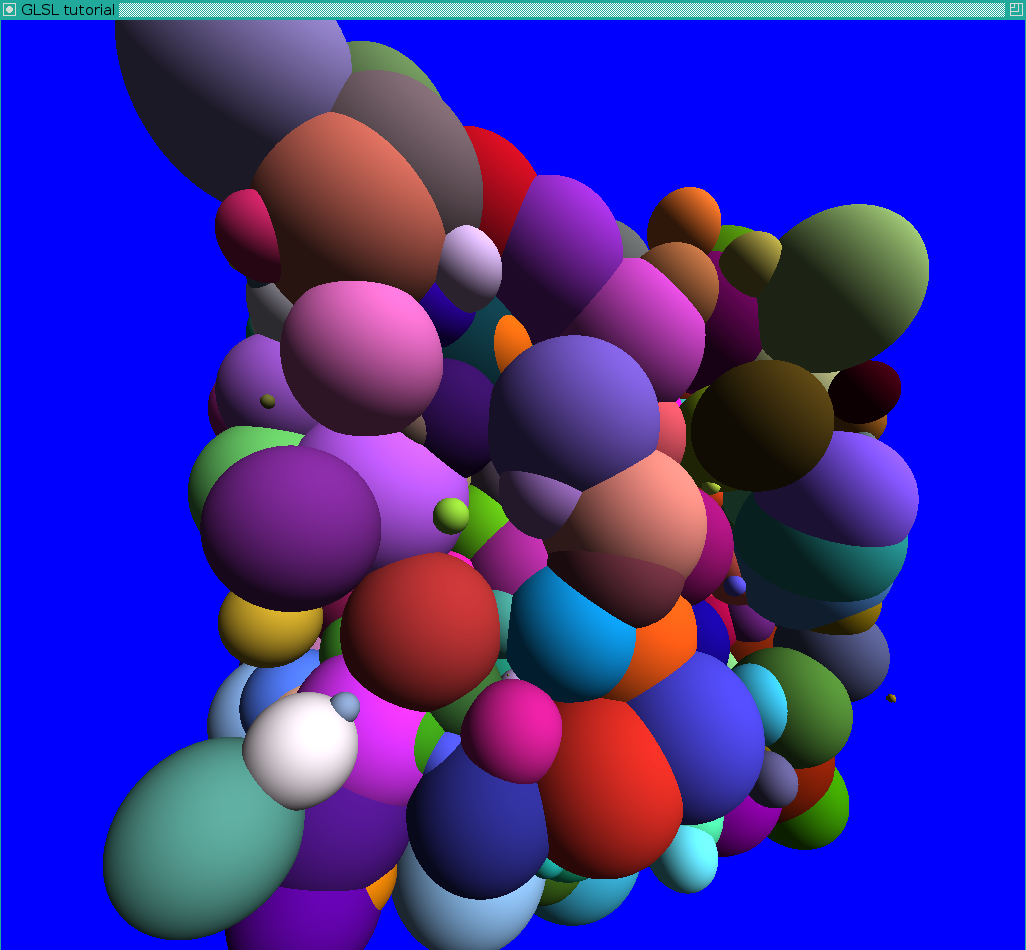
Here is the image we should get in this way:

This image gives me a headache. An intersection between two spheres in a circle, and here we have anything but circular intersections. It is the consequence of triangulated spheres: we drew our "spheres" with 16 parallels and meridians (about 500 triangles per sphere). Besides the bad rendering quality a question of computational cost arises: if we want to draw ten millions of atoms, we will need to send 5 billions of triangles and it creates a bottleneck in the bus transfer.
Can shaders help us?
Yes, they can. Shaders can be used for other things than simple lighting tasks. I want to minimize data transfer between GPU and CPU, so I will send one vertex per sphere to draw.
Again, I am using GLSL #120 because of the harware restrictions I have. New GLSL has a bit different syntax, but the idea is the same.
Here is the source code for drawing the spheres using shaders. So, what is the idea?
First of all, at the CPU side we send one vertex per sphere to draw. If we do not use any fancy shaders, here is the image we will get:
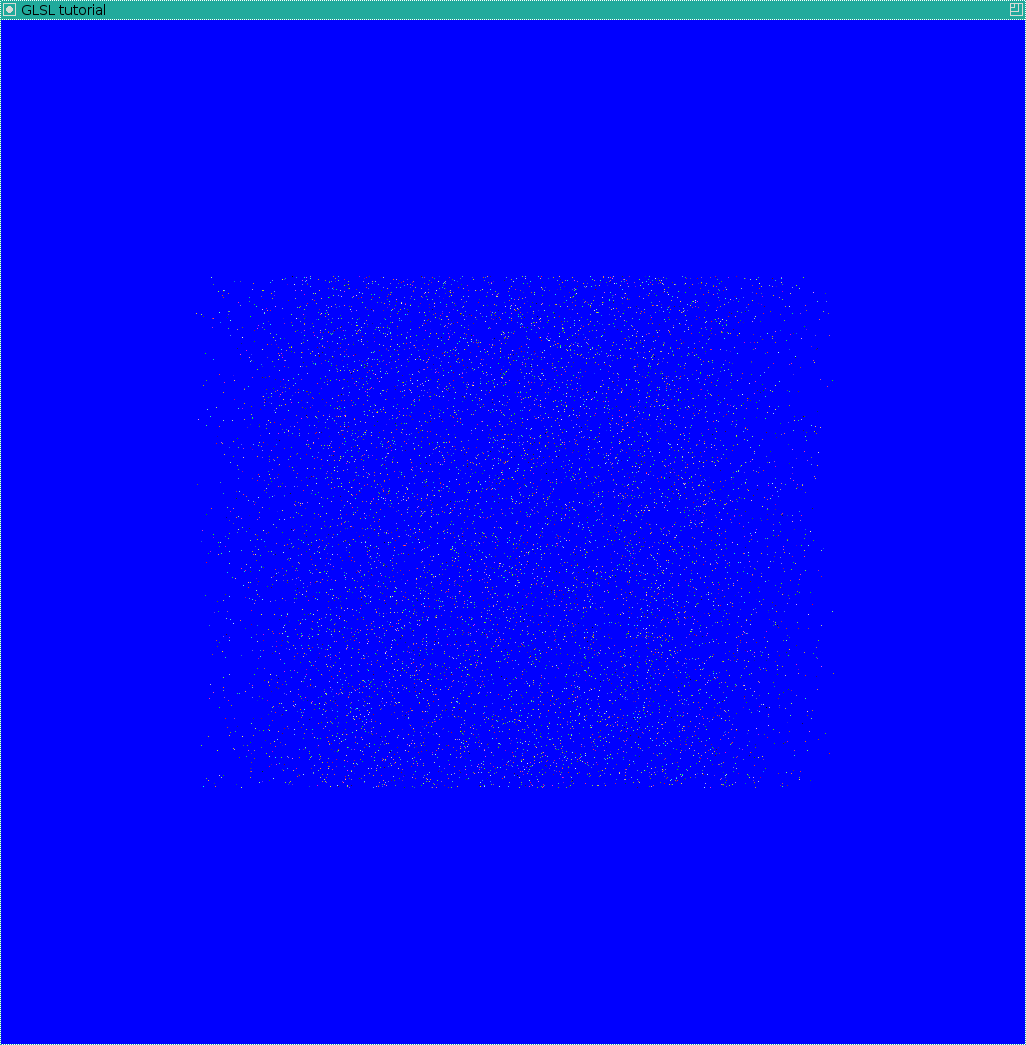
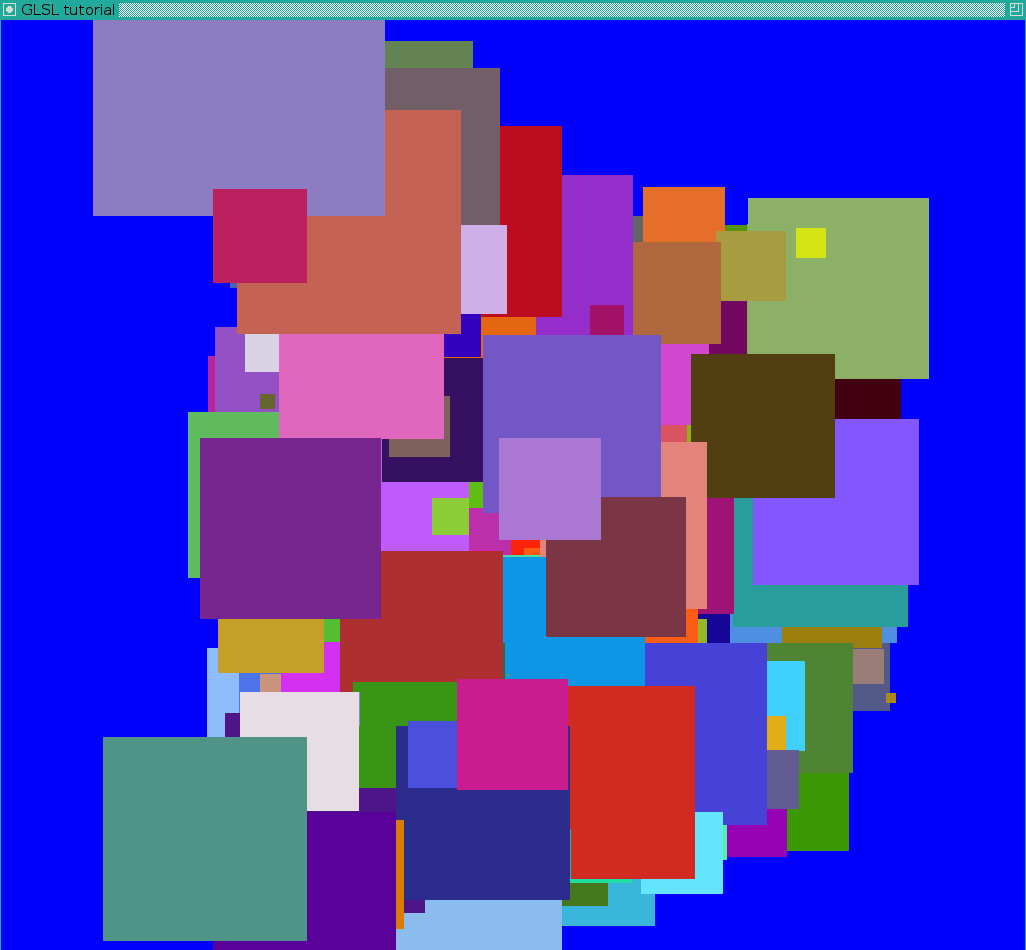
Then in the vertex shader we change gl_PointSize, it produces a set of large square pixels:
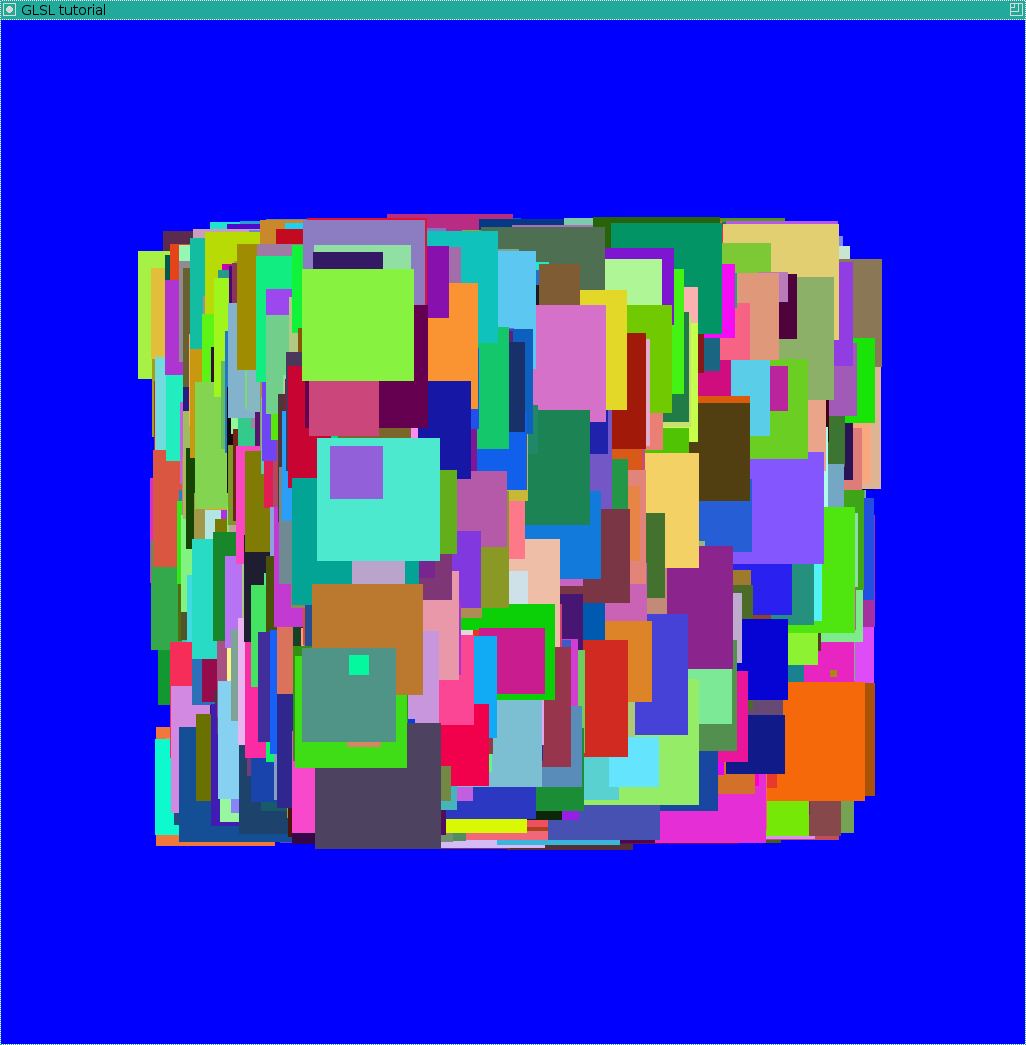
Please note that the fragment shader will be executed for each pixel of the square! Now it is all simple. In the fragment shader we check the distance of the current pixel from the square center and discard it if it is greater than the radius of the sphere to draw. Thus we can get a set of flat confetti:

Then we can change the depth of each pixel:

The last thing to do is to compute actual shading (yay shaders!):
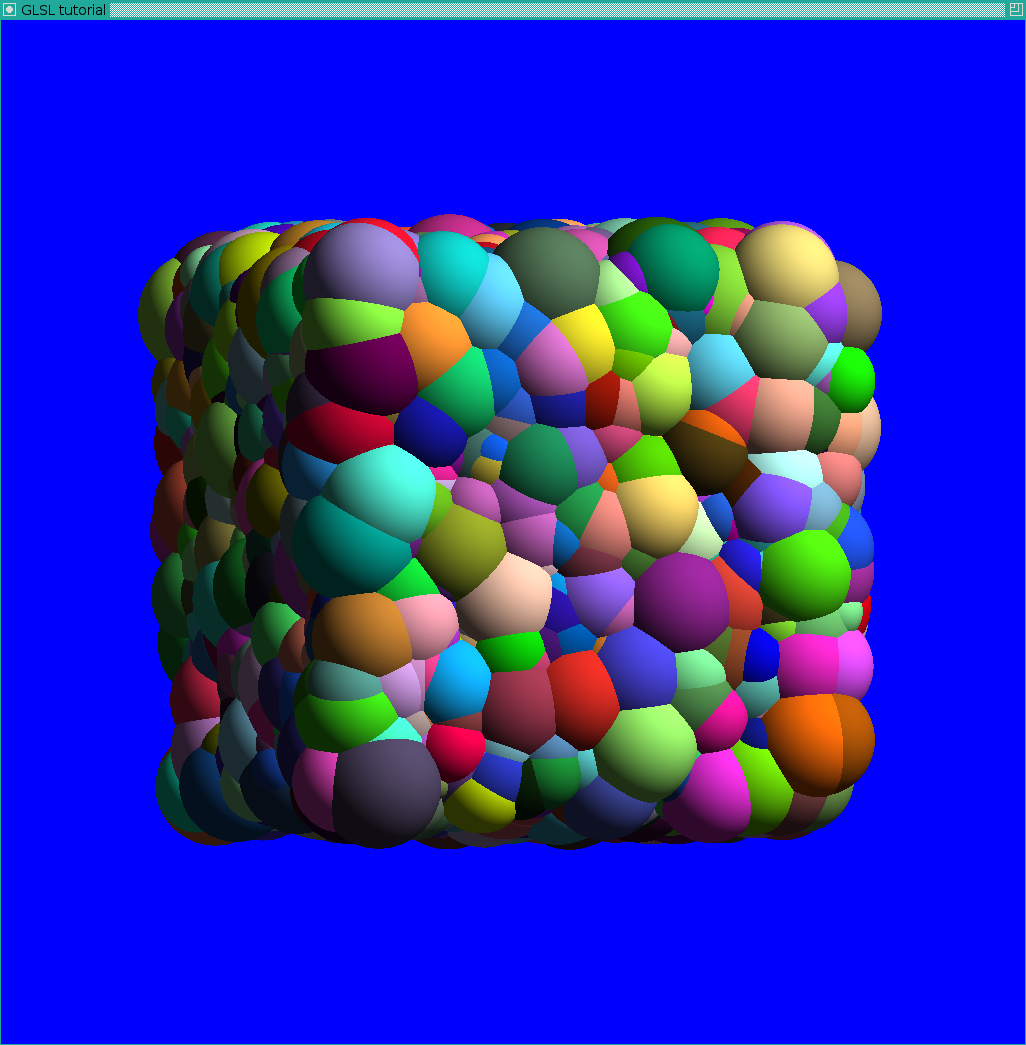
Let us put again the triangulated render we saw at the very beginning:

Quite an improvement for quality, is not it? And as a bonus a better performance! If we add .pdb file parsing + ambient occlusion, we get the teaser image I gave a the beginning of the lesson.
Well, glOrtho is good, but what about perspective projection?
For those who would like to implement the idea in perspective projection, there is a nice article here. The source code is available in the repository, for the comments refer to the paper. Here I put the images of the process (all clickable).
Triangulated spheres for debug purposes:
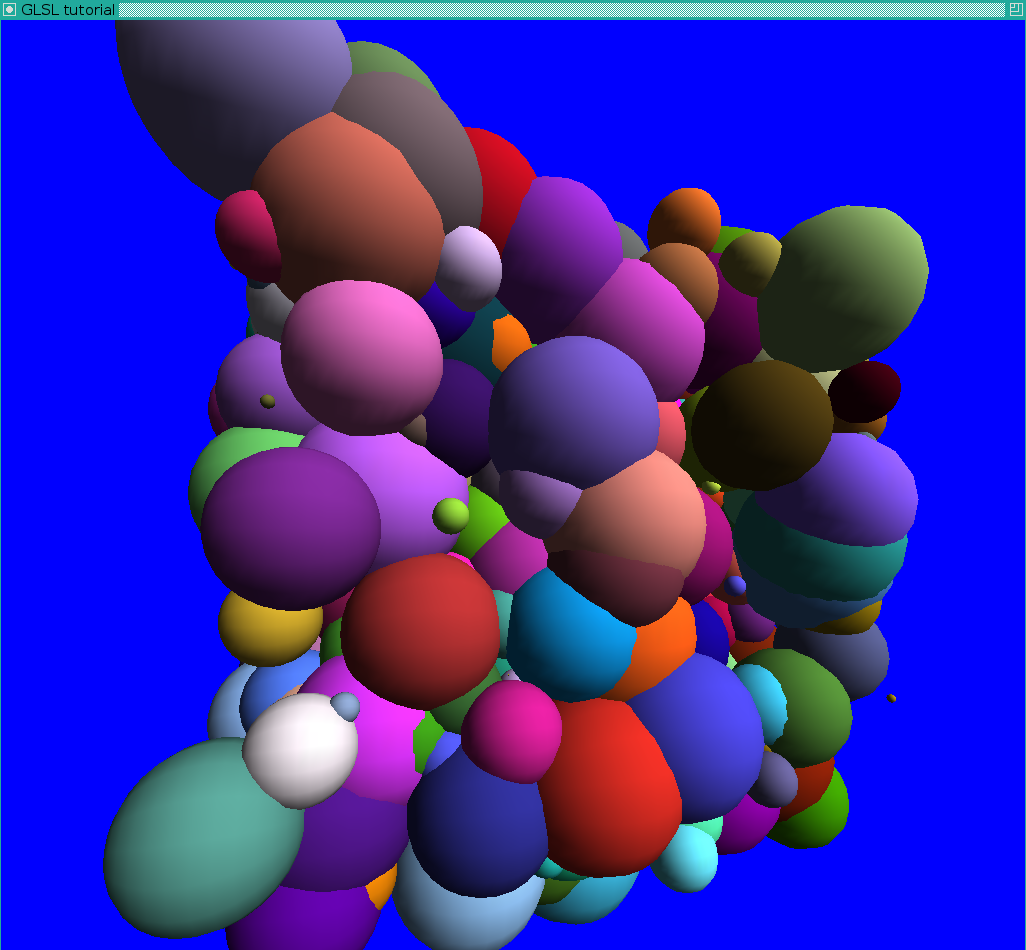
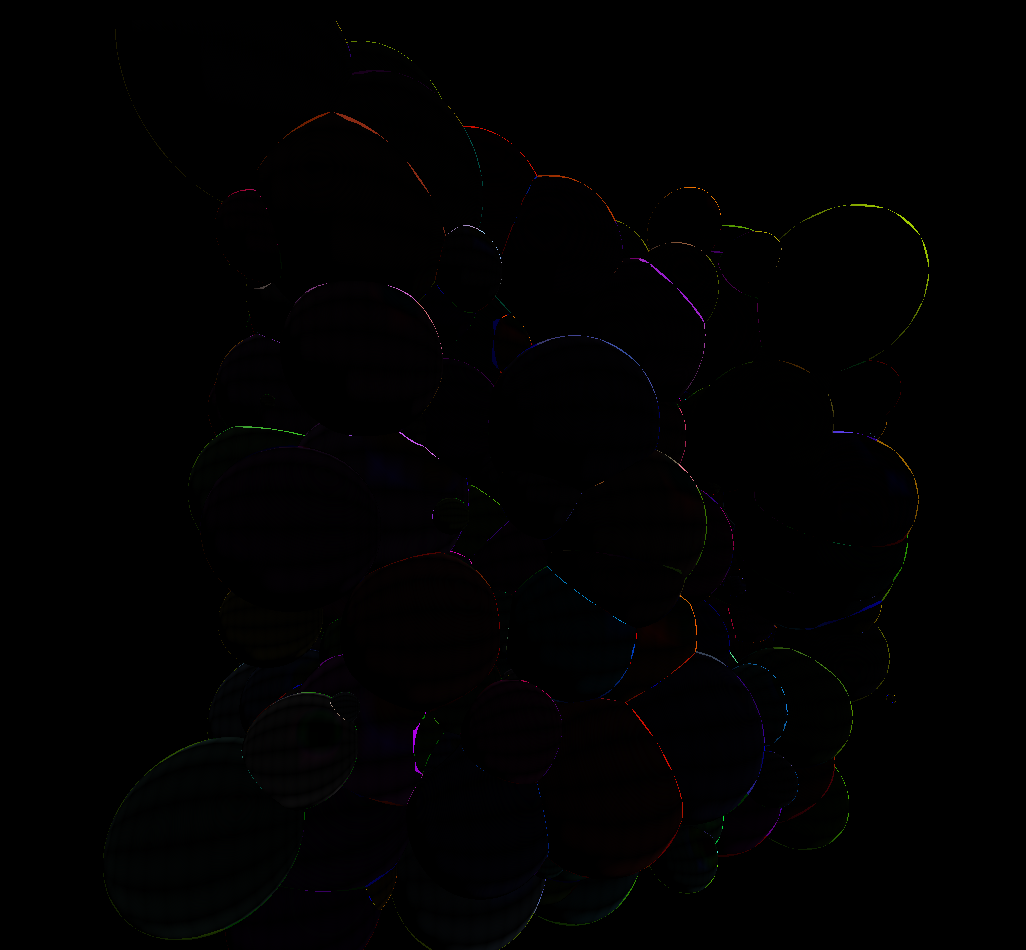
Let us debug it by superposing triangulated spheres:
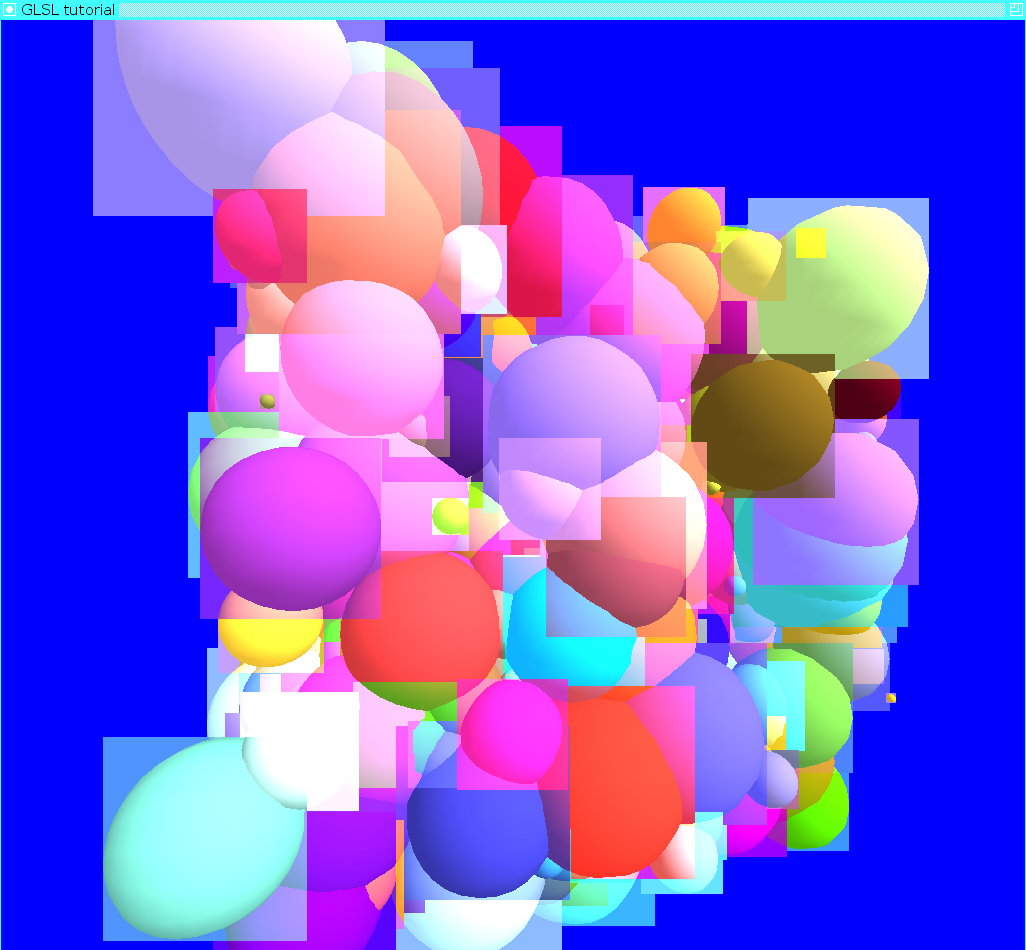
Discard only in the fragment shader:

Superposition with triangulated spheres to check the correctness:
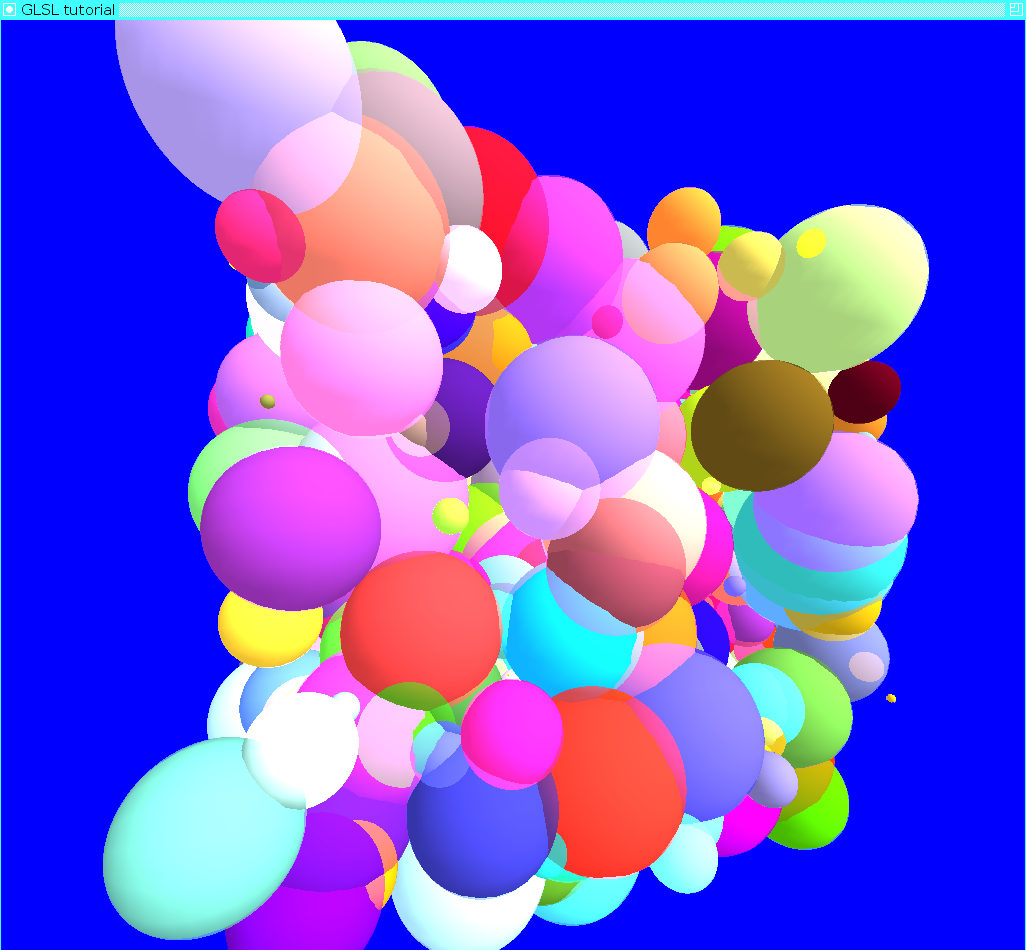
The depth and the lighting debugging were provided at the beginning of the section. Enjoy!

