[Archive 1.0] 9. Zabbix - mata-elang-stable/MataElang-Platform GitHub Wiki
We use Zabbix as a monitoring system for Mata Elang.
We install Zabbix's server and agent based on Zabbix's documentation: https://www.zabbix.com/download?zabbix=6.0&os_distribution=ubuntu&os_version=18.04_bionic
Prerequisite
- Ubuntu 18.04.6 LTS installed and updated by
sudo apt update && sudo apt -y upgradecommand. - Time Zone and NTP already set.
Installation Procedure of Each Component
A. Zabbix Server
Install MariaDB for Zabbix Server
A-1. Prepare the package database for MariaDB 10.6 Installation.
sudo apt -y install software-properties-common dirmngr apt-transport-https
sudo apt-key adv --fetch-keys 'https://mariadb.org/mariadb_release_signing_key.asc'
sudo add-apt-repository 'deb [arch=amd64,arm64,ppc64el] https://mirror.poliwangi.ac.id/mariadb/repo/10.6/ubuntu bionic main'
sudo apt update
A-2. Install MariaDB.
sudo apt -y install mariadb-server
Setup MariaDB
A-3. Setup MariaDB.
sudo mysql_secure_installation
- Configuration
Enter current password for root (enter for none):

Switch to unix_socket authentication [Y/n] Y

Change the root password? [Y/n] Y

New password: <NEW_PASSWORD>

Re-enter new password: <NEW_PASSWORD>

Remove anonymous users? [Y/n] Y

Disallow root login remotely? [Y/n] Y

Remove test database and access to it? [Y/n] Y

Reload privilege tables now? [Y/n] Y

All done!
A-4. Confirm MariaDB is active.
systemctl status mariadb
A-5. Create a database and an account for Zabbix.
sudo mysql -u root -p
- Commands
MariaDB > CREATE DATABASE zabbix CHARACTER SET utf8mb4 COLLATE utf8mb4_bin;
MariaDB > CREATE USER zabbix@localhost IDENTIFIED BY '<YOUR_PASSWORD>';
MariaDB > GRANT ALL PRIVILEGES ON zabbix.* TO zabbix@localhost;
MariaDB > FLUSH PRIVILEGES;
MariaDB > exit;
Install Zabbix Server
A-6. Prepare the package database for Zabbix 6.0 Installation.
mkdir ~/zabbix
cd ~/zabbix
wget https://repo.zabbix.com/zabbix/6.0/ubuntu/pool/main/z/zabbix-release/zabbix-release_6.0-1+ubuntu18.04_all.deb
sudo dpkg -i zabbix-release_6.0-1+ubuntu18.04_all.deb
sudo apt update
A-7. Install Zabbix Server.
sudo apt -y install zabbix-agent zabbix-server-mysql php-mysql zabbix-frontend-php zabbix-sql-scripts zabbix-apache-conf
Setup Zabbix Server
A-8. Create tables.
sudo zcat /usr/share/doc/zabbix-sql-scripts/mysql/server.sql.gz | mysql -u zabbix -p'<YOUR_PASSWORD>' zabbix
or
sudo zcat /usr/share/zabbix-sql-scripts/mysql/server.sql.gz | mysql -u zabbix -p'<YOUR_PASSWORD>' zabbix
A-9. Configure "zabbix_server.conf" to set "DB Password".
sudo nano /etc/zabbix/zabbix_server.conf
- Configuration
# DBPassword=
DBPassword=<YOUR_PASSWORD>
A-10. Configure "apache.conf" to set "timezone".
sudo nano /etc/zabbix/apache.conf
- Configuration: Set "your timezone".
# php_value date.timezone Europe/Riga
php_value date.timezone Asia/Jakarta
A-11. Start Zabbix Server and check the services are active.
sudo systemctl enable zabbix-server zabbix-agent apache2
sudo systemctl restart zabbix-server zabbix-agent apache2
systemctl status zabbix-server zabbix-agent apache2
A-12. Open the following URL in your browser to see Zabbix dashboard.
- URL:
http://<ZABBIX_SERVER_IP_OR_NAME>/zabbix/
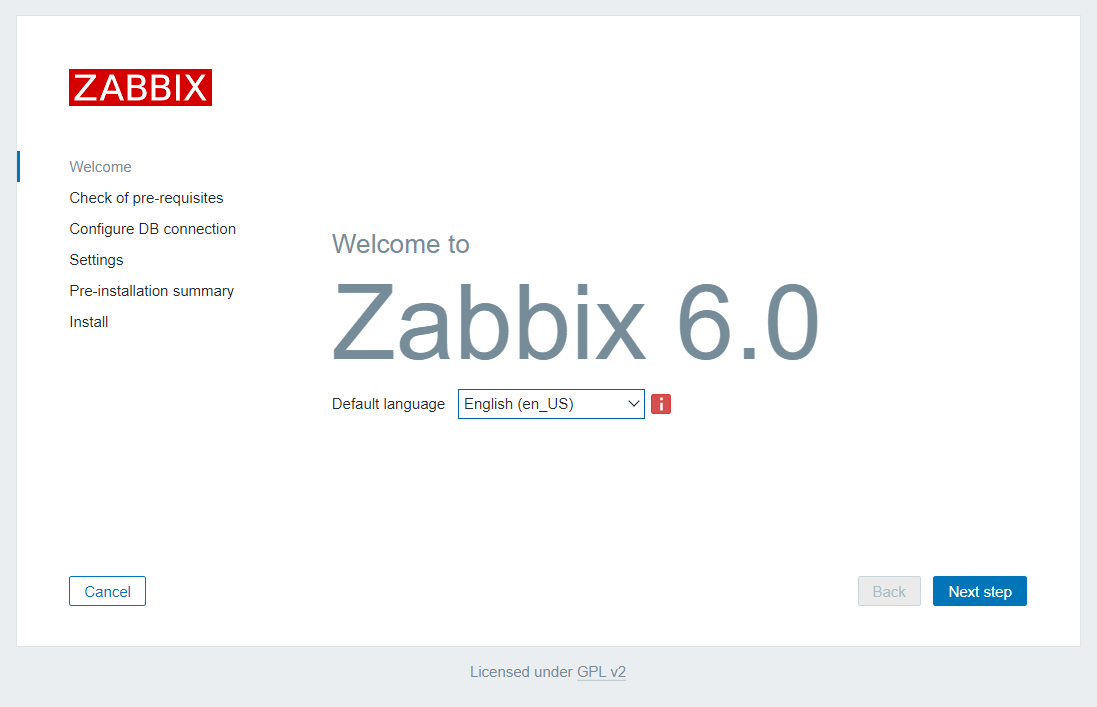
A-13. Continue setup of the following parameters and finish the configuration.
- Setup Configure DB connection
- Settings
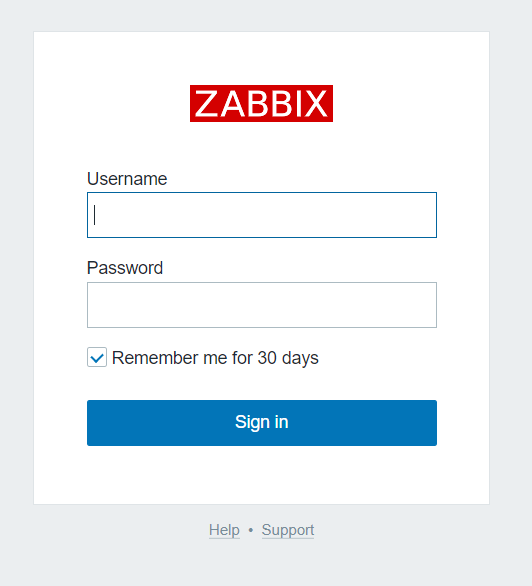
A-14. Login to Zabbix dashboard.
- Default login account is "Admin" and its password is "zabbix".
- DO NOT forget to change Admin password after the first login.
B. Zabbix Agent
Install Zabbix Agent
B-1. Prepare the package database for Zabbix 6.0 Installation.
mkdir ~/zabbix
cd ~/zabbix
wget https://repo.zabbix.com/zabbix/6.0/ubuntu/pool/main/z/zabbix-release/zabbix-release_6.0-1+ubuntu18.04_all.deb
sudo dpkg -i zabbix-release_6.0-1+ubuntu18.04_all.deb
sudo apt update
B-2. Install Zabbix Agent.
sudo apt -y install zabbix-agent
Configure Zabbix Agent
B-3. Configure "zabbix_agentd.conf" to specify Zabbix server and agent.
sudo nano /etc/zabbix/zabbix_agentd.conf
- Configuration
#Server=127.0.0.1
Server=<ZABBIX_SERVER_IP_OR_NAME>

#Hostname=Zabbix server
Hostname=<HOSTNAME_OF_AGENT>
B-4. Start Zabbix Agent and check the service is active.
sudo systemctl enable zabbix-agent
sudo systemctl restart zabbix-agent
systemctl status zabbix-agent
C. Add hosts & notifications to Zabbix
C-1. Add hosts on Zabbix dashboard.
- [Configuration] -> [Host] -> [Create Host]
Input the parameters:
| Parameter | Value |
|---|---|
| Host name | Monitored hostname |
| Templates | [Select] --> Templates/Operating systems --> Linux by Zabbix agent |
| Groups | [Select] --> Linux servers |
| Interfaces | [Add] --> Agent --> IP address of Monitored host |
And then save your configuration. Wait until Zabbix Server identifies your monitored host. If your configuration is correct, the availability sign will turn green.
C-2. Add notifications according to your environment.
Please refer Zabbix Notifications & Automatic actions.
- Configure [Media Type] what you want to use.
- Attach [Media] to [User].
- Enable [Actions] what you want to notify.
- Add [Conditions] to [Action] like "Host group equals Linux servers".