F18A - masto/nabu-info GitHub Wiki
What is it?
The F18A is a replacement for the TMS9918A video chip used in the NABU (and other systems of the era). It consists of an FPGA on a circuit board that is installed in place of the TMS9918A, and provides improved video quality and other features, while remaining 100% compatible with the original.
What are the benefits?
Mainly, crisp VGA output in place of the NABU's muddy composite video. But there are also some extended features that can be used by software which is specifically written for the F18A. For details, see the official site.
What are the different versions and where can I get one?
There are three different versions of the F18A. To simplify the story greatly, from a NABU owner's perspective:
- Original: this one has a circuit board that is about twice the size of the TMS9918A. It is fully compatible with the NABU, but since it overhangs the socket considerably, there are some (unneeded) header pins on the NABU board which get in the way of installing it. This is easily solved by bending the pins or installing stacking sockets (see below).
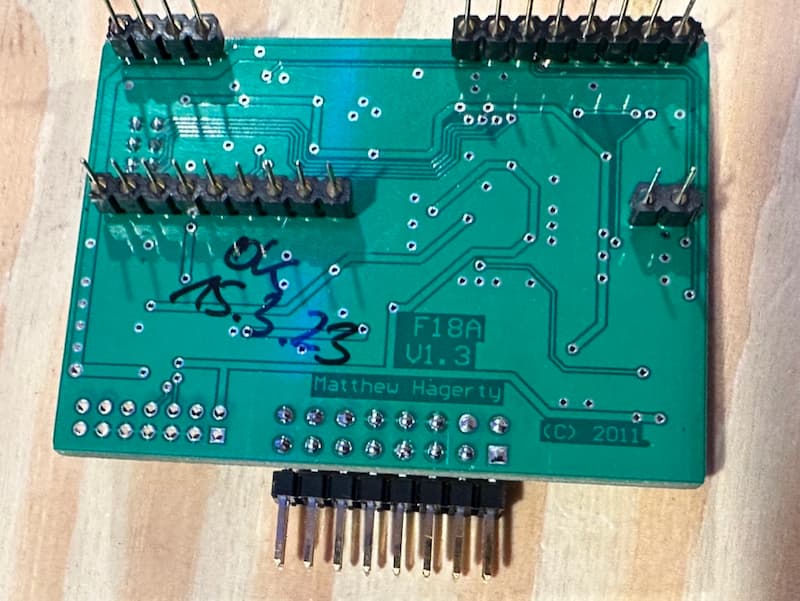
- MK1: A physically redesigned version of the original board to make it fit in the space of the TMS9918A. Provides the same feature set, with easier installation.
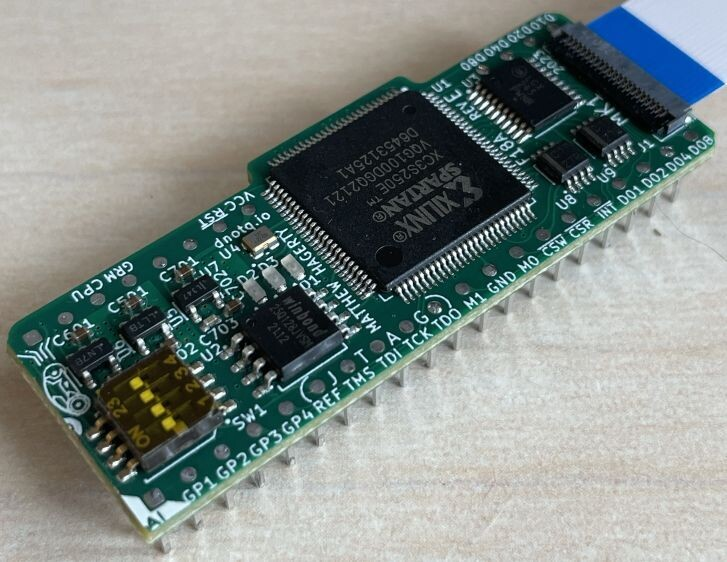
- MK2: A new design with a more powerful FPGA, more features, and DVI video output in addition to VGA. This version is not yet available.
Options for obtaining an F18A are somewhat limited. The design files are not (currently) open source, but the creator has given some individuals permission to manufacture and sell the boards.
The "Original" board is occasionally available from Hans Hübner. You need to get on the waitlist at https://forms.gle/uChzNmYyAbmZ9cbw6, and Hans will contact you when he has a board available.
MK1 is being sold by arcadeshopper.com when stock is available.
The MK2 board is not available due to supply chain constraints for the Spartan-6 LX9 FPGA it requires.
Installation
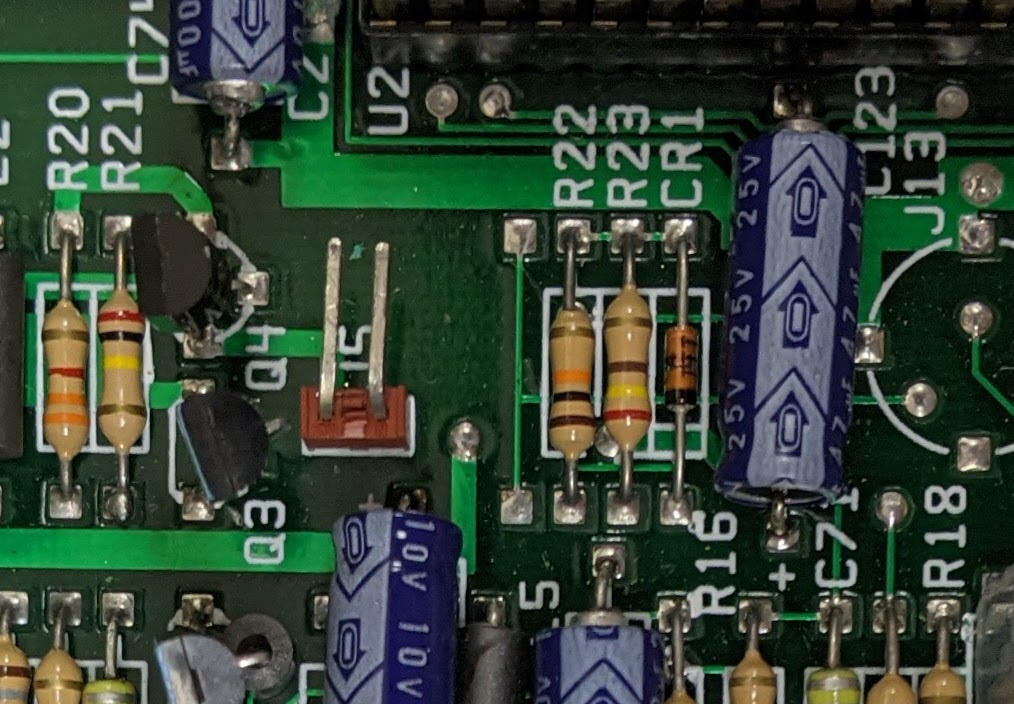
To install the Original F18A board in a NABU, you need to remove the green ground wire attached to header J5. You will also either need to bend the pins over, or install extra sockets on the F18A to make it tall enough to be clear of those pins.
Install the ribbon cable on the Original board with the red stripe (pin 1) towards the back of the case. Refer to this photo for an example: https://files.mastodon.social/media_attachments/files/109/521/835/117/235/593/original/b2246a46abc38912.jpeg
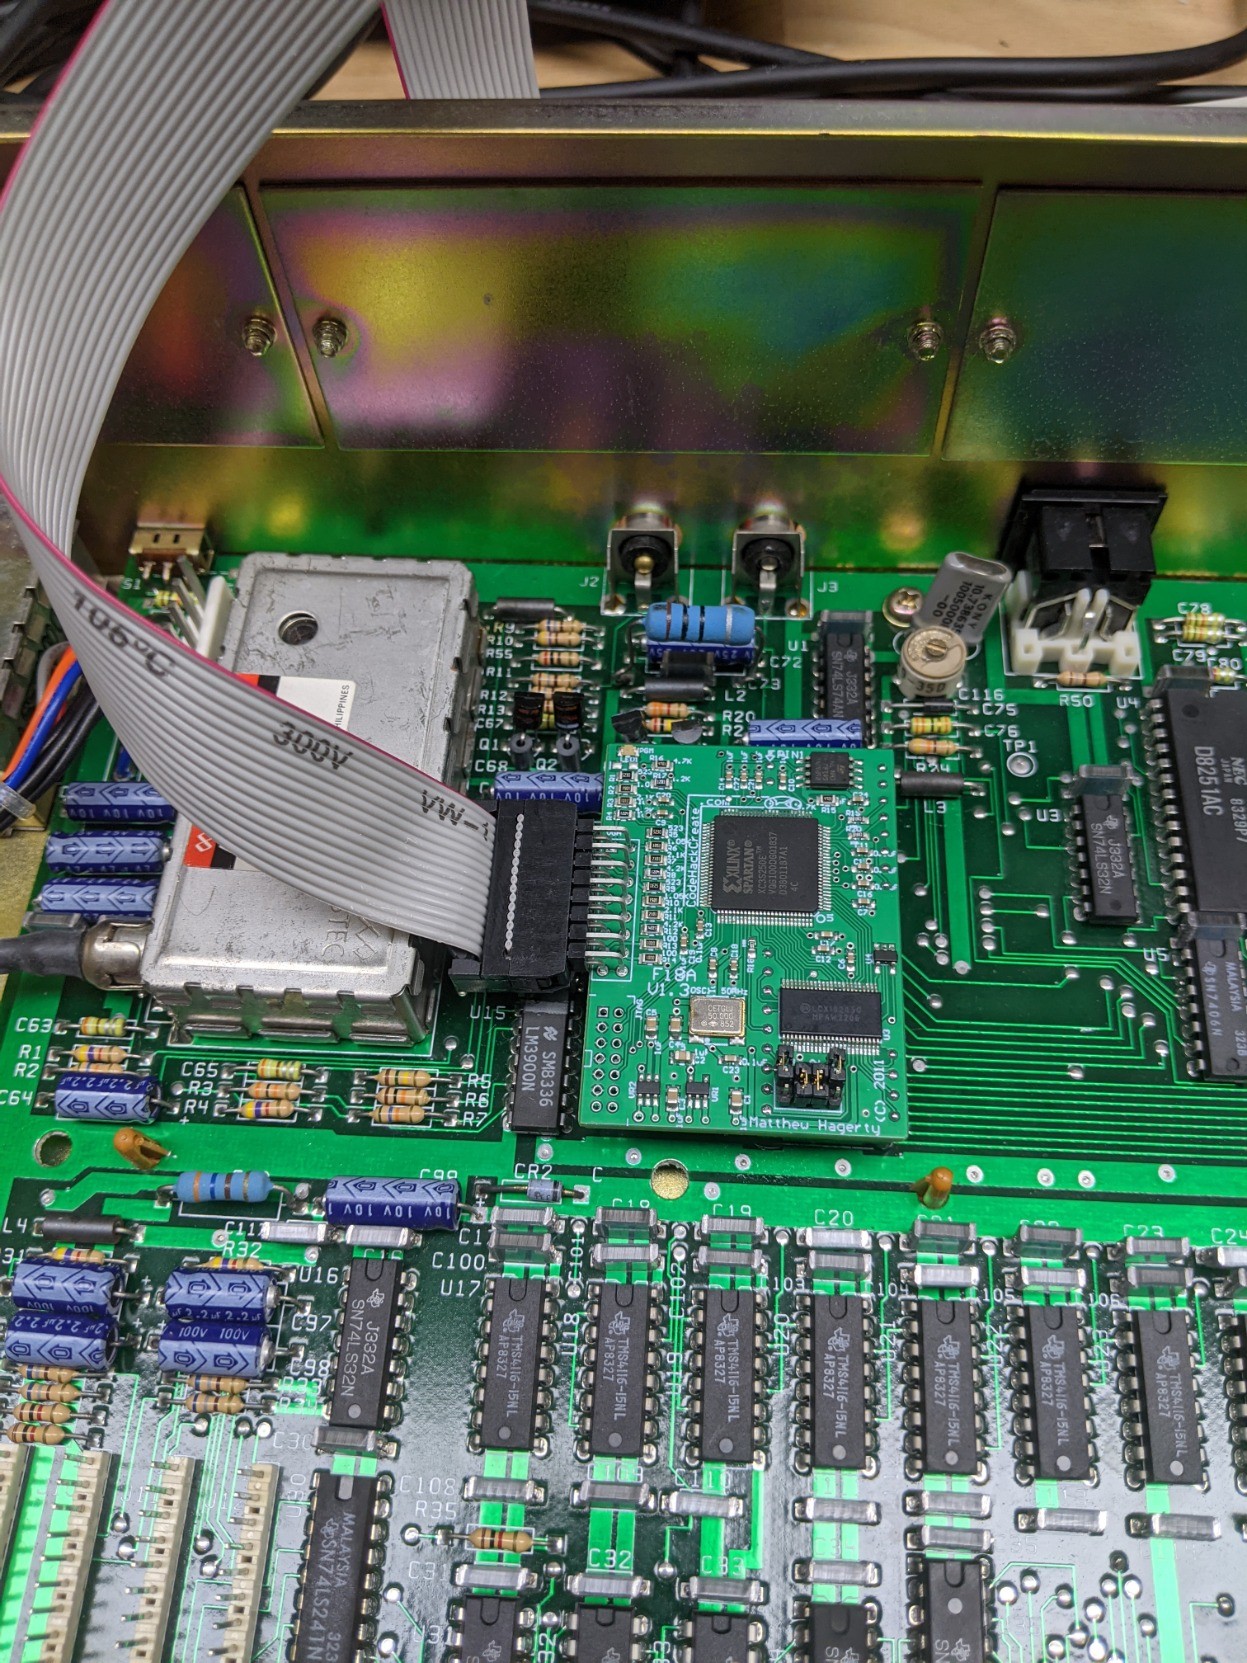
There are four jumpers on the F18A. For NABU compatibility, jumper U4 needs to be off, and U3 on. U2 and U1 set defaults for additional features as seen in the following table from https://dnotq.io/f18a/pinout.html:
| Jumper | Description | On | Off |
|---|---|---|---|
| 1 | Sprite max default | 32 | 4 |
| 2 | Scan lines | No | Yes |
| 3 | CPUCLK pin | P38 | P37 |
| 4 | CPUCLK en | HI-Z | CPUCLK |
References
- Designer Matthew Hagerty's F18A site
- Hans' Sample code to use 80-column mode