Data warehouse setup - lucaboesch/moodle-report_datawarehouse GitHub Wiki
Setup of the Data warehouse part using an Oracle Academy Cloud Program service
Given that you are in possession of a Oracle cloud account–in this example here, a Oracle Academy Cloud Program–access, log in to your account.
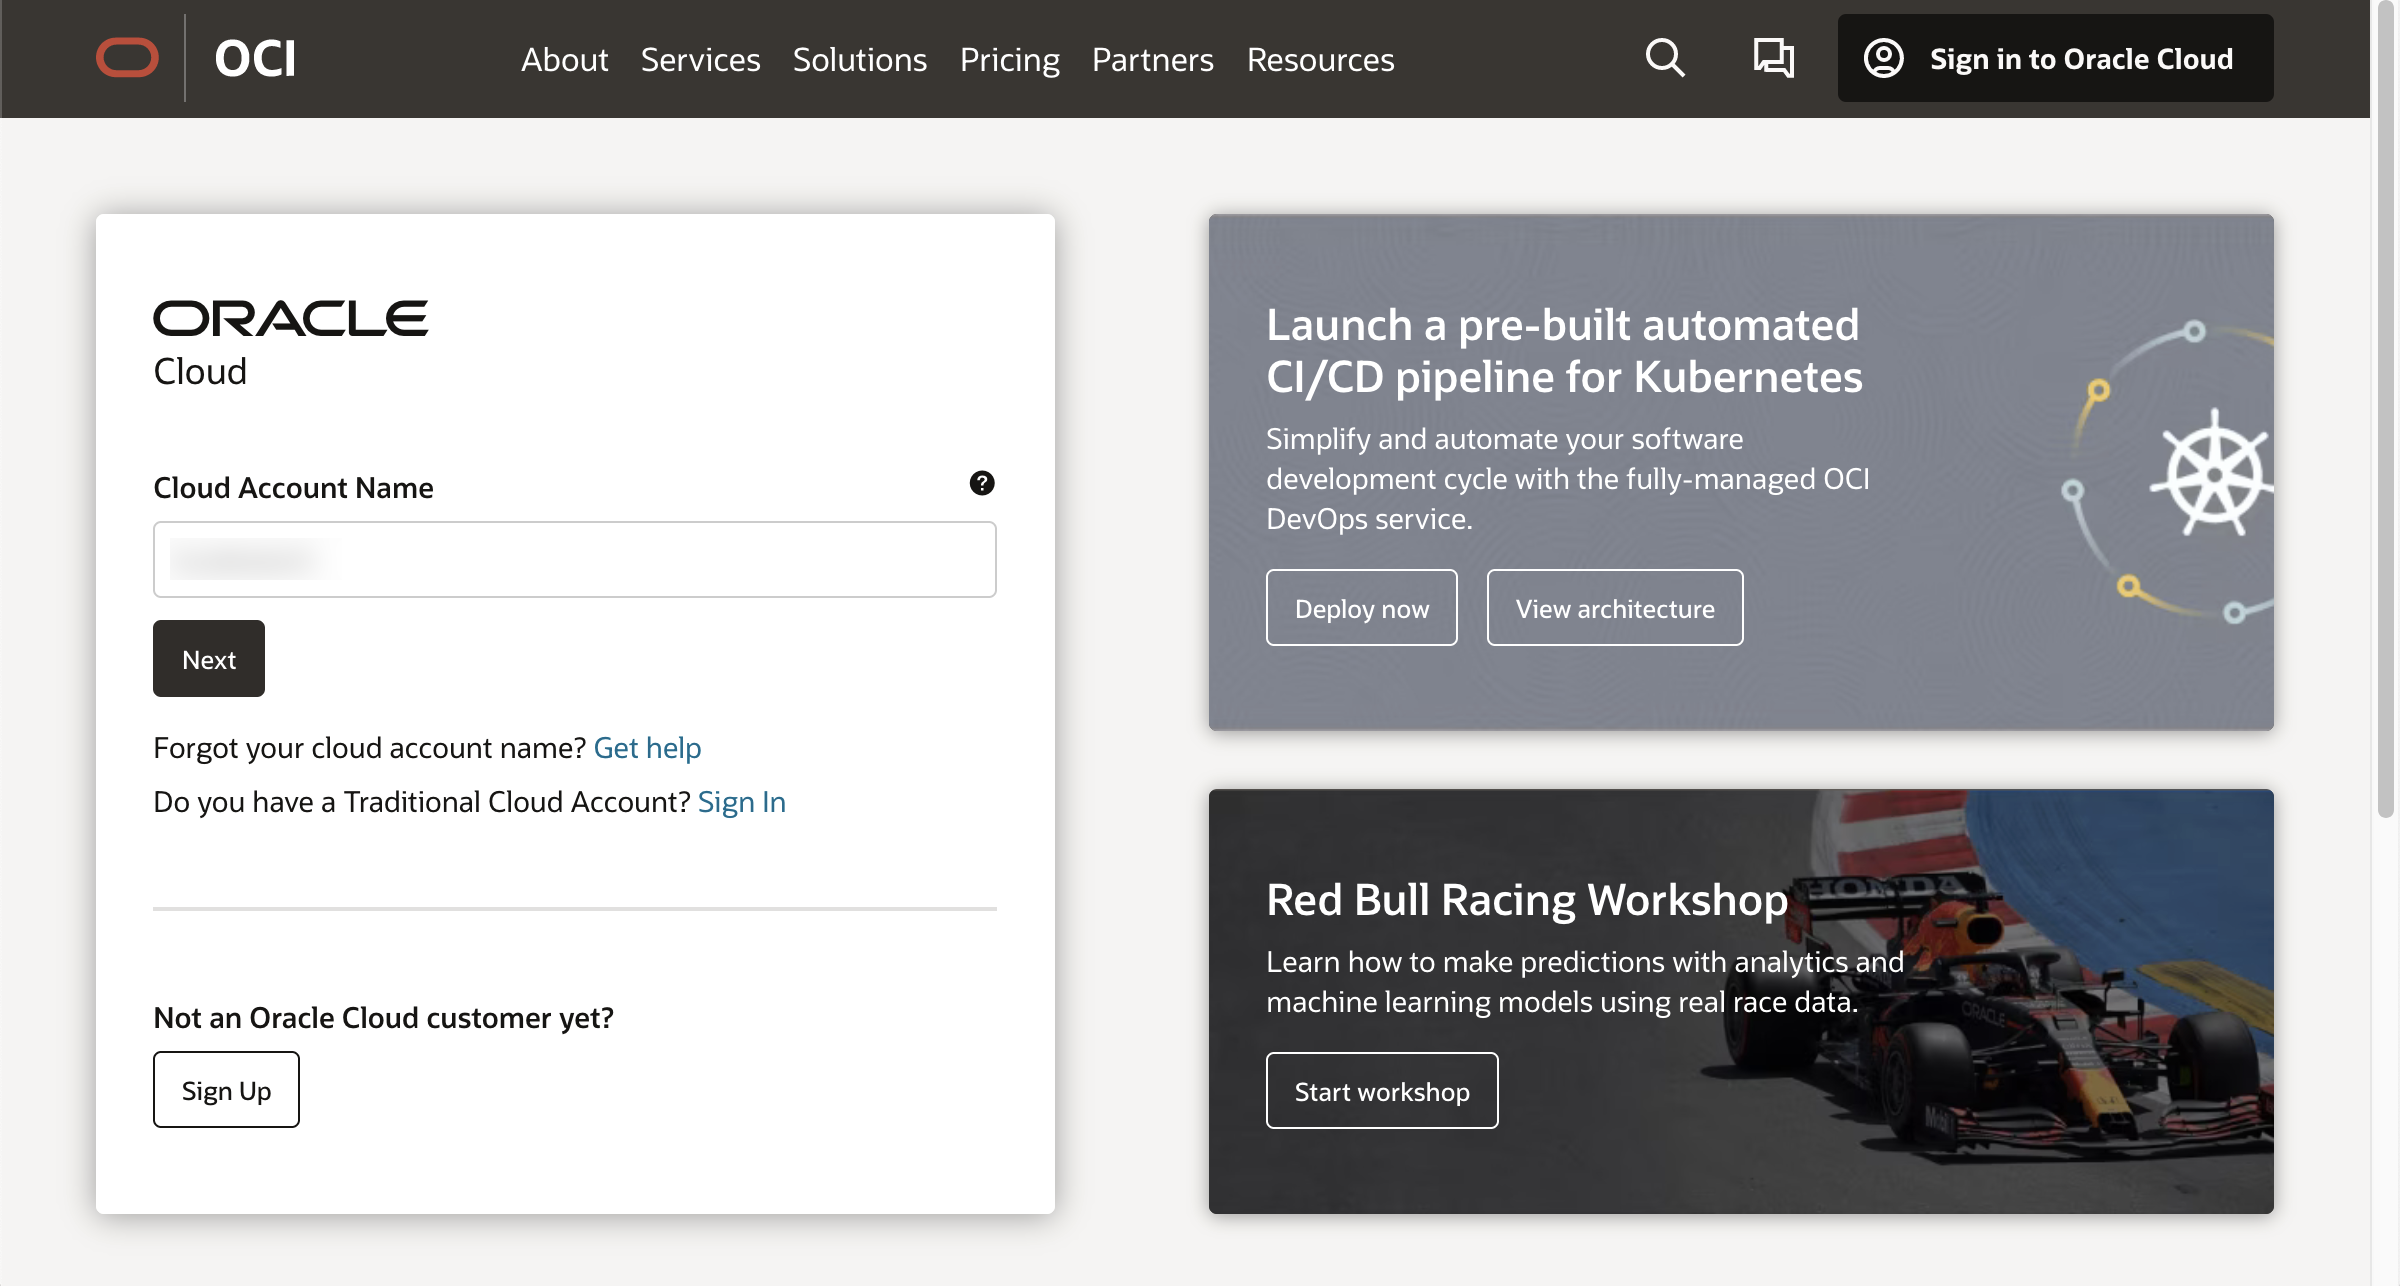
Autonomous Data Warehouse
Using the left hand side navigation "Databases" entry, go to "Autonomous Data Warehouse".
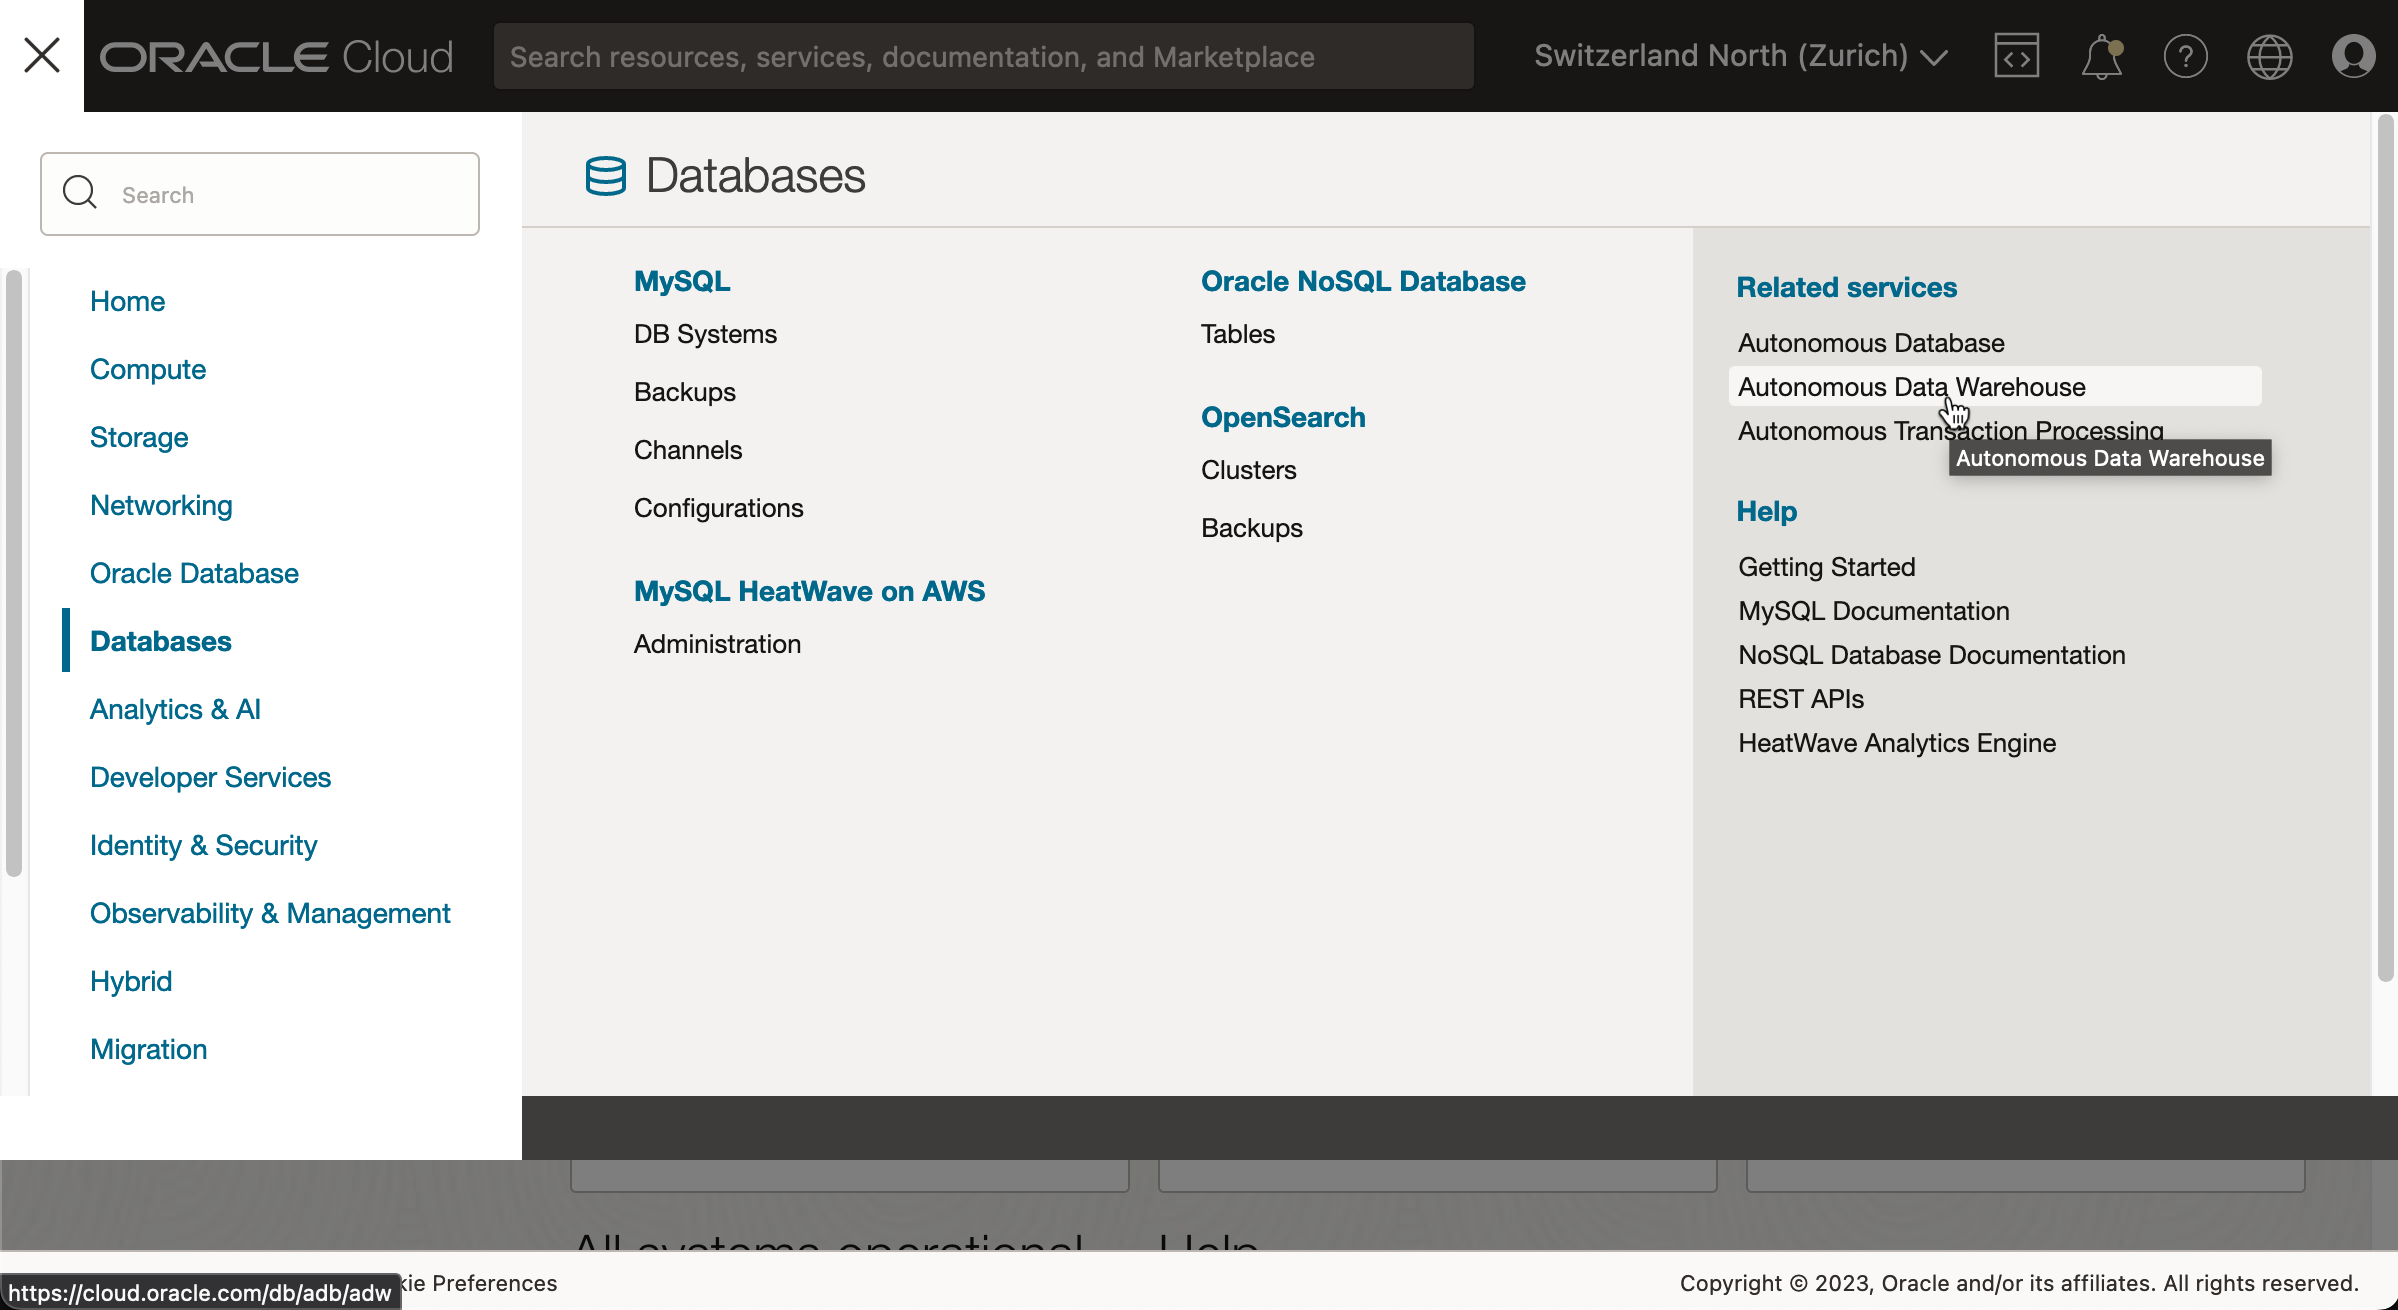
Click the "Create Autonomous Database" button (don't be confused if, even though you've chosen the 'Autonomous Data Warehouse' button, the title reads 'Autonomous Database.' The two terms seem to be often used interchangeably).
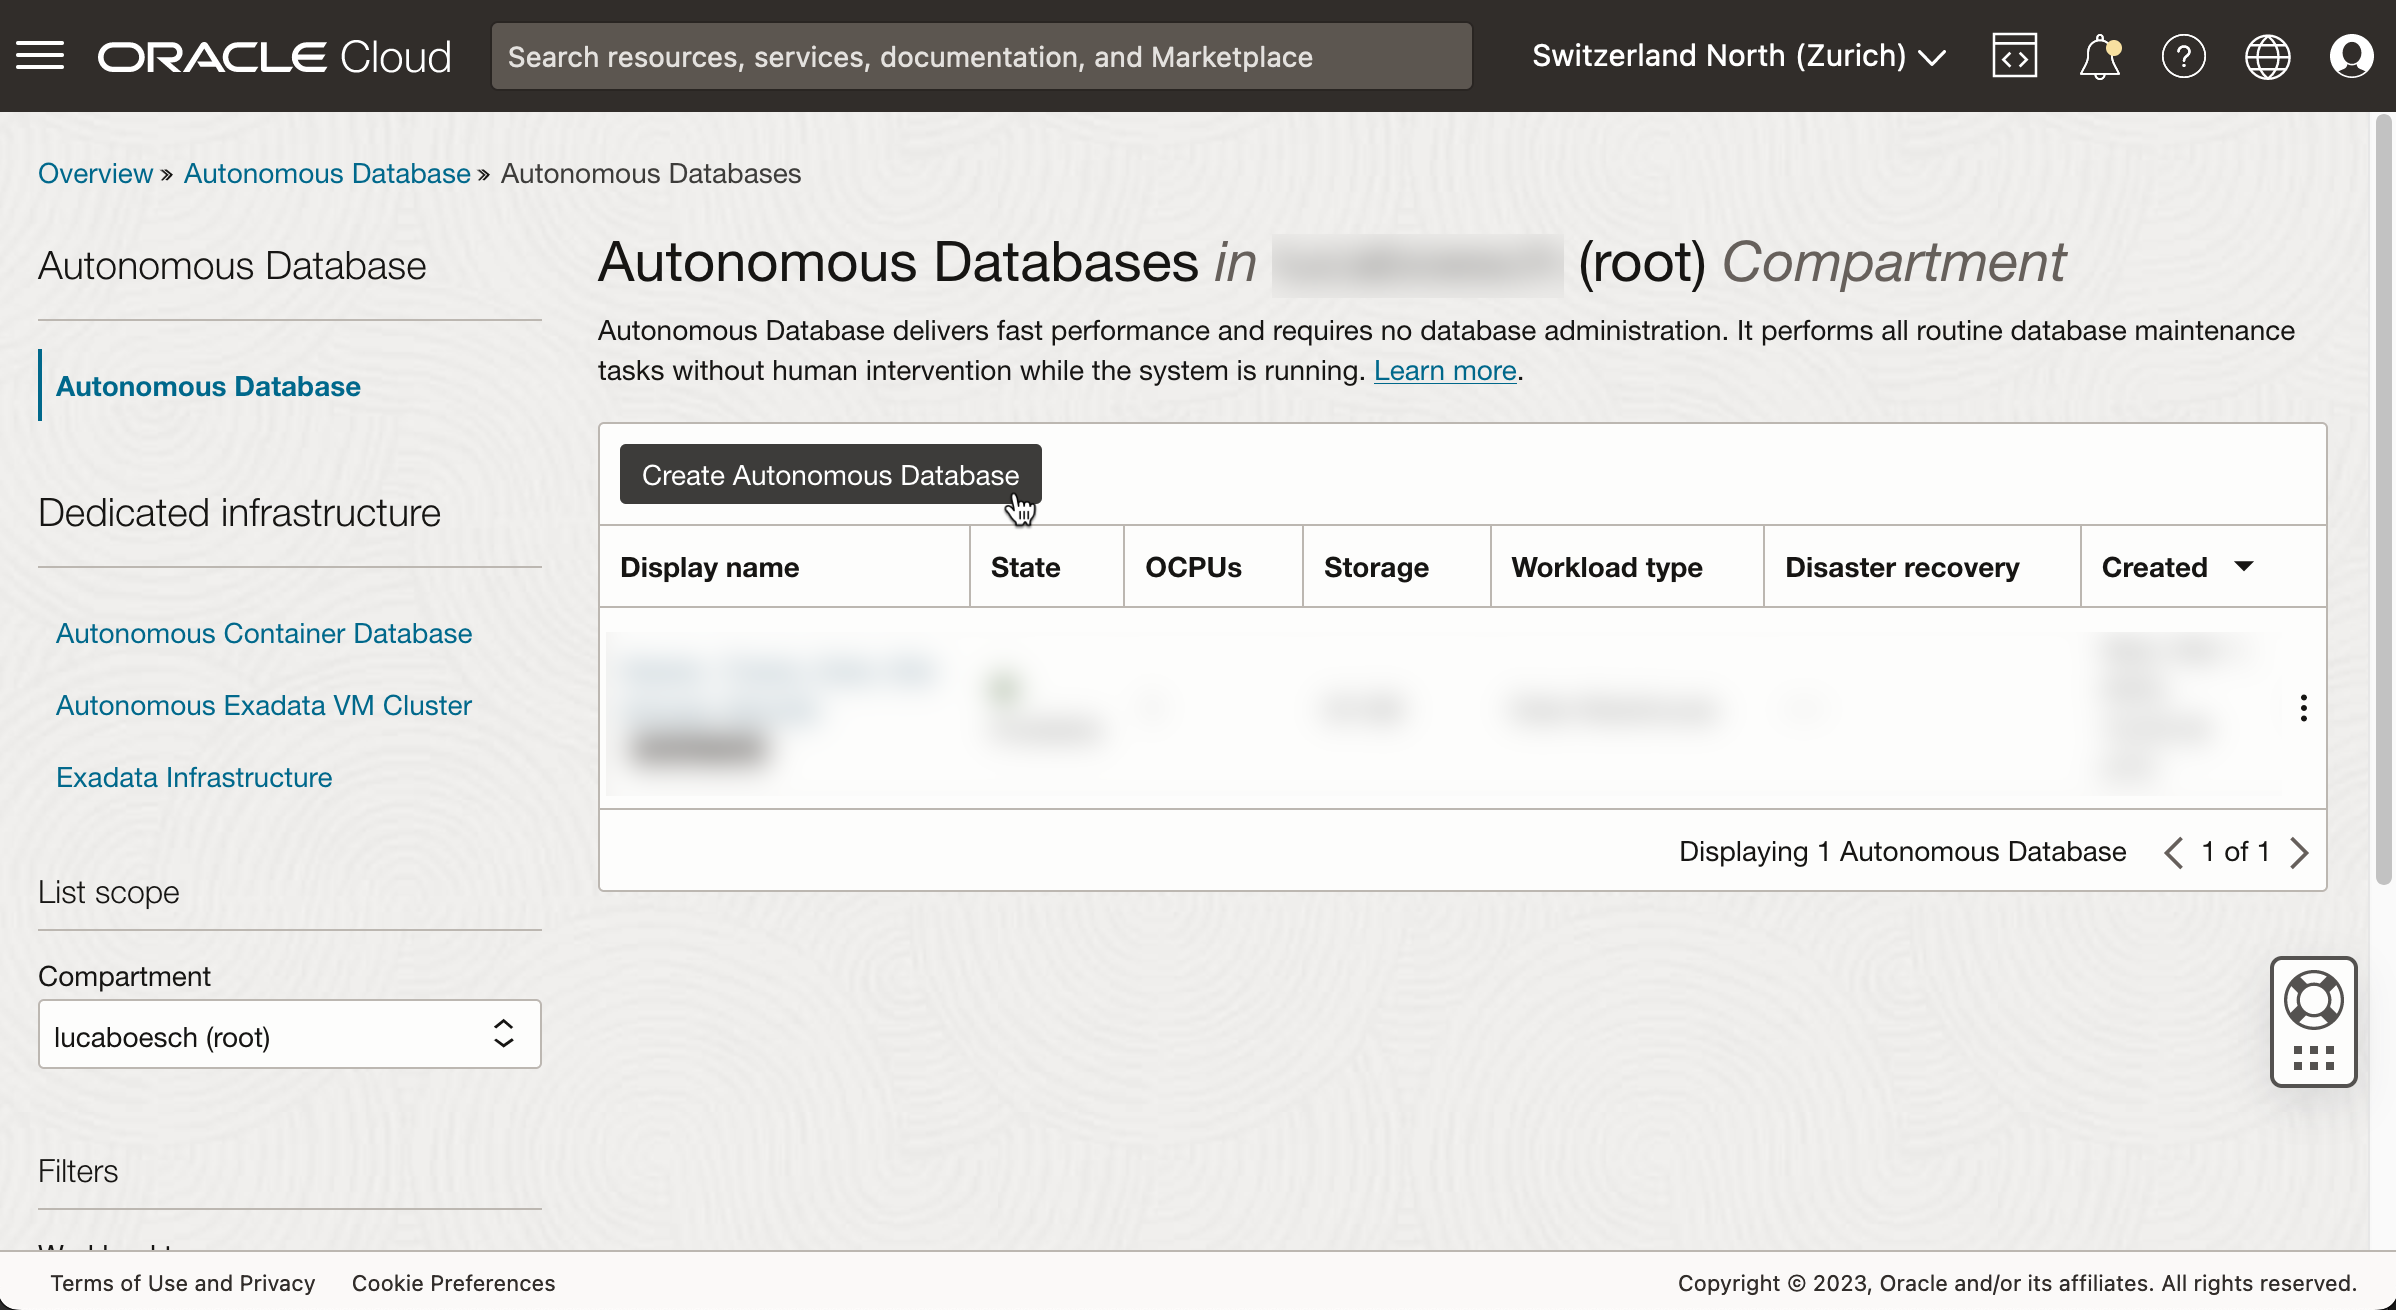
In the following page, choose a "Display name" as well as a "Database name" and create credentials for the "ADMIN" user. Under "License", choose "License included", and add a "Contact email" address and leave all other settings untouched.
Then, wait until the state changes from "PROVISIONING" to "AVAILABLE". You also will be notified by mail.
After this, click the "Database actions" button and authenticate with the created credentials for user "ADMIN".
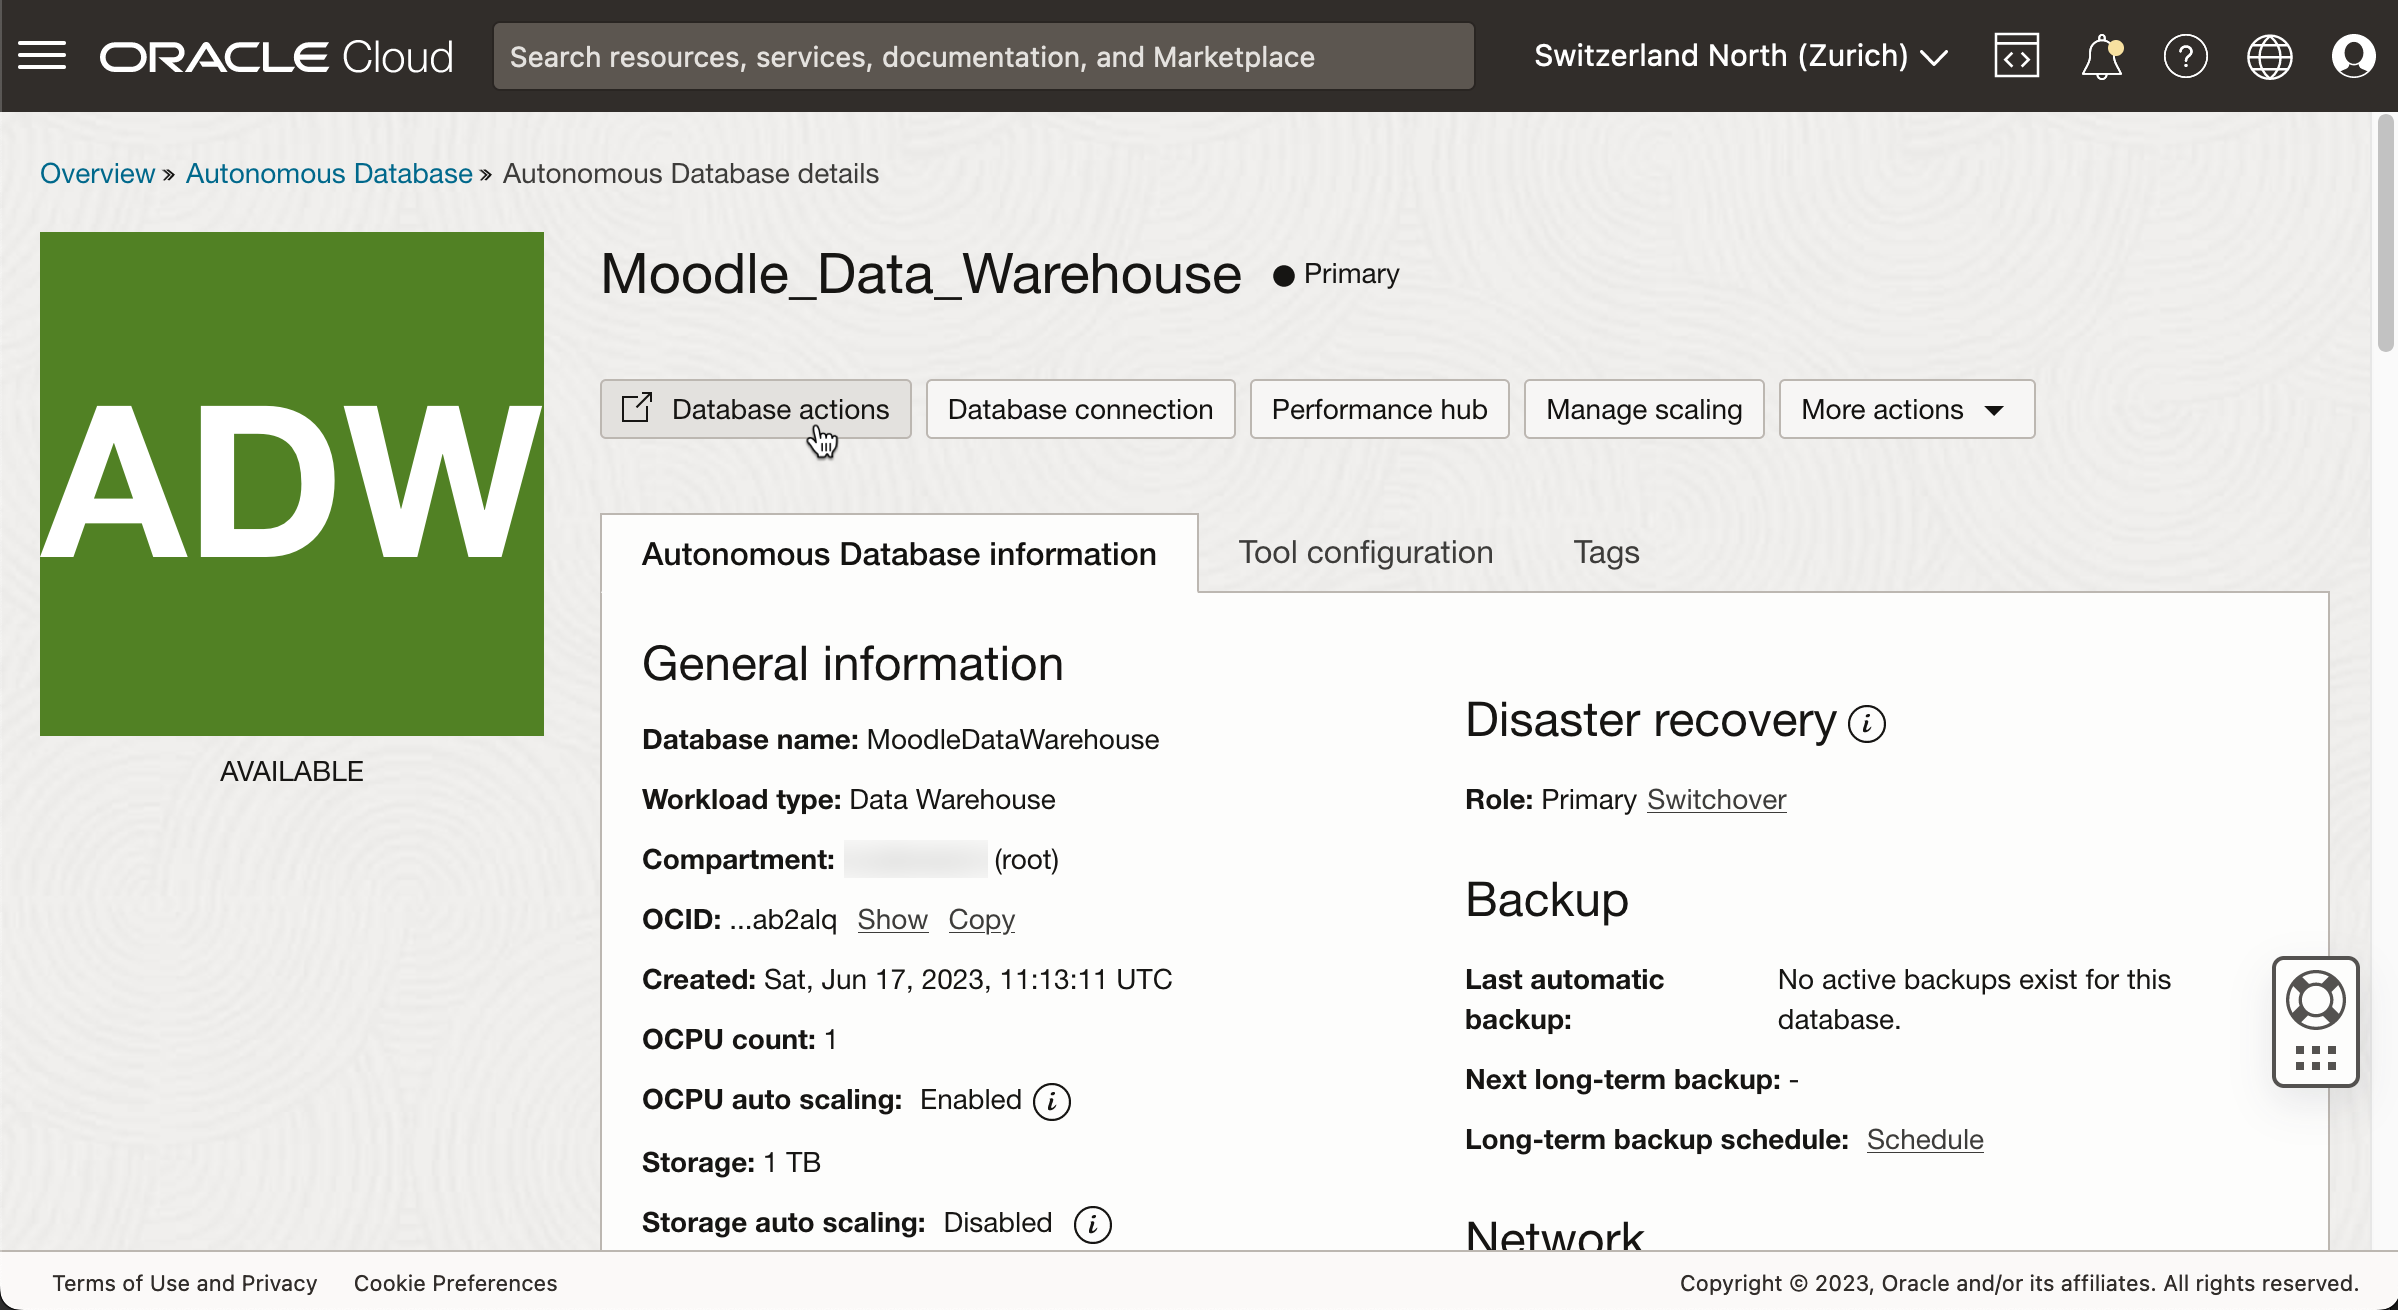
Note that the following steps can also be done by running a query instead of performing manually by running the SQL script create_users_and_schemas.sql (after having edited in the desired passwords). If you have created the users and schemas by script, continue the setup under the title Pre-Authenticated Request URL enabled Object Storage Bucket.
When creating the users manually, scroll down to the "Administration" section, then click the "DATABASE USERS" tile.

Then, using the "Create user" button, create five other users, named "MONITORING", "STAGING", "CLEANSING", "CORE" and "MART" which will then simultaneously also create eponymous schemas.

Set "Graph" and "Web Access" to "On" and "Quota on tablespace DATA" to "UNLIMITED" and set credentials.

The ADMIN user and five additional users with their corresponding schemas are now available for use.
One additional thing is missing for successful transfer of query result data: the object storage bucket.
Pre-Authenticated Request URL enabled Object Storage Bucket
Using the left hand side navigation "Storage" entry, go to "Buckets" under "Object Storage & Archive Storage".
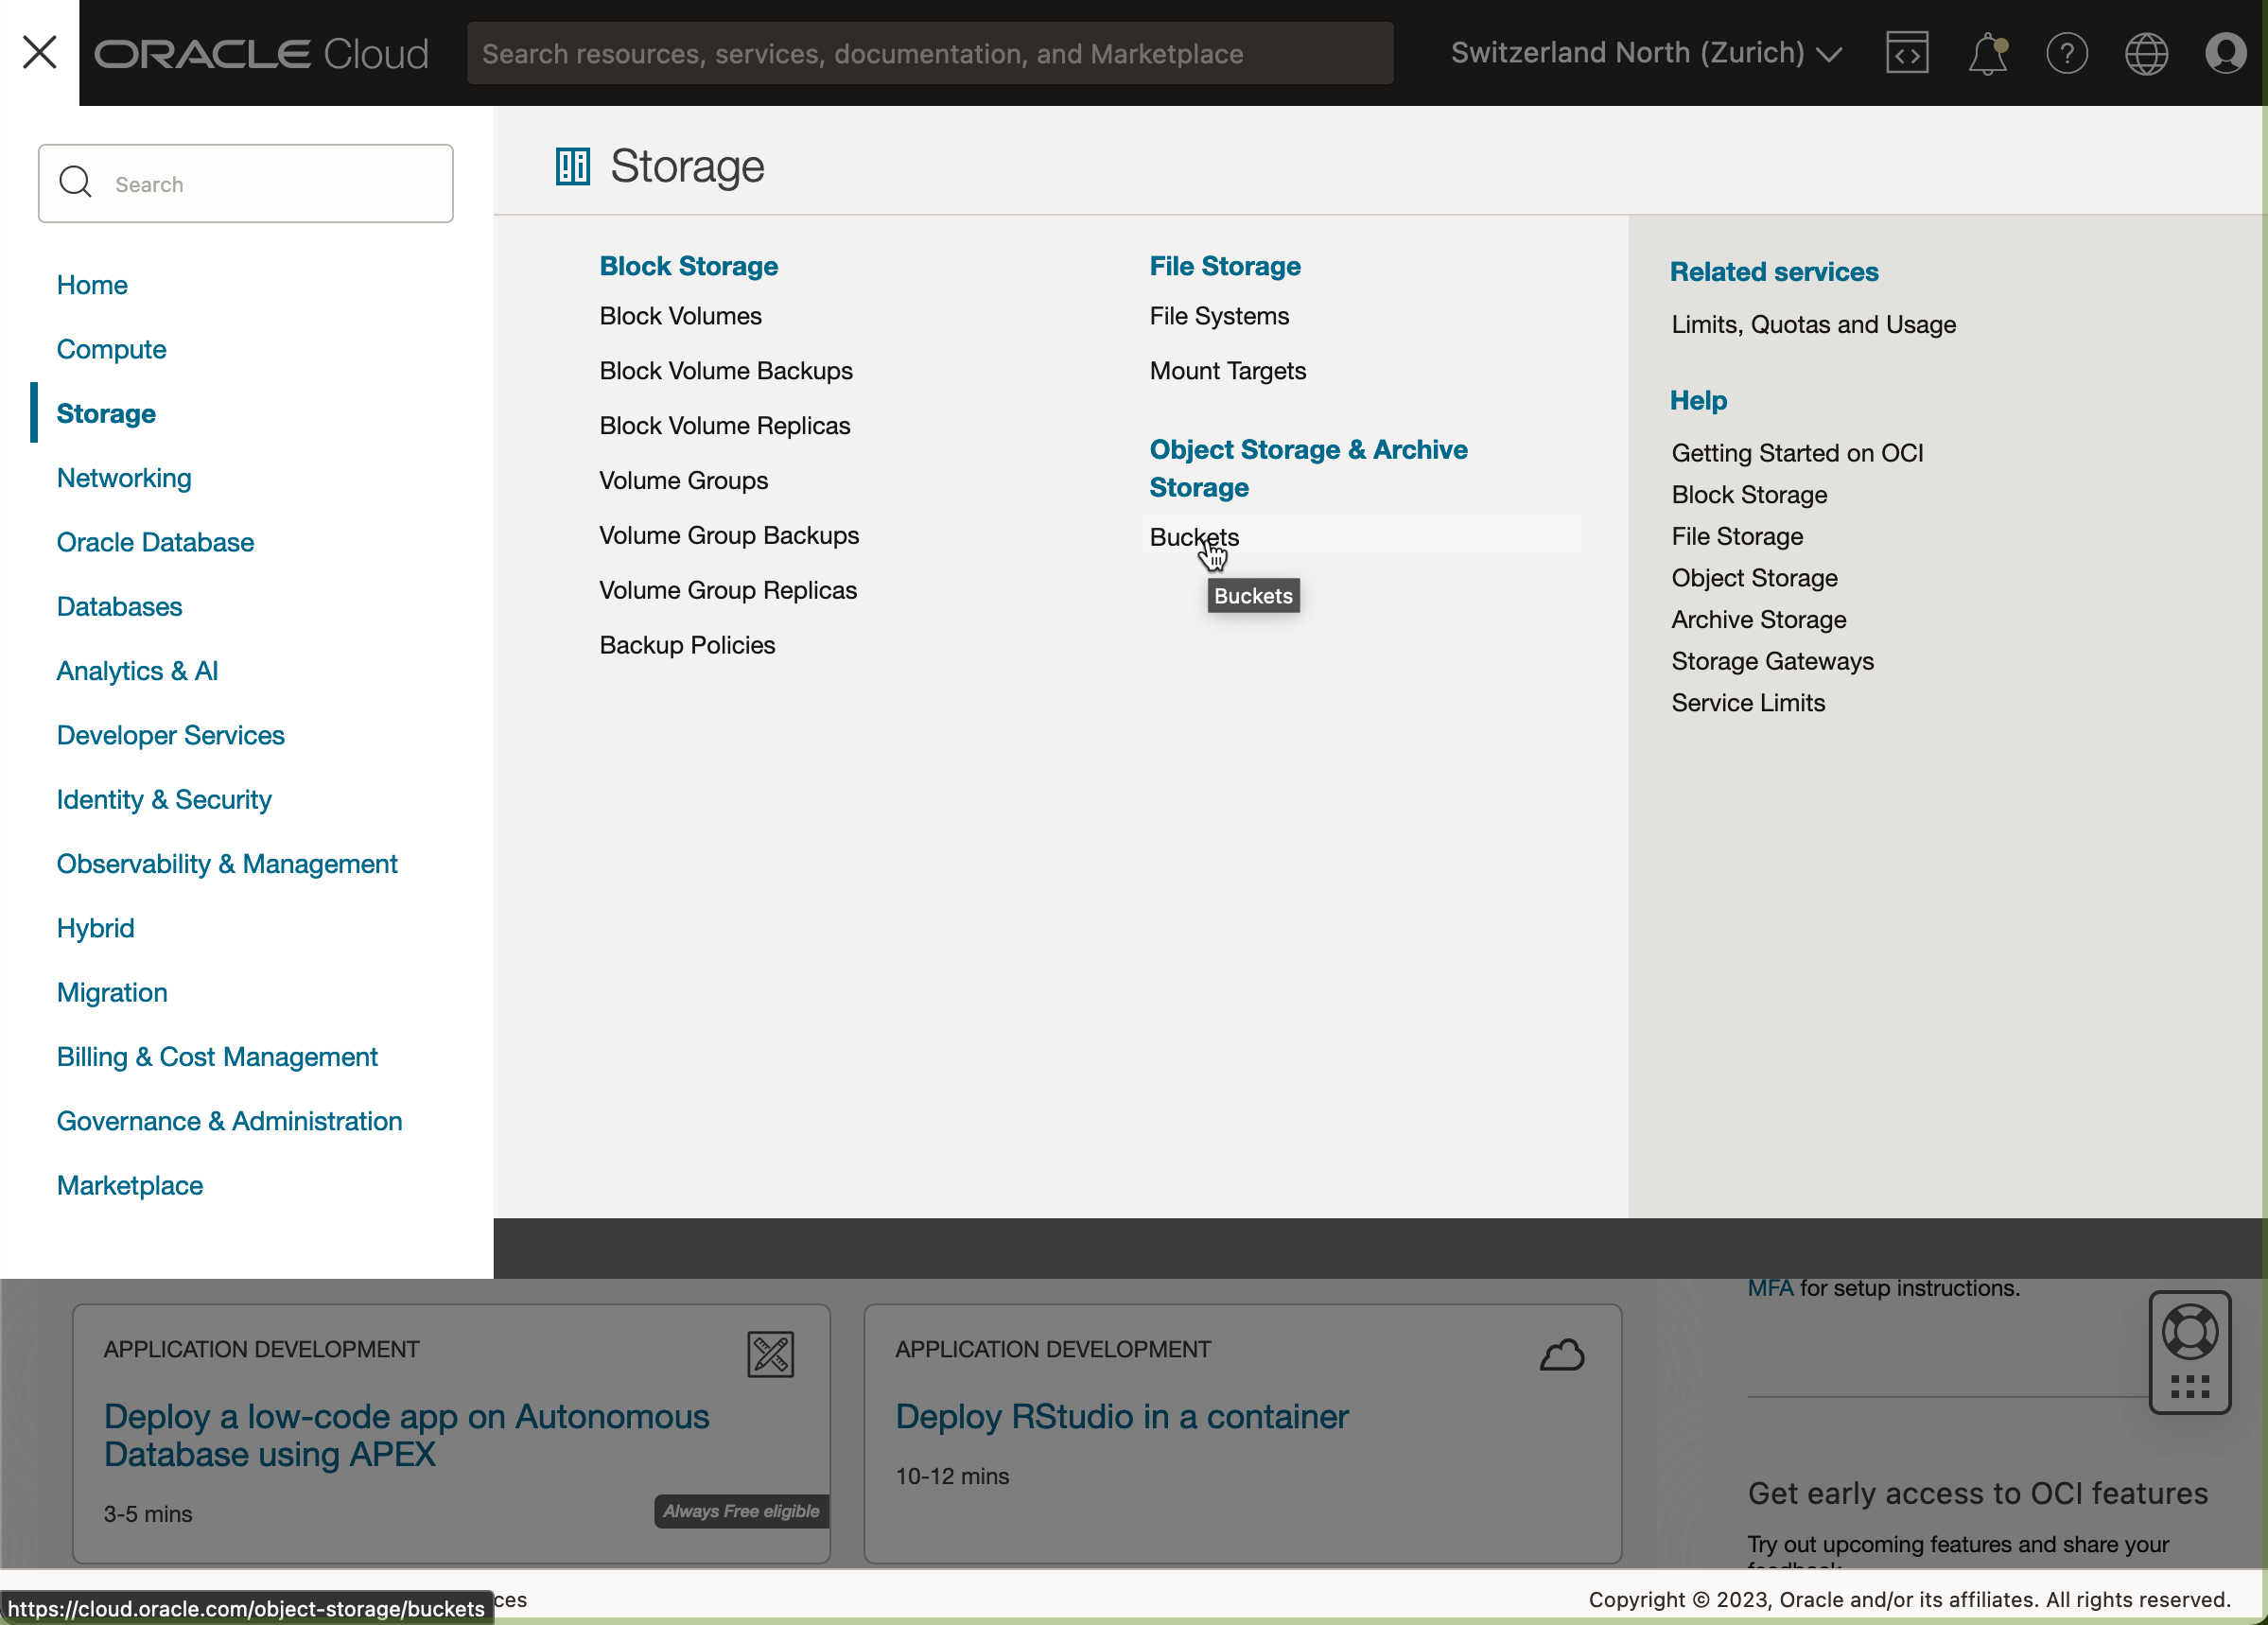
Click the "Create Bucket" button.
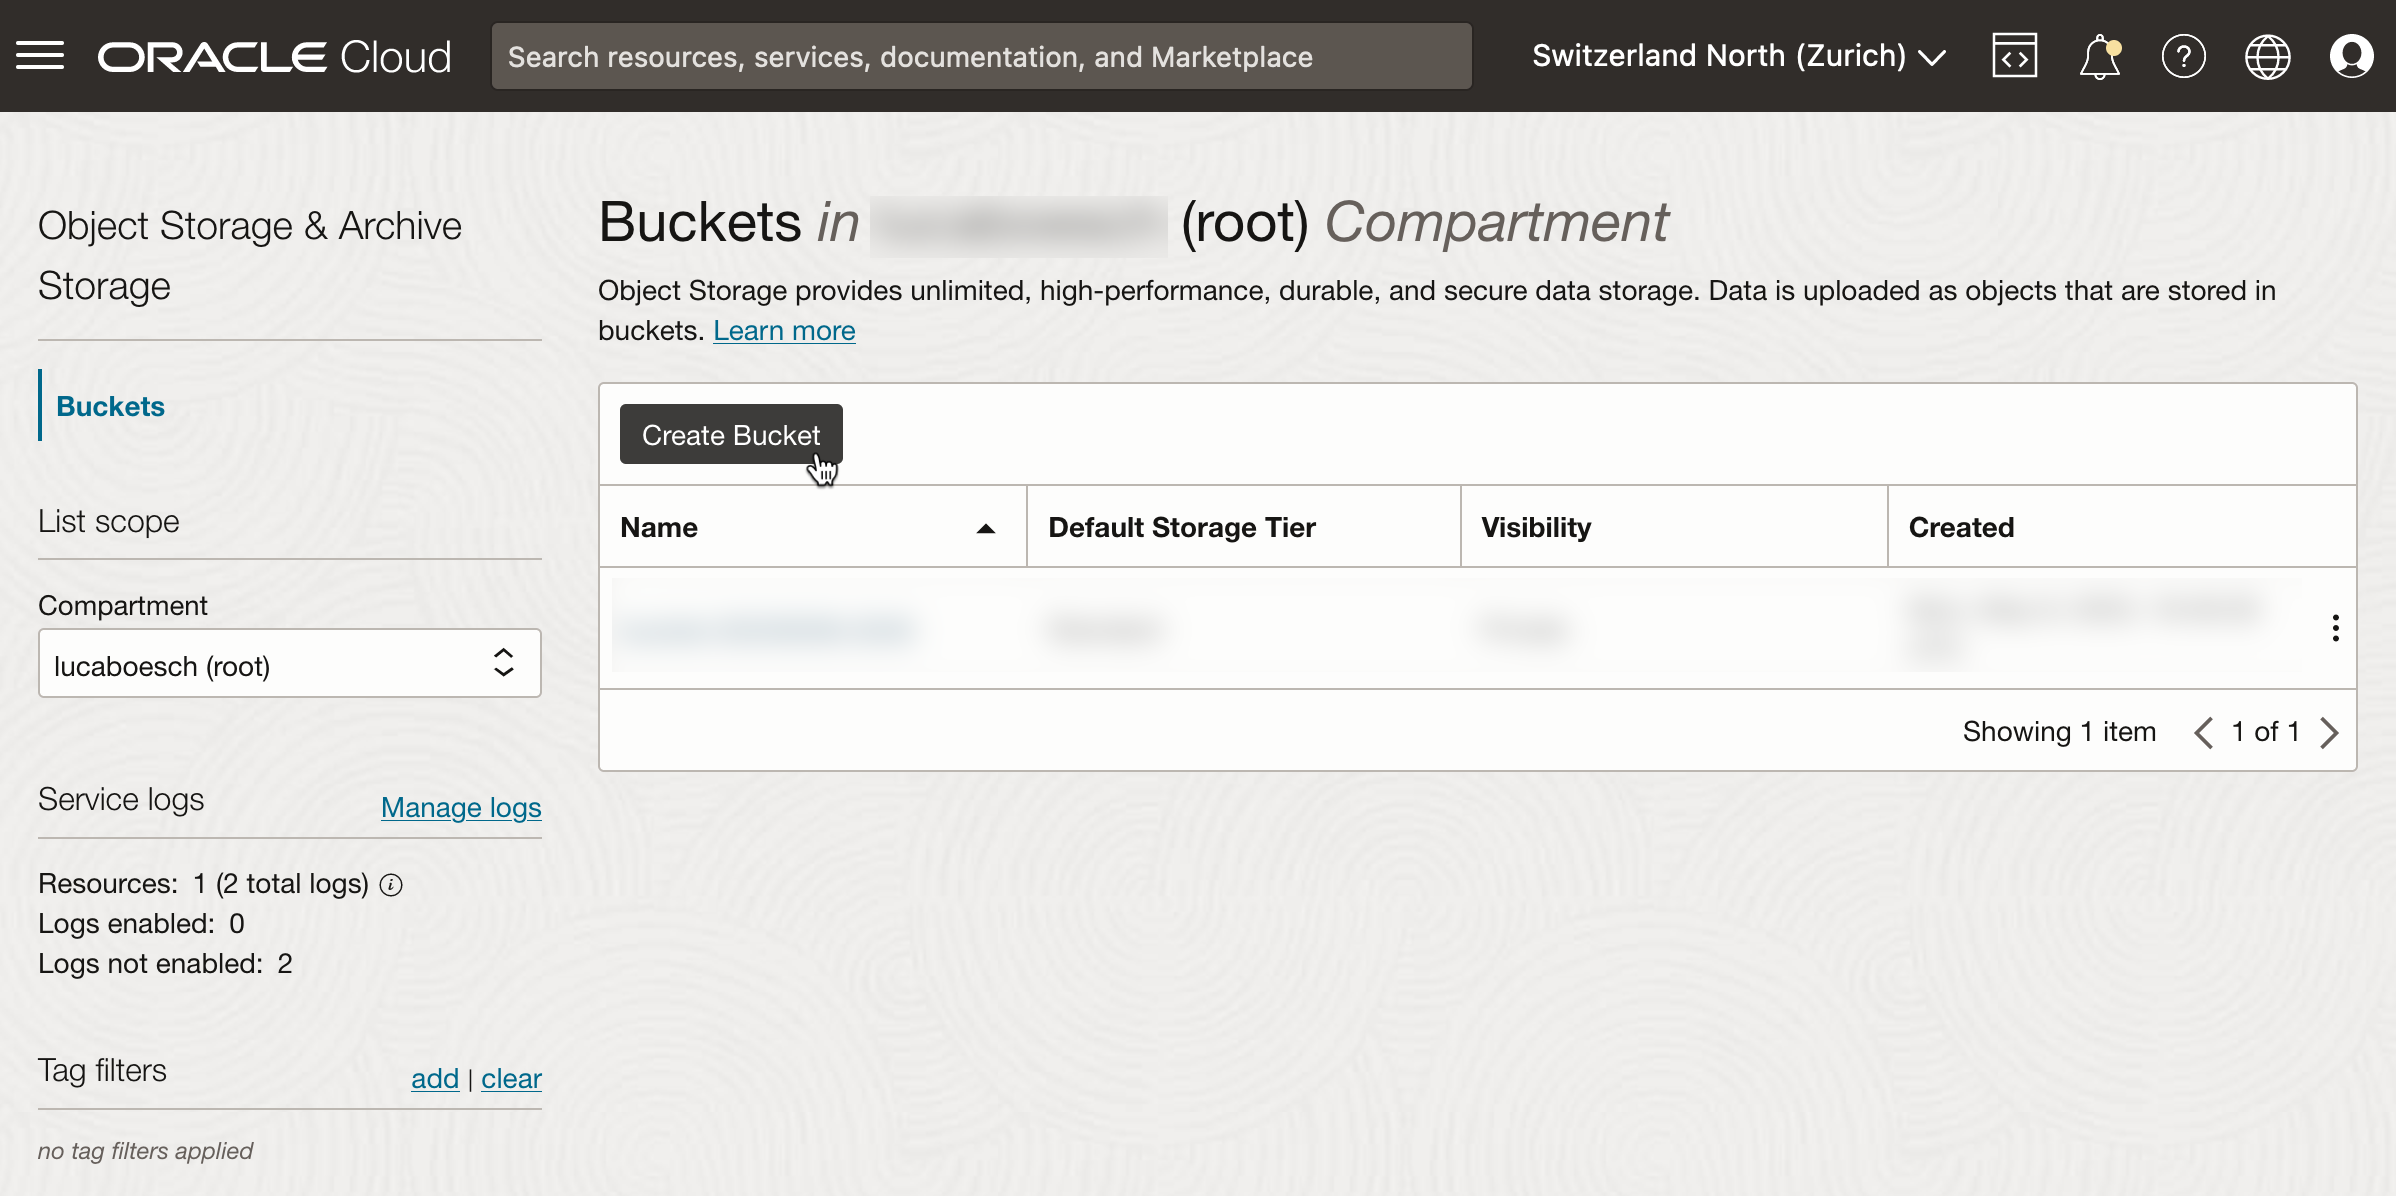
Confirm the creation of the bucket, which will be named bucket-yyyymmdd-hhss (e.g. bucket-20230617-2232) containing the parameters of the current time, without making any changes to the overlay presented.
Make sure in the properties of the bucket, activate "Emit Object Events".
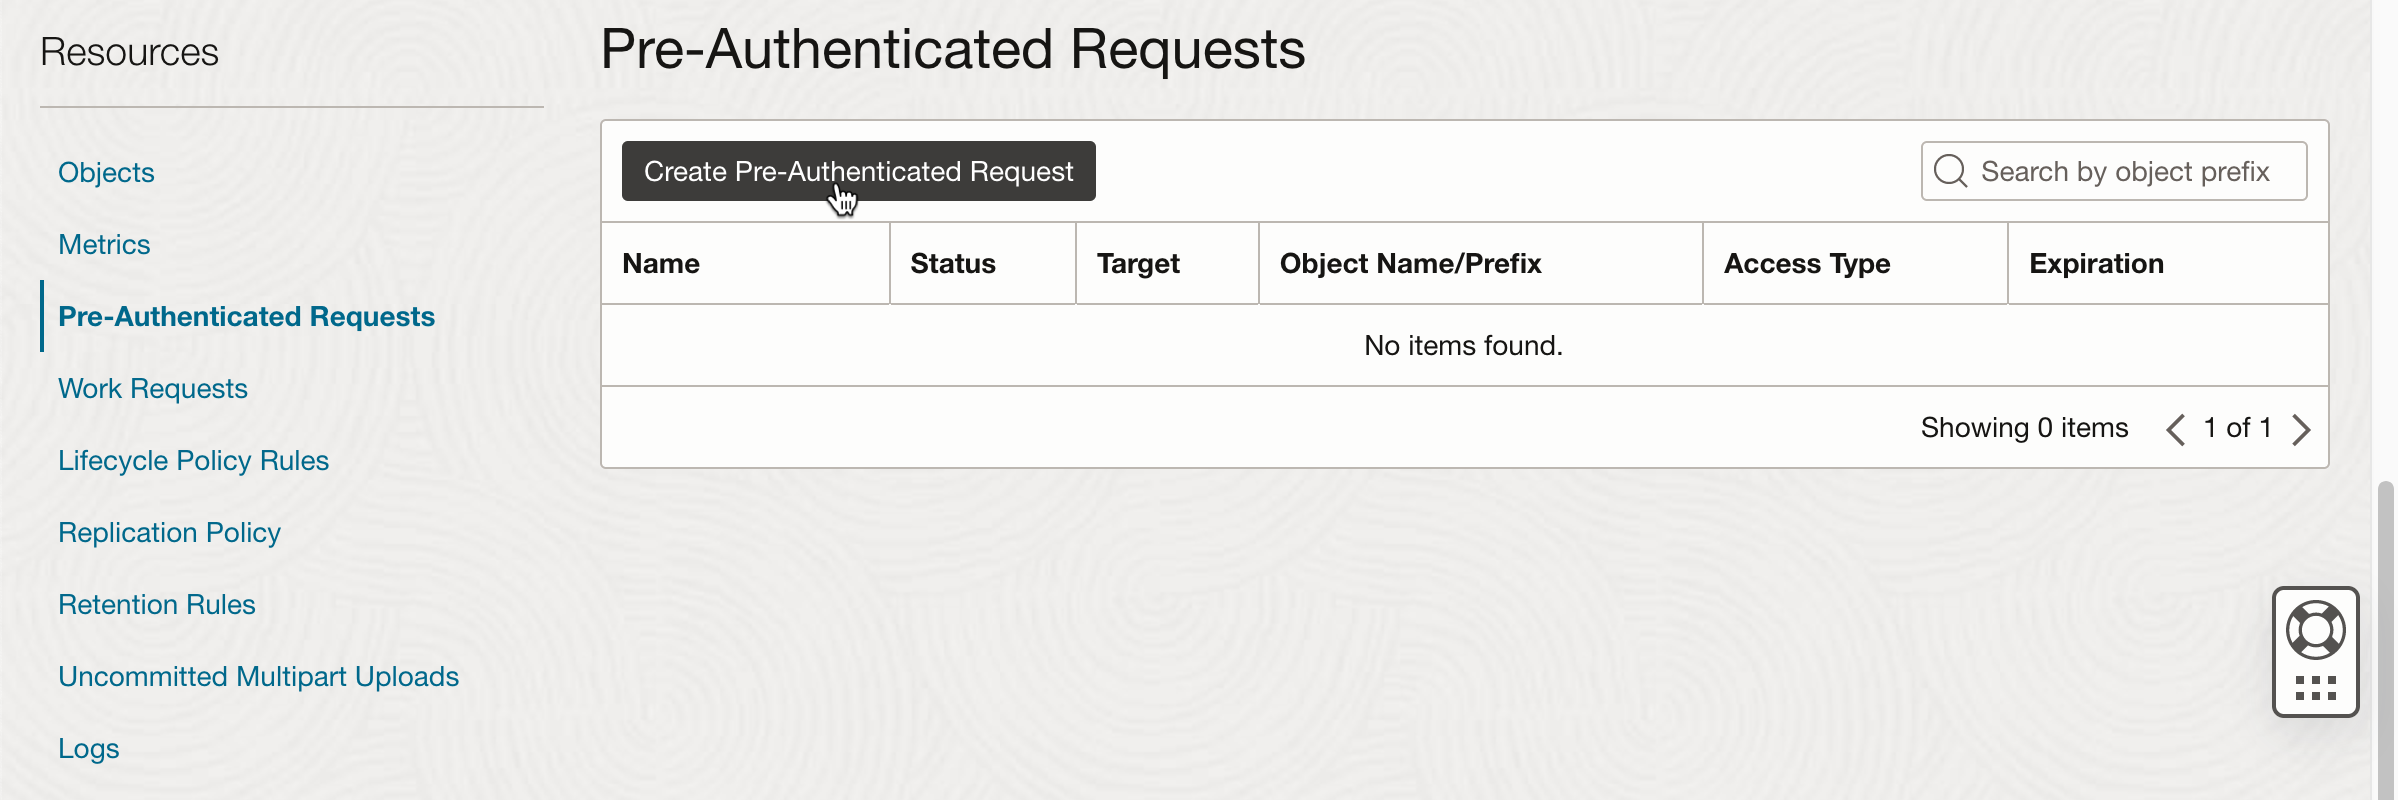
Then, to allow the desired data exchange, there is the need to activate Pre-Authenticated Requests. So, do click the according navigation link.
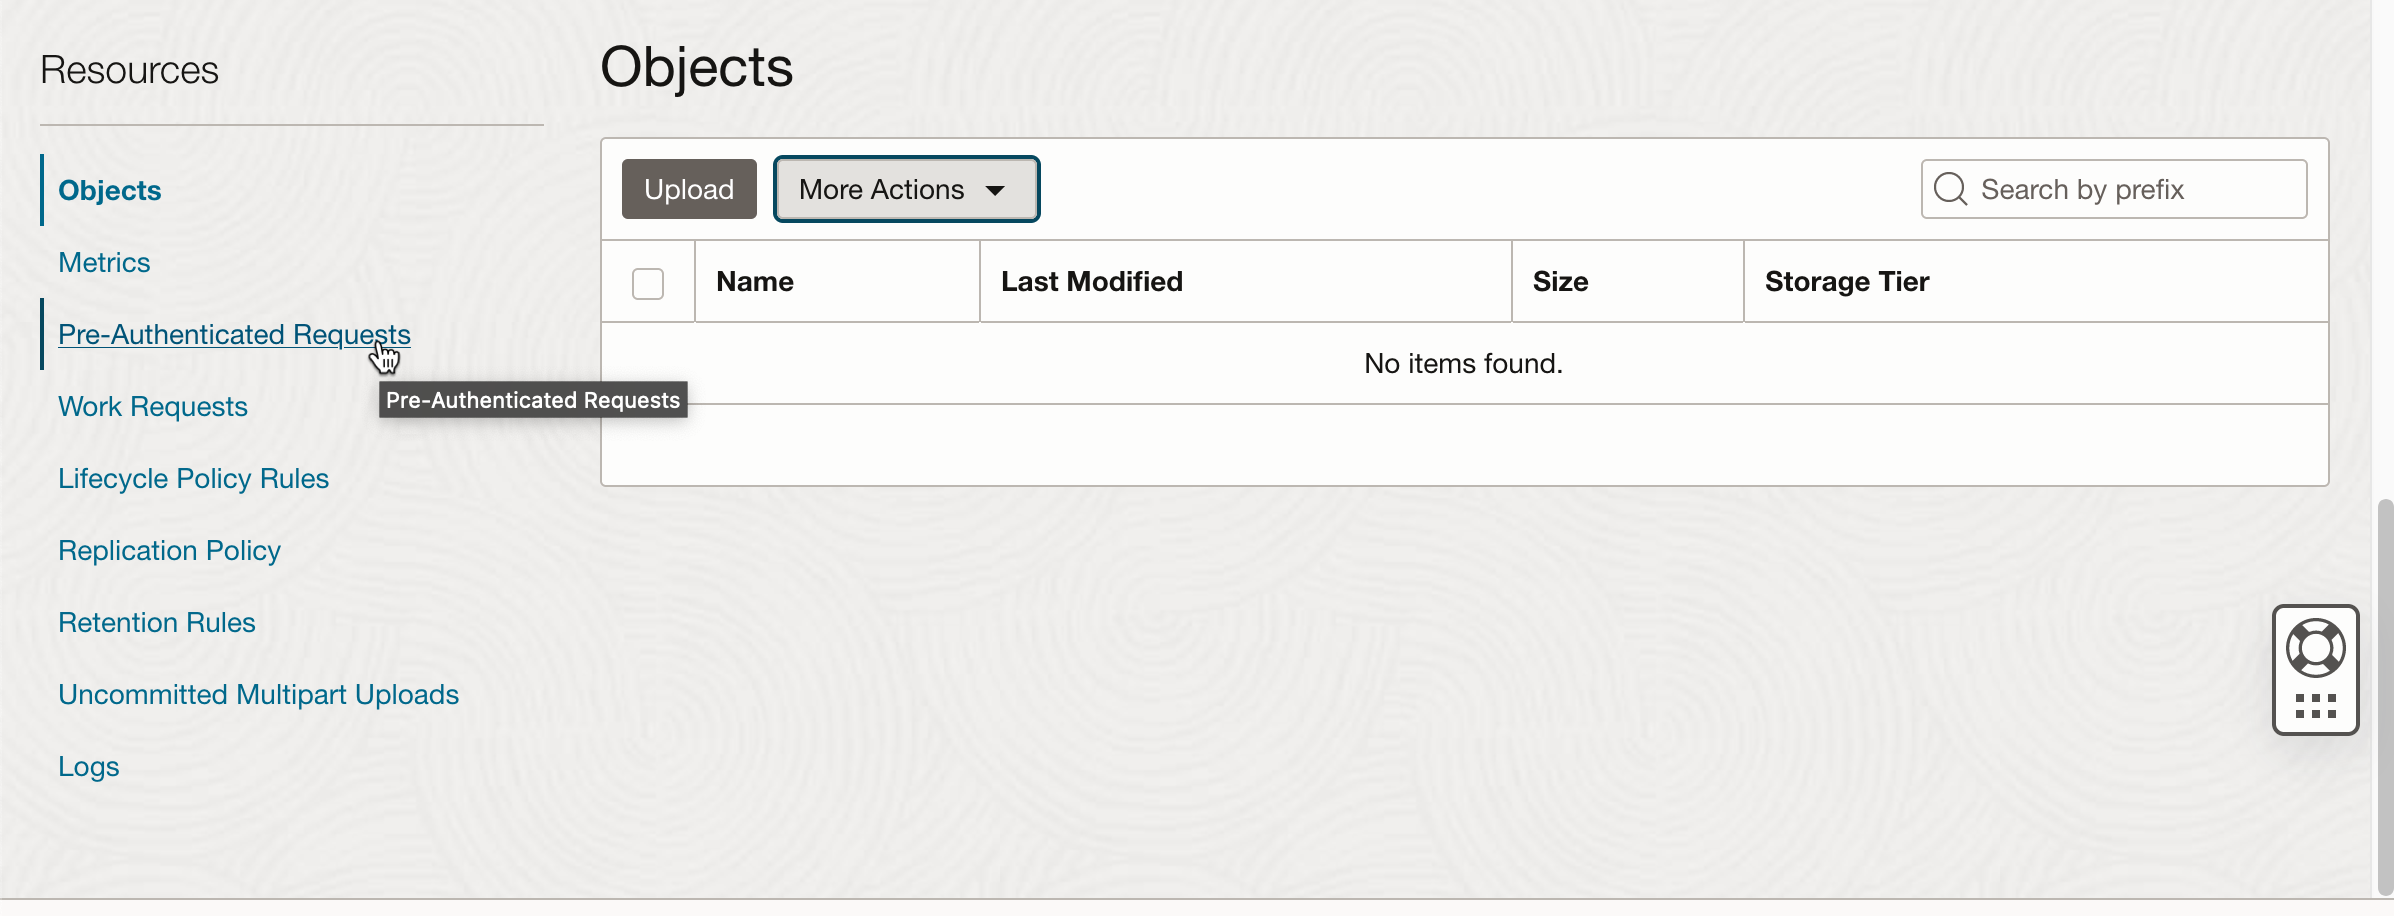
And then click the "Create Pre-Authenticated Request" button.
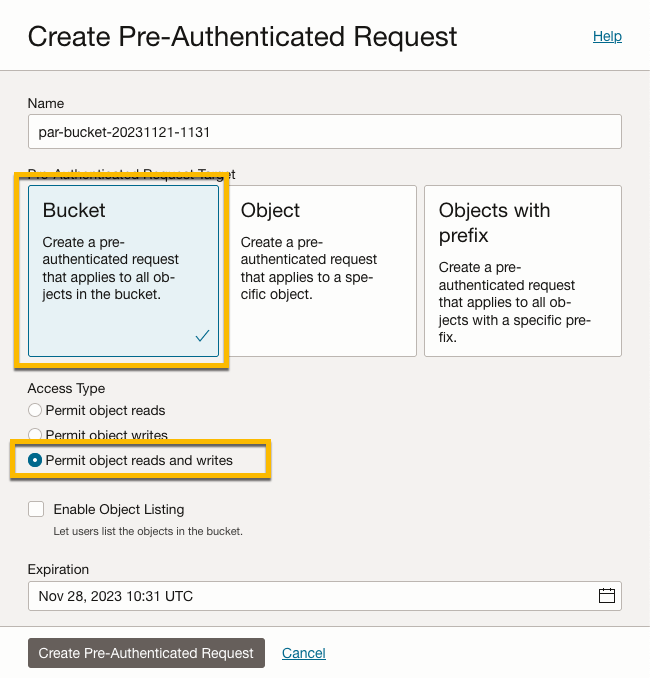
In the overlay, leave the settings as is, and set "Access Type" to "Permit objects reads and writes", and set "Expiration" to a date until data upload is required.
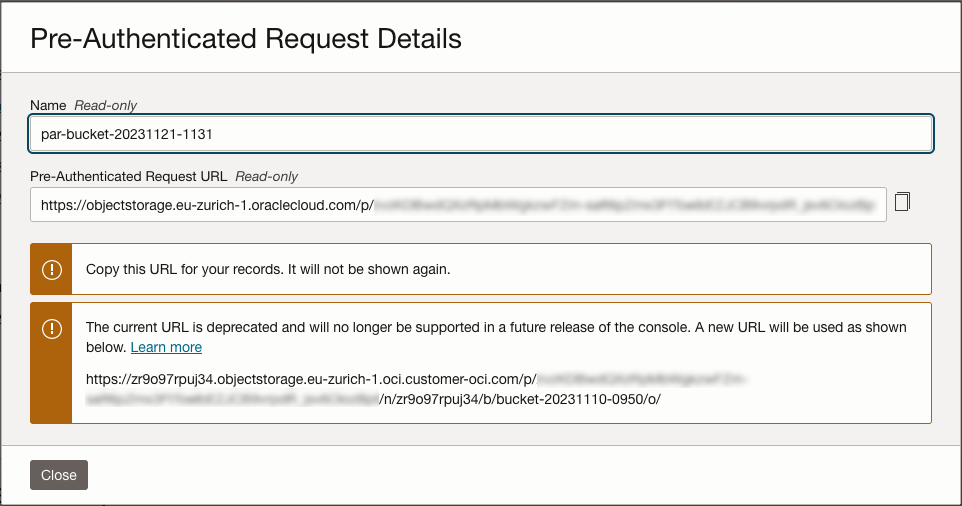
The resulting Pre-Authenticated Request URL is shown, and has to be copied.
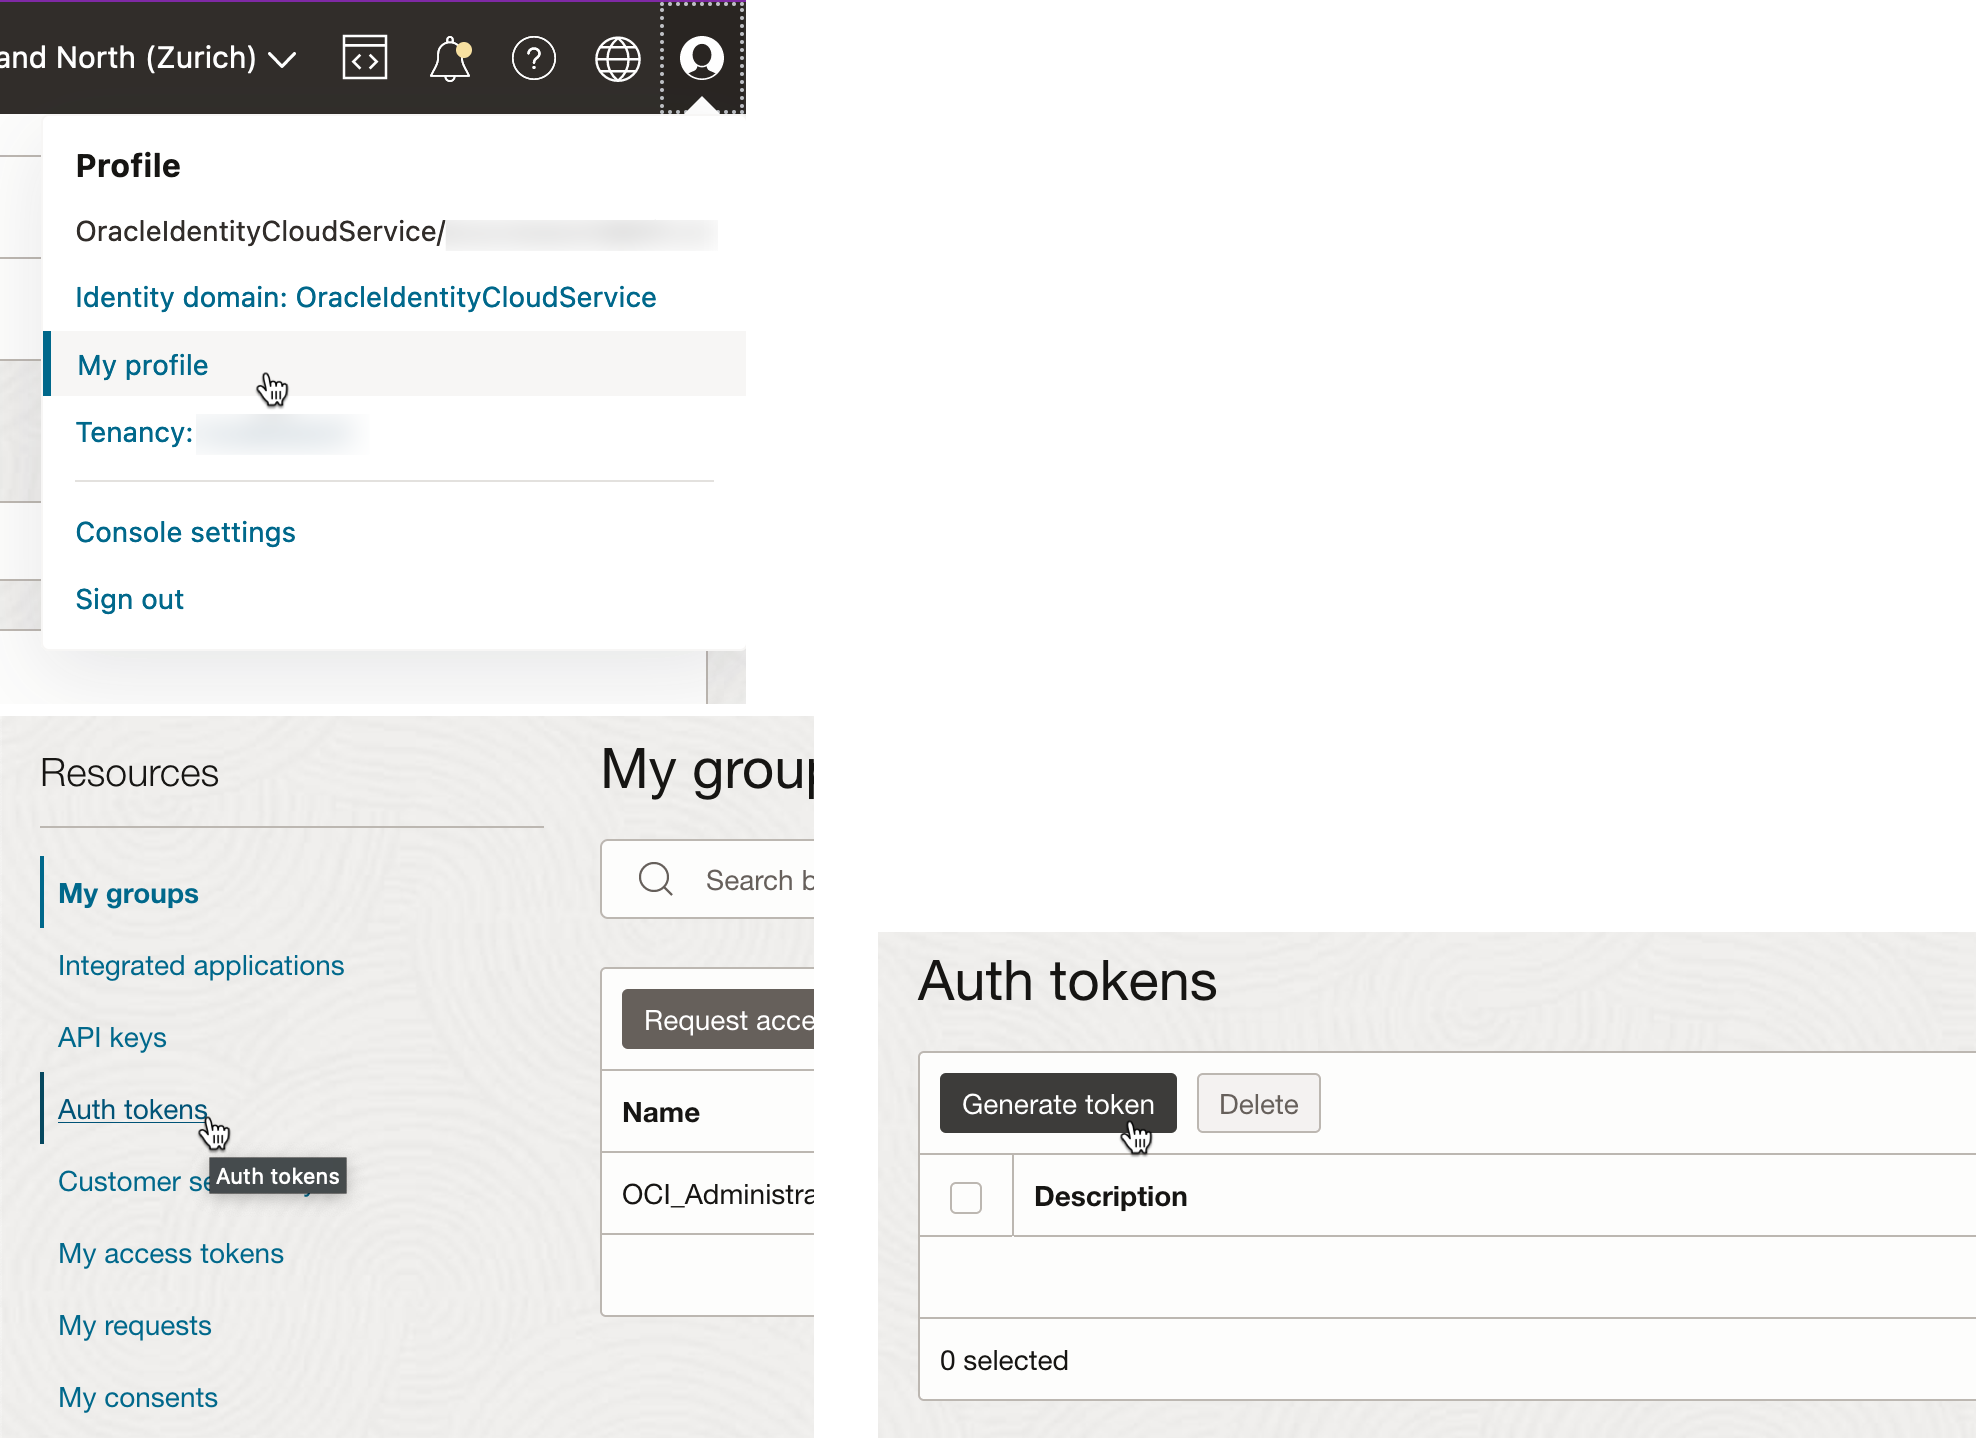
For later read access by the provided scripts, an Object Store Auth Token has to be created, as explained in https://www.oracle.com/webfolder/technetwork/tutorials/obe/cloud/adwc/OBE_Loading%20Your%20Data/loading_your_data.html although the menu entry is on a different place than explained in that document.
As Database user STAGING, then run the following procedure.
begin

  DBMS_CLOUD.create_credential (

    credential_name => 'OBJ_STORE_CRED',

    username => '<your username>',

    password => '<your Auth Token>'

  ) ;

end;

/