KotOR Level Editor: An Introduction - lachjames/KotOR-Modding-Guide GitHub Wiki
On this page, you can find general information about the way modding is done with the KLE. The information on this page is quite general, but you can find much more information about particular modding tasks on the other pages in this wiki. In particular, I'd draw your attention to the important tips section, which is a must-read for any new user.
General modding workflow
The most common way to mod KotOR/TSL is by editing existing game modules (or even creating new game modules). When editing modules, it is important to clearly delineate between templates and instances of a template.
A template is a blueprint for a certain game object, and is contained in GFF format in its own file (within the module archive). For example, any creature in a module would be described with a template with the extension ".utc". UTC templates describe all the information the game engine needs to know about a particular type of creature. Almost object in the game, except for the static models in the scene (such as furniture, walls, the floor, etc.) are described in templates.
A module consists of a collection of templates, along with a .GIT file which describes instantiations of these templates in a given module. For example, a UTP (placeable object) file metal_box.utp might contain information such as inventory, etc., and then the particular instance (saved as an entry in the .GIT file; each module has its own .GIT file) has a position and orientation.
Many templates are only instantiated once (such as templates for unique creatures, placeables which have unique items in them, etc.), but there is no reason why templates cannot be instantiated as many times as you want (except for engine limits). It is, therefore, very important to understand the difference between templates and instances.
With all this in mind, creating most mods consists of two main tasks:
- Creating and editing templates
- Instantiating templates in the module
Creating and editing templates
All the templates for a given module can be found in the Module Editor tool (KotOR -> Module Editor). This tool allows you to:
- Open modules for editing
- Edit any template inside that module
- Open a dialog in the dialog editor for editing
- Save your changes to a new module file (whose filename will end in _s.rim for KotOR 1, and in .mod for TSL).

You can find more information about the Module Editor in its wiki page.
Instantiating templates in the module
While the Module Editor allows you to edit templates within a module, the Level Editor allows you to instantiate and position these objects within your module. With this tool, you can:
- Instantiate templates
- Delete instances of templates
- Position and rotate your instances visually in 3D space
- View the GFF templates for instances (but not edit them, because this functionality is purposely kept to the Module Editor alone)
- Save your changes to a new module file (for KotOR 1 modules, it will create a new file ending in .rim, and for TSL, it will replace the GIT, ARE, and IFO files in a .mod file).

You can find more information about the Level Editor in its wiki page.
Saving your modules
The instructions for saving a complete module definition (including the .git, .are, and .ifo files, the .lyt file, and all templates, scripts, and dialogs) is slightly different for KotOR vs TSL. The appropriate archive types will be automatically chosen for you based on which game you have selected in the settings window, so most of the steps are the same for both games.
Saving a KotOR Module
In KotOR, modules consist of modulename.rim and modulename_s.rim, with the former containing the module metadata (including template instances in the .git, as well as other data in the .are and .ifo files). They also require a layout (LYT) file (but this can go in the override folder and is therefore generated separately).
- Save your new/edited/existing templates using the Module Editor, using the "Save Module" button. This will save the module data modulename_s.rim.
- Save your level design and template instances by clicking "Save Module" in the Instance Editor. This will save the module metadata to modulename.rim.
- Click "Save Layout" to save a .lyt file
Saving a TSL Module
Saving modules for TSL is almost the same, but requires an extra step since all the files (except the .lyt file) go straight into the .mod file. So, the process is:
- Save your new/edited/existing templates using the Module Editor. This will save the module data to a modulename.mod.
- Save your level design and template instances by clicking "Save Module" in the Instance Editor. A dialog will open asking you to for a .mod file to save the module information into; select the module you created in step 1 (modulename.mod) and continue; note that this will not edit the module from step 1, but will instead create a new .mod file (as a general rule, the KLE never overwrites any file unless it absolutely has to, for safety reasons).
- Click "Save Layout" to save a .lyt file
Important KLE tips
There are some things you must know about using the KLE (many of which are a function of the decision to use the Unity Editor as a base):
- You can move template instances, and rotate them, using Unity's built-in scene view tools. However, you must not duplicate instances, or otherwise create them, in any way except via the "Add object" panel in the KLE main window. I will check for this error at some point, or maybe even fix the underlying issues, but for now this is a requirement on the user (sorry about that, it bugs me too).
Other modding tasks
Most of your tasks can be done via either the module editor or scene view. However, there are other things you might want to do. The KLE is intended to be a fully-featured level editor, so it supports these tasks as well (where there are not already tools for that task).
Editing dialogs
You can edit DLG files like any other GFF structure using the KLE. However, KLE comes with a visual dialog editor as well, which is intended to make creating and editing dialogs significantly easier. You can find more information about the dialog editor on its wiki page.
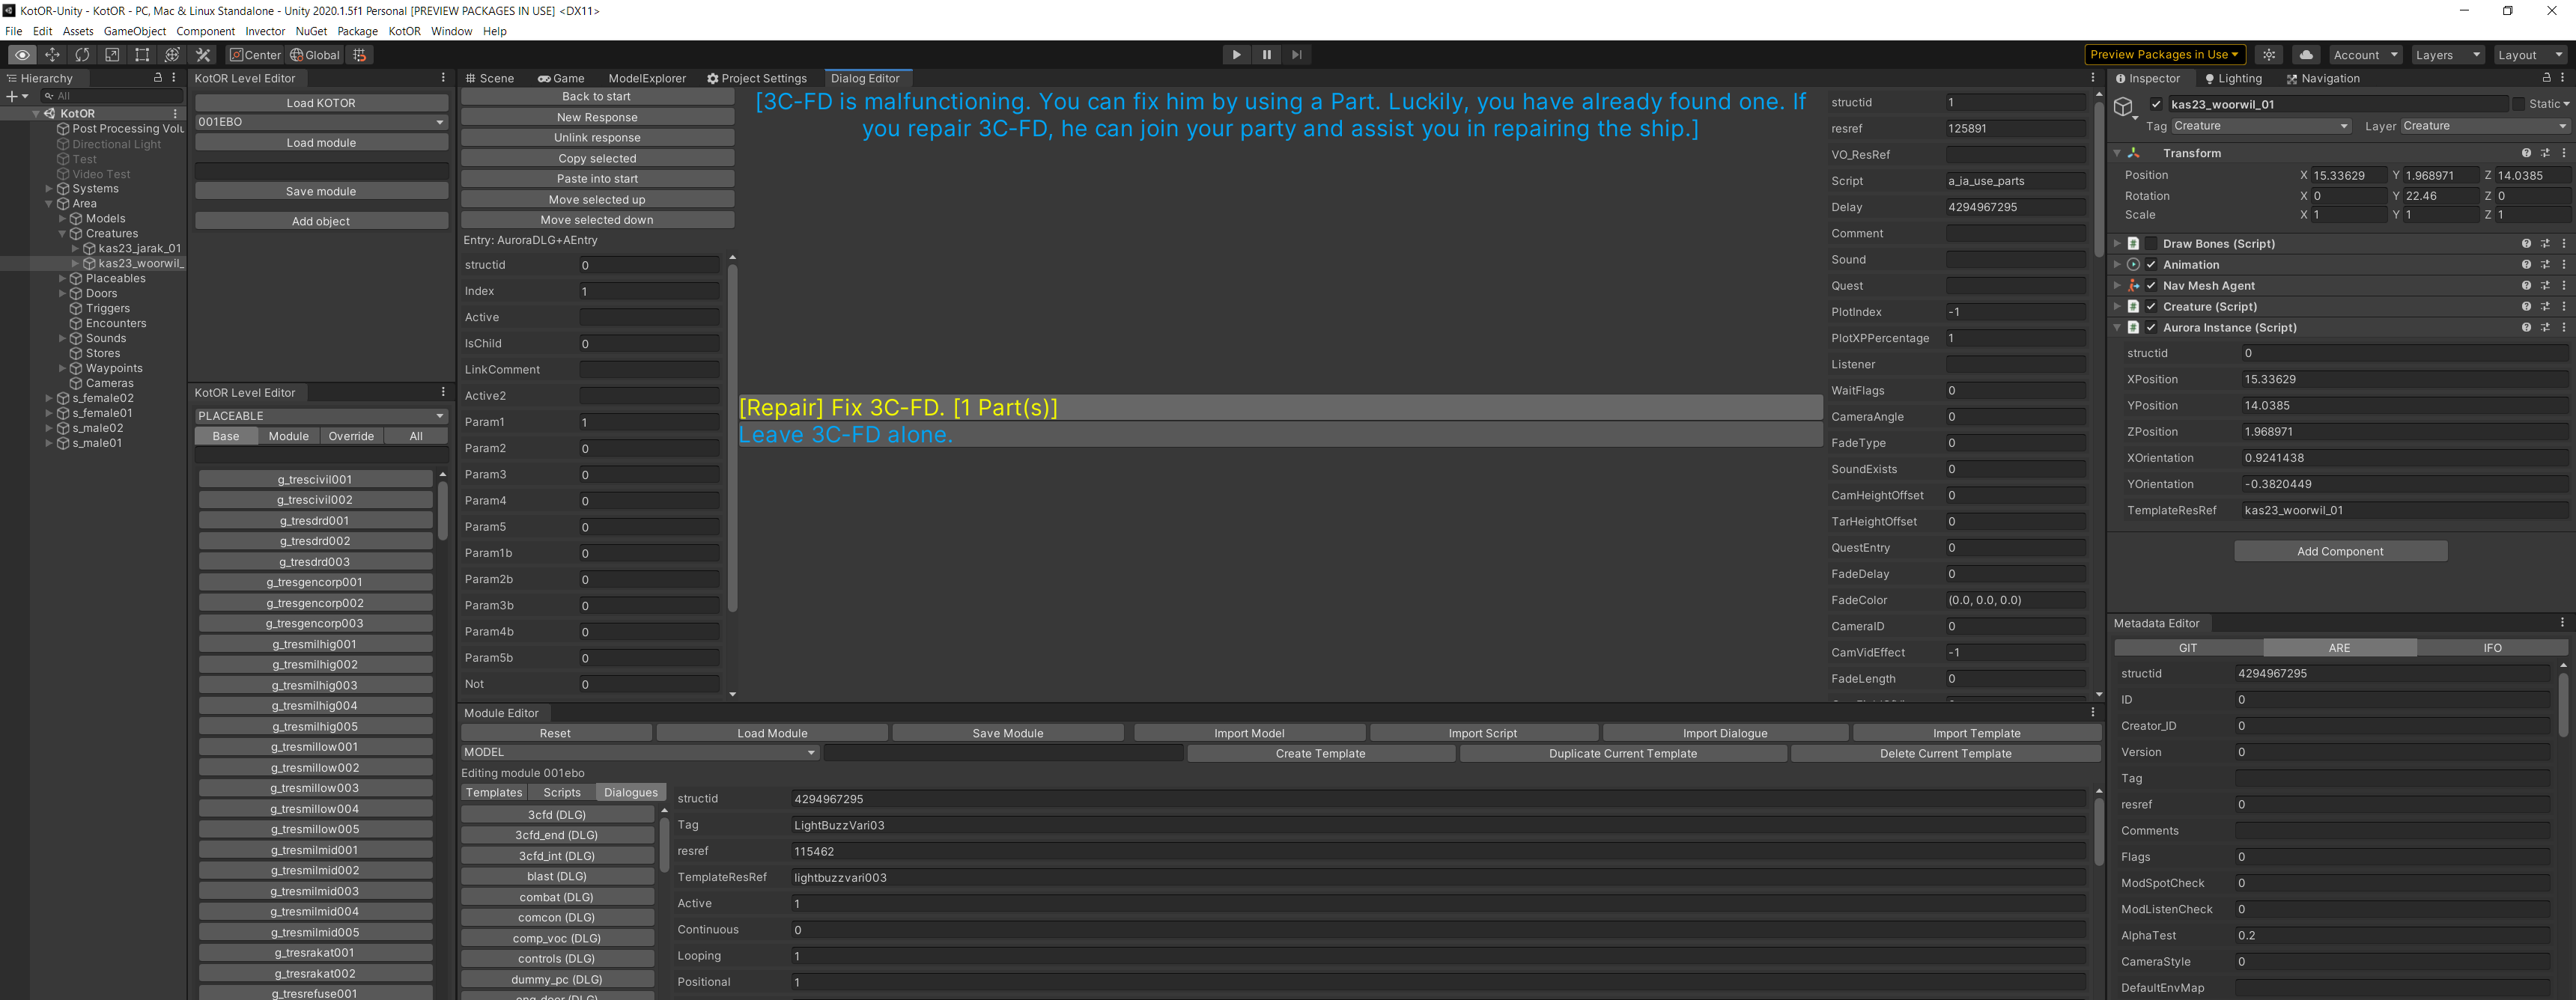
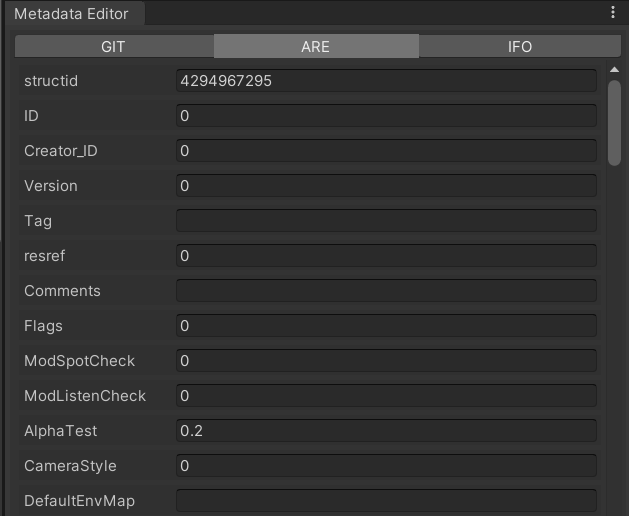
Editing module metadata
You have full edit access to the .ARE and .IFO files through the metadata editor (in the menu KotOR -> Metadata Editor). The .GIT file is automatically generated for you when you save your module.
Editing layout files
Currently, editing LYT (layout) files is not supported. This is a very high priority, but for now the tool should be used for placing items in modules (which is generally the most time-consuming step anyway).
Creating scripts
The KLE does not currently support creating scripts, because there are already excellent tools for doing this. You will be able to import these scripts into your modules, of course (this is a high priority). For now, just add them the usual way.
Adding models, textures, etc.
These files don't belong in modules, and should go in the override folder instead. In the next paragraph, we discuss how this can be managed.
Adding global templates
Some templates are accessible to all modules; mods should place these templates into the override folder, just like models and textures. Therefore, the KLE does not do anything special with these and you should keep track of which items you place in the override folder (the easiest way to do this, although it only works in TSL, is to create a subfolder of the override folder containing all the global templates, models, etc. you require for your mod).
Adding a global template editor is a high priority; for now, please just use K-GFF (found here) to edit these templates (it is very similar to the GFF editor in KLE).