Install macOS - l1n-dev/Dell-Inspiron-14-5490-OpenCore GitHub Wiki
Credits to Dortania for the images. Go visit their site for in-depth info.
Okay, so you're sitting at this Github Wiki going
Alright, how do you install macOS, get to the point!
So here's what you do.
Step 1: Download Rufus.
Step 2: Select your flash drive. (Usually named Generic USB Media or something along those lines).
USB Name doesn't matter much.

Step 3: Select non-bootable and select FAT32 as the file system.
Select GPT in
Partition Schemebecause the system is UEFI.
DO NOT SELECT NTFS, macOS DOES NOT NATIVELY SUPPORT IT.

Step 4: Hit start and let it format.

Step 5: Remove the *.ico and *.bat files.
Step 6a: Create a folder called com.apple.recovery.boot.
Step 6b: Copy a Downloaded macOS RecoveryImage to the com.apple.recovery.boot folder.
You might get BaseSystem files instead of RecoveryImage files. Both do the pretty much the same thing anyway so it doesn't matter.
Step 6c: Copy over the downloaded EFI to the USB.

Step 7: Reboot your laptop and hit <F12>.
Step 8a: Select your USB Drive in the UEFI boot tool. (Usually named UEFI USB Device)
Again, USB Name doesn't matter.
Step 8b: Press <Space Bar> for all available OpenCore boot options.
Step 9: Select the boot entry on OpenCore (Whatever you named your partition).
Step 10: Connect to WiFi in recovery.
If you don't have a supported WiFi card, you can use HoRNDIS for Android USB Tethering. Or you can go look at the Extras section for alternatives.
Step 11: Format your Mac drive and follow the on-screen instructions.

Image is just an example. You will see "Install macOS 'whatever basesystem you downloaded'" instead.
Step 12: Enjoy!
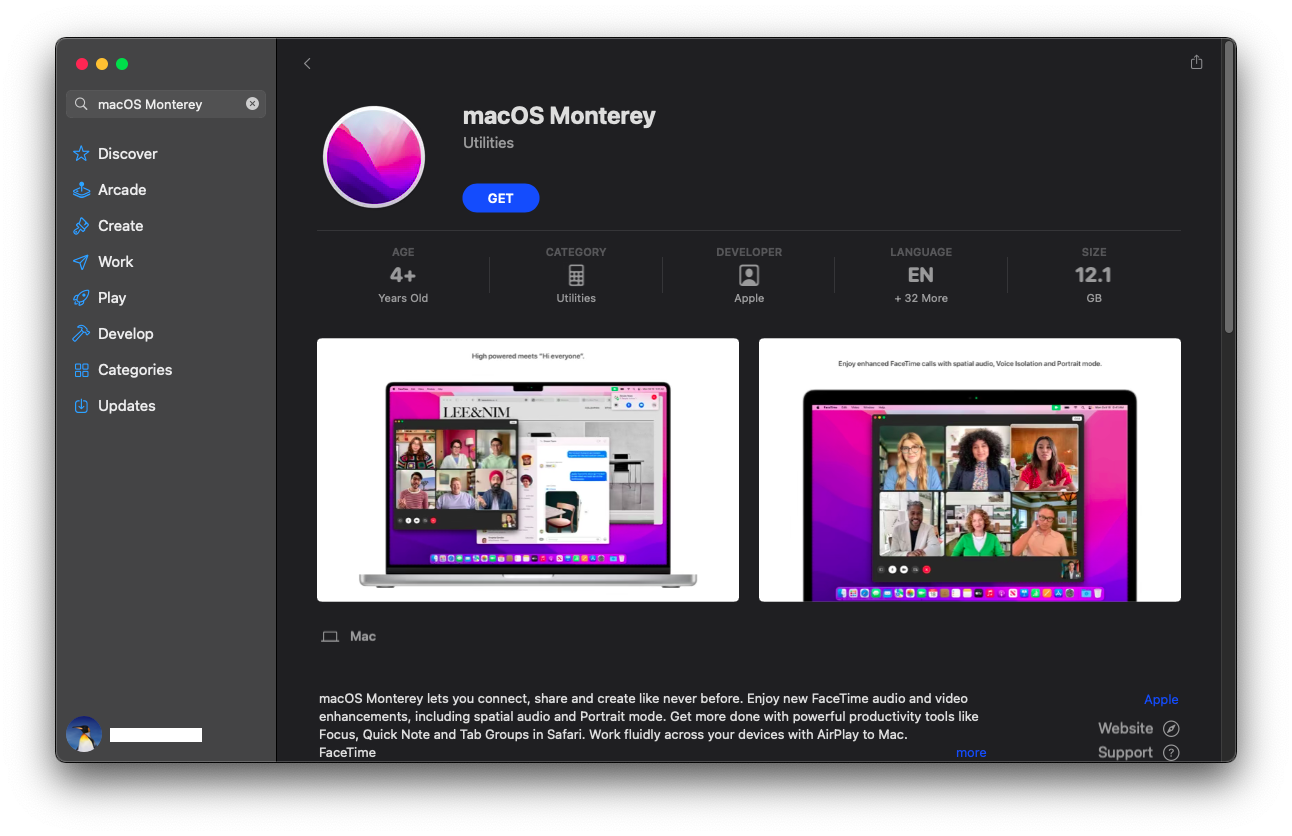
Step 1: Download macOS from the App Store.

If not available, use the Recovery method instead.
Step 2: Format your USB/microSD Card as Mac OS Extended (Journaled) with Disk Utility.
You might wanna press ⌘+2 for this one.


Step 3: Use the createinstallmedia command on the USB/microSD drive.
For Monterey, the command would be:
sudo /Applications/Install\ macOS\ Monterey.app/Contents/Resources/createinstallmedia --volume /Volumes/MyVolume.
Step 4: Mount the EFI folder of the USB/microSD Drive with MountEFI.
Instructions on how to do so are here.
Step 5: Paste the EFI folder into the ESP.
Step 6: Follow Step 7 and onwards from the Windows Instructions.
Intel Wireless users should add itlwm.kext for Wireless support. (Or you can use AirportItlwm.kext for recovery mode).
If you encounter issues booting, refer to the OC Troubleshooting section.
NOTE: I tested
AirportItlwmfor recovery and found it was really slow. I'd recommend HoRNDIS with an Android for USB Tethering instead.
Instructions for Linux coming soon!