8. Working With Custom Maps - jwoodruff40/Mjolnir-Forge-Editor GitHub Wiki
There are a few reasons you may want Mjolnir to interact with custom, user-created maps:
- You want to 'port' a map variant, created with Forge mode on a stock MCC map, to your own custom map so you can use your custom weapons, vehicles, and other modifications
- You want to modify or create a brand-new map variant on your custom map, using the familiar and powerful Blender interface
- etc
While Mjolnir's official, included support is currently limited to those maps listed on the Home Page, you can easily add support for your own maps.
The following software will be required to add support for custom maps:
- Microsoft Visual Studio 14 (2015) or newer. For compiling the code into a usable library. The free community edition will suffice.
- Microsoft Build Tools 2015
- Optional: Halo Reach Mod Tools, or Assembly
Additional Note: At this time, only Blender 3.4 versions will work with Mjolnir. Older and newer versions will not work properly. Blender 3.4.x builds can be found here.
-
Via CLI: navigate to a directory of your choosing, then run
git clone https://github.com/Waffle1434/Mjolnir-Forge-Editor.git - Github Web:
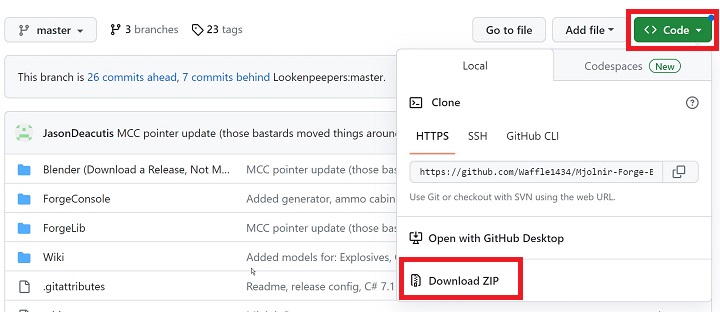
Note: If you download the code from the Github website, ensure you extract the files from the .zip archive to a location of your choosing.
In order to function correctly, Mjolnir must know what your map file is called, what all of the objects that may be spawned in Forge mode are, and how they're arranged in the Forge Menu / in memory. This sounds complicated, but in short it just means you need to know two things: your map's filename, and the layout of the Forge Menu.
If you are the developer of the map, and / or have access to the map's tags, you'll probably want to use the Foundation.exe tool), from the official mod tools.
If you are not the developer of the map, or don't have access to the tags, you can use Assembly to view the same information.
If you wish, you may choose to forgo either tool, and take a look at the Forge Menu in-game, but this is NOT recommended.
This is the best option if you have access to the map's tags. You'll want to open the <map name>.scenario tag for your map, and scroll about halfway down to the map variant palettes section.
map variant palettes determines the layout of the Forge object spawning menu, and includes all objects that may be spawned in via Forge. It is organized in sections that correspond to the in-game menu. The screenshot shows the first menu item, ff_weapons_human, which translates to the Weapons, Human sub-menu in-game, under which is assault_rifle, or Assault Rifle in-game.
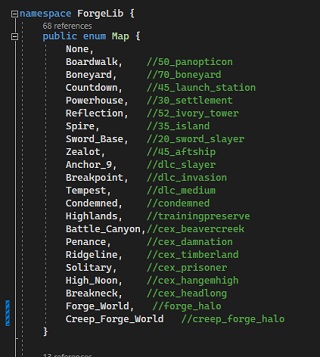
In this case, the tags\levels\multi\forge_halo\creep_forge_halo.scenario was opened. This is a custom map (a modification of Forge World).

You won't need to edit this tag, but you will need to reference it later, so you can either leave this tag open in the Foundation application, or export the tag to an XML-formatted text file via File / Export Tag To XML..., giving you this view when opened in a text editor:

Assembly is the next-best option if you don't have access to the map's tags, e.g. if you're editing a map you downloaded from the Steam Workshop or NexusMods and you only have the .map file. Assembly can be used to view the same tag (in this case, tags\levels\multi\forge_halo\creep_forge_halo.scenario), but since Assembly is used to look at tags in already-compiled maps, the information shown won't be as extensive.
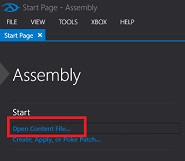
First, open the map file:
Next, click Tags, then scroll down until you find the scnr - scenario heading. Expand this menu and click on the scenario tag within it to open the scenario tag. Then you can use the search menu at the top to search for map variant palettes. As before, you won't need to edit this tag, but you will want to keep assembly open for reference in later steps.

Similar to exporting the scenario tag to XML from Foundation, Assembly gives you the option to dump the scenario tag to a JSON file if you'd rather view it in a text editor.
You may choose not to use Foundation or Assembly, and reference the Forge Menu items by taking a look at the menu directly in-game. This is NOT recommended, because the Forge menu may contain hidden items that are not shown in the in-game Forge menu, but do affect where the non-hidden items are stored in memory. Default MCC maps do have hidden sections. If you know that the map you want to work with does not have any hidden sections or items, you may use this method, but it is also less user-friendly to scroll through all the items.
This is the real meat and potatoes of the wholr process - editing Mjolnir to support our custom map.
First, we'll want to open the Mjolnir code in Visual Studio. Open Visual Studio, select Open a Project or Solution, and select your Mjolnir.sln file in the Mjolnir source code directory.
You'll need to open three files: ForgeBridge.cs, Map.cs, and ItemParser.cs Make sure to follow the following steps extremely carefully, ensuring all your names are appropriate and you don't make syntax mistakes so that Mjolnir will compile successfully.
We'll start with ForgeBridge.cs. At the very top of the file, you'll see a section enumerating Halo Reach's map names. We need to add an entry for our map at the bottom.
It may be any name you wish, as long as it's not a duplicate name, and you take note of the formatting:
- The name must not contain spaces or special characters
- There must be a comma after every entry, except for the very last entry. E.g. if you are only adding one map, you'll add a comma after
Forge_World, but not after your map name. All characters following the//symbol are ignored by the compiler. In this case, they're just comments noting the actual filename of the map files corresponding to the map name.
Here, I've added the Creep_Forge_World entry, and a comment reminding me that the map's filename is creep_forge_halo (omitting the .map suffix for brevity):
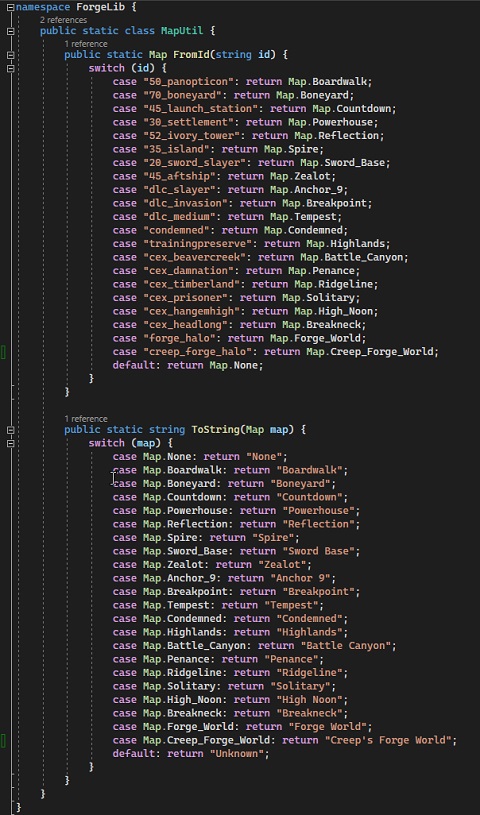
Next, we'll add two entries to Map.cs.
The first section of our entry in the public static Map FromId(string id) {...} function must be formatted such that the name in quotations matches exactly the filename of your map file, omitting the .map suffix, and the return value is the name you gave it in the ForgeBridge.cs file. Additionally, ensure you add a semicolon ; character at the end of your entry.
The first section of our entry in the public static string ToString(Map map) {...} function must be formatted such that the name we gave the map in the ForgeBridge.cs file returns a value of the map's name, formatted as a normal string (meaning it can contain spaces, special characters, or whatever you want - but you should keep it short)
This is how it looks for my example map:
Finally, we edit the most important file. This is where you'll want a reference of what items are in your Forge menu, whether you're using Foundation, Assembly, or the in-game Forge menu (Reiterating: using the in-game menu is NOT recommended).
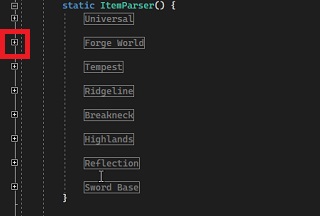
First, locate the section of this file corresponding to the default map from which your custom map was derived. Because Creep's Forge World was derived from the default Forge World, I'm starting with the Forge World section of ItemParser. The relevant region may be collapsed by default, depending on your Visual Studio settings. If it is, simply expand it with the + icon.
Now, you'll notice this section of the file is organized in an ordered, hierarchical structure, just like the map variant palettes section of the map's scenario tag, and that there are many references to the map name.
You'll need to make a ton of changes to the names in this section - the quickest way is like so:
- Copy the entire region for the map from which your map was derived and paste it into a new temporary file.
- Edit the
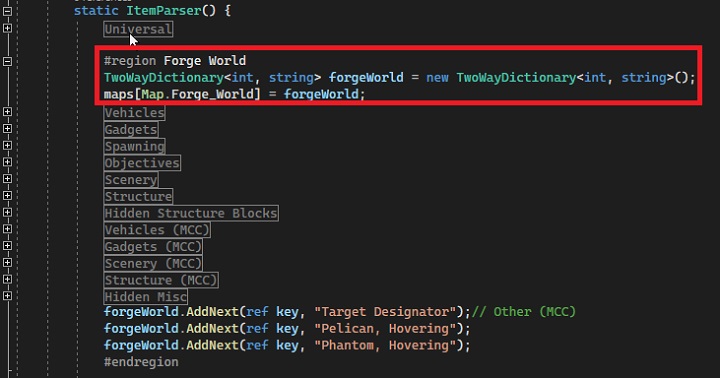
TwoWayDictionaryobject name from its current value to a new short name for your map. Here, I changeforgeWorldtocreepWorld. - Edit the
mapsarray entry to reference the map name you set inForgeBridge.csand set it equal to the name you just created. Here, I changemaps[Map.Forge_World] = forgeWorld;tomaps[Map.Creep_Forge_World] = creepWorld;.
- Now for the best time-saving trick: Search for all instances of the original name with the
Ctrl-Fkeyboard shortcut, expand the menu, add replacement text for your new name that you set above, and use theAlt-Akeyboard shortcut to replace all instance of the original name with your new name. Here, I searched forforgeWorldand replaced all instances withcreepWorld.

Now we need to ensure that all of the contents in this region match your Forge menu. This is probably the most important step of the whole process.
- Every top-level menu in the Forge menu will be represented by a named region, e.g.
#region Vehiclesor#region Spawning, followed by that menu's content and a closing#endregionline. - Any sub-menu under a top-level menu must be added with the AddSubCategory method, like
creepWorld.AddSubcategory(ref key, "Scorpion", "Scorpion, Rockets");. This method adds both the menu and its contents, but only the contents are explicitly defined. An object entry is added with the AddNext method, likecreepWorld.AddNext(ref key, "Shade Turret");. An example from my vehicles menu looks like this:

In this case, under the vehicles top-level menu is the singular banshee item, followed by a falcons menu containing six variants of the falcon, followed by more individual vehicle objects. Note that "Falcon" is not the name of the falcons menu, but actually the first Falcon in the menu. The menu name itself is not explicitlty defined, just the contents. Also, note that the names in this section do not have to match the names of your items as they are shown in-game. These items are the names that will show in Blender when you import Forge items into Blender.
- Once you've ensured all of your regions match exactly what is in your map's scenario file, add the line
key = 0x1F00;after yourmaps[Map.Creep_Forge_World] = creepWorld;line. - Finally, copy all of the contents of your temporary file back to the ItemParser file. Ensure that you include the
#regionand#endregionblocks before and after your section.
When you've finished editing and saving the Mjolnir files, you'll need to compile a new DLL. To do this, simply click the Build / Build Solution menu item, or use the Ctrl-Shift-B keyboard shortcut. If you made no syntax errors, the console at the bottom of Visual Studio should show build succeeded, like so:

Now for the moment of truth. Create a new folder for your new Mjolnir build, and copy the forge.blend file from the source code \\Mjolnir-Forge-Editor\Blender (Download a Release, Not Me!)\ folder and your new ForgeBridge.dll from the source code \\Mjolnir-Forge-Editor\ForgeConsole\bin\Debug\ folder into your new Mjolnir folder.
At this point, you can follow the instructions in Getting Started and Import & Export to test your new build, ensuring that you open the forge.blend file in the directory alongside your new ForgeBridge.dll, not the one downloaded from Github Releases.
This project for me started because I wanted to play classic map variants and gametypes from the heyday of Reach on the Xbox360, but with some edits to the gameplay. Since map variants are tied to the map on which they were created, the only way to do this before Mjolnir was to either manually recreate the map variant on your new map, piece by piece, or to replace the original map file with your new map file, meaning you can no longer play the original map until you undo this change.
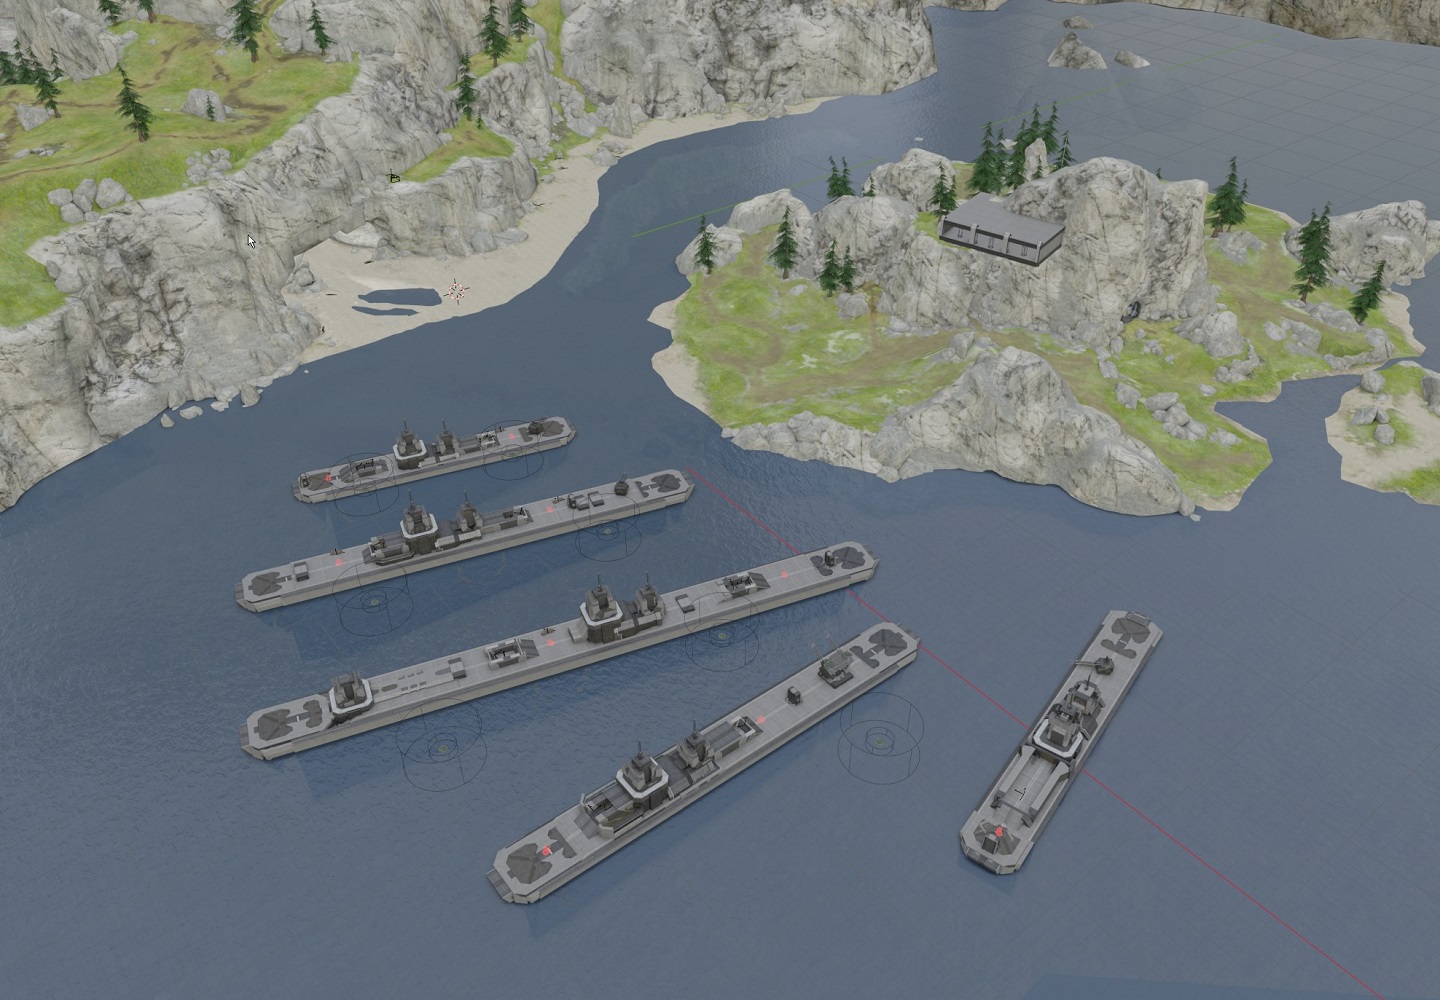
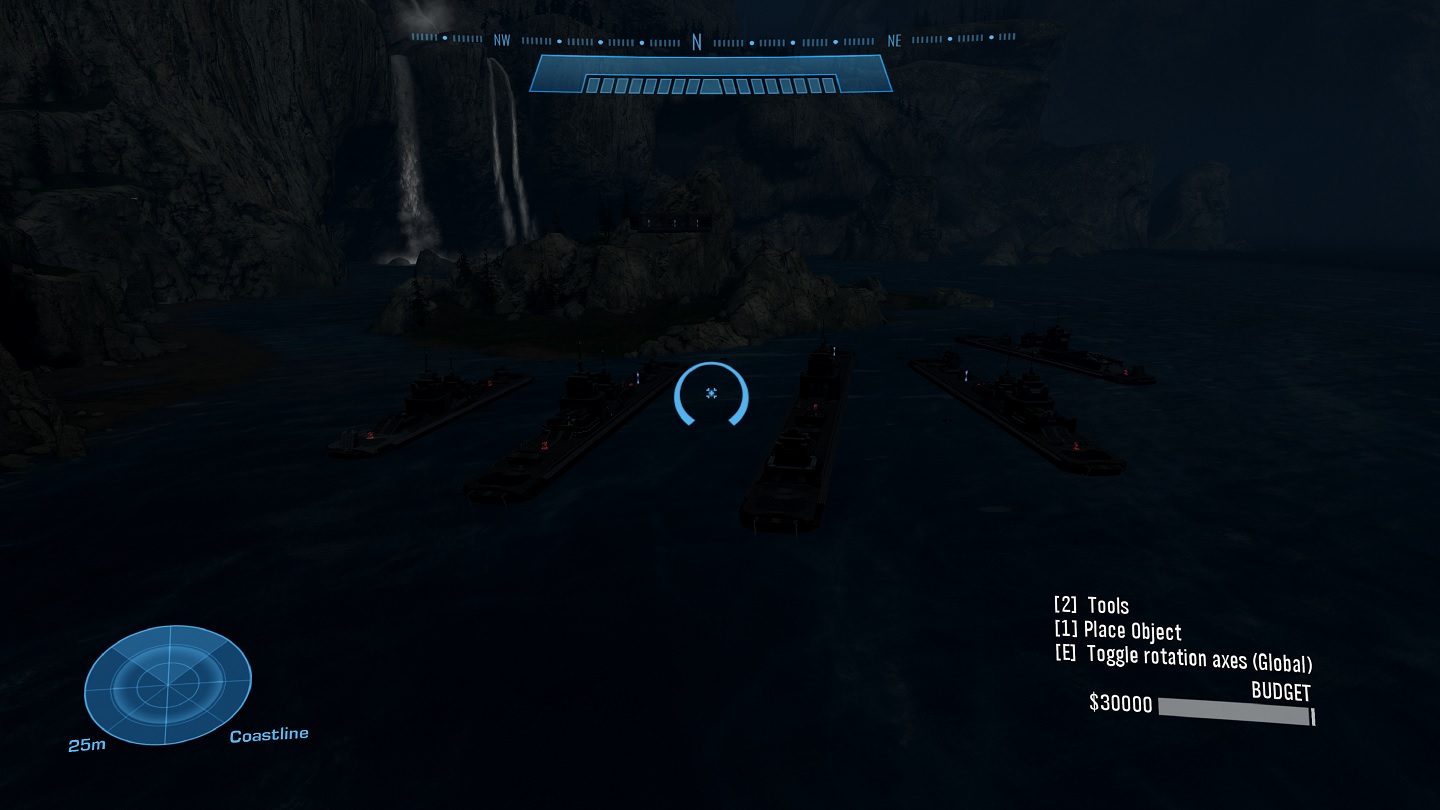
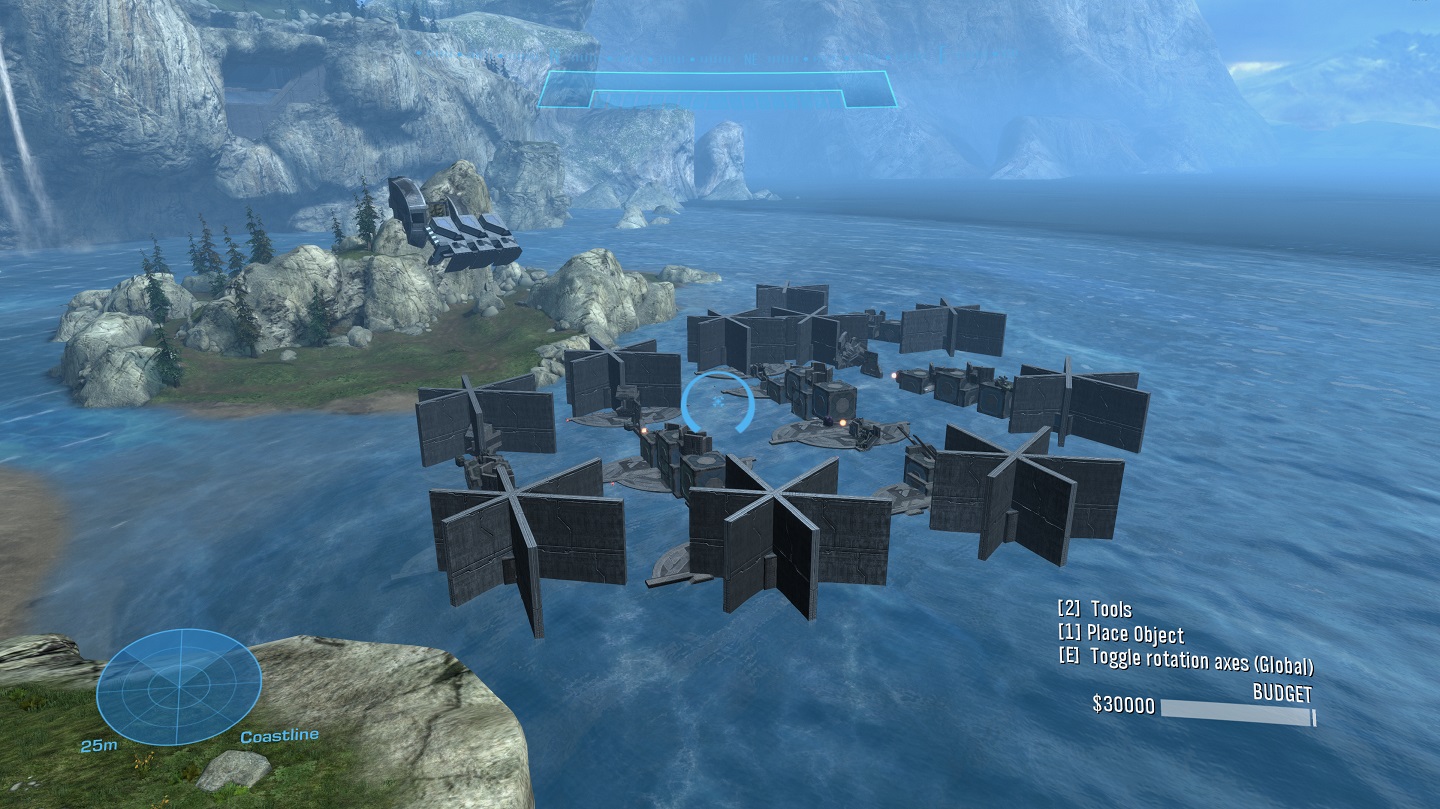
I tested the process with the classic map variant Battleship Blockade on Forge World. I downloaded the original map variant from way-back-when from Darth Human's file share, loaded it in Forge mode, and used Mjolnir to import the Forge objects, giving me this:
While leaving the blender window open, I switched the in-game map to my custom Forge World, exported the Forge objects from blender, then added one of my custom Falcons to show that it is indeed the original map variant, using my modified map that has that Falcon.
And here it is:
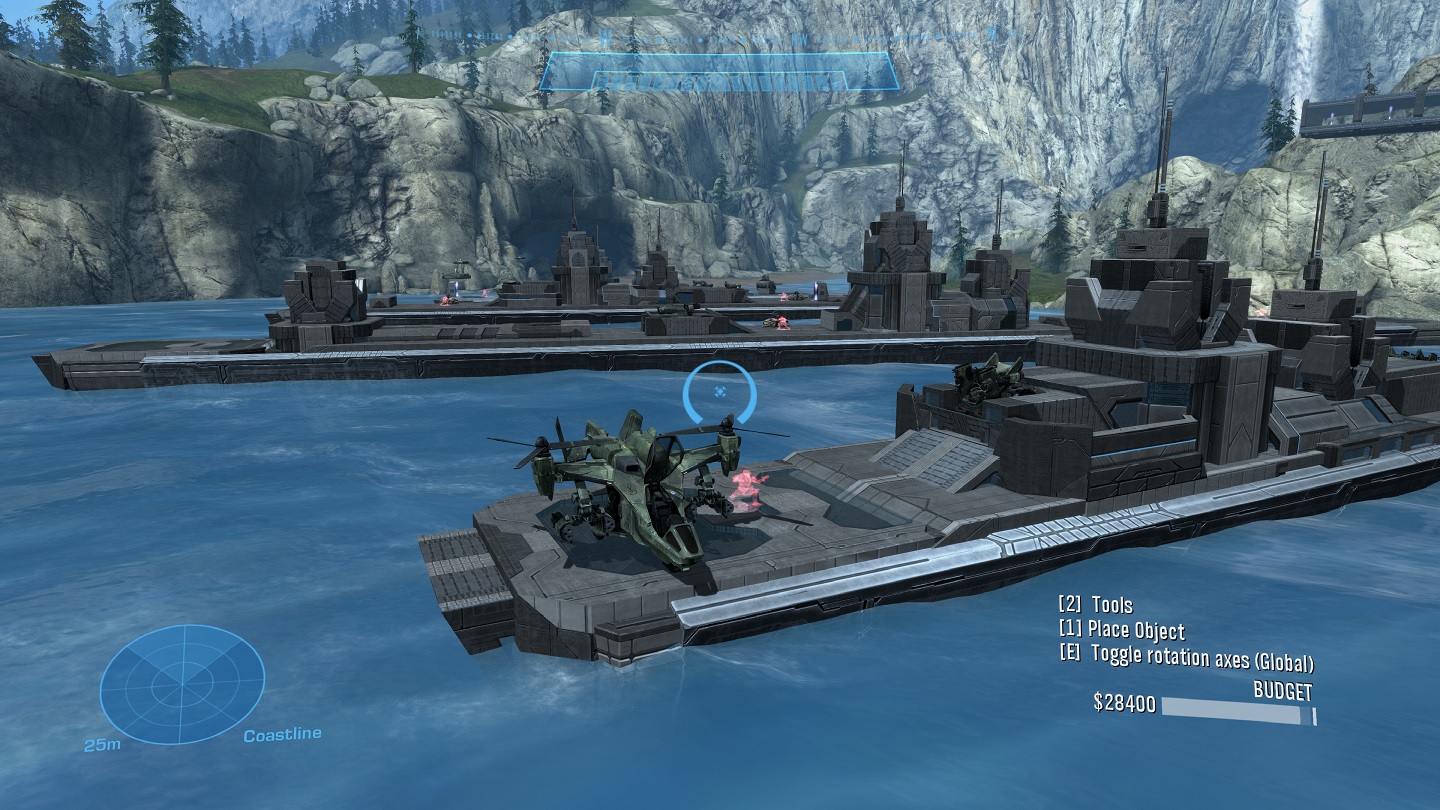
Success!
And here's an example of porting the same map variant to the night version of Creep's Forge World that I also added to Mjolnir:
Note that if you mess up your Forge menu #region in ItemParse.cs, you may get something like this in game, where objects were exported to every location but the wrong object was exported:
or it may just crash the game.