_SKU_DFR0312_Raspberry_Pi_GPIO_Extension_Board_V1.0 - jimaobian/DFRobotWikiCn GitHub Wiki

简介
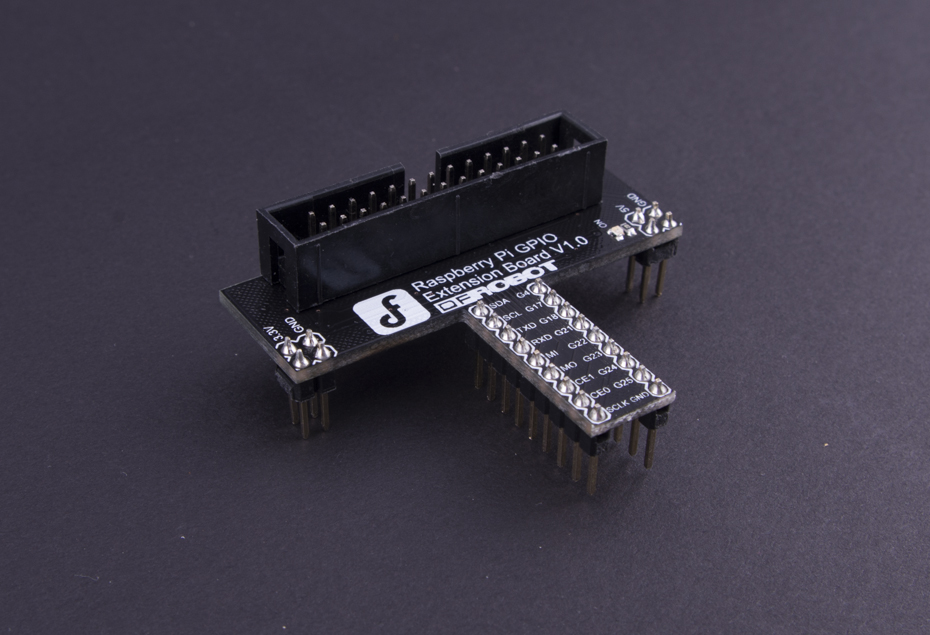
传统的树莓派转接板上并没有电平转换,可能会造成负载能力不强,而不能使模块正常工作。本转接板使用74HC244,74HC125作为电平转换,SI2303作为I2C的电平转换,有效的解决了问题,并保护电路,不让您的树莓派由于外部电路搭建错误而烧毁。本产品采用TX108专用双向GPIO转换芯片,可同时对双向电压提升,保证模块电压充足。通过树莓派并口26pinGPIO插槽供电,模块自带LED工作指示灯,可以随时监测模块的工作状态。兼容各种面包版,方便用户搭建各种电路。 该转接板增加了 3颗专用的IO保护芯片,将8路GPIO、串口、I2C接口、SPI接口都进行了保护同时将IO转换为5V电平具备更大的驱动能力,即使在实验的时候短路了IO,也不会损坏到树梅派主板。
技术规格
1、8路GPIO 具备电平转换和保护电路,输入和输出均支持5V 2、SPI和I2C总线 都具备电平转换和保护,支持5V 3、具备电源指示灯,可以防止和树莓派连接错误 4、大型和中型面包板均可支持
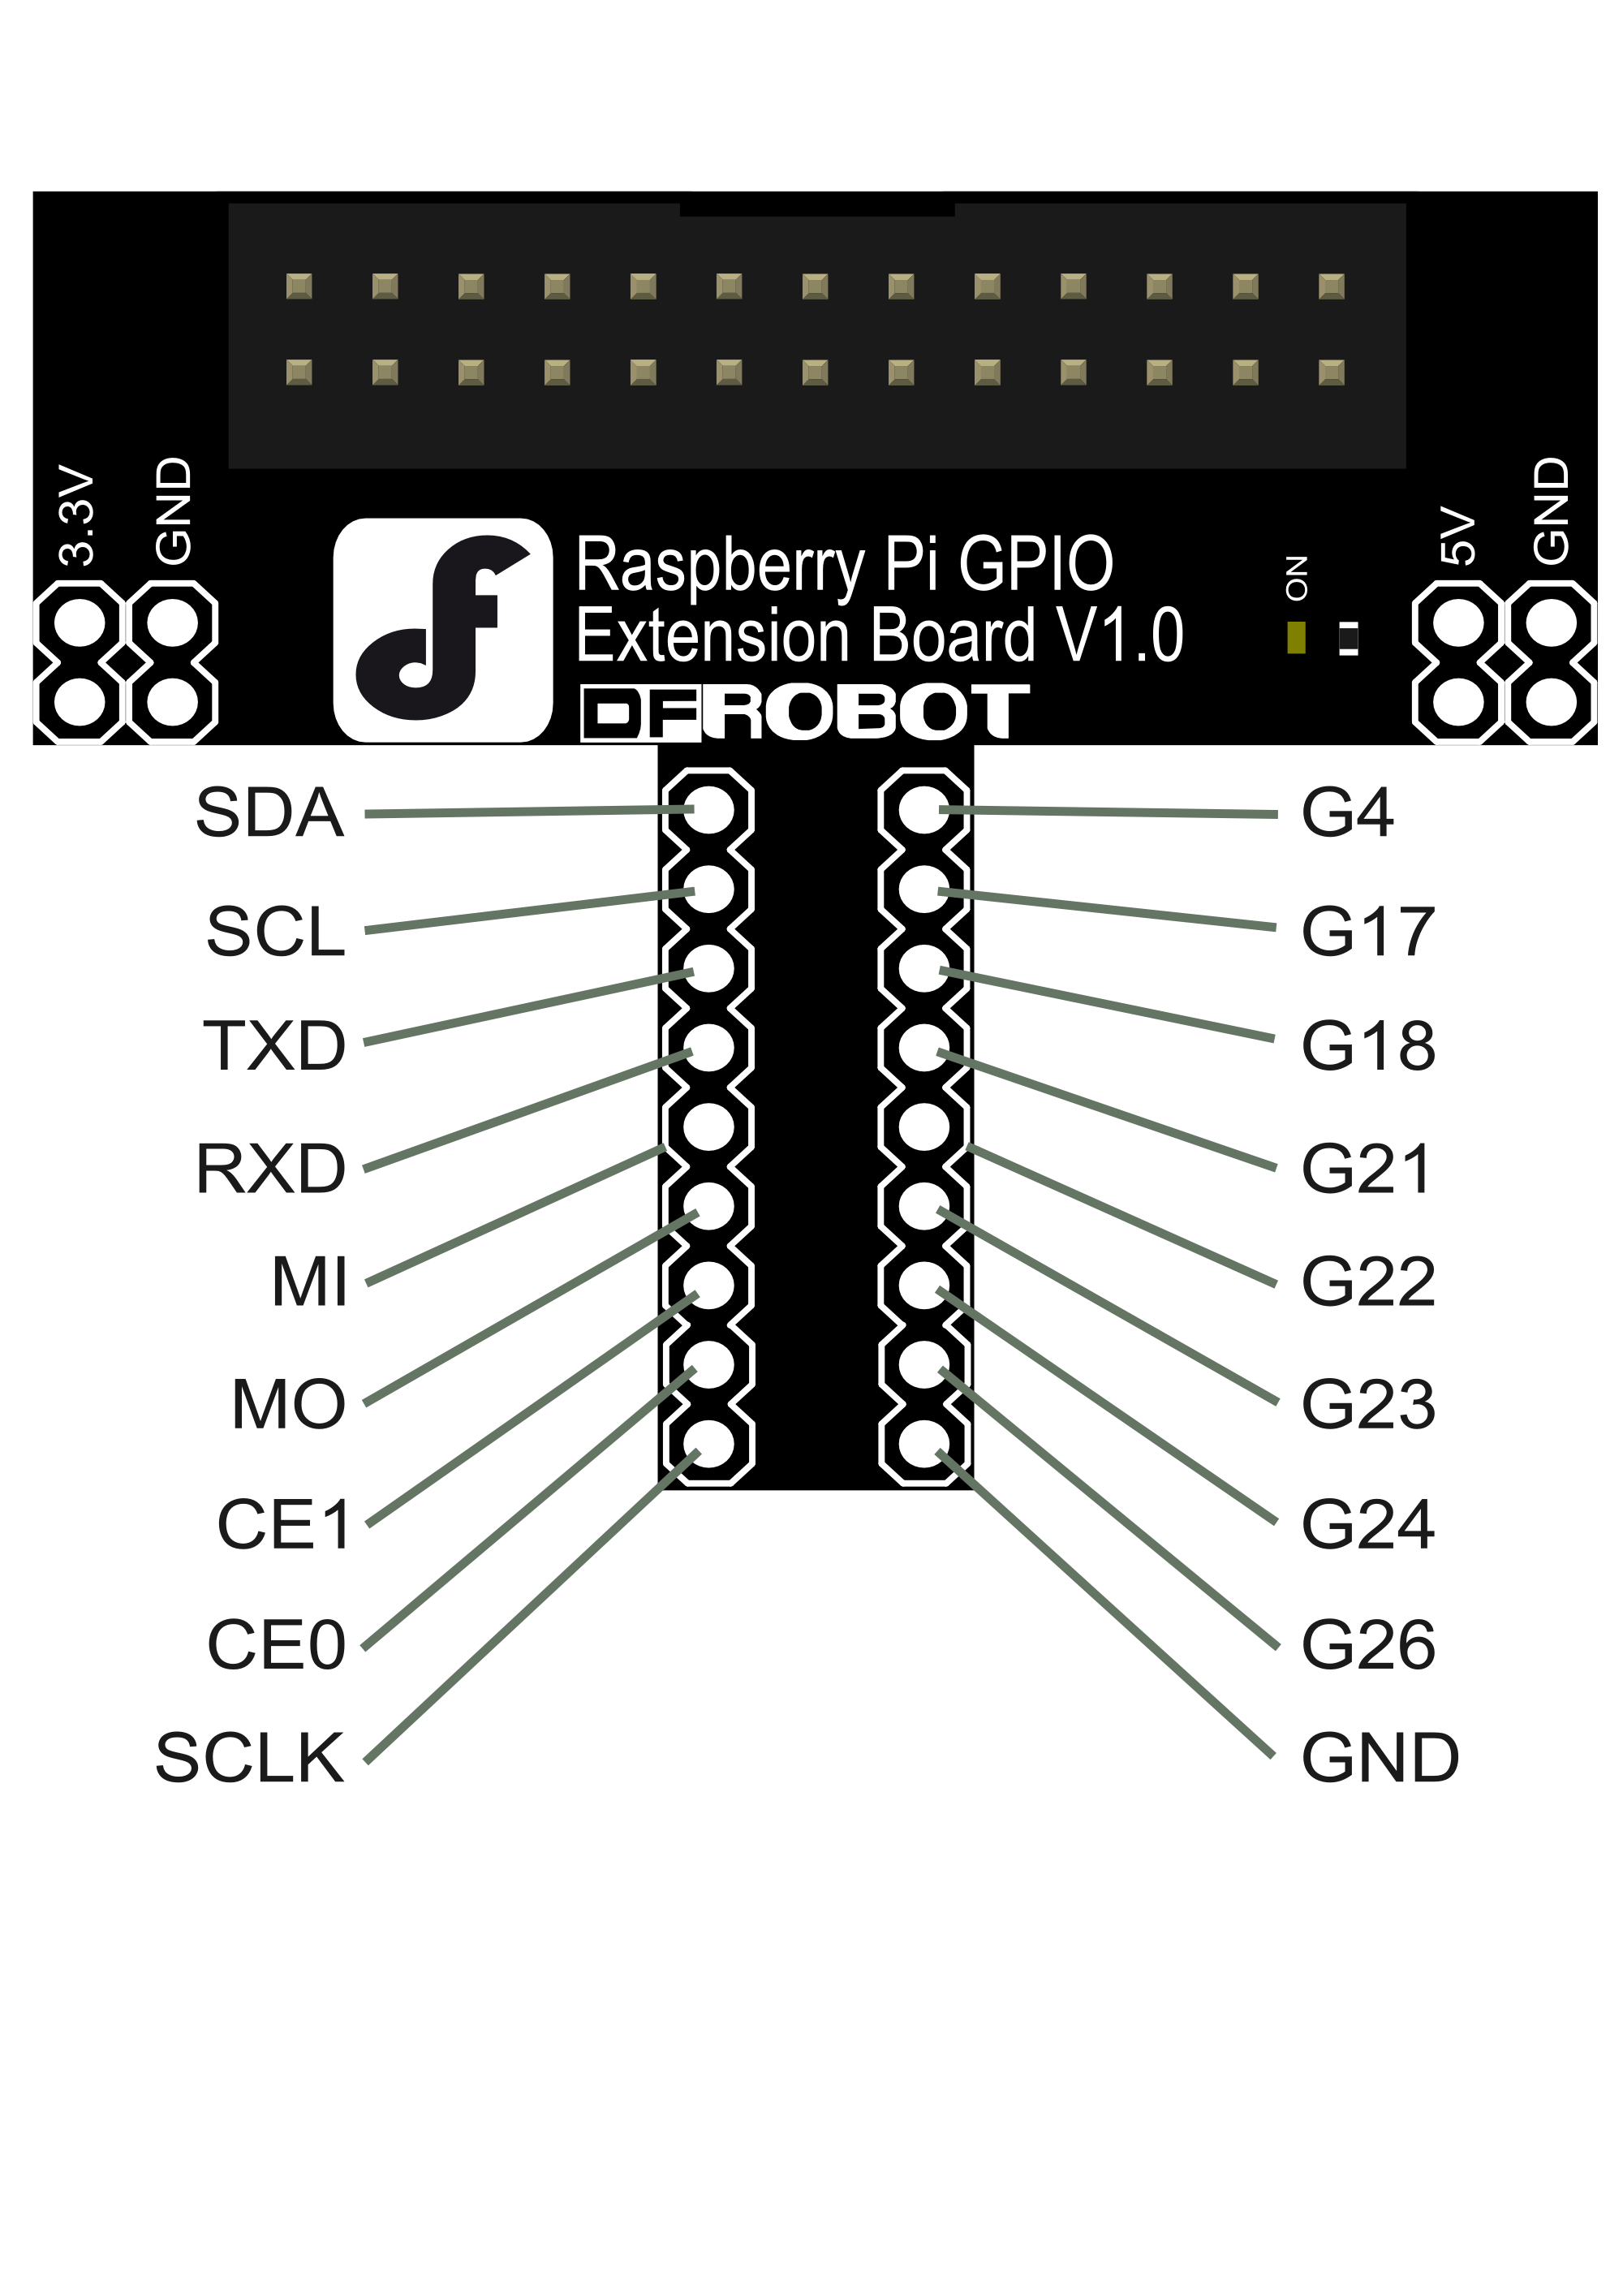
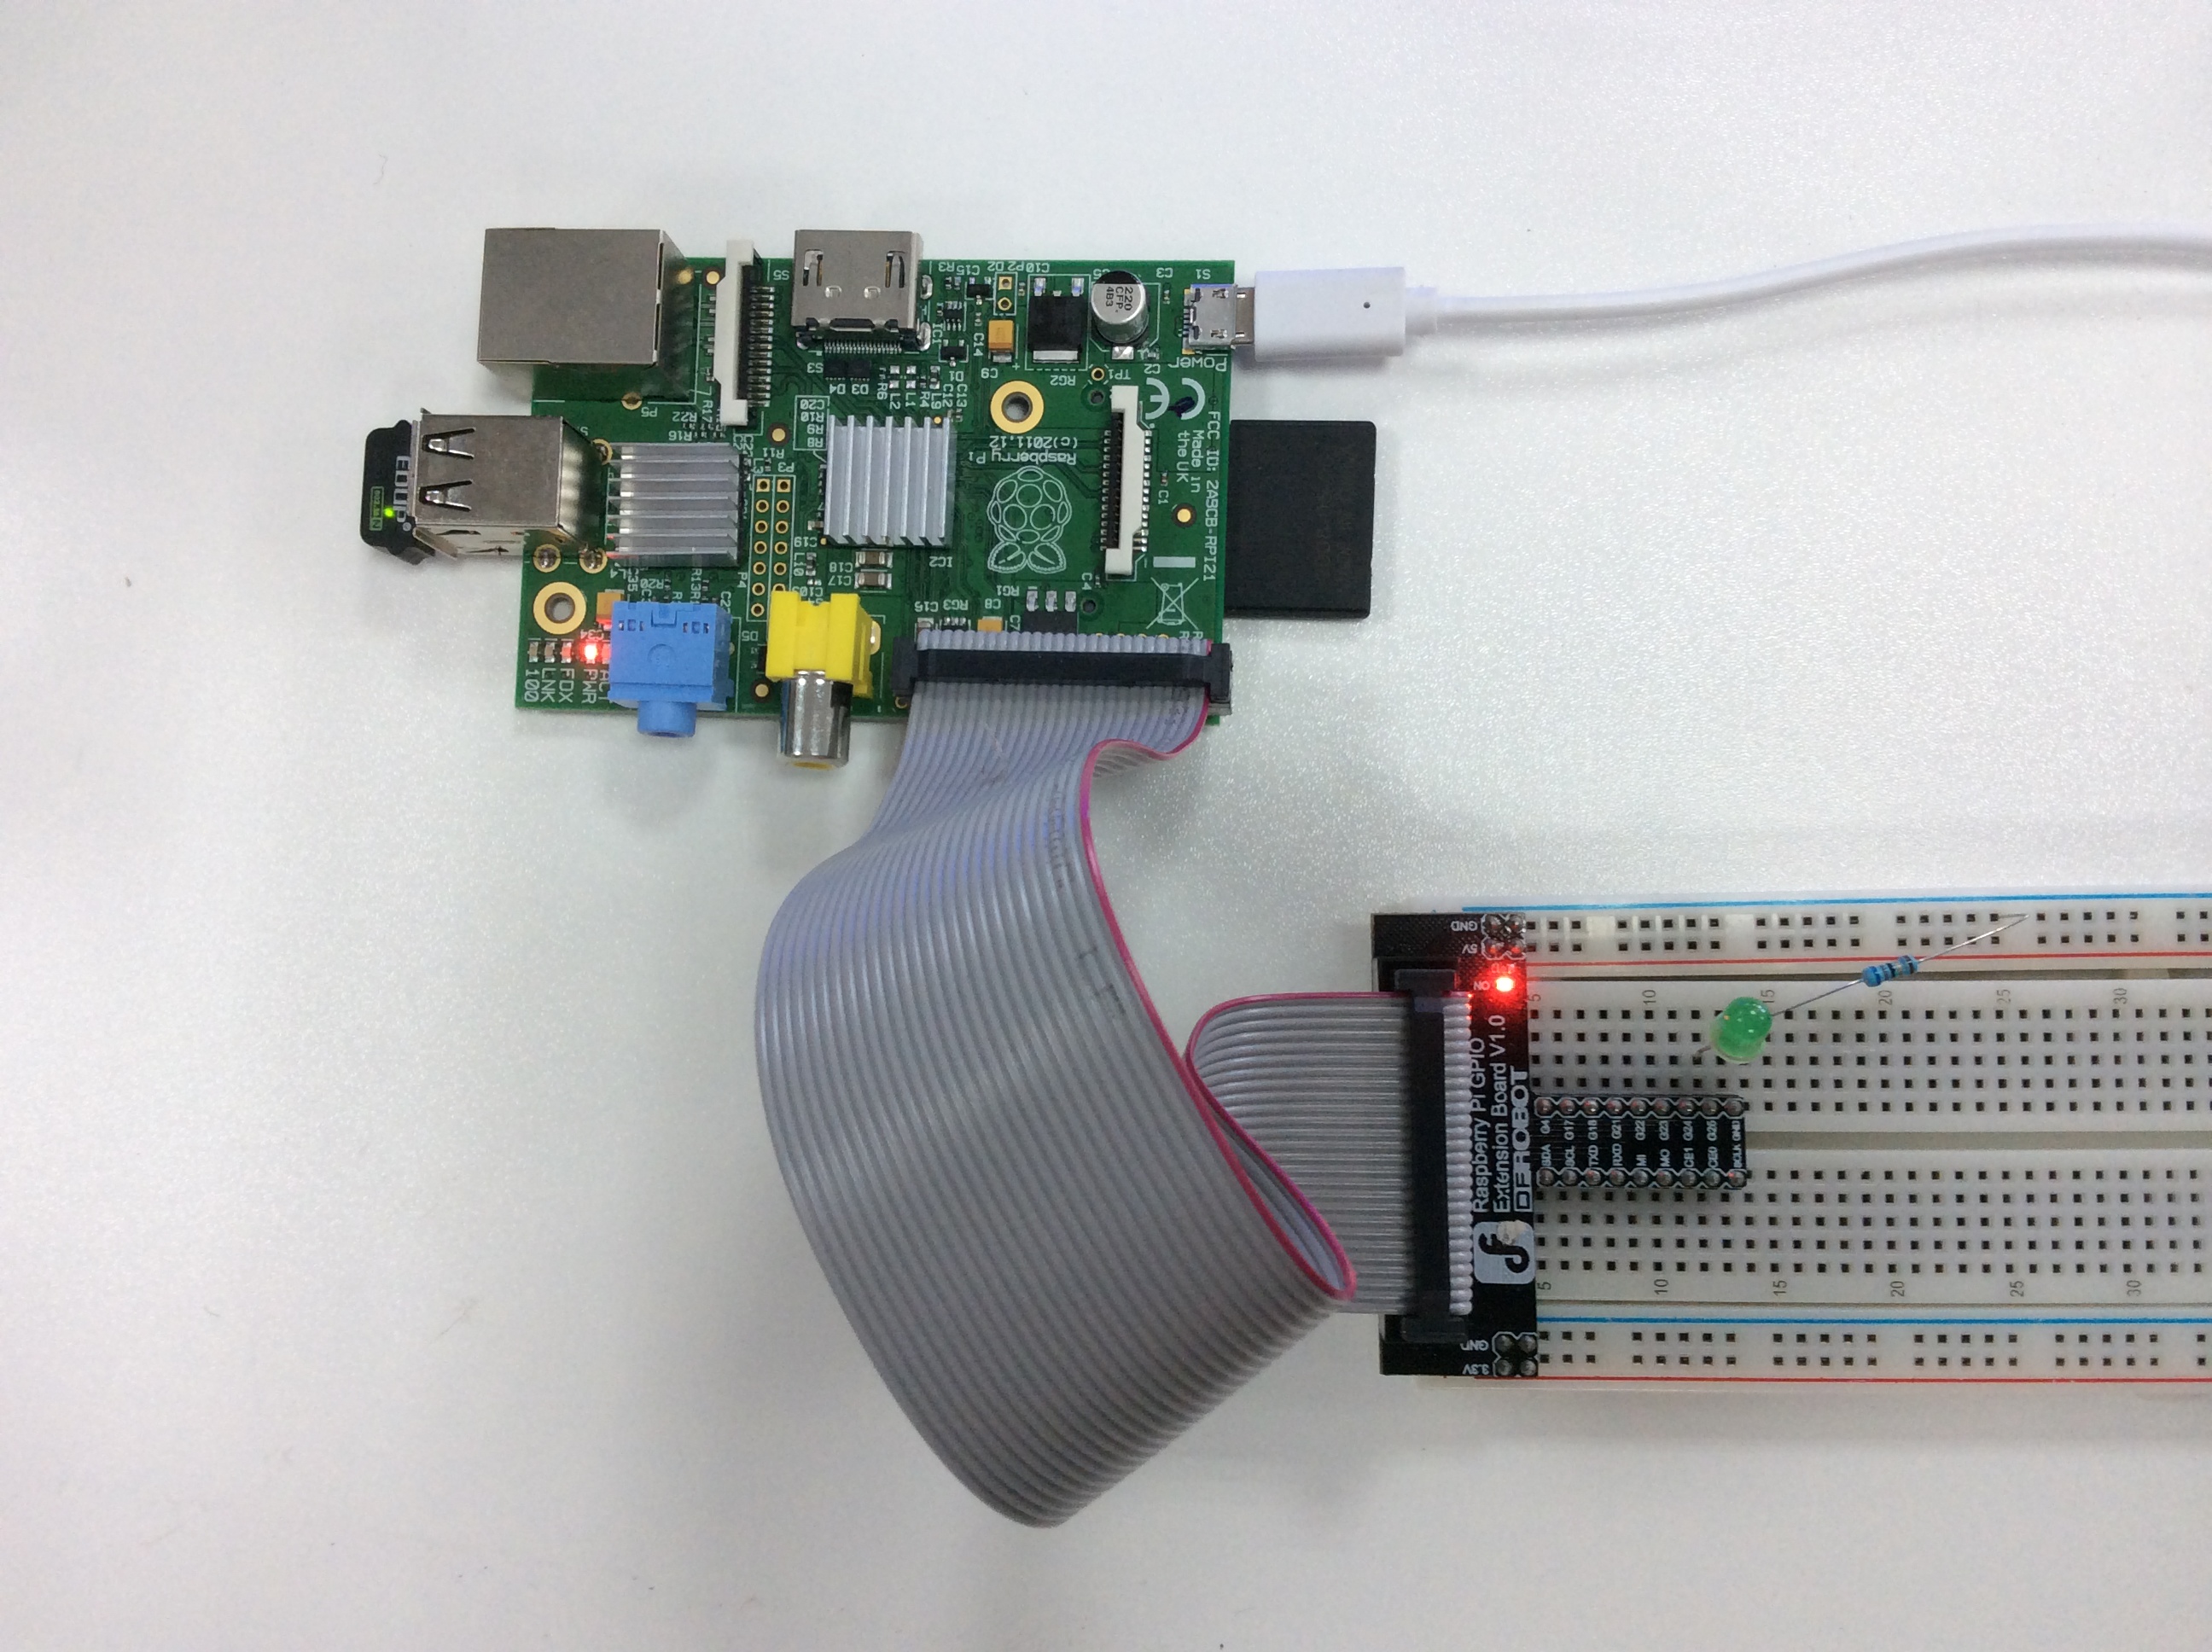
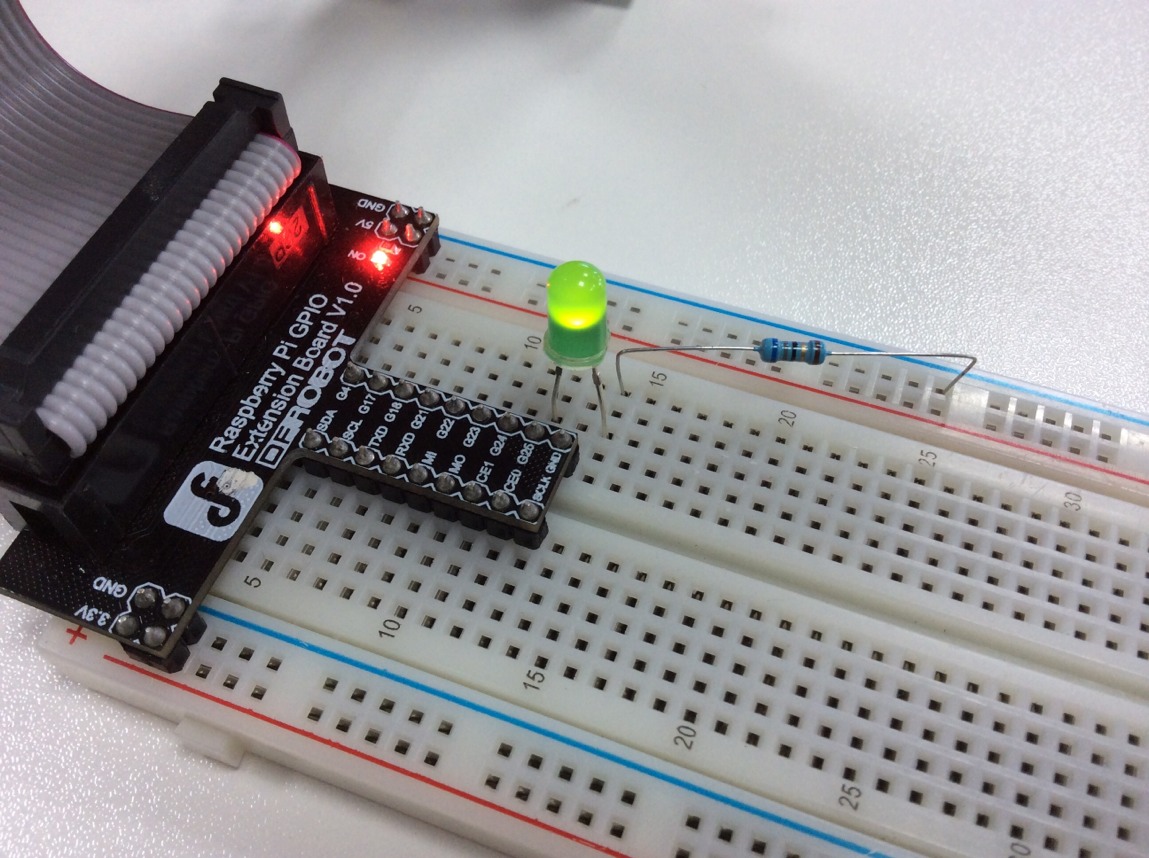
使用连接图及引脚说明


样例代码
#this is linux shell script
#blink.sh using wiringPi library

PIN=6
gpio mode $PIN out
while true;
do
gpio write $PIN 1
sleep 1
gpio write $PIN 0
sleep 0
done
wiringPi库下载链接:http://wiringpi.com/download-and-install/
通过Python来控制GPIO
在电脑端下载并安装 GPIO库,使用如下命令:
apt-get install python-rpi.gpio
安装好后在Python编程界面编写如下代码:
 *Copyright (c) 2014, DFRobot Compay
 *All rights reserved.
 *
 *File name:       gpio_test.py
 *File identifier: No
 *Description:     gpio test
 *
 *Current version: V1.0
 *Author:          dwb
 *Date:            2014.5.23
 *
 *Replace version: No
 *Author:          No
 *Date:            No

from time import sleep
import RPi.GPIO as GPIO

#BCM mode
GPIO.setmode(GPIO.BCM)

#Set gpio output mode
GPIO.setup(22, GPIO.OUT)

#Led flashing
while True:
    GPIO.output(22, False)
    sleep(1)
    GPIO.output(22, True)
    sleep(1)
在Python环境输入命令运行代码即可执行LED闪烁程序:
python gpio_test.py
 购买Raspberry Pi GPIO Extension Board V1.0 (SKU:DFR0312)
category: Product_Manual category: DRI Series category: Shields category:source category:Diagram