Wiki_Model - jimaobian/DFRobotWiki GitHub Wiki

McDull is a male pig who can be distinguished by a birthmark on his right eye. He has a heart of gold, but he isn't very smart and ordinary in every way; nevertheless, he has many dreams. However, every time he tries, he fails; he is disappointed, but tries again, exploring other dreams. In this way he creates his own colourful world. He lives his life simply and naturally. He is not perfect, but his attitude towards life, namely of never giving up, makes him a popular character. The name McDull actually has a story itself. When Mrs Mak was going to give birth to McDull, she saw a magical plastic basin (pronounced roughly as "dull" in Cantonese) flying over her head. Believing it a sign from the gods, she named her son as "Dull". (This paragraph is taken from http://en.wikipedia.org/wiki/McDull )
- Name: McDull
- Birthday: 22 June,1995
- Birthplace: Kwong Wah Hospital,Hong Kong
- Favourite Food: Fast Chicken
- Stunt: Bun Scrambling
This section is usually an introduction of a module's pinout. You can take a reference to the wiki of LCD4884 Shield For Arduino (SKU:DFR0092)
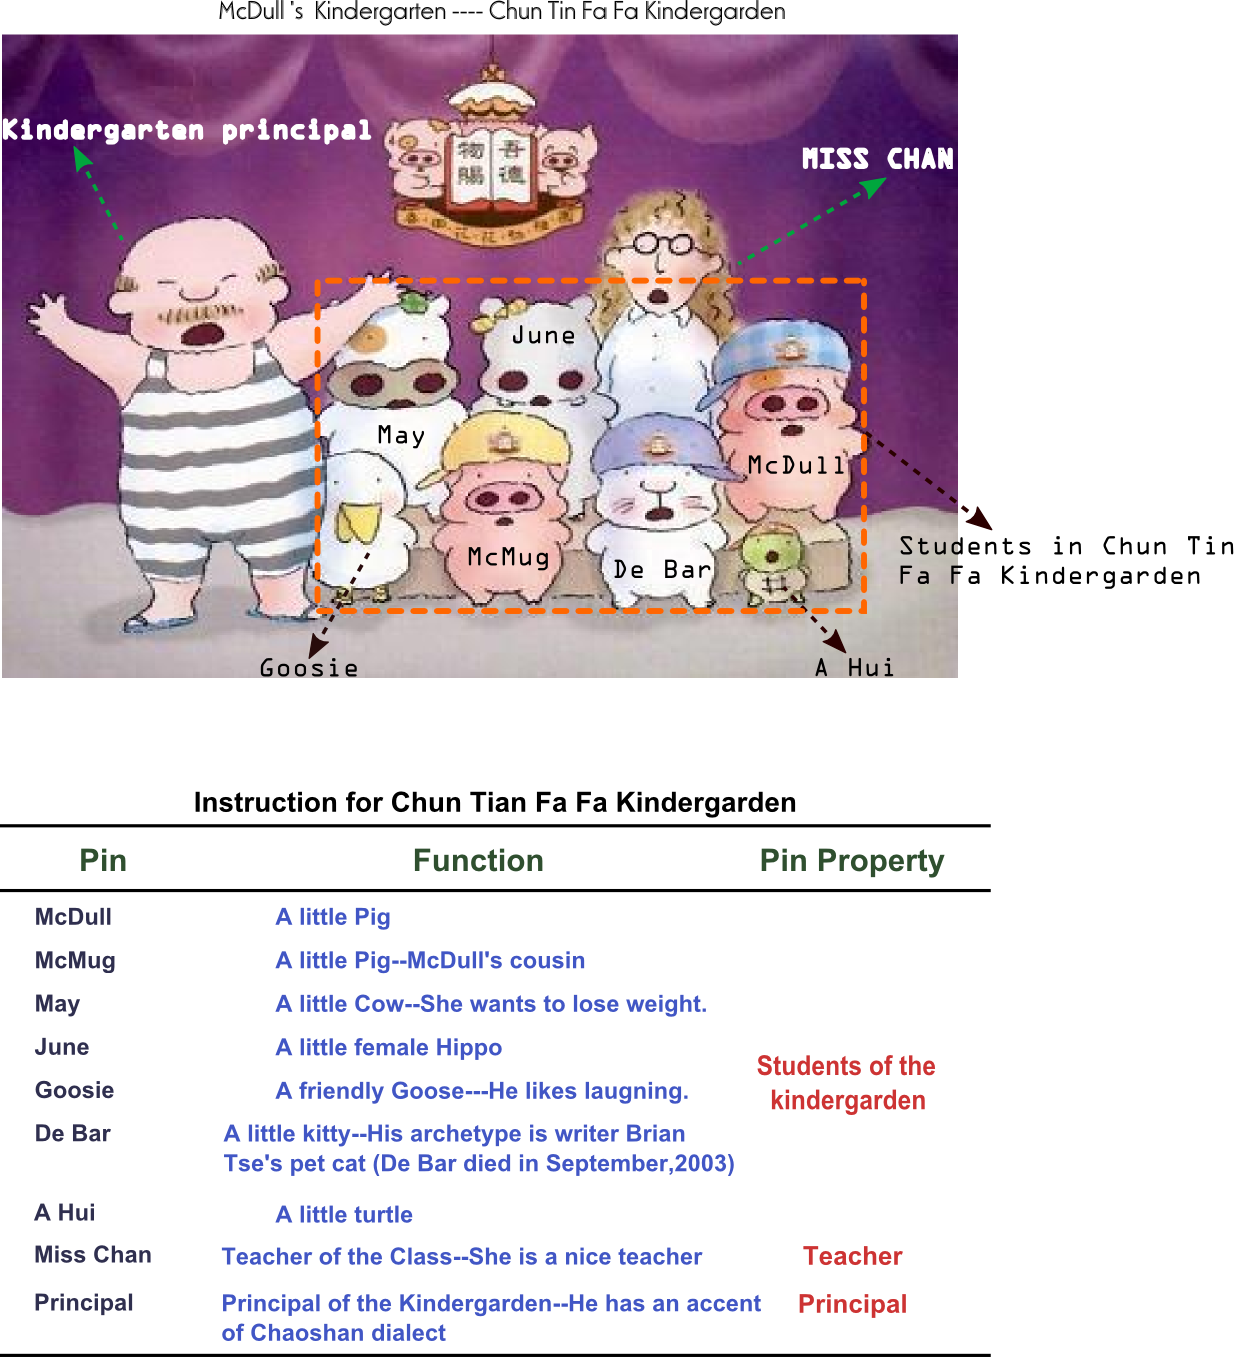
Here is a "sample"(The image is exported from Inkspace): 
You can also make a table in the wiki's page to introduce the functions of the pins rather than draw the table in the Inkscape.
| Pin | Function | Pin Property |
| McDull | A little Pig | Student |
| McMug | A little Pig--McDull's cousin | Student |
| May | A little Cow--She wants to lose weight. | Student |
| June | A little female Hippo | Student |
| Goosie | A friendly Goose---He likes laughing. | Student |
| De Bar | A little kitty--His archetype is writer Brian Tse's pet cat (De Bar died in September,2003) | Student |
| A Hui | A little Turtle | Student |
| Miss Chan | Teacher of the Class--She is a nice teacher | Teacher |
| Principal | Principal of the Kindergarden--He has an accent of Chaoshan dialect | Principal |
More detail information about settings for a table in the wiki page is on the website of: http://www.mediawiki.org/wiki/Help:Tables
Sometimes,it is necessary to clarify the steps of using a module or shield in detail when edit the wiki page.The clients can follow the steps and know how to use the products basically.
You can take a reference to the wiki of DF-BluetoothV3 Bluetooth module (SKU:TEL0026)
Here is an "example" to illustrate how to build up a wiki page of a product:
- Introduction Section
- Specification Section
- PinOut Section
- Application&UserGuide Section
- Necessary Documents/Related Products Section
- Connection Section
- Sample Code Section
- Projects Section
- Go Shopping Section
- Category Section
-
Introduction Section #Introduction
- This part aims to give a brief introduction of the product and it is always possible to obtain this information from the product's webpage for sale.
-
Specification Section #Specification
- Specifiacation information is also elaborated on the webpage of the product.
-
PinOut Section #PinOut
- You can use Inkscape to mark some important pins of a board and tell the clients what functions these pins have or which pins are occupied for special use. (Also, you can make the marks on a photo in-kind.)
-
Application & UserGuide Section #How to use the Module/Shield
- It is important to give the users a clear and concise guide to get start with the products.You can write a simple user guide and display some screenshots to tell the users which steps they should take and it will be nice to tell the users which extra software or shields they need to use if they want to fullfill some functions of the products.
-
Necessary Documents/Related Products Section #Necessary Documents/Related Products
- Related links and utility materials will be provided to the users in this part.
- You can take a reference to this website: http://www.mediawiki.org/wiki/Help:Links
- This website can help you add links in a wiki page.
-
Connection Section #Connection
- Inkscape is a necessary tool to draw the connection diagram and the connection diagram can help the users to complete the connection of the physical circuit.
-
Sample Code Section #Sample Code
- Please provide some interesting but simple sample programs to the users and they can download the sample code directly in the Arduino IDE and make fun with the products.
-
Projects Section #Projects
- If you know some interesting projects which have the application with the related products, you can provide the link here and share them with the users.
-
Go Shopping Section #Go Shopping
- This part usually has a standard format and more detail information is cited in the "Go Shopping" section.
-
Category Section #Category
- This part usually has a standard format and more detail information is cited in the "Category" section.
Related links and utility materials will be provided to the users in this part.
Example:
You can take a reference to this website: http://www.mediawiki.org/wiki/Help:Links. This website can help you add links in a wiki page.
This image shows how to add links of some important documents to the wiki page: 
Here are two examples of the connection diagram:
- In the Sample Section, you should begin with the sentence < source lang="cpp" > and end up with the sentence < /source > .You should add your sample code between these two sentences.
- Your Sample Code should include the following information:
-
Introduction Part
- What is the function of the sample code
- Name of the product
- SKU of the product
- Editor and Date
-
Library Instruction
- What libraries are used in the sample code
- What functions in the library are used in the code
-
Hardware Configuration
-
Connection ---- Corresponding to the Connection Diagram
-
Main part of the sample code
e.g.:
/*
 # This Sample code is for testing the Auto flower watering kit.
 # Product: EcoDuino - An auto plant kit
 # SKU    : KIT0003

 # Library:AutoWatering
   Library Functions:
   1.Power a pump to water flowers according to the humidity and temperature
   2.Use the DHT11 Sensor to test the ambient humidity and temperature
   3.Use the Moisture Sensor to test the moisture of the soil

 # Hardwares:
 1. Auto flower watering control board
 2. DHT11 Teaperature and Humidity Sensor
 3. Moisture Sensor
 4. Immersible pump

 # Connection:
 1.DHT11 & Free Life v1.0 board
    S      ---   Digital Pin9
   VCC     ---   VCC
   GND     ---   GND

 2.Moisture Sensor(Humidity) & Free Life v1.0 board
    1S      ---   Analog Pin2
   2GND     ---   GND
   3VCC     ---   VCC
*/

#include <AutoWatering.h>
#include <DHT.h>
#define MaxTemprature 40  //The Maximum Value of the Temperature
#define Sensor 1
#define Carbon 0

AutoWatering flower;

int temperature;
int moisture_dat;
int humidity;

void setup()
{
  flower.Initialization();//Initialization for the watering kit
  Serial.begin(115200);//Buad Rate is set as 115200bps
}
void loop()
{
  //Obtain the Temperasture from DHT11 Sensor
  temperature = flower.getTemperature();
  Serial.print("Temperature is:" );
  Serial.println(temperature);

 //Obtain the Humidity from DHT11 Sensor
  humidity = flower.getHumidity();
  Serial.print("Humidity is:" );
  Serial.println(humidity);

 //Obtain the Soil Moisture from the Moisture Sensor
  moisture_dat = flower.MoistureSensor();
  Serial.print("Soil Moisture is:" );
  Serial.println(moisture_dat);

  Serial.println();
  Serial.println();
  delay(1500);
}The Projects Section is not always necessary in the product's wiki page, but the projects can inspire the users to make more applications with the products.
e.g.:DFRobot's Community is a good place to find great projects!
"Go Shopping Section" usually has a standard format:
e.g.
 shopping light sensor (sku:sen0097)

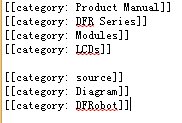
"Category Section" usually has a standard format:
e.g.
category: Product Manual category: DFR Series category: WikiPage
