Romeo_BLE_mini_SKU_DFR0351 - jimaobian/DFRobotWiki GitHub Wiki

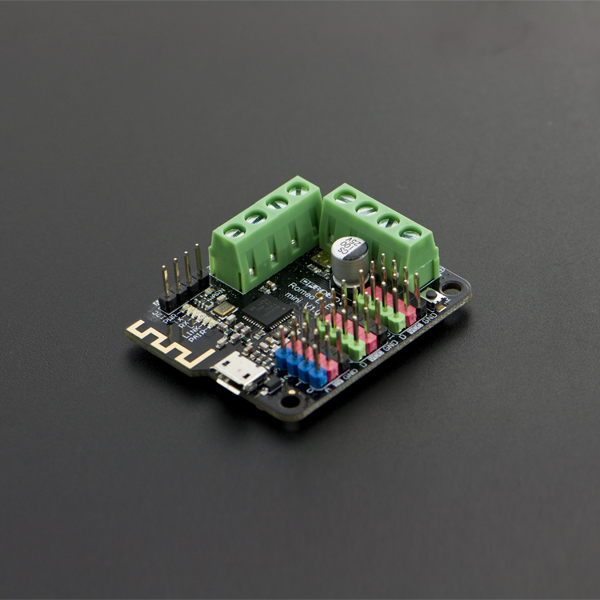
Romeo BLE mini is a simplified version of Romeo board. It inherits all functions of Romeo BLE. Moreover, IT GOT A SMALLER SIZE!Yes, you got it all. It has 8 Digital pins, 4 analog pins and integrates Bluetooth 4.0 wireless communication function. And it can easy to drive the mobile platform using two 1.5A H-bridged Motor Driver to meet the needs of most small scale robots. We hope Romeo BLE mini will be a good assistant to Makers.
| '''Basic ''' | Feature |
            |- style="vertical-align:top;" |

            -   Microcontroller: Atmega328P
            -   Bootloader: Arduino UNO
            -   8 Digital I/O ports with 2 PWM Outputs(Pin11,Pin10)
            -   4 10-bit analog input ports
            -   TTL I2C ICSP interfaces
            -   On-board BLE chip: TI CC2540
            -   Transmission range: more than 50m
            -   Size:45x38.5mm                                      | -   Easy to use BLE firmware updating
                                                                      -   Transparent communication through Serial
                                                                      -   Wireless Programming Via BLE
                                                                      -   Support AT command to config the BLE
                                                                      -   Support Bluetooth HID
                                                                      -   Support the master-salve machine switch
                                                                      -   Auto sensing/switching external power input
                                                                      -   Two way H-bridged Motor Driver with 1.5A maximum current  |
|
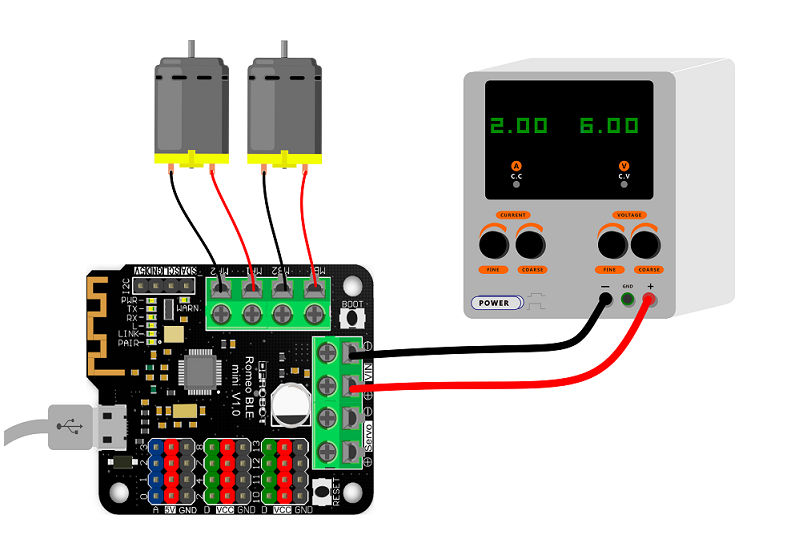
In this tutorial, you can control two motors by enter("a","b","c","d","e") in Serial Monitor on PC.
| ### Requirements |
-
Hardware
- Romeo BLE mini x1
- 6v Motro x2
-
Software
- Arduino IDE V1.6.5 Click to Download Arduino IDE

Download related Library. About Library installation
#include <Romeo_m.h>
void setup(void)
{
     Romeo_m.Initialise();
     Serial.begin(115200); //Set Serial Baud
}
void loop(void)
{
  char val;
  if(Serial.available()>0)
    {
     val = Serial.read();
     }
      switch(val){
            case 'a'://Go forward
            Romeo_m.motorControl(Forward,200,Forward,200);
            break;
            case'b'://Go back
            Romeo_m.motorControl(Reverse,100,Reverse,100);
            break;
            case'c'://Turn left
            Romeo_m.motorControl(Forward,100,Reverse,100);
            break;
            case'd'://Turn right
            Romeo_m.motorControl(Reverse,200,Forward,100);
            break;
            case'e'://Stop
            Romeo_m.motorStop();
            break;
            default: break;
            }
}
There are three revolutionary BLE firmware versions now, maybe it will be more. For the reason of unified management, we will put all BLE AT command on the BLUNO wiki page Configure the BLE through AT command.
In this section, you can use the Romeo BLE mini to connect with the Android phone or iPhone .The Step by Step tutorial of the Romeo BLE mini is almost the same with the Bluno. Bluno Basic Demo
In this section, we will learn how to Upload the sketch on air via BLE. It is really amazing that you can do uploading process without a line.The Step by Step tutorial of
the Romeo BLE mini is almost the same with the Bluno. How to Wireless Programming through BLE.
It is better to update the newest firmware for the better experience. As Romeo BLE mini is using CC2540 chip, the method of the updating is very close to BLUNO. Please choose "Bluno" firmware. Or it won't work. How to update the BLE firmware.
image:Romeo_BLE_mini2.png|1 image:DFR0339 ICSP.png|2
- ICSP1: Atmega 328P
- ICSP2: CC2540
Romeo BLE mini Libraries Romeo BLE mini Schematics
 buy from dfrobot store or dfrobot distributor list