DFRobot_Leonardo_with_Xbee_R3(SKU_DFR0221) - jimaobian/DFRobotWiki GitHub Wiki
Introduction

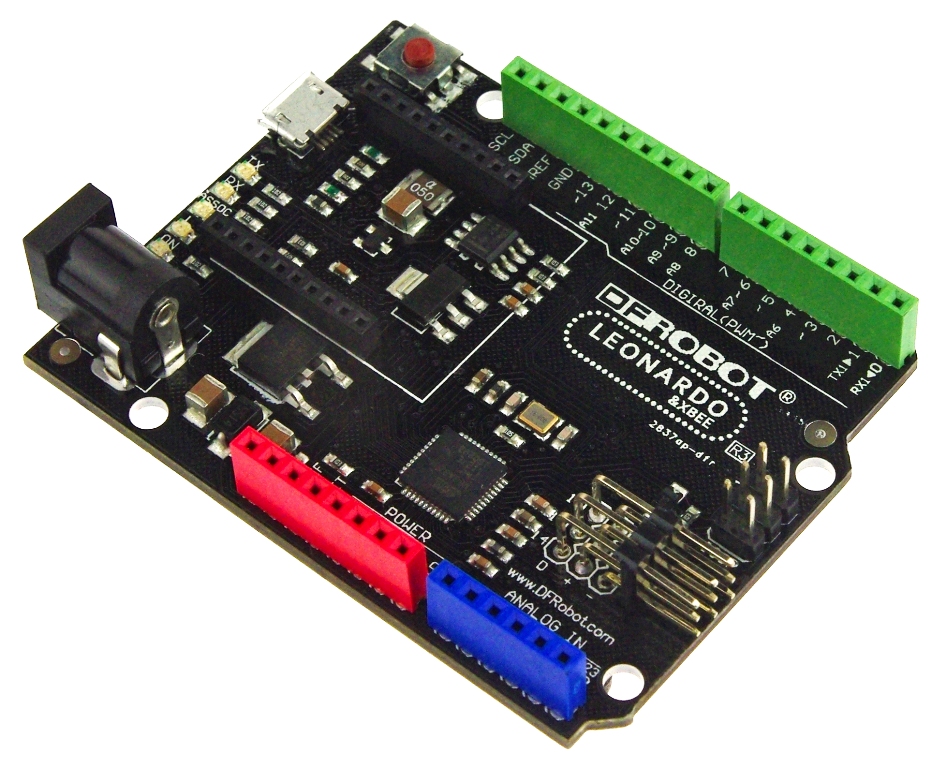
DFRobot Leonardo with Xbee socket is an Arduino Leonardo variant processor.The Arduino Leonardo is based on the ATmega32u4 chip. It is the latest addition to the Arduino family. Compared with the earlier Arduino controllers,by using the ATmega32U4 as its sole microcontroller, allows the Leonardo to be cheaper and simpler to use.Also, because the 32U4 is handling the USB directly, code libraries are available which allow the board to emulate a computer keyboard, mouse, and more using the USB-HID protocol!
Notice:This board is only supported in the latest Arduino IDE 1.0.1 or later version so you will also need to update the IDE.
Specification
- Input Voltage (recommended): 7-12V
- Input Voltage (limits): 6-12V
- Microcontroller:ATmega32u4
- Operating Voltage: 5V
- Interface: Micro USB
- Compatible with Arduino R3 series pin mapping
- Directly support Xbee and XBee form factor wifi,bluetooth and RF modules
- Extend D14~D16 digital pins with 5v power supply
- Clock Speed 16 MHz
- Size: 70x55x14mm
- Digital I/O Pins: 20
- PWM Channels: 7
- Analog Input Channels: 12
- DC Current per I/O Pin: 40 mA
- DC Current for 3.3V Pin: 800 mA
- Flash Memory 32 KB (ATmega32u4) of which 4 KB used by bootloader
- SRAM: 2.5 KB (ATmega32u4)
- EEPROM: 1 KB (ATmega32u4)
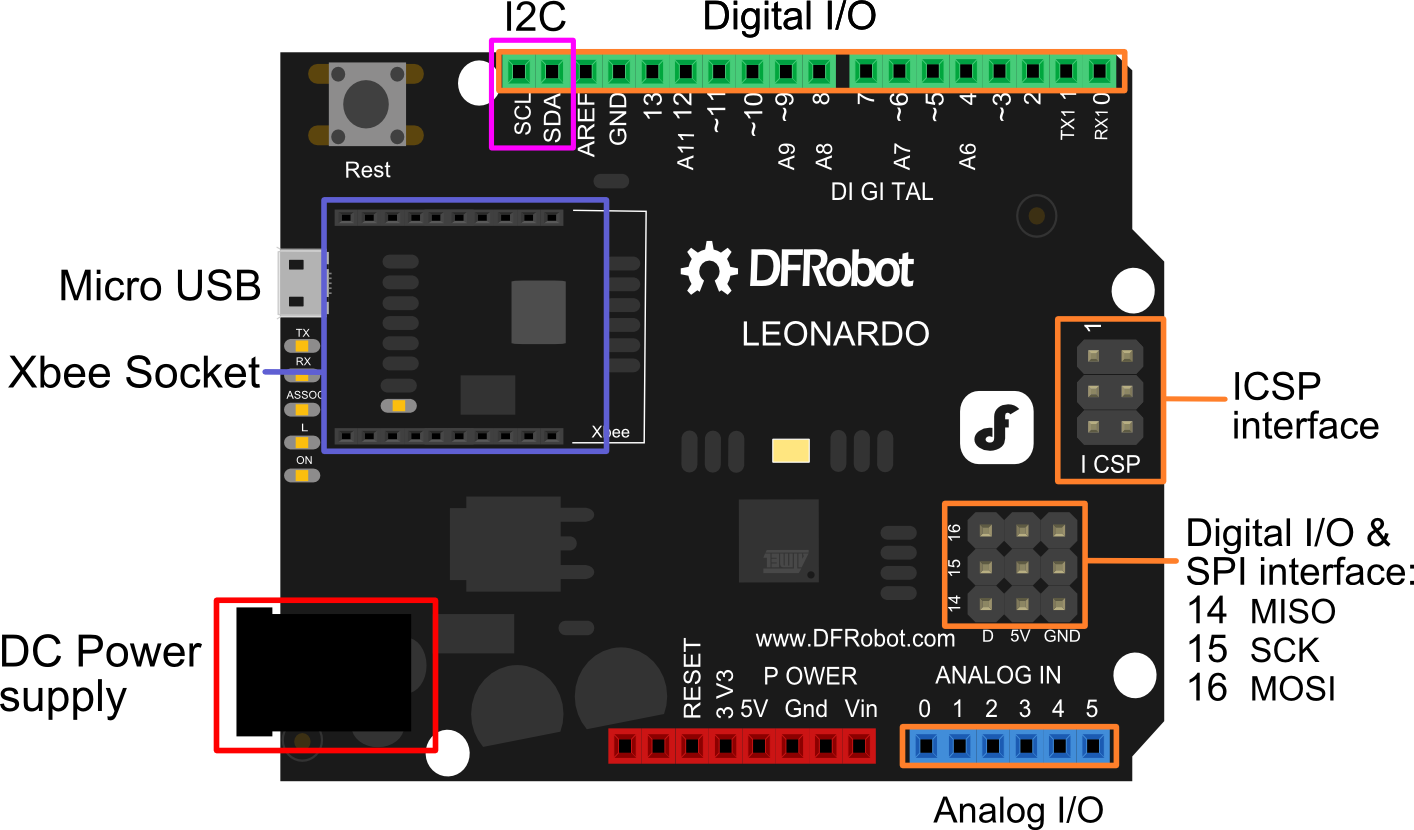
Leonardo Pin Out

Xbee Tutorial
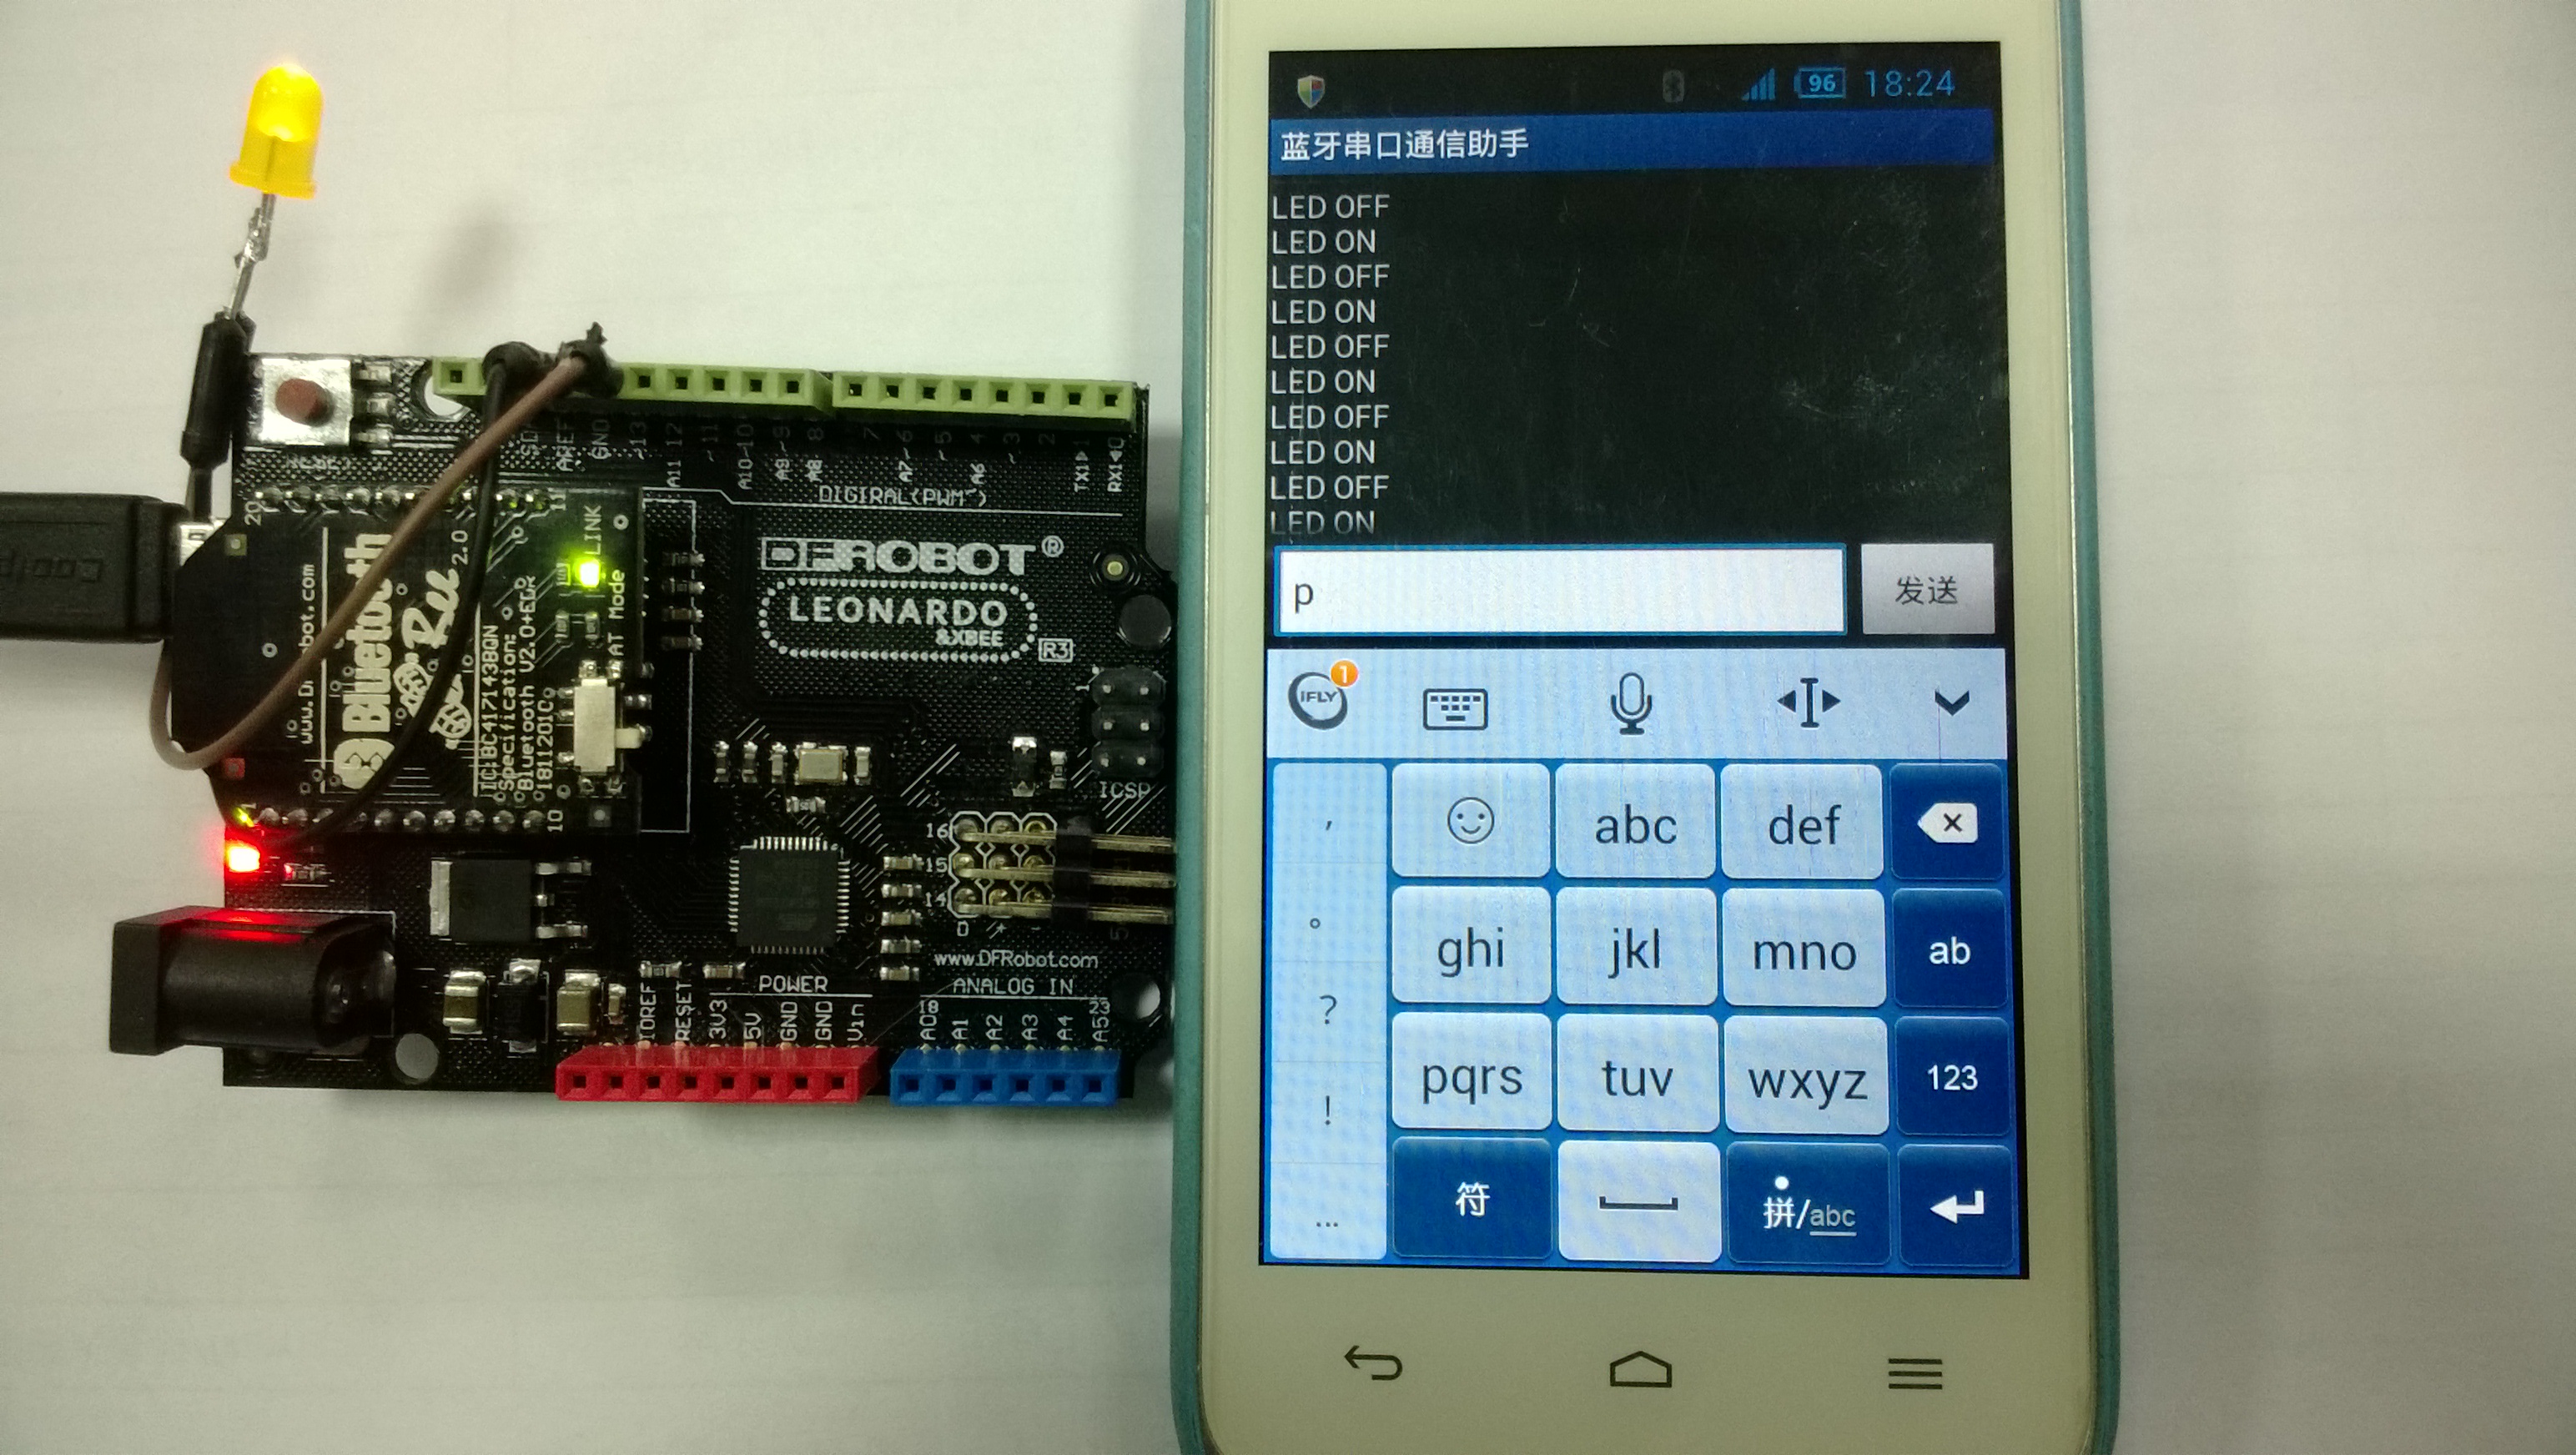
DFRobot Leonardo with Xbee R3 has a Xbee socket.It uses Serial1 to communicate with Leonardo.
Sample Code
// # Description:
// It is just used to test Leonardo module
// Write by Grey
// Input  "p" once time the led will be turn on;twice to turn off.
// It is controled by Serial1 Xbee side only. but you can check the status from serial port.

int ledPin=13;
int val;
int count=0;
void setup()
{
  pinMode(ledPin,OUTPUT);
  Serial.begin(9600);
  Serial1.begin(115200);  // Xbee Serial1 port baud rate should be set the same to the xbee baud rate
}
void loop()
{
  val=Serial1.read();    // read xbee Serial1 data
  if(-1!=val)           // "-1" means no data
  {

    if('p'==val){
      if(count==0)count=1;
      else if(count==1)count=0;
    }


    if(count==0){
      digitalWrite(ledPin,HIGH);  // Turn on
      Serial.println("LED ON");  // you can check the status from serial port.
      Serial1.println("LED ON"); //you can check the status from serial1 port(xbee).
    }
    else if(count==1)
    {
      digitalWrite(ledPin,LOW);    // Turn off
      Serial.println("LED OFF");  //you can check the status from serial port.
      Serial1.println("LED OFF"); //you can check the status from serial1 port(xbee).
    }
  }
}
Connection diagram


Documents
 shopping dfrobot leonardo with xbee r3(sku:dfr0221)
category: Product Manual category: DFR Series category: MicroControllers category: source