DFRduino_Ethernet_Shield - jimaobian/DFRobotWiki GitHub Wiki

Introduction
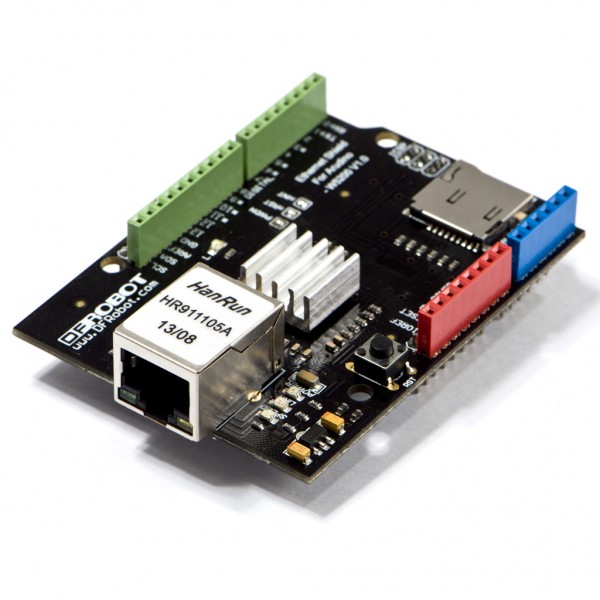
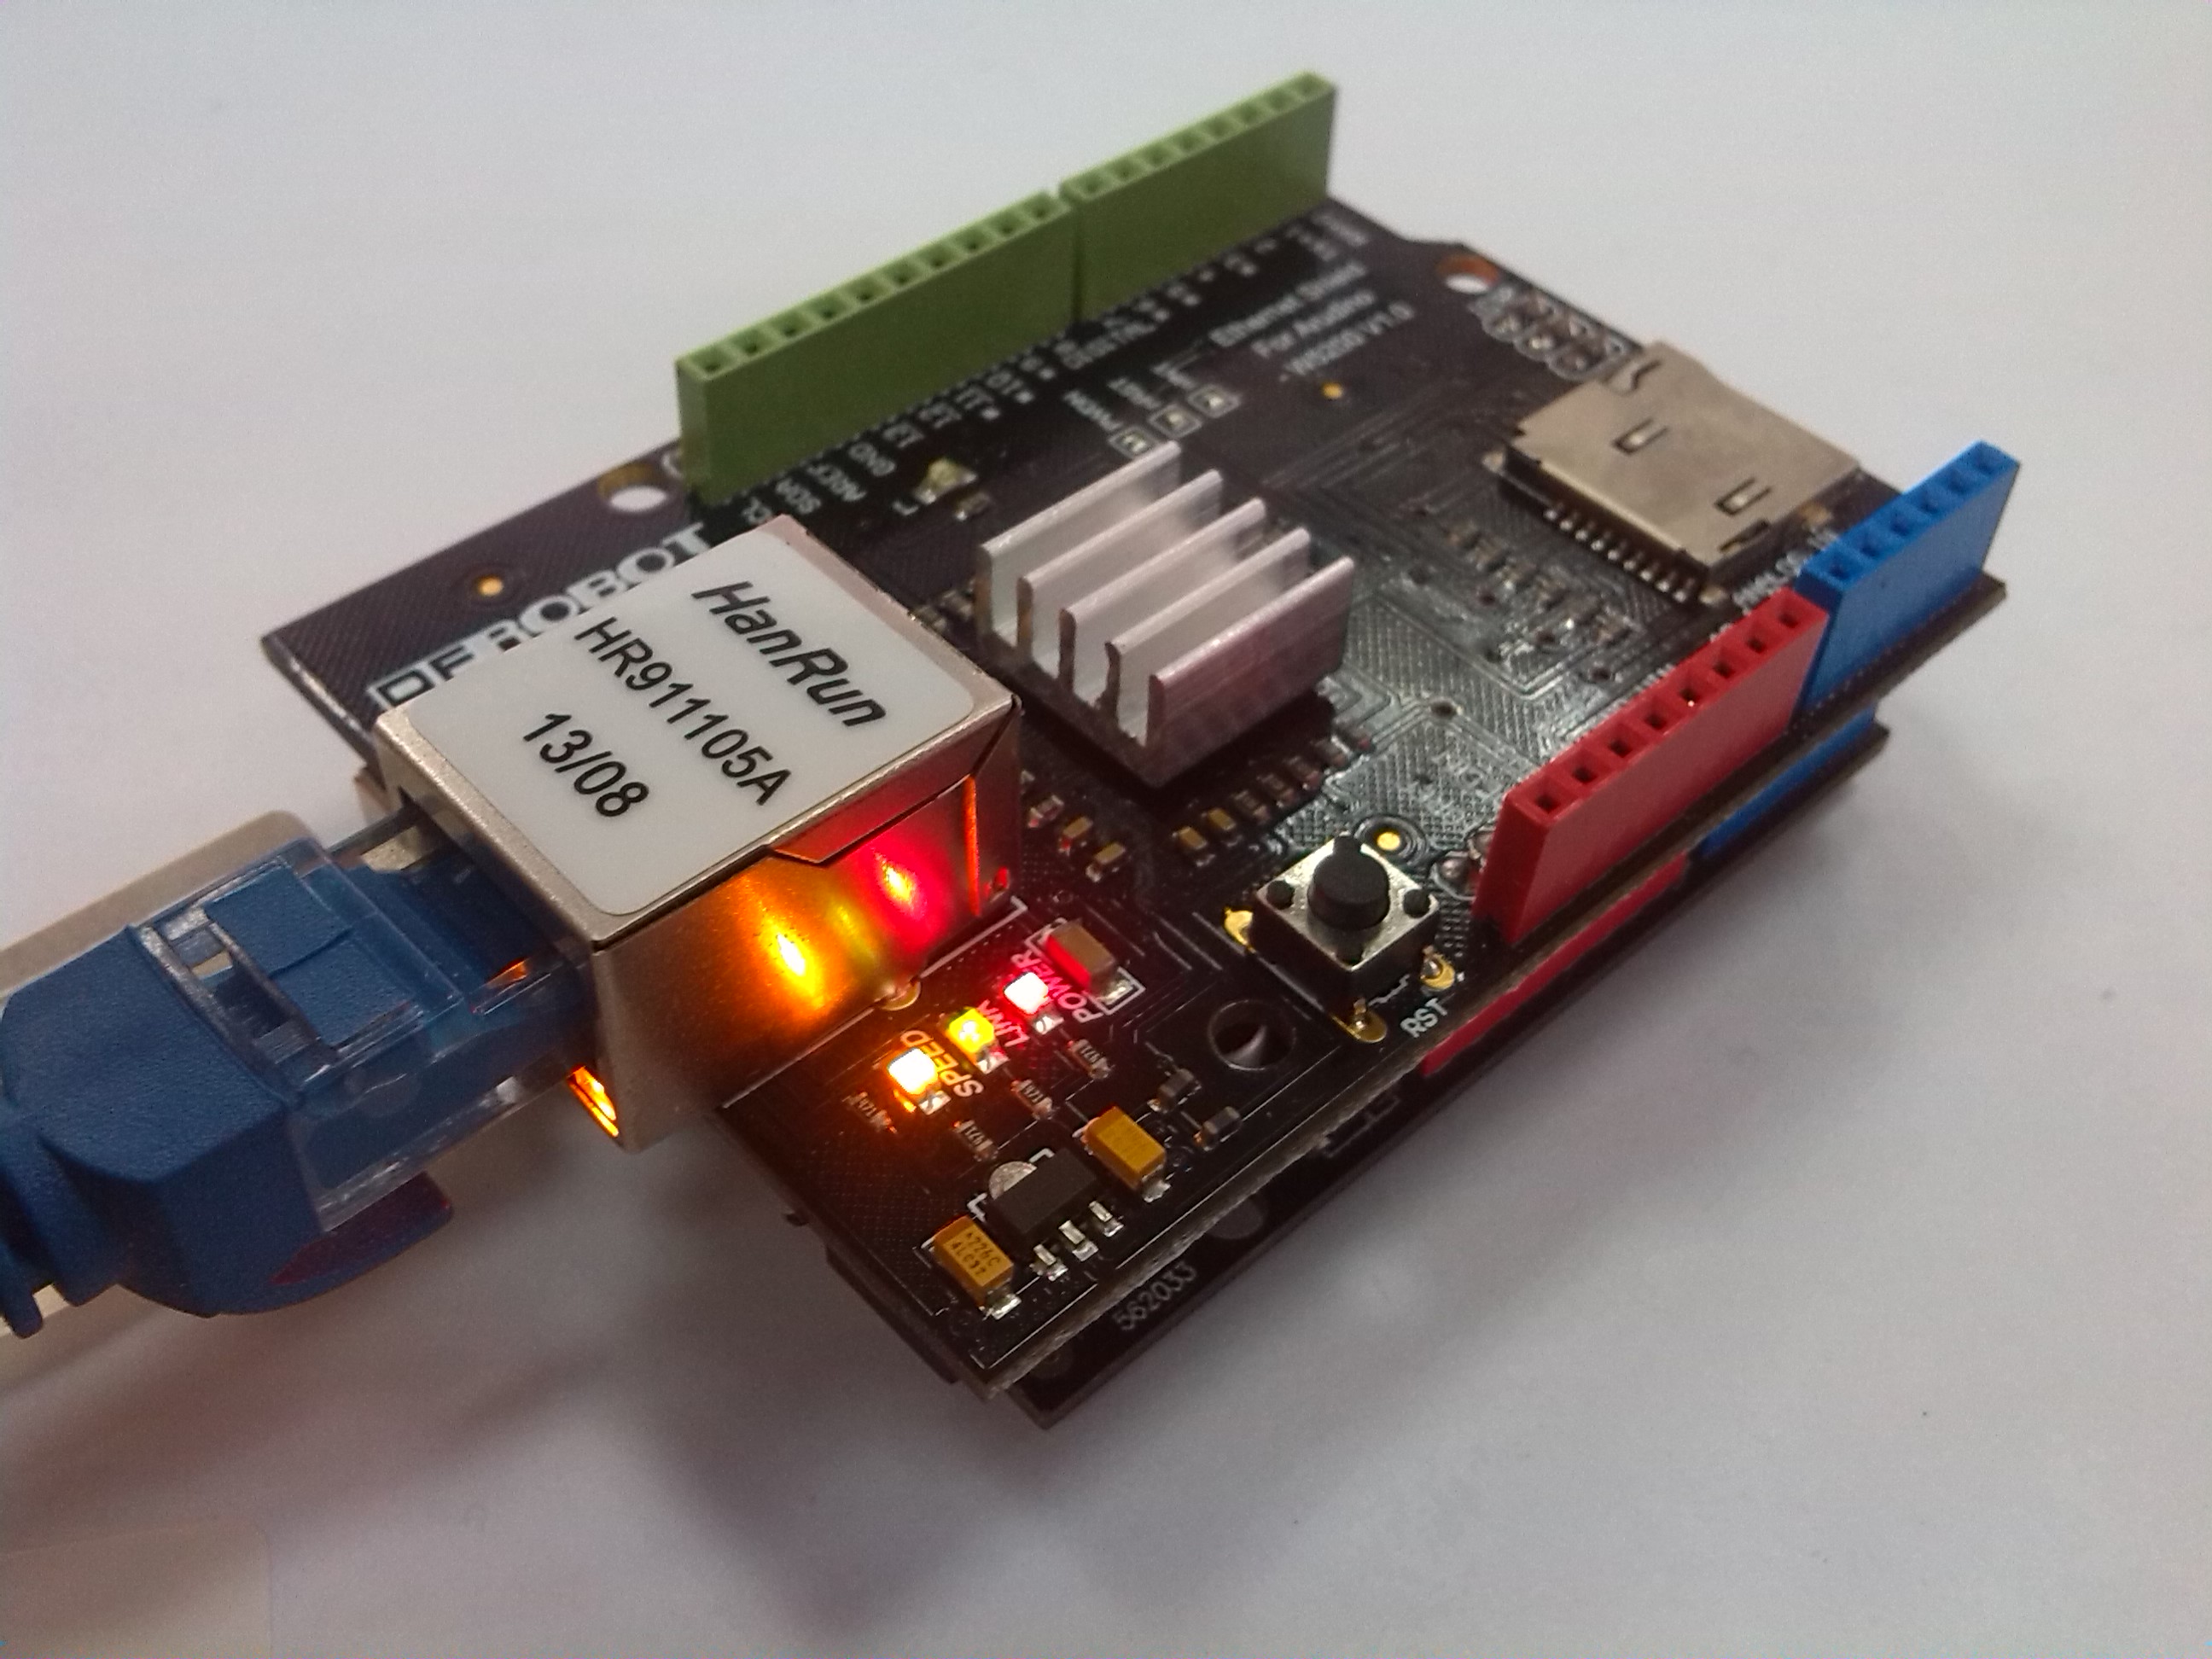
This Arduino-sized Ethernet Shield is based on the Wiznet W5200 Ethernet Chip, and provides an easy way of getting your Arduino Online. Fits all version of arduino Main board,e.g.UNO, mega 2560. To start, just plug this module onto your Arduino board, connect it to your network with an CAT 5 Ethernet Cable (not included) and follow a few simple instructions, you will be able to explore the world with internet. The pin layout also allows another shield to be stacked on top.
Features:
- Support Arduino official Ethernet Library (Arduino IDE 1.0.6).
- Add-on micro-SD card slot, which can be used to store files and accessed via the SD Library.
- Compatible with the Arduino Uno as well as Mega (2560).
- The Wiznet W5200 provides a network (IP) stack capable of both TCP and UDP.
- Supports up to four simultaneous socket connections.
- Use the Ethernet library to write sketches which connect to the internet using the shield.
- Aluminum alloy radiator to release excessive heat.
Applications
- Home network device: set top box, PVR, digital media center
- Serial Ethernet: access control system, LED display, wireless AP repeater, etc.
- Parallel Ethernet: POS machine or hand-held printer, copier
- USB Ethernet: storage devices, network printers
- Security Systems: Network Camera
- Monitoring equipment
- Embedded Server
Specifications
- Working voltage: 5v
- Ethernet socket
- Support Micro SD card reading / writing
- Size: 70x55x30mm
Tutorial
| NOTE: If you want to use the SD card. |
The Ethernet and the SD card share the same SPI interface, only one of them can be manipulated once a time. |
| ### Use W5200 as a WebServer |
Requirements
- Hardware
- UNO x1
- DFRduino Ethernet Shield x1
- Software
- Arduino IDE V1.0.* Click to Download Arduino IDE from Arduino.cc
 NOTE: Suggested version: Arduino 1.0.6, other version is not compatible for the SPI library difference.
Connection
-
Plug Ethernet Shield/ W5200 on Arduino UNO.
-
Connect RJ45 cable to the Ethernet board.

Sample Code
-
Download the library for this module and do NOT hurry to unzip it to Arduino -> Document -> Arduino -> Library. [Link: Download Link.]
-
Find the Arduino library folder: "(Arduino sketchbook folder)\libraries". If there was an old version Ethernet library( which is for W5100), please delete it. And unzip the new library to the folder, then restart your Arduino IDE.
-
Open the Arduino IDE, find the example sketch: W5200_WebServer: Files->Examples->Ethernet->W5200_WebServer
-
Revise the sketch which is for the Dreamer MEGA X2 PORT to match UNO port.

- Change the IP address which you need, then upload the sketch.
IPAddress ip(192,168,0,217);
| NOTE: What IP address is permitted? |
The IP address should be different from your any device in the same network, or the module would failed to be a webserver since its IP address is conflict with another device. e.g. my computer's IP address is 192.168.0.25, my another pc's IP: 192.168.0.35, then I cannot use 25 and 35 anymore, so I set it as 192.168.0.217. |
Check If It Works
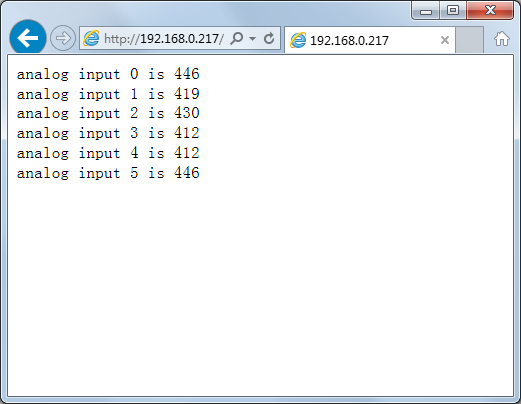
Open your browser, and input your advice IP address.(In this example, it is 192.168.0.217). If you saw 6 groups analog data and it refreshes every 5 seconds, then it works well as a webserver. 
FAQ
| '''Q1. '''How to use the onboard micro-SD card slot? |
'''A. '''Use it as the normal one using Arduino SD library is ok. Note that because the W5100 and SD card share the SPI bus, only one can be active at a time. For more, please check on Arduino, Arduino Ethernet Shield.
 For any question/advice/cool idea to share, please visit DFRobot Forum.
Documentation
- Getting started with the ethernet shield
- Ethernet library reference
- Schematics
- library download link
 shopping online from dfrobot store or dfrobot distributor.
category: Product Manual category: DFR Series category: Shields