Setting up your repository settings - jhudsl/OTTR_Template GitHub Wiki
Table of Contents generated with DocToc
- Add jhudsl-robot as a collaborator
- Set up your Github Personal access token
- Recommended repository settings
Add jhudsl-robot as a collaborator
*You can skip this step if your course is in the jhudsl organization.
The Github actions in this repository need permissions to fully function.
To this end, you need to add the jhudsl-robot as a collaborator on your repository with write permissions.
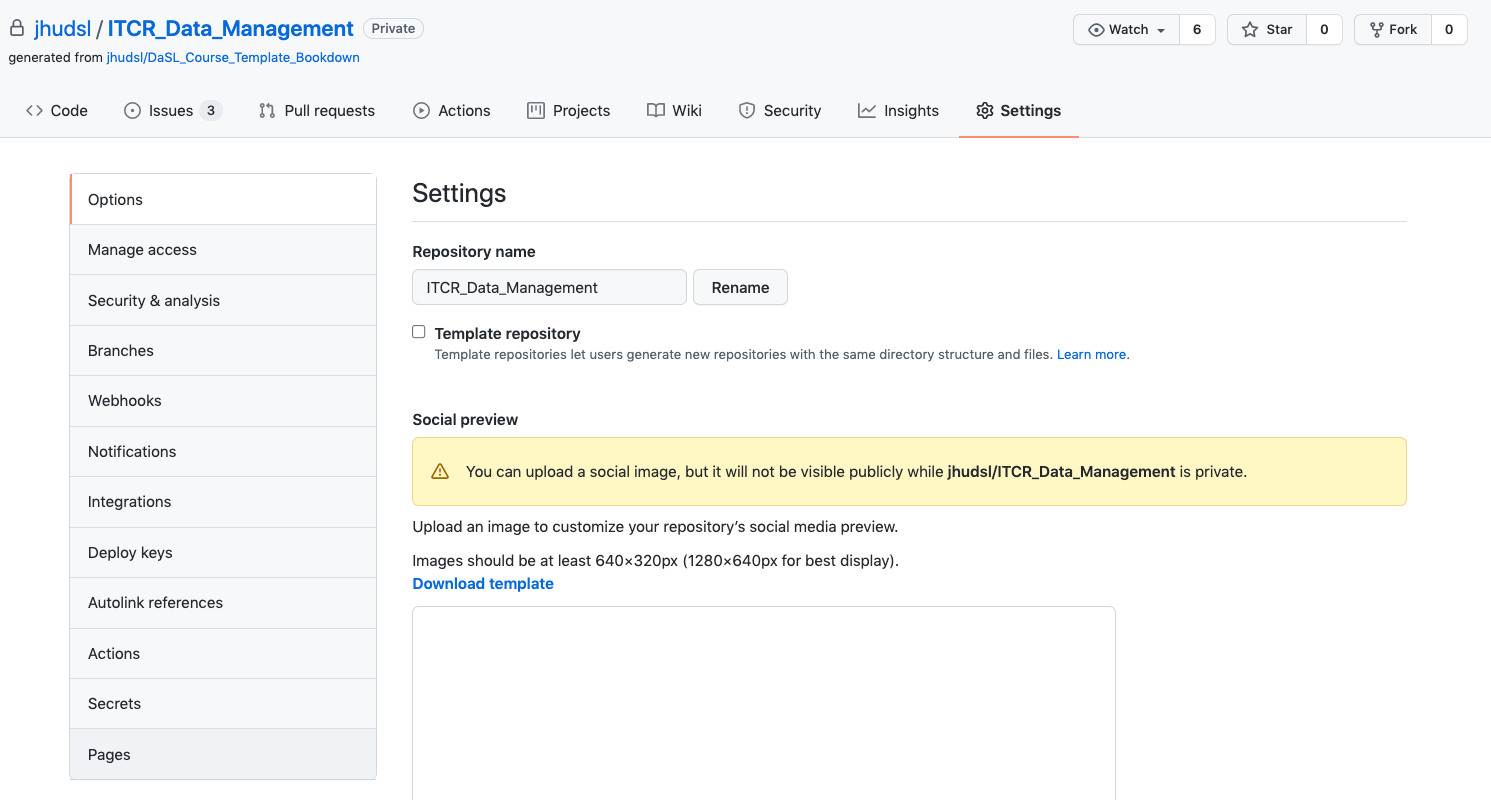
In your repository, go to your Settings > Collaborators & Teams and click on Add people.
In the pop up window, search for and add jhudsl-robot.
Choose the write option then click Add jhudsl-robot to this repository.
Set up your Github Personal access token
The OTTR robots need permissions to run some of the actions. You only need to do this once as an organization (if this course is under jhudsl you don't need to do this step).
To give them permission for all the actions, you need to set a GitHub secret. Go to Settings > Secrets and scroll down to organization secrets or you can set this for each repository by creating a repository secret.
- Click
New repository secretbutton. - Under name you must use
GH_PAT. - For
value: Create a personal access token following these instructions. UnderneathSelect scopes, check bothrepoandworkflow. Then copy the PAT and save as the value. Your Github actions should all be able to run smoothly now.
Recommended repository settings
With your course repository set up, there are some settings recommended for development.
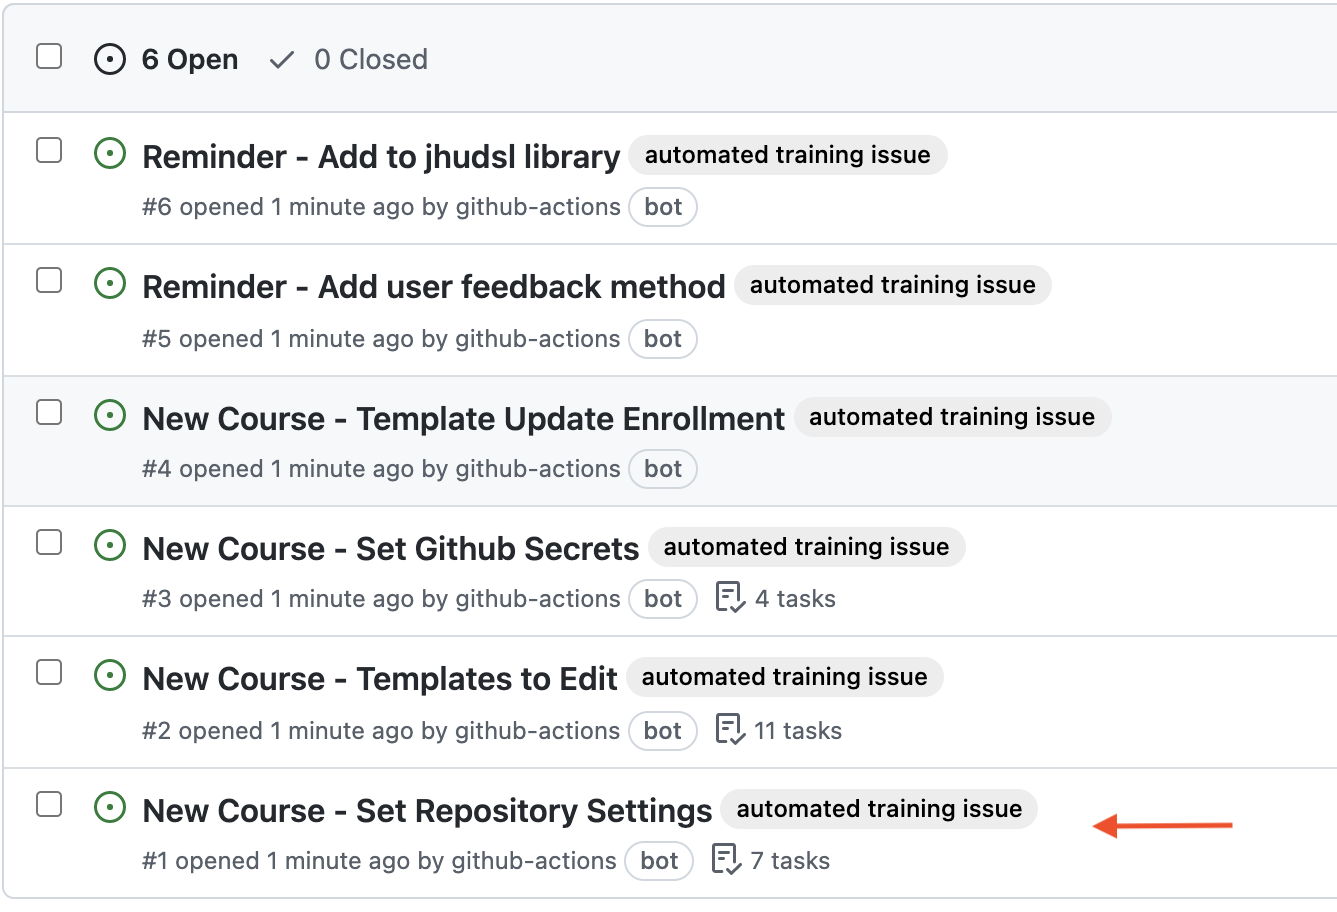
Using the issue guide checklist called New Course - Set Repository Settings, you can walk through the steps for setting up your repository as we would recommend.
Set up GitHub pages
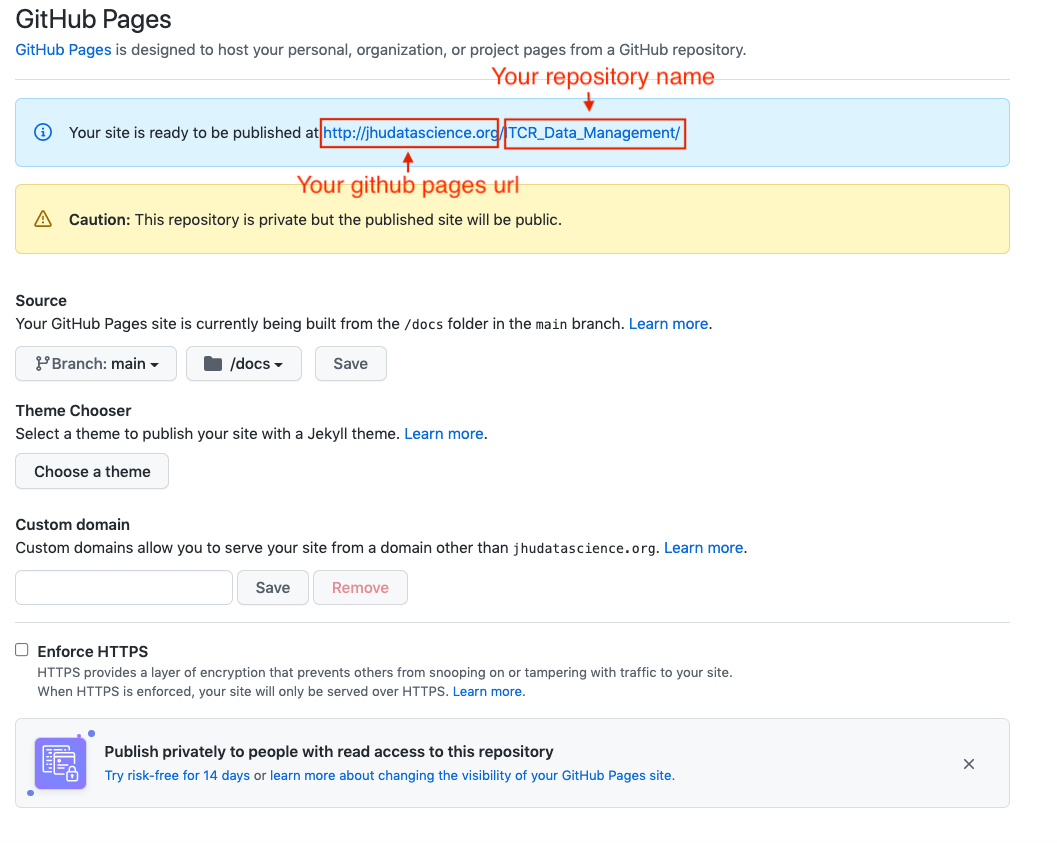
Go to Settings > Pages.
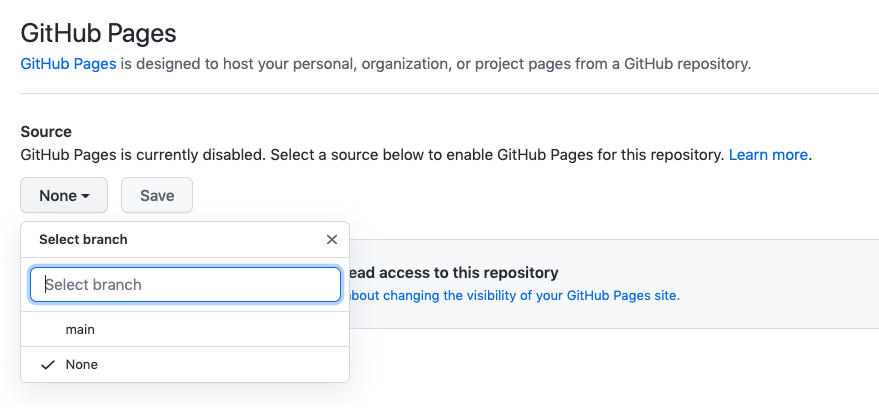
- Under
Source, pick the drop down menu and pickmainand/docs. - Then click
Save. - Lastly, check the box that says
Enforce HTTPSat the bottom of this page.
Set up branches
* Don't set these settings right away! Wait a few minutes after starting your repository.
Go to Settings > Branches and click Add rule. This is only possible if you have GitHub Pro, Team, or Enterprise access. We recommend seeing if your organization can give you access if you do not already have access. To get this access through your organization, you will need to transfer ownership of your repo to your organization. See here about how to do this.
For Branch name pattern, put main.

Protect the main branch:
Then check the box that says Require pull requests before merging.
Make sure branches are updated:
- Check the box that says
Require status checks to pass before merging. - Underneath this also check the box that says
Require branches to be up to date before merging.
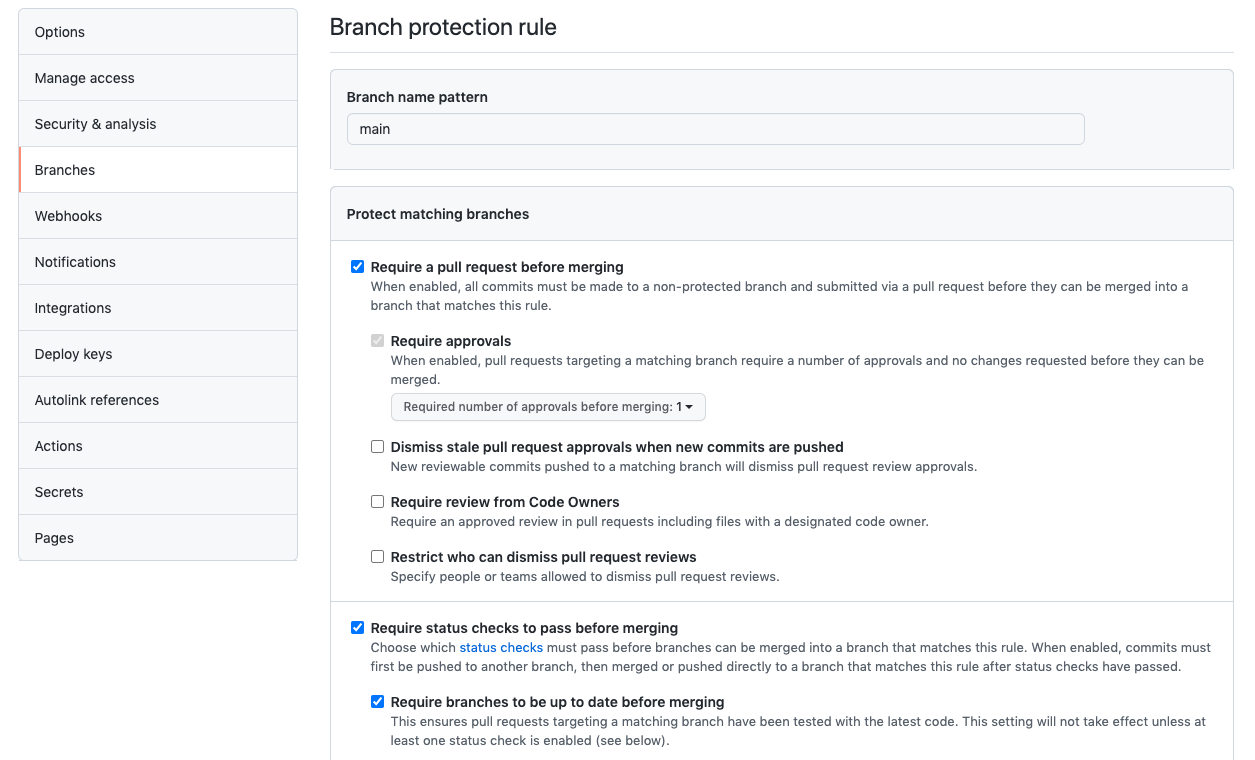
After setting up these new branch items, click Create and Save changes.
After you submit a pull request if you haven't already done so, you will see several automatic checks happening. Don't be alarmed if this image looks slightly different as we make updates to the template:
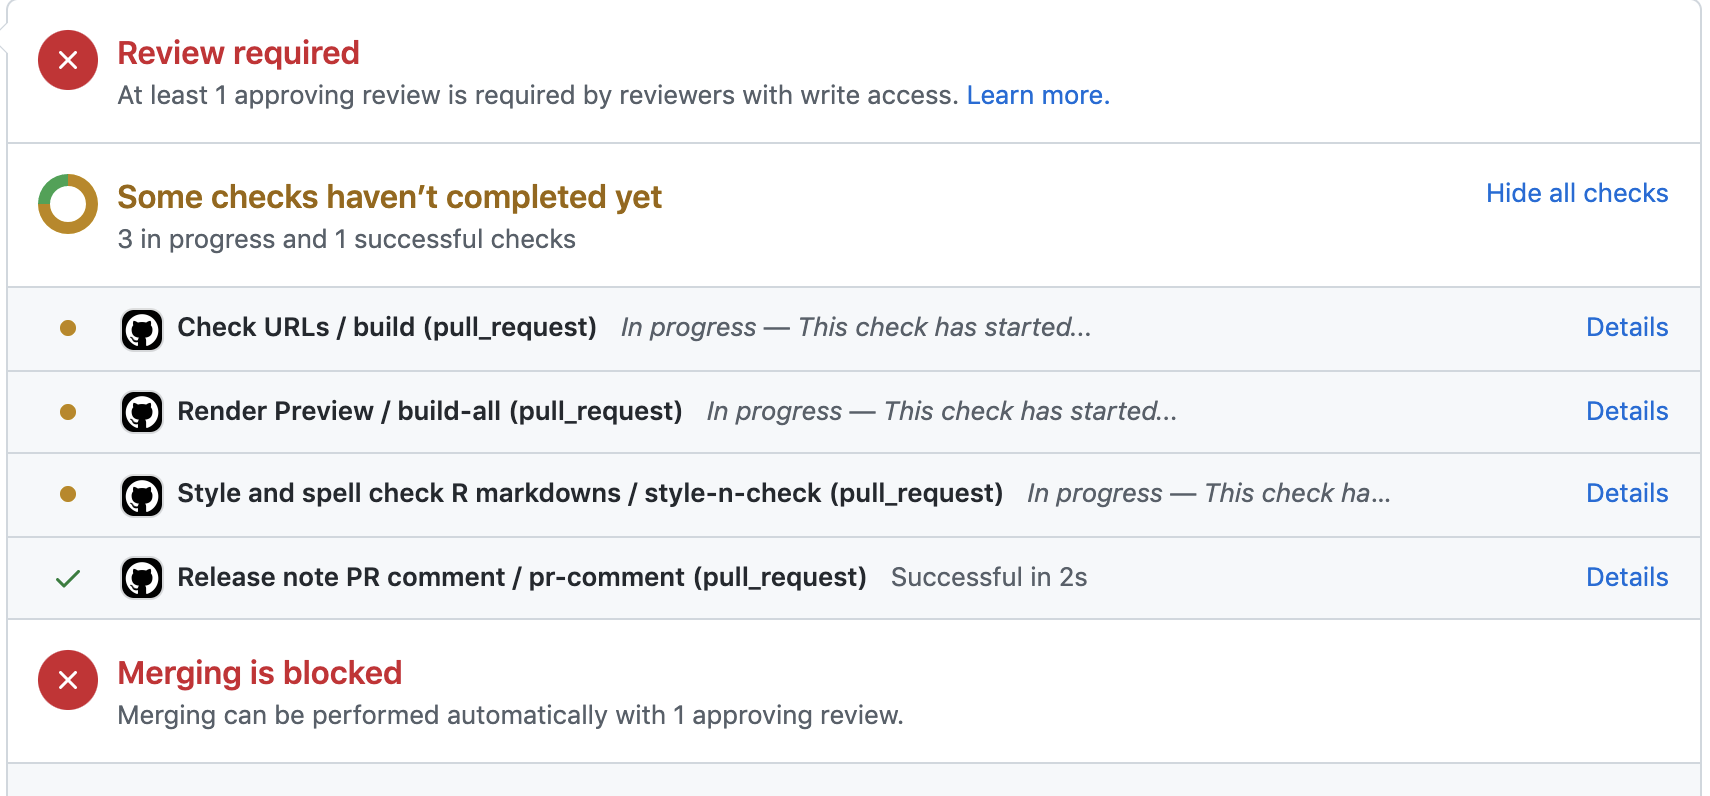
These checks will do important things like:
- Check that the all the urls actually take learners somewhere
- Check that the code is styled using the
stylerpackage - Check that the spelling is correct using the
spellingpackage - Create previews of the rendered versions of the course
- Check the formatting of any quizzes
Note that these Github actions checks all assume that you are creating pull requests and print out their assessments on the pull request you opened.
See the Github Actions page for more details on these.
If you are a part of JHU DaSL then you can skip the next section and the issue about GitHub secrets and start adding more content!
There is one more issue that you can do to get updates for template files.
We recommend that you do this but it is optional.
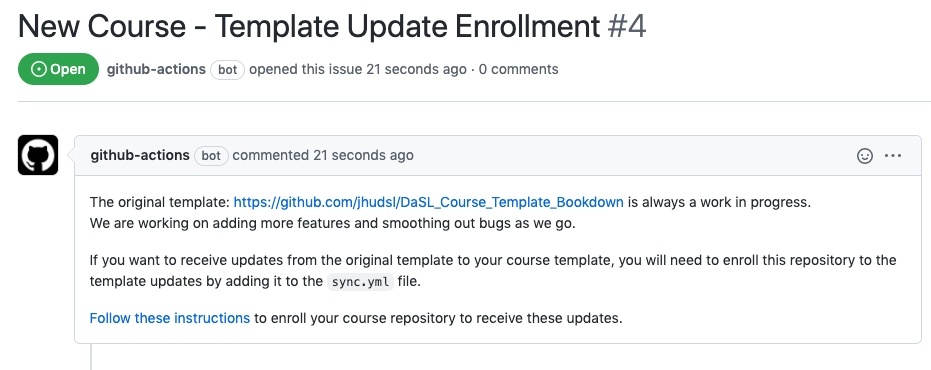
See this section to learn more about this or continue following along with the guide which will tell you how to set this up in a bit.
Note that you can comment and close the issues you finish if you click on the issue and scroll down to the comment field to add comments and click the close issue button if you are finished.