Publishing on Coursera - jhudsl/OTTR_Template GitHub Wiki
Table of Contents generated with DocToc
- Setting up your Coursera course
- Converting your files for upload to Coursera
- Navigating to your course on Coursera
- Add programmed messages
- Grading formula
- Content Schedule
- Module Descriptions
- Landing Page
Once your content has been largely developed you may want to add your course to Coursera.
This guide was prepared specifically for those developing courses for the ITN project at Johns Hopkins University or other Coursera partner institutions. It reflects the needs and goals of ITN course developers. Coursera's Educator Resource Center is the authoritative source of documentation for using the Coursera platform.
Setting up your Coursera course
If you are from Johns Hopkins: You will need to follow this document and send information Ira Gooding who will create a course shell for you.
If you are not from Johns Hopkins: You will need to set up your own educator profile and course shell through your institution.
Converting your files for upload to Coursera
The Github actions set up in the render-all.yml render your course material in a format suitable for linking to Coursera.
This Coursera version is identical except that the table of contents bar on the left side has been dropped so as to not confuse Coursera users about navigating the course.
These files can be previewed in the docs/no_toc folder and a link to the Coursera version is printed out in a GitHub comment in your pull request by render-preview.yml.
If you have written your quizzes in Leanpub format first, render-all.yml github action will convert those quizzes so they are ready for upload to Coursera.
Or alternatively if you do not wish to have a Leanpub version of your course, you can write your quizzes directly on Coursera's website. You can download the quiz you write on their website as a yaml and store it on your repository as well.
Navigating to your course on Coursera
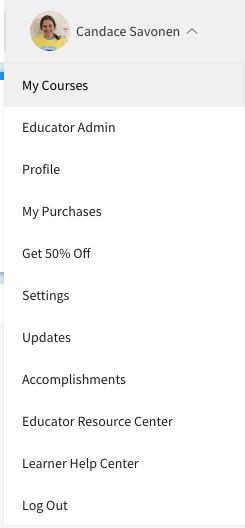
After your course shell has been added to your account you can navigate to it by going to My Courses:
And you should see it listed:
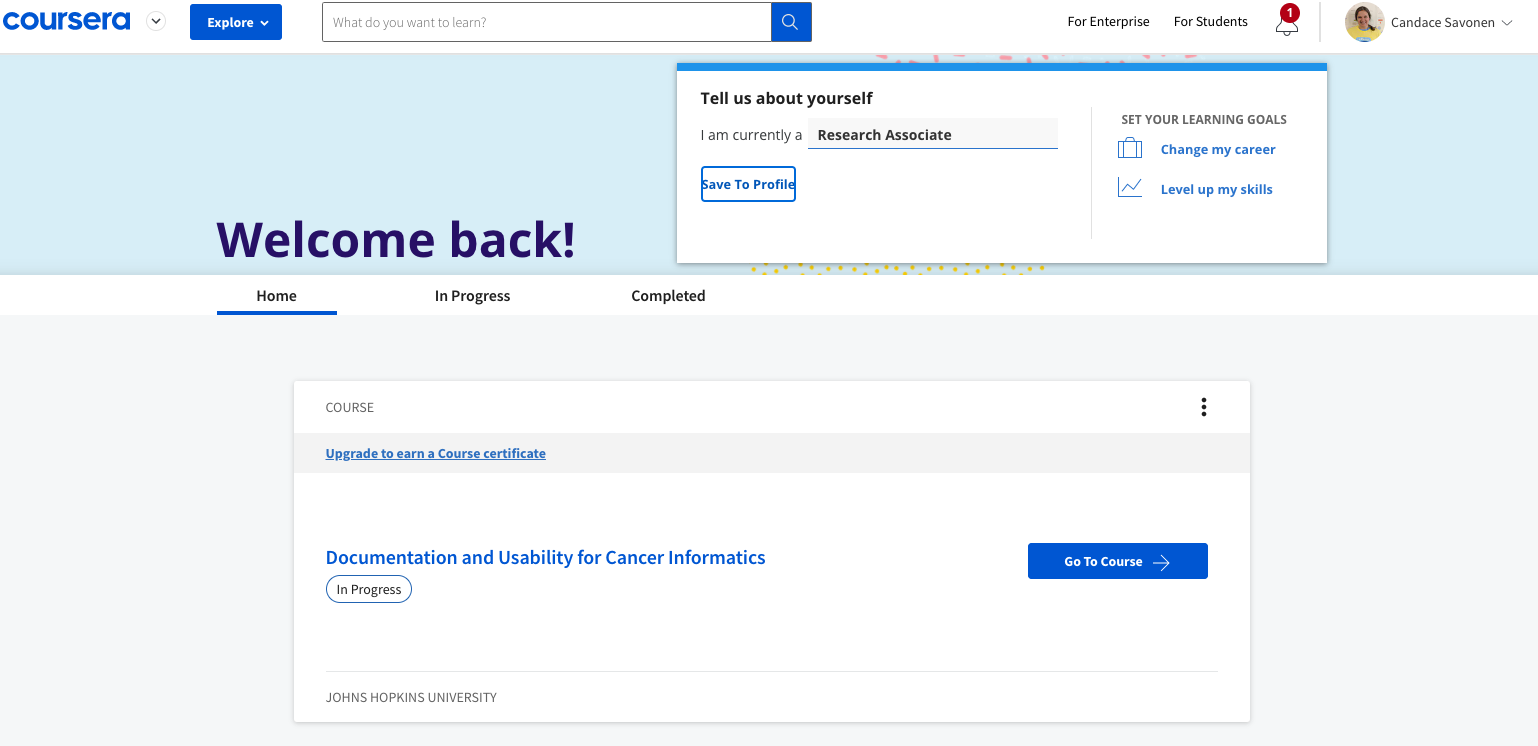
You can click on Go to Course. And on your main course page click Edit Course in the right corner.
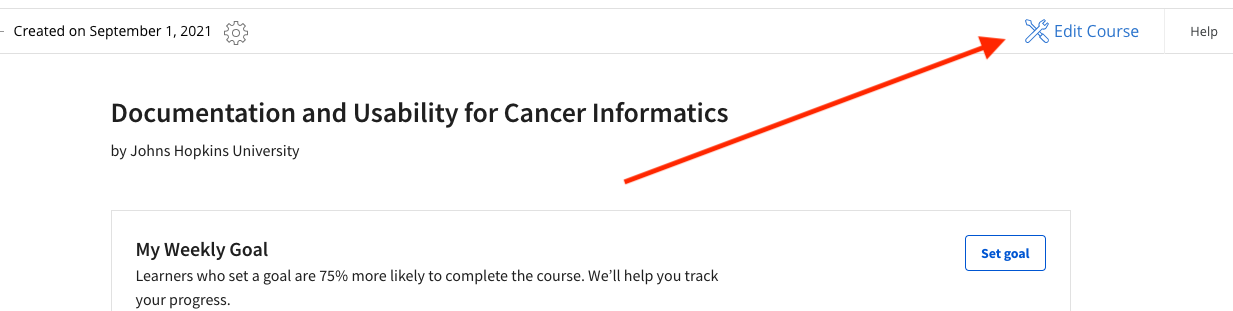
This will bring you to your version page (at this point you should only have a Version 1, so go to that one).
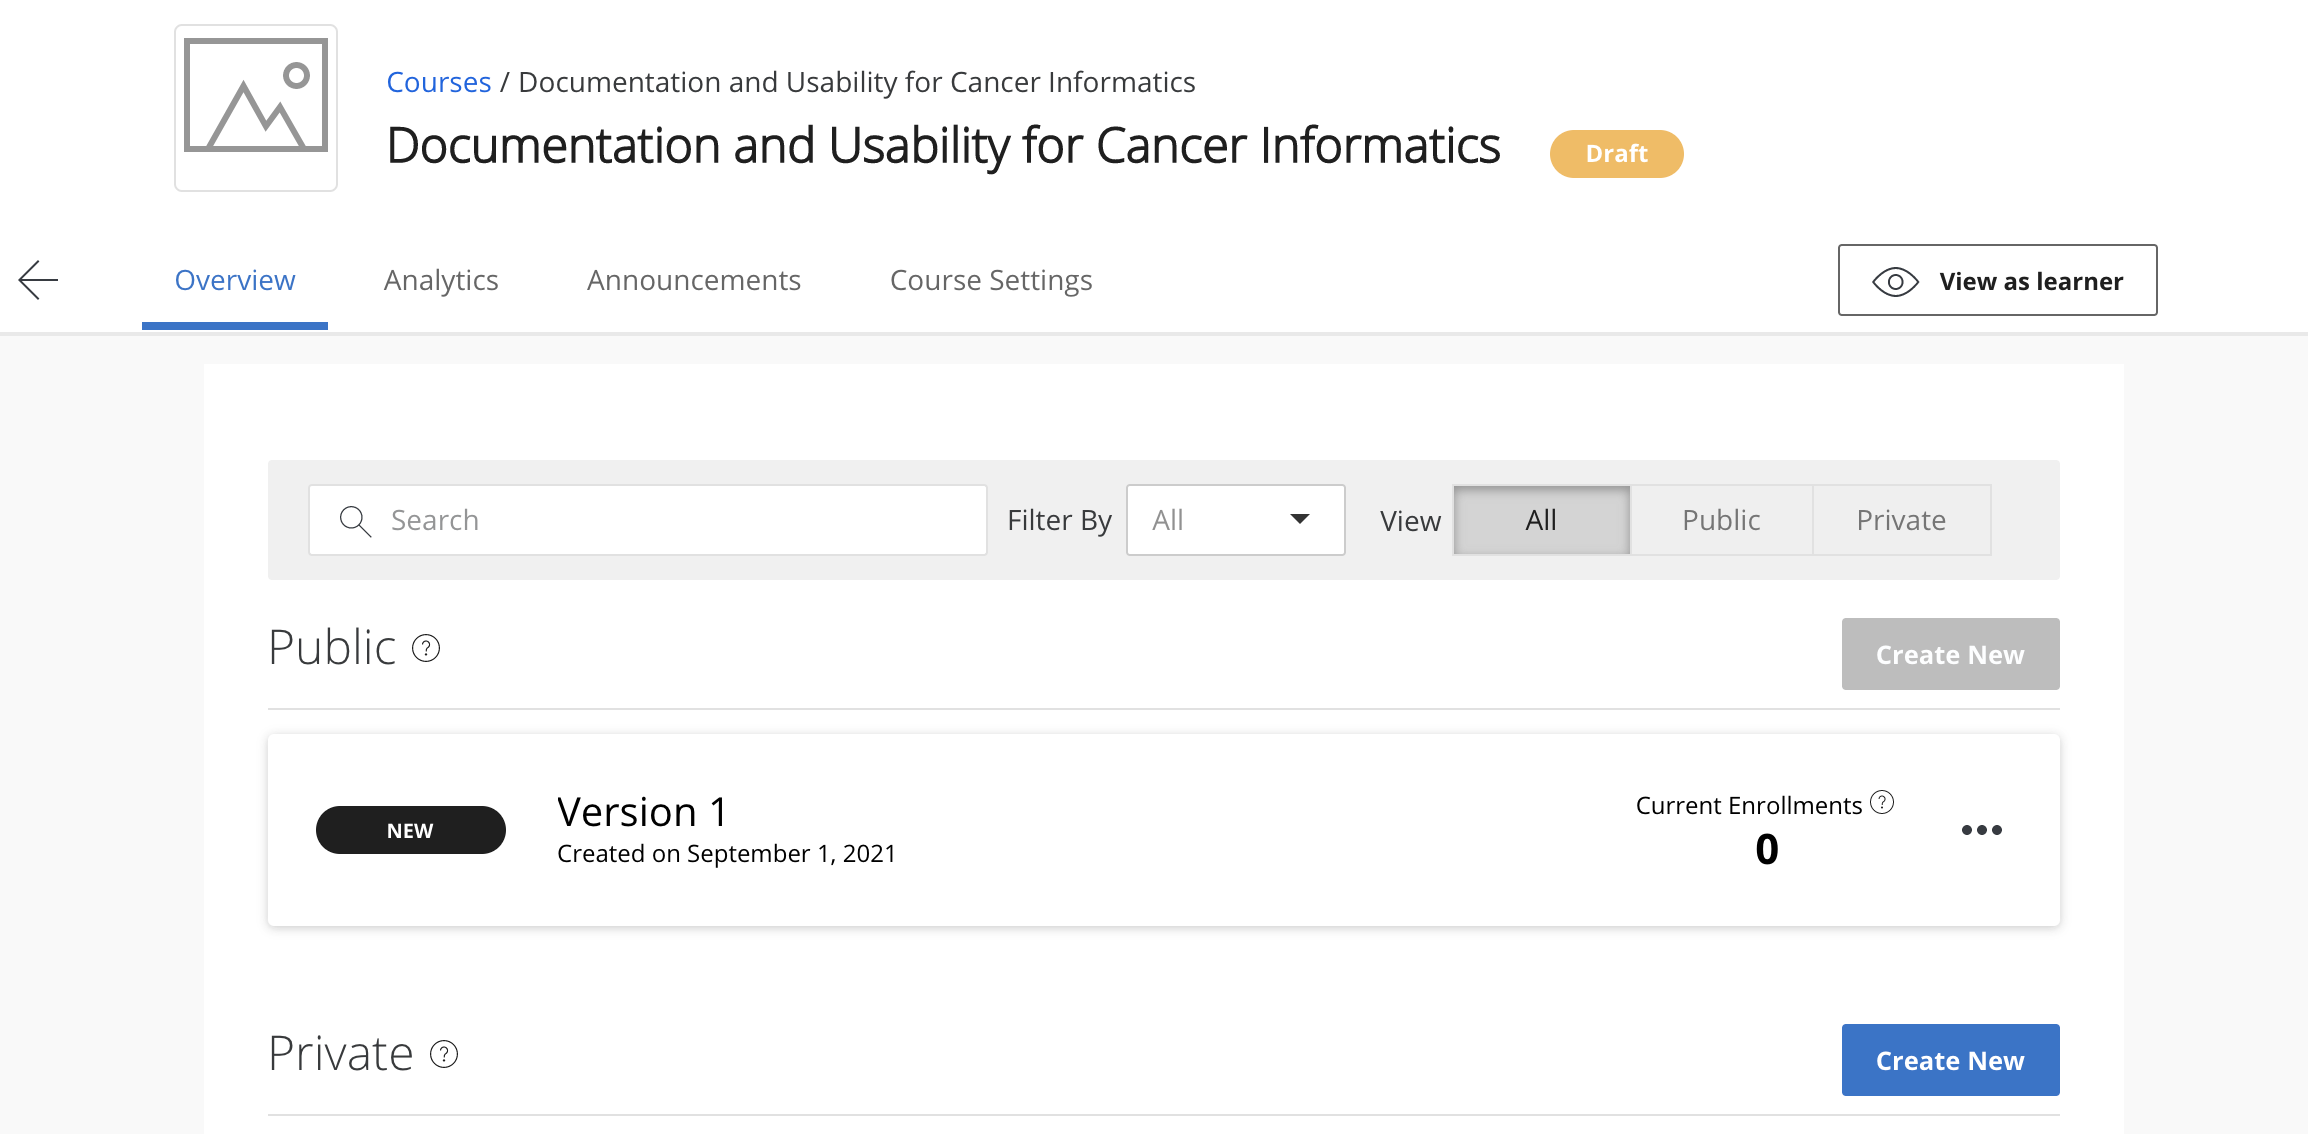
Now you are on the Edit content page and ready to add lessons, modules and quizzes!
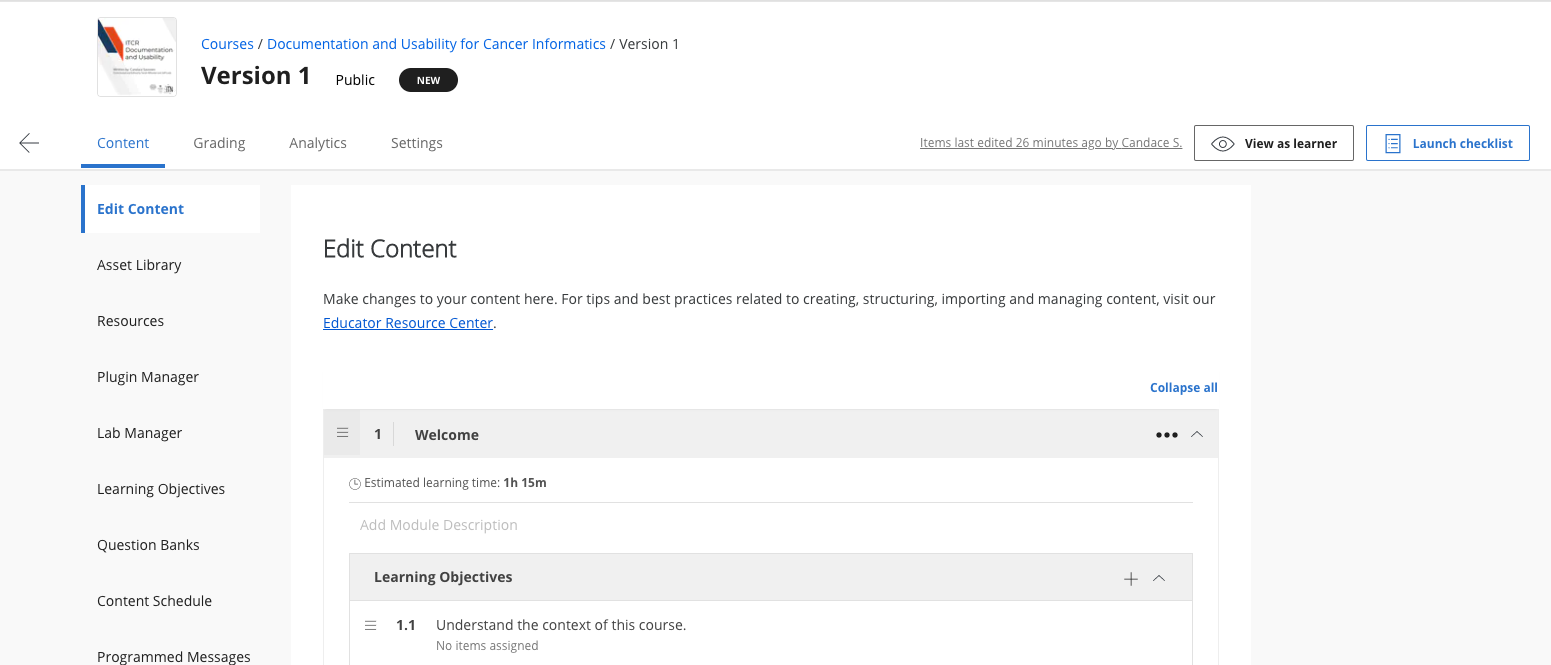
In general, you will want each lesson to contain at least a chapter and a quiz.
Each module is supposed to take a learner one week, so depending on the length of your chapters and quizzes you may want one or two lessons/chapters/quizzes a module.
To add a new lesson, click the + Add Lesson button:
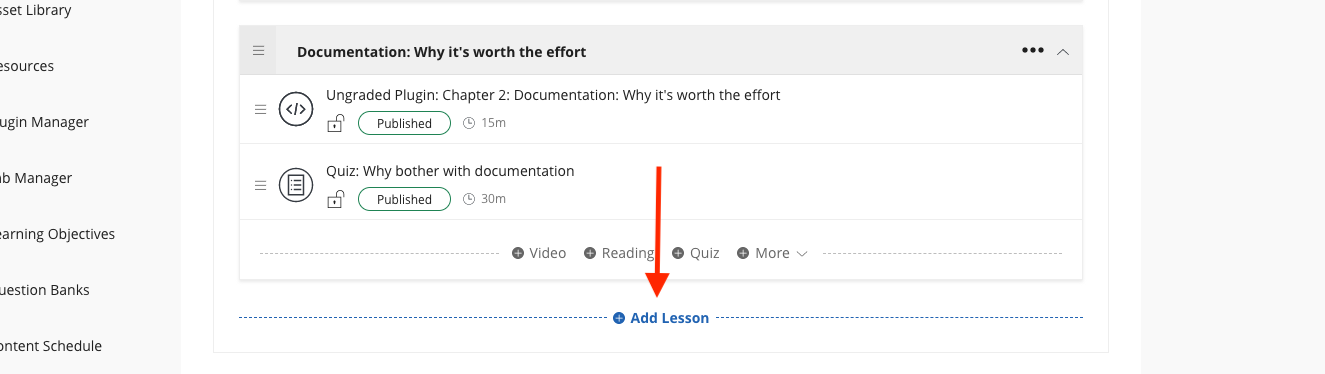
Now you are ready to add a chapter!
Adding new chapters to Coursera
You'll need to link out each chapters in Coursera by providing a url built from your Github pages for your course.
You can see a preview of these chapters you will link to in Coursera by going to the Github pages for your course, but adding /no_toc at the end of your url before the chapter file name.
So the urls for each of your chapters which you will supply to Coursera in the next steps will look like this:
<main-github-pages-url>/no_toc/<html_filename>
If you are unsure what the main url for your Github pages is, in your github repository, go to Settings > Pages and you'll see Your site is published at:
So for example, the introduction chapter of this template would be linked by using this url:
https://jhudatascience.org/OTTR_Template/no_toc/introduction.html
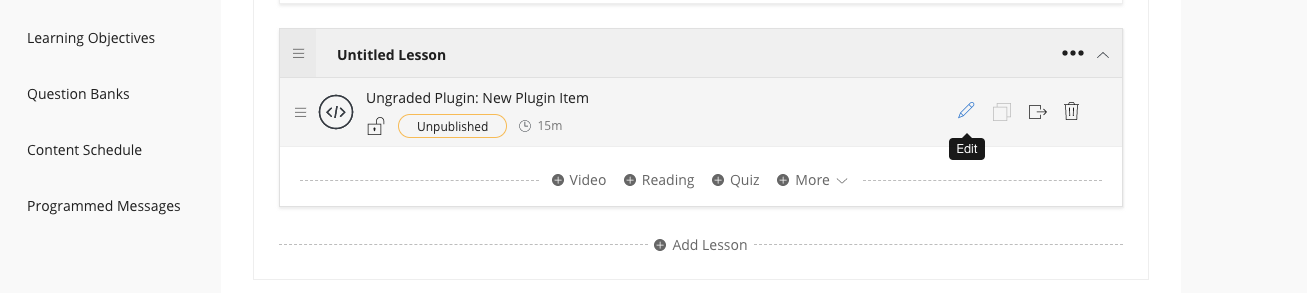
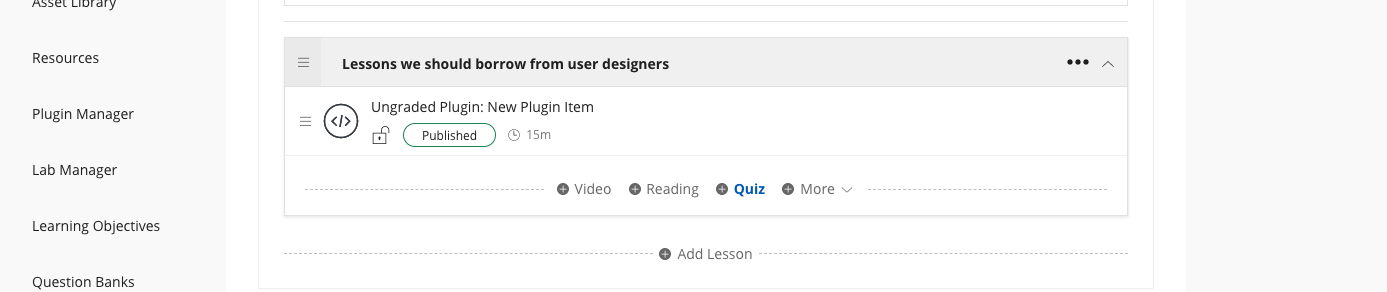
To add this URL to Coursera, add a new lesson, click + More and choose Ungraded Plugin.
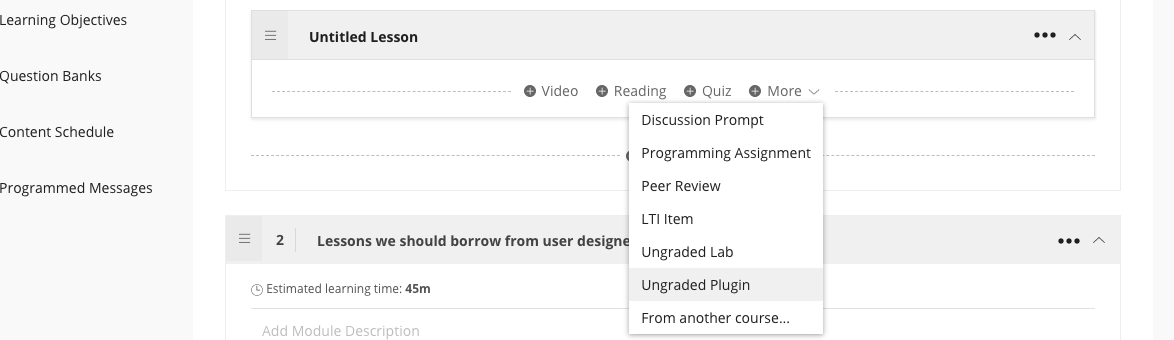
This will add an unpublished ungraded plugin to your lesson:
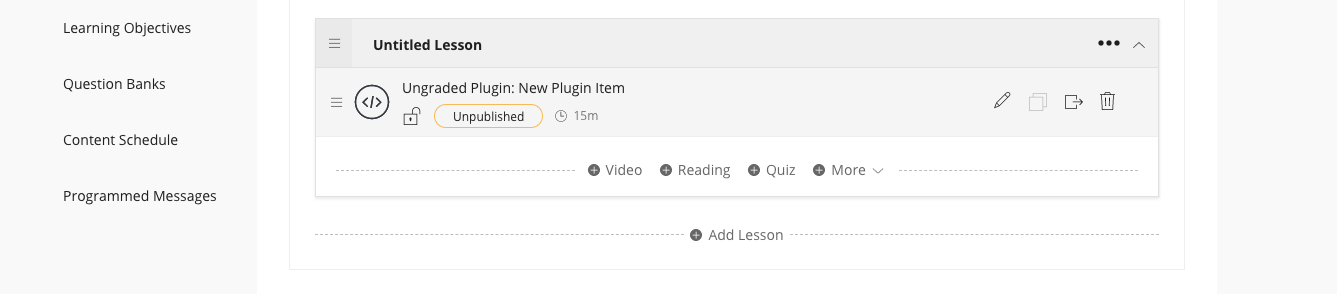
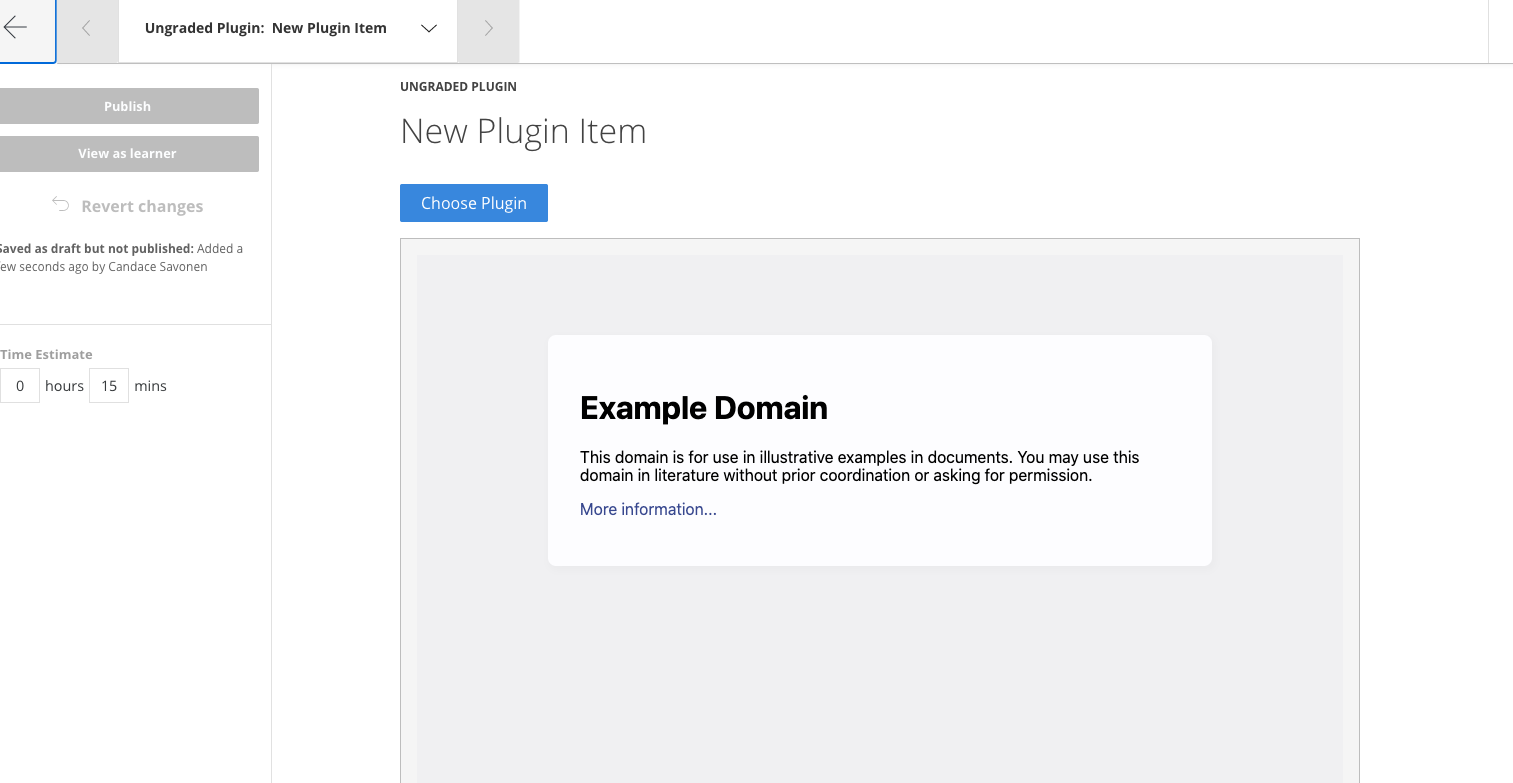
Now click the edit button on the new Ungraded Plugin.
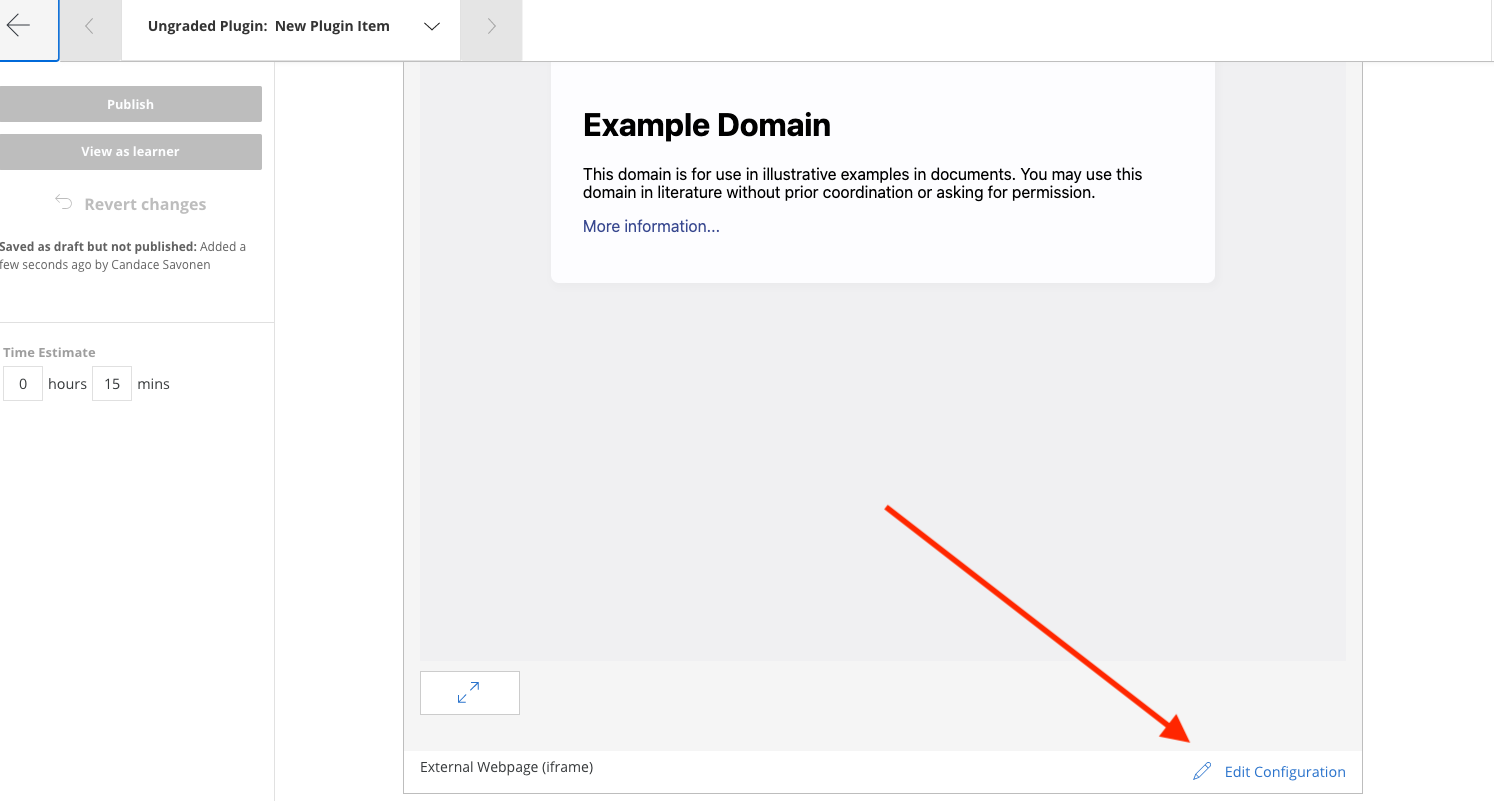
This will bring you to the standard example plug in page.
Scroll down and click Edit Configuration:
Replace the example url with the url of your individual chapter we discussed above.
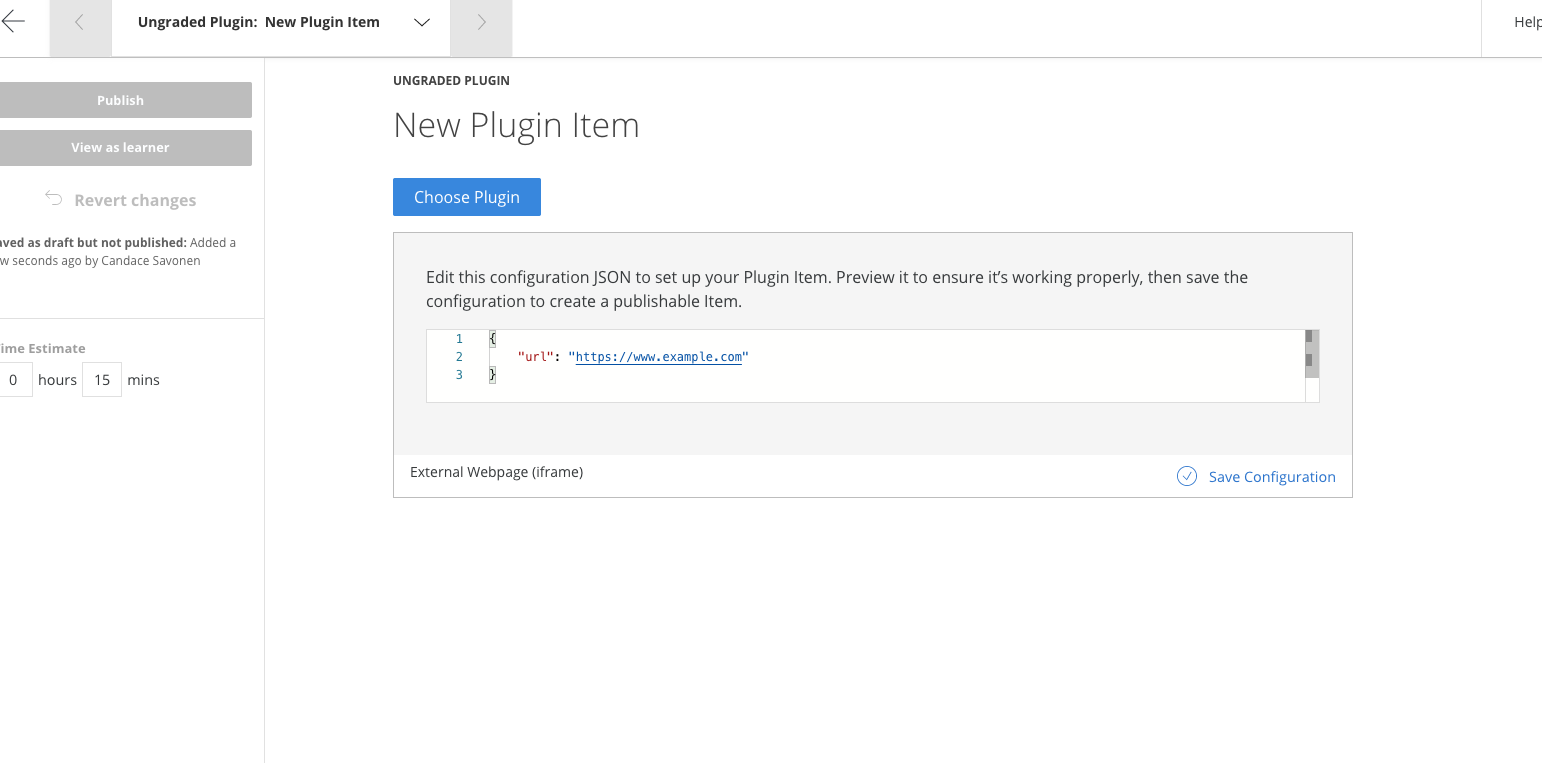
Then click on Save Configuration:
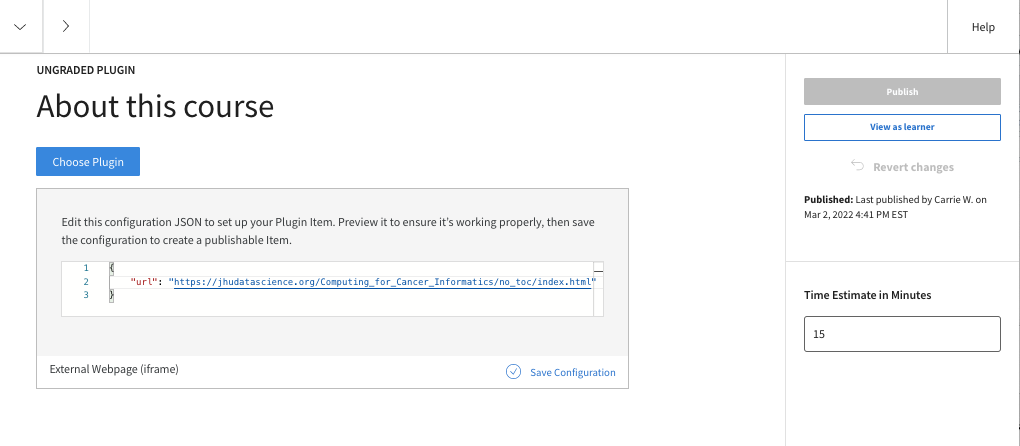
Also be sure to modify the time estimate to be something that you think is appropriate for your content - err on the side of giving students extra time.
If the url you provided was correct, you should see a preview of your chapter:
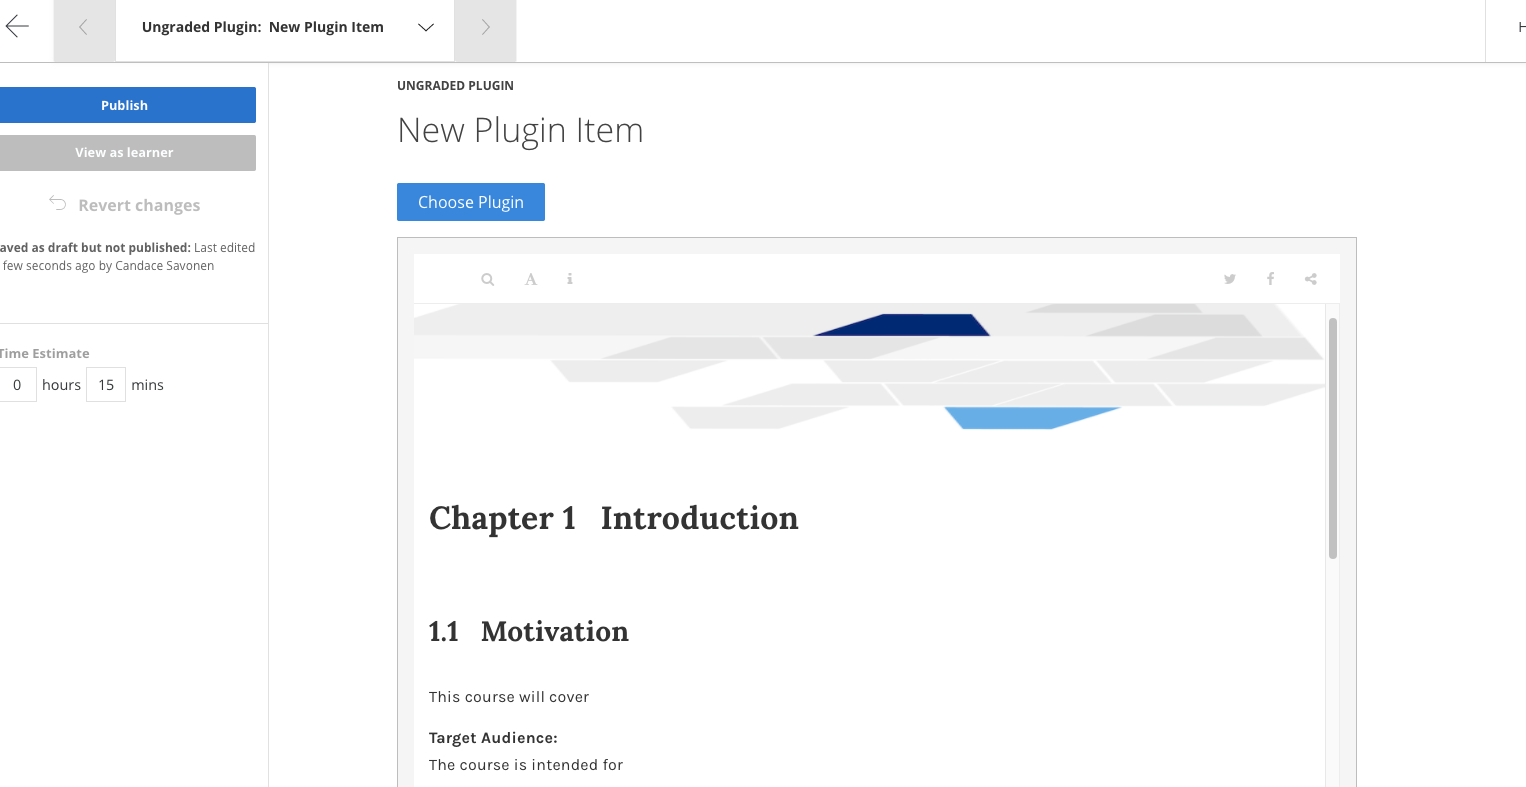
You may want to edit the title at the top of this page to indicate the material being linked.
Now click Publish in the left upper corner (don't worry it's not actually publishing publicly, it is just saving your changes).
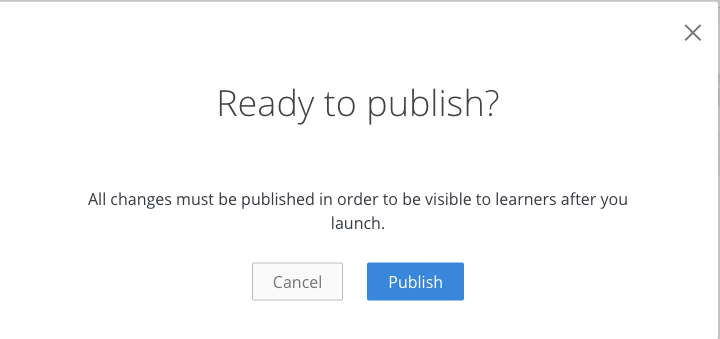
And it will ask you again to really scare you, but yes, click Publish.
Congrats you added a chapter to your course! Now do the same thing for all your chapters!
Adding new quizzes to Coursera
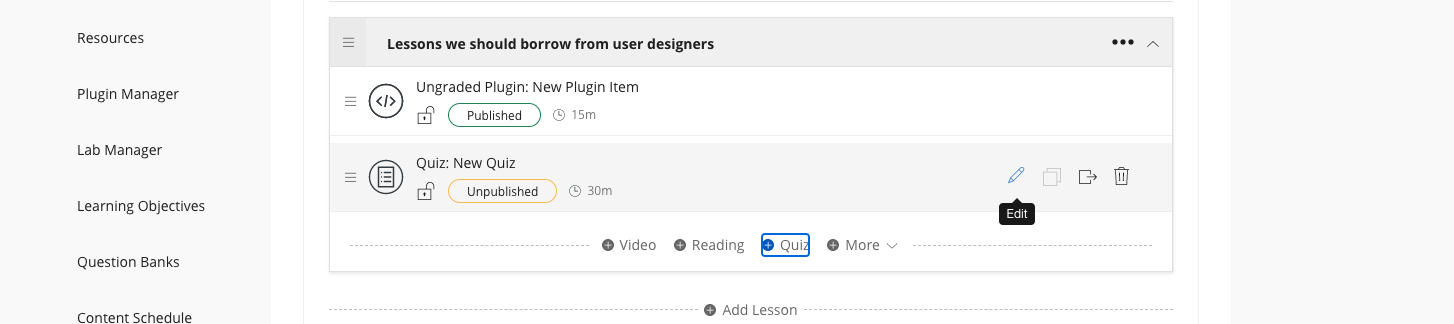
To add a new quiz start from your Edit content page and on whatever lesson you would like to add the quiz to and click the + Quiz button.
Now go to Edit on the new quiz.
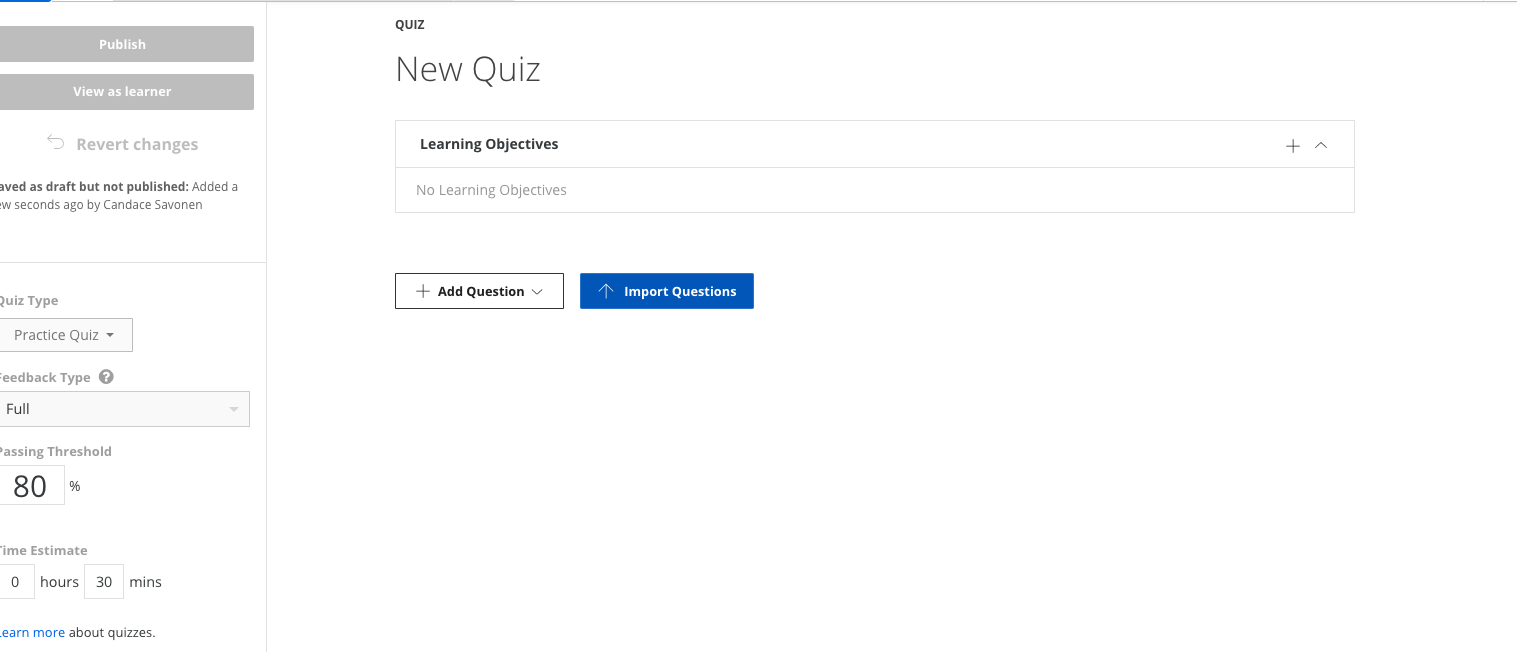
If you are choosing to manually enter your quizzes, you can continue to add each question from this page.
If you are importing a Leanpub converted quiz click the Import Questions button and choose your converted yml files.
(If you've not yet converted your leanpub quizzes, then refer to that section.)
Upload your Coursera quiz yml file from your device:
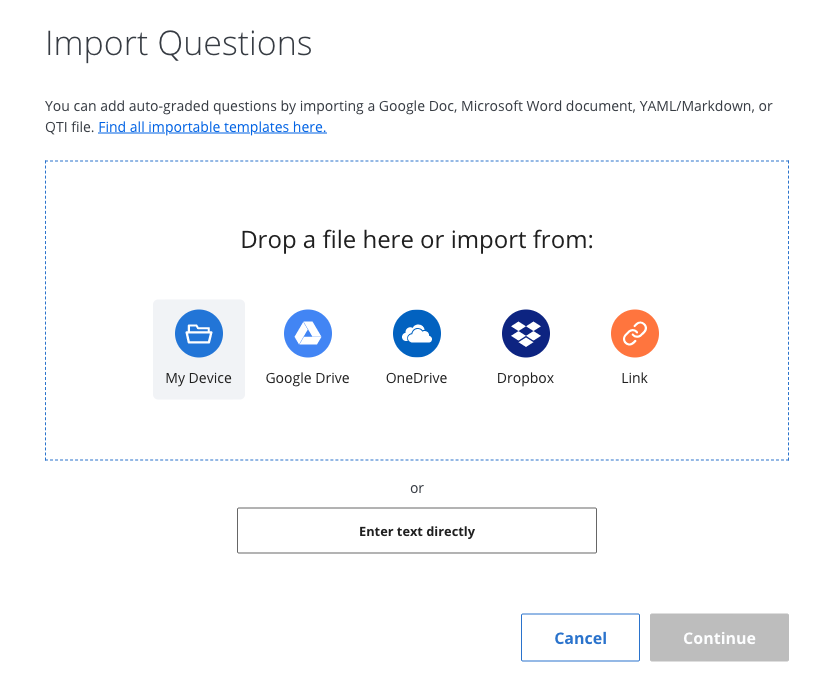
After you've selected the file click Upload:

It will let you know if there are any problems uploading the quiz. If the coursera_quiz_conversion.R script failed to render something properly, please file an issue here describing how it failed and including a file that shows the instance it failed to convert.
Note that images and links are not currently supported in that conversion script. You also cannot have : in your prompts or answers.
But if the quiz uploads without issue, then click Continue.
By default quizzes are set to Practice Quiz but you will need at least some of your quizzes to be used for Grading.
On the left side of quiz editing page, there's a drop down menu to select Graded Quiz.
Also in this location you can edit the estimated time it should take to complete the quiz (by default it is set to a certain number of minutes).

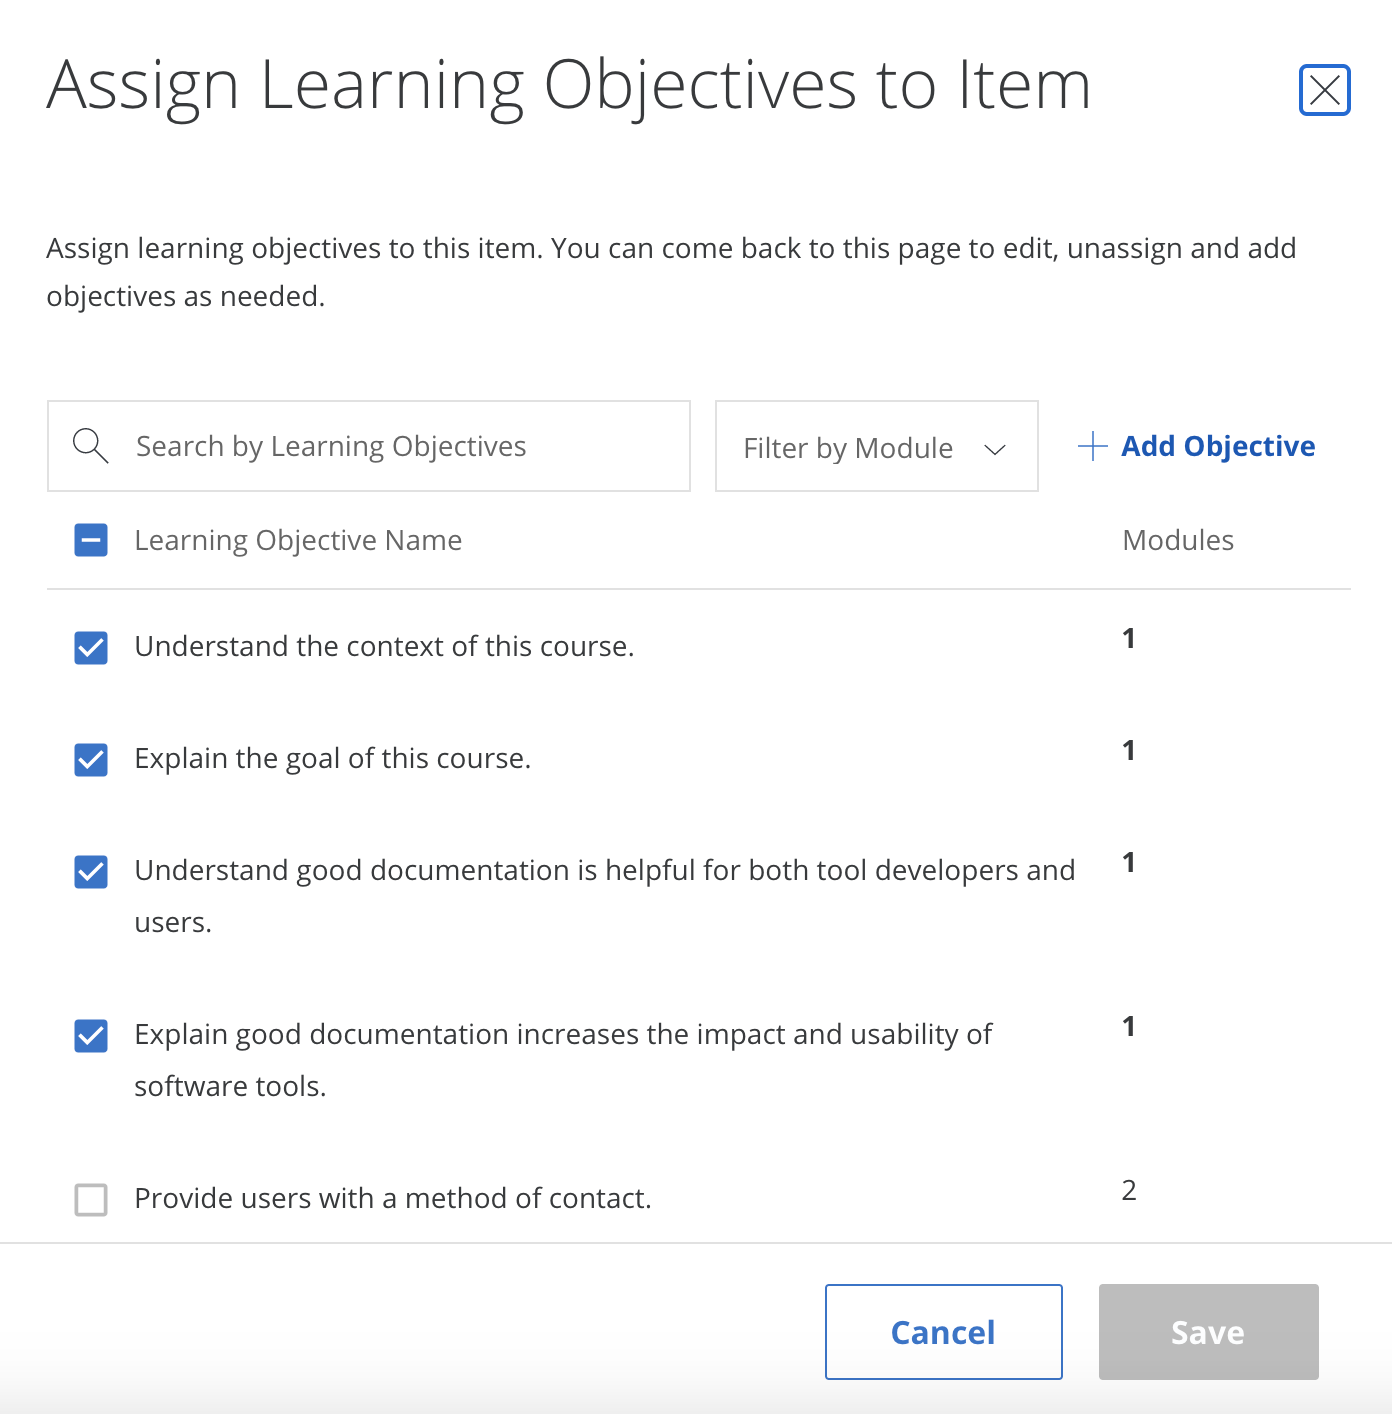
You also will want to assign the learning objectives that apply to this quiz. You can do this by clicking on the plus sign underneath the title.
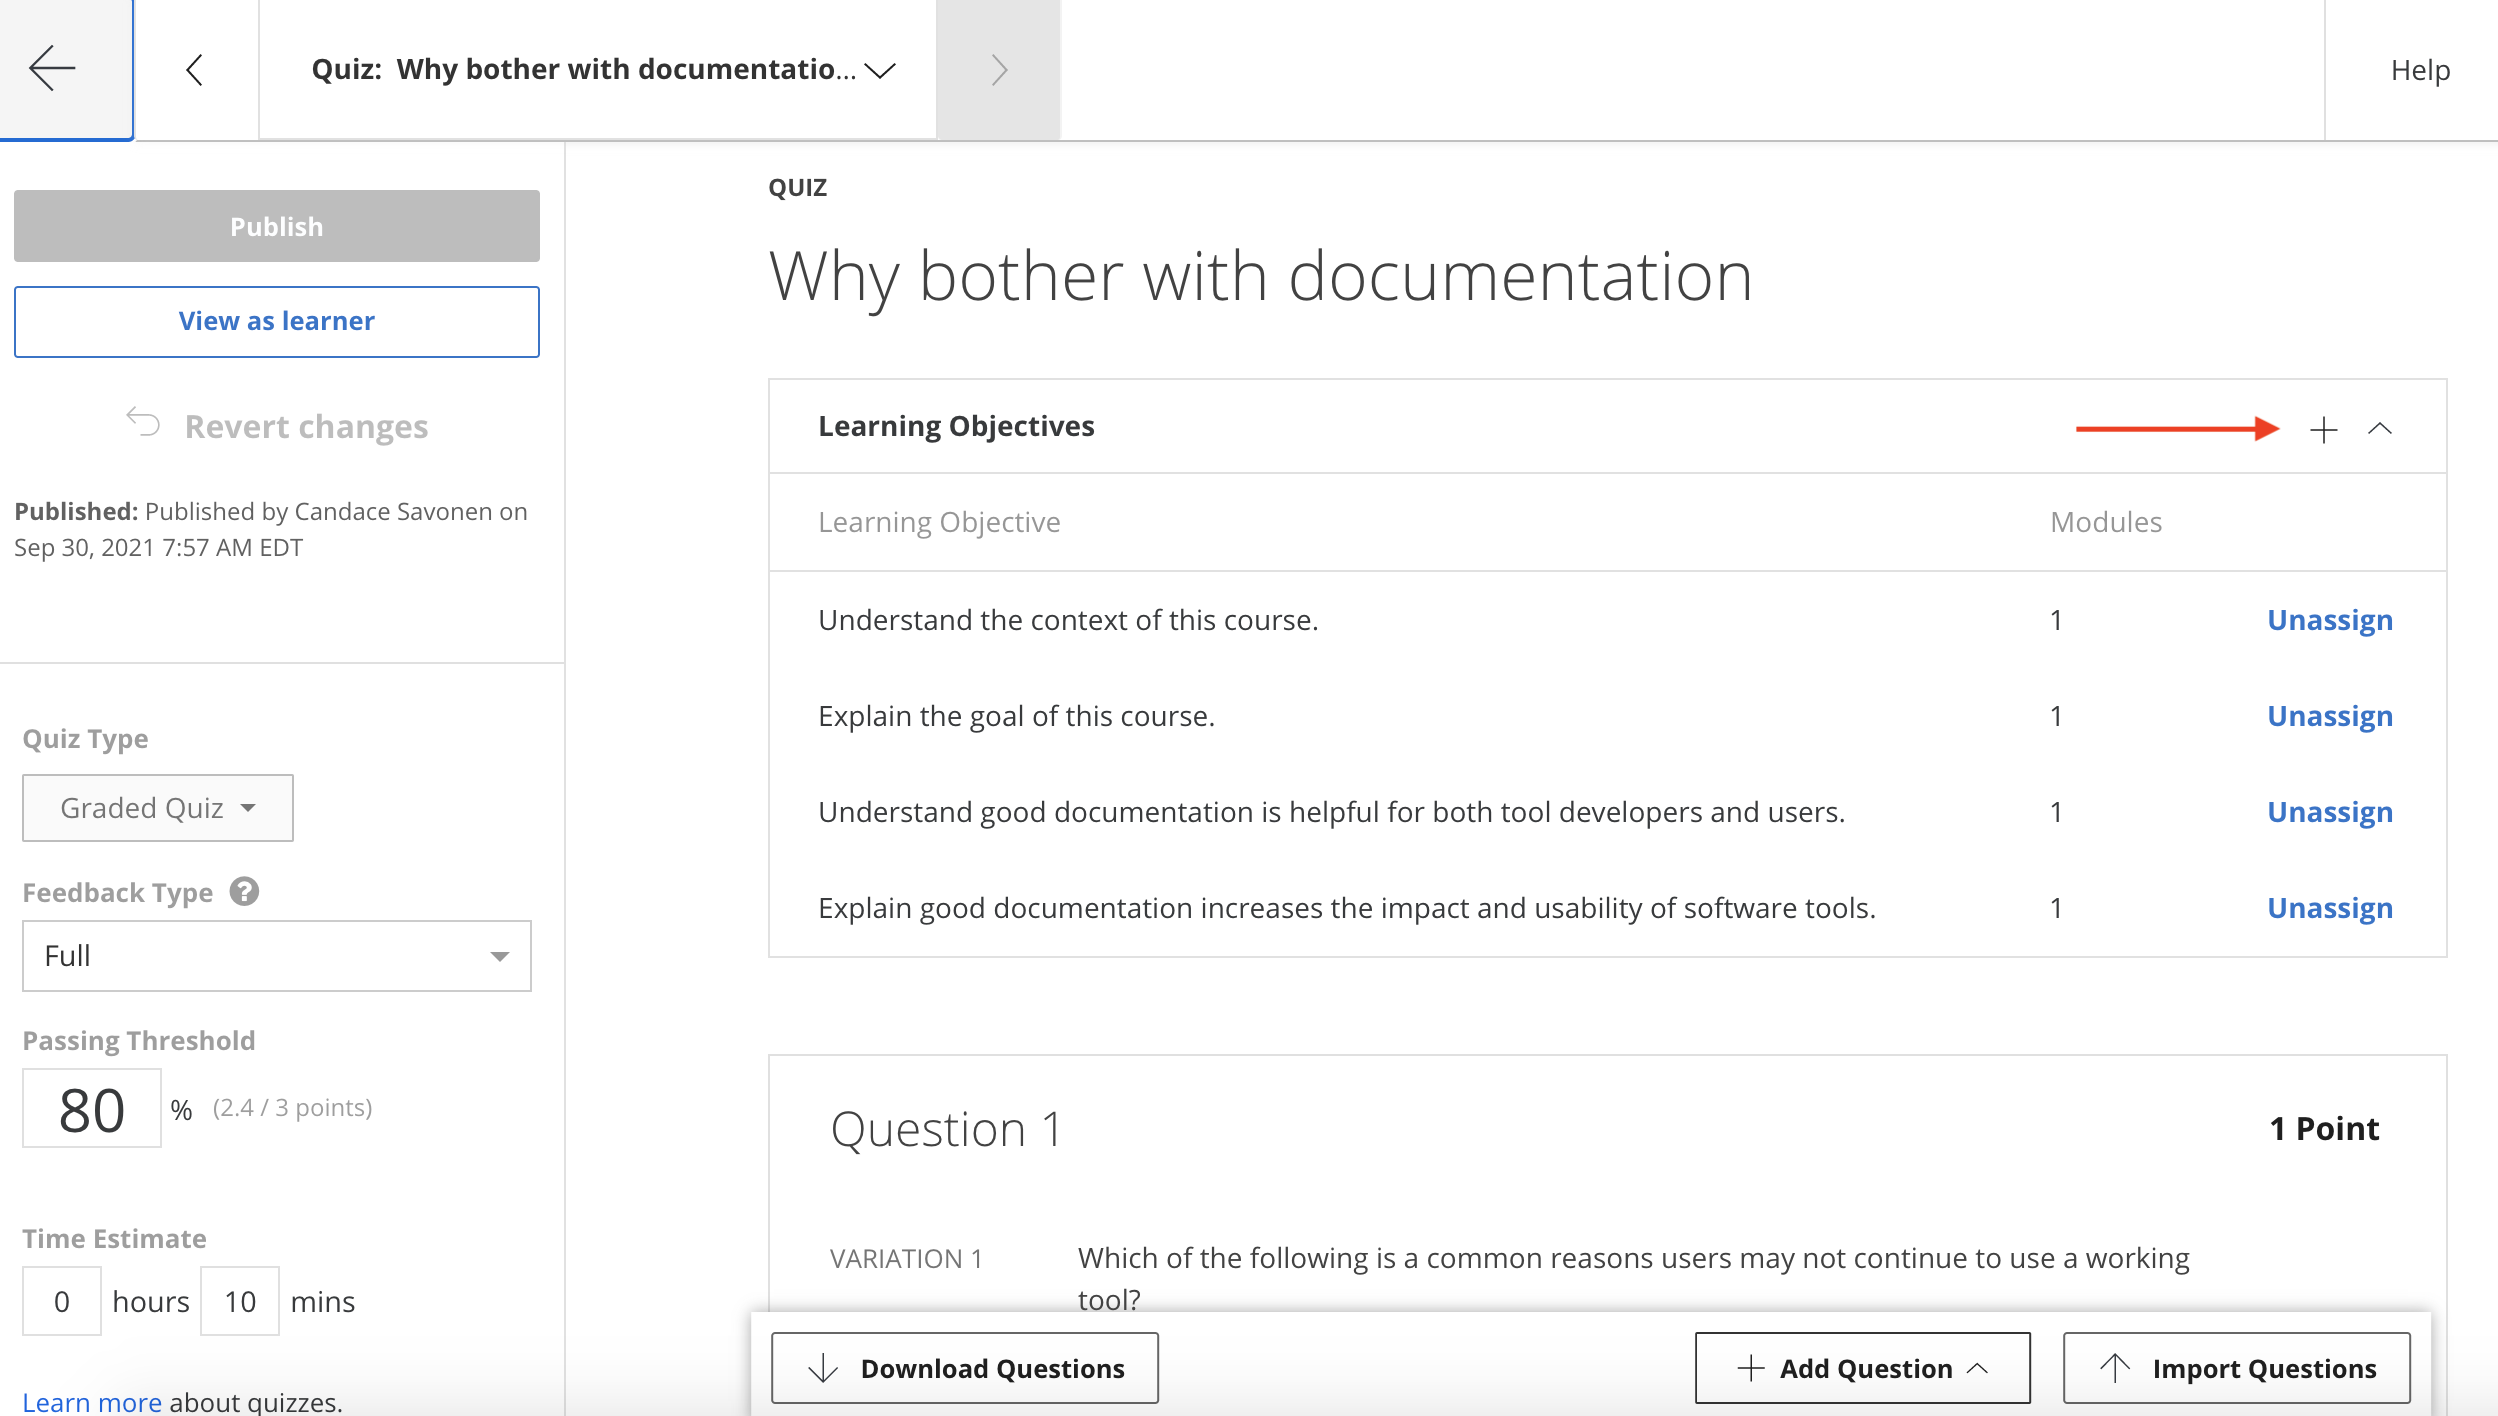
From here it will suggest the module's learning objectives. Click all that apply and then Save.
You can edit the title of your quiz and then click Publish (don't worry it's not actually publishing publicly, its just saving your changes).
And it will ask you again to really scare you, but yes, click Publish.
Congrats you added a quiz to your course!
Add programmed messages
You can click on Go to Course. And on your main course page click Edit Course in the right corner.
This will bring you to your version page.
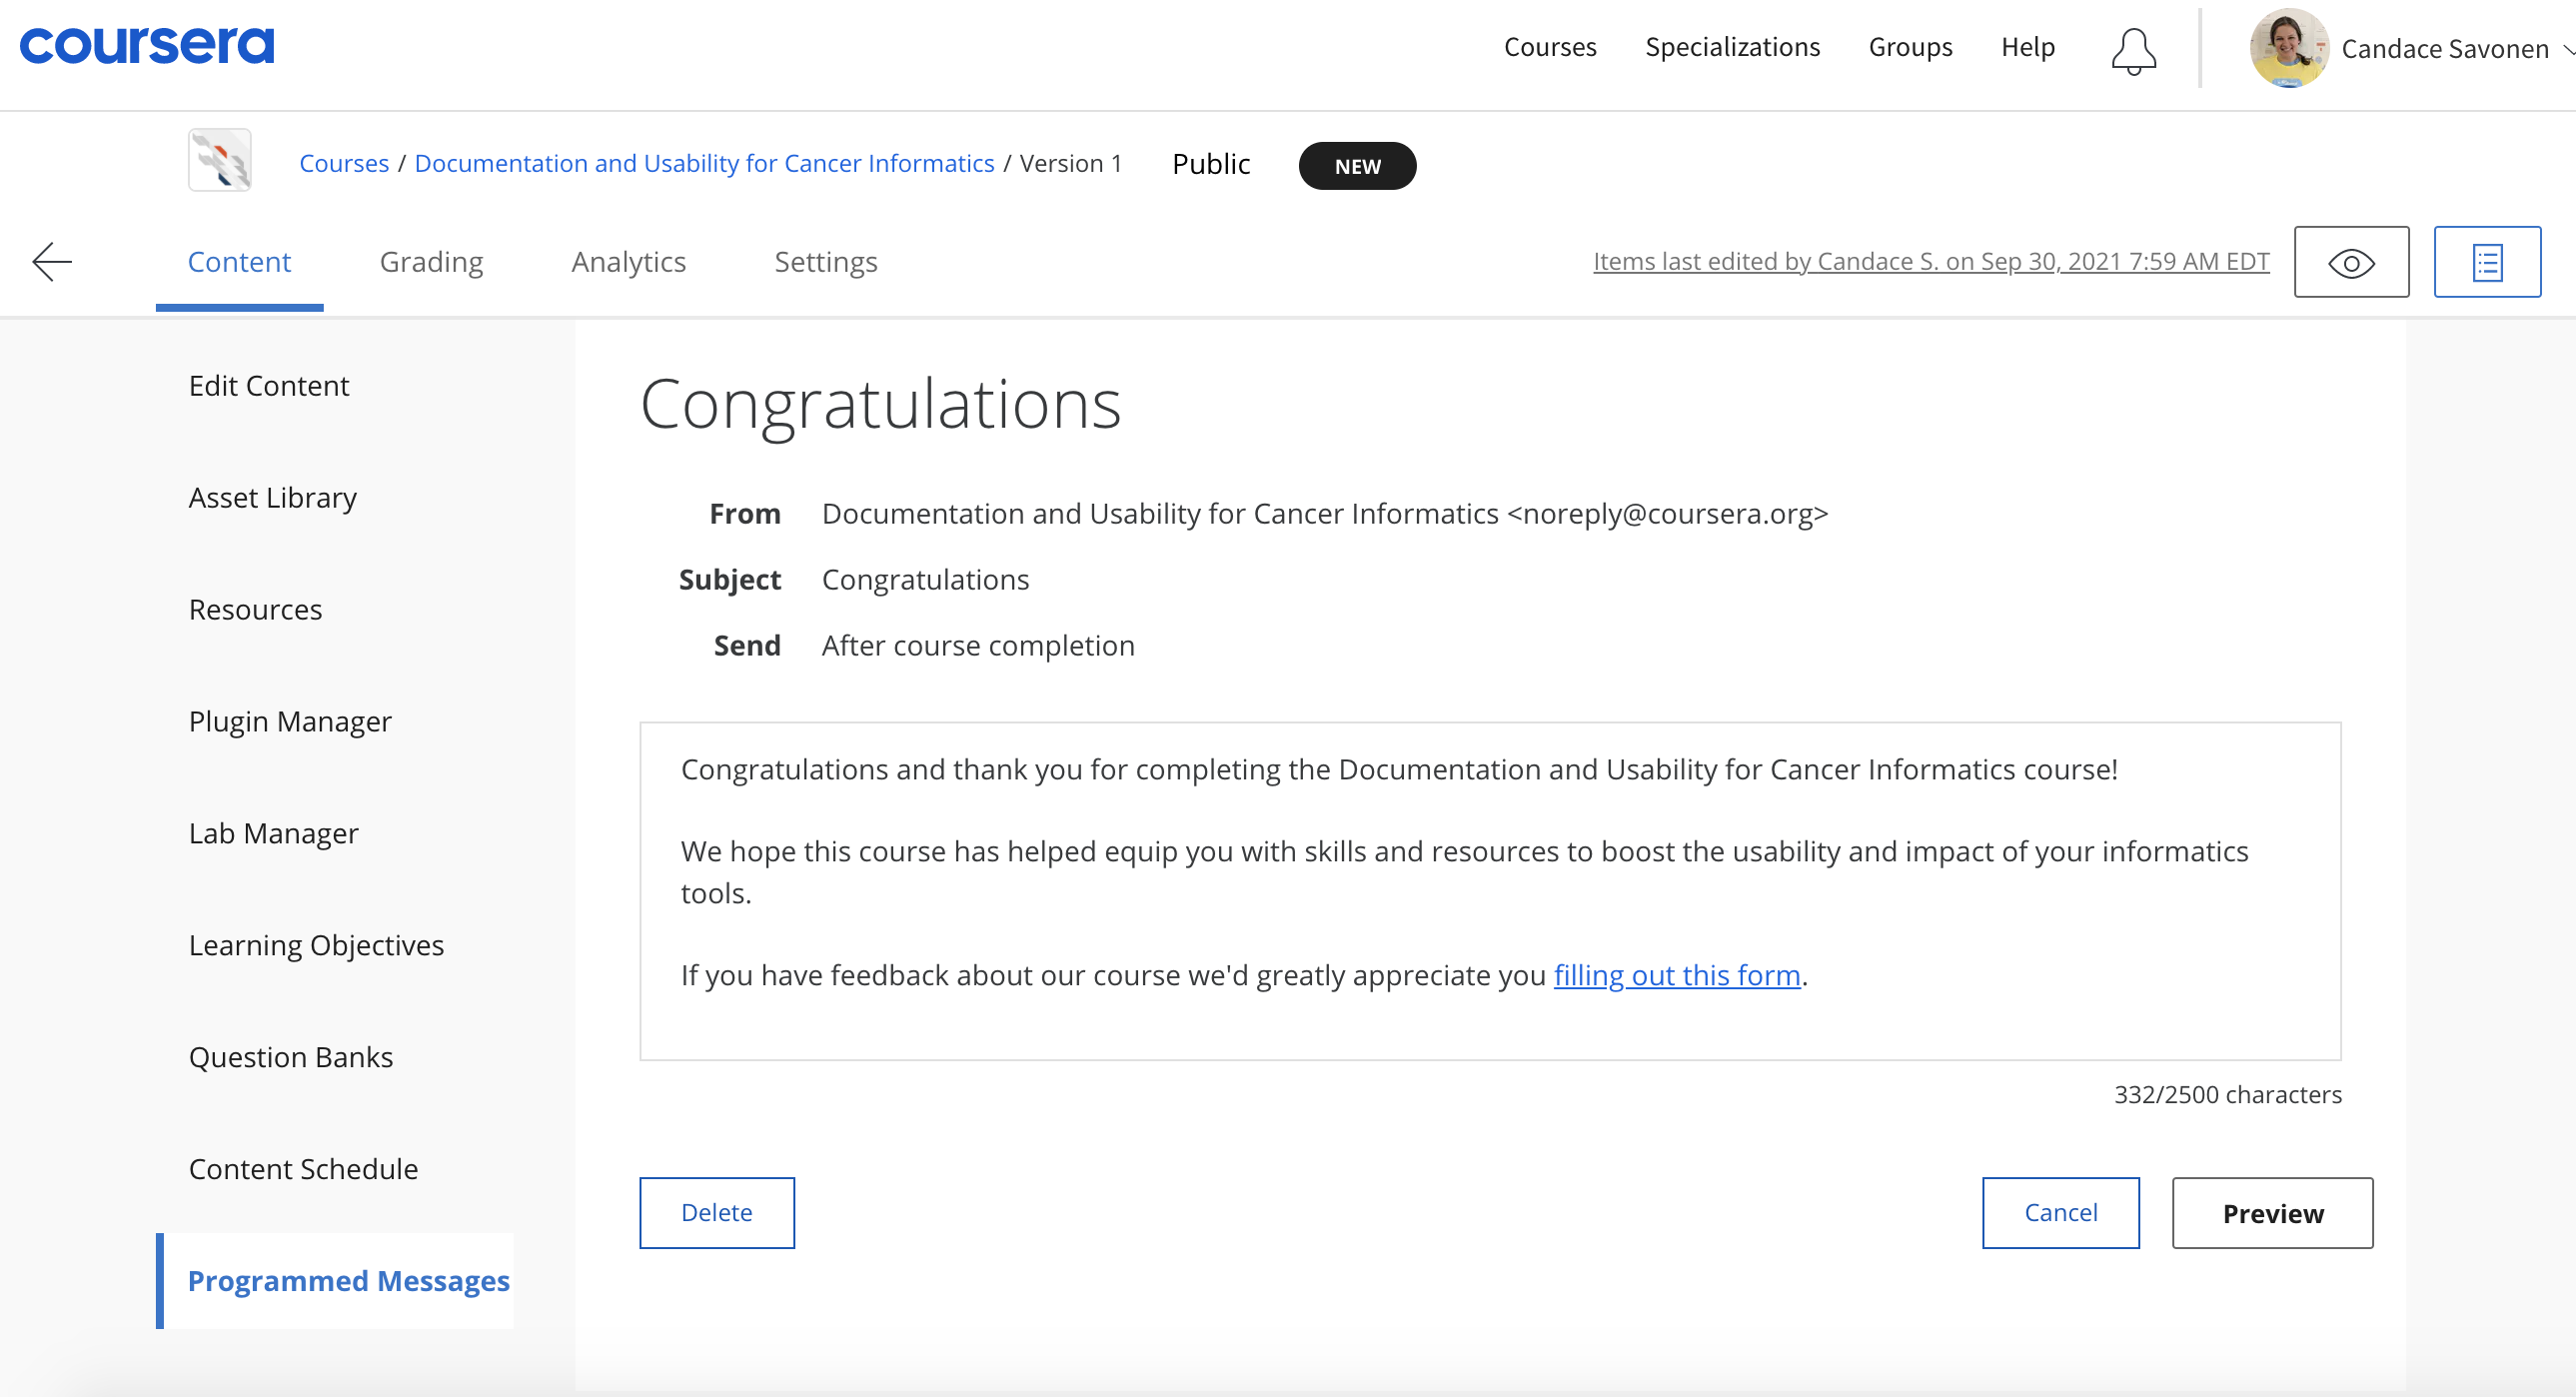
Underneath Content, on the left side bar, at the bottom, there is the Programmed Messages.
At the very least you should add a Welcome to the course and a Completion programmed message.
Click on each of these to edit them. Click Preview and then Publish to save your edits.
Here are some templated messages to get you started:
Welcome template message:
Welcome to {Course Name}

We hope this course will {What will they learn?}

To get the most out of the course {What do you advise?}

If you ever encounter any problems with the course, have questions or ideas, please let us know using this feedback form.
Add a link to your feedback form by clicking the link icon.
Click Preview and then Publish to save your edits.
Completion template message:
Congratulations and thank you for completing {name of course}!

We hope this course has {What do you hope they learned}.

If you have feedback about our course we'd greatly appreciate you filling out this form.
Add a link to your feedback form by clicking the link icon.
Click Preview and then Publish to save your edits.
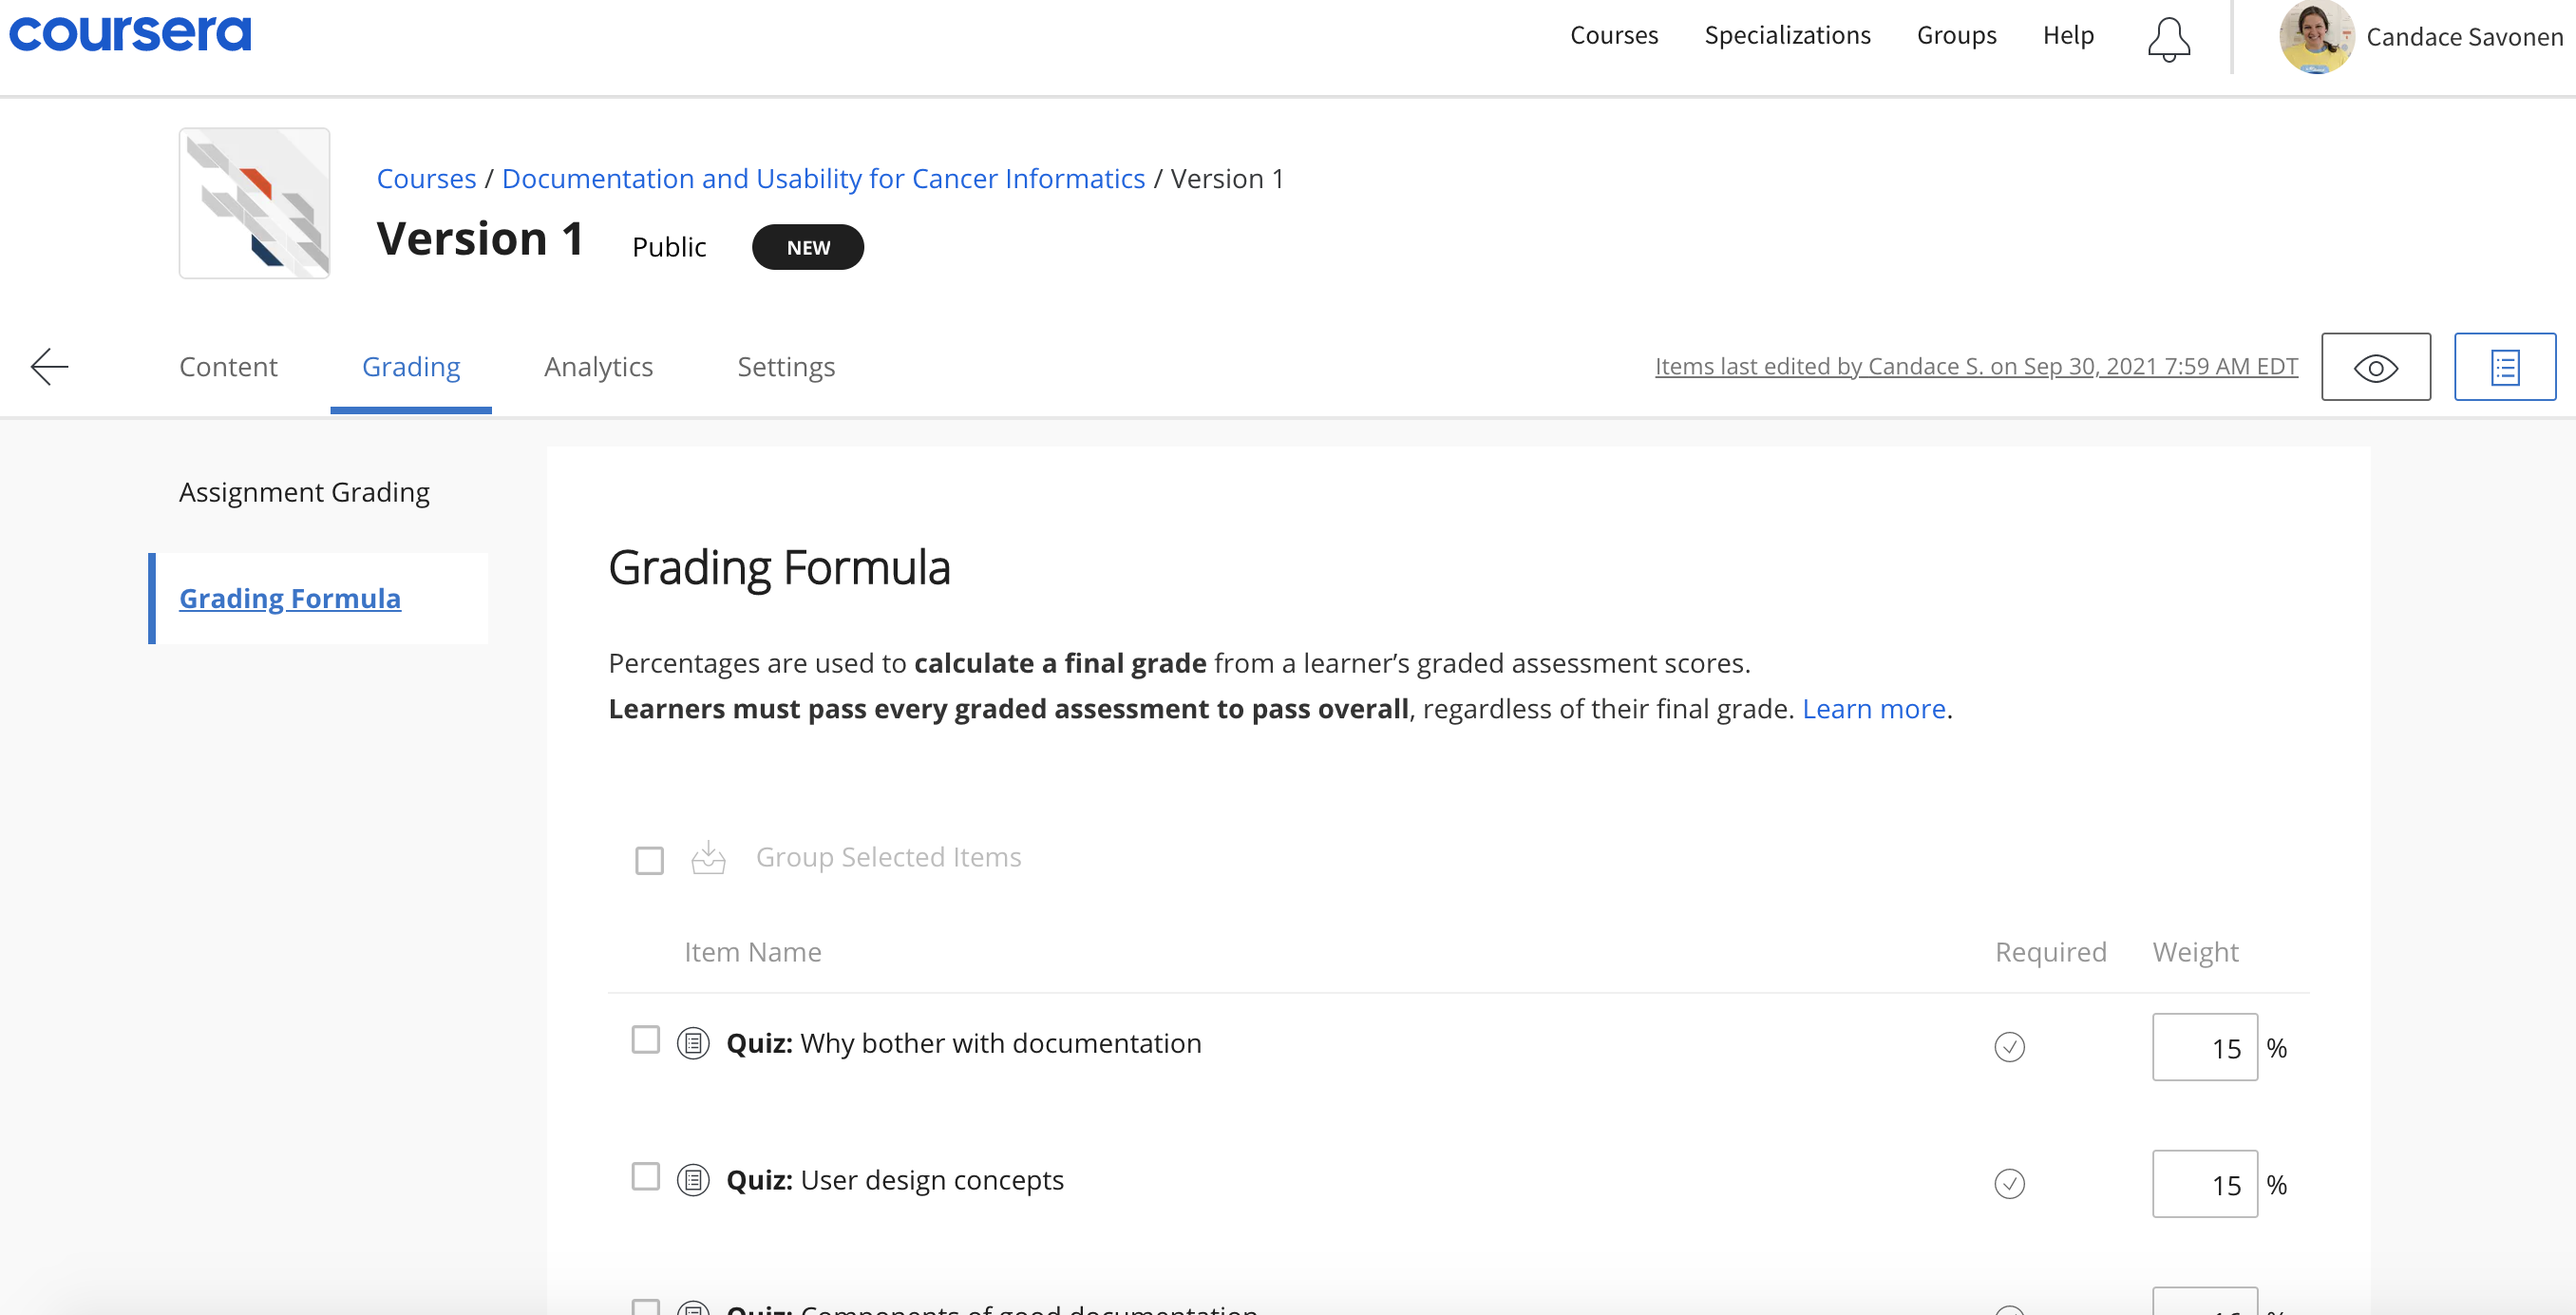
Grading formula
For final grades in the course, you will need to set the Grading Formula.
To get to this page, you can click on Go to Course. And on your main course page click Edit Course in the right corner.
This will bring you to your version page.
Now you can set the percentage that each module's assignments are worth in the course.
Content Schedule
You can find the settings for this under the Content tab. Here you can modify how each of your modules should be assigned to each week of your course.
Module Descriptions
Module descriptions can be found right before learning objectives when you are editing content. Adding these helps learners know a bit more about what to expect.
Landing Page
Add an image for your course and consider adding the following to polish your course:
- Estimated workload
- Skills
- Recommended background
- Items students will learn
Reading about multiple reading formats
Since we are publishing on Coursera using plug-ins and because there are concerns about accessibility with plug-ins, we encourage you to point out that the course material is available elsewhere in a reading at the very beginning of your course so that students can find it right away. To create a reading, you can click the add reading button which is located to the add quiz button. If you need to, you can rearrange elements of the first module and move this reading to the top of the course by clicking and dragging the three horizontal line icon on the far left of the reading section.
Title the reading as:
Multiple Lesson Formats
Modify the following based on your course and publishing plans and paste into the reading:
Like many of our other courses, the content of this course is available in multiple formats.
You can also find the lessons for this course at [insert Bookdown link here]. This format might be most appropriate for you if you rely on screen-reader technology.
Our courses are open source, so you can also find all the source material on GitHub  by visiting [insert GitHub link here].
These resources are used throughout this Coursera course in the form of ungraded plug-ins. You are welcome to use those plug-ins here on Coursera or connect to the content in other formats through the links above. Please select the format that most suits your needs.
Note about links in the plug-ins: The plug-ins used throughout the course feature links to other resources. To follow these links, right-click on them and open in a new tab or window.
Regardless of the format you choose for the instructional content, you must take and pass the quizzes here on Coursera if you want to earn a Coursera certificate.