Adding content to a course - jhudsl/OTTR_Template GitHub Wiki
Table of Contents generated with DocToc
- Getting going with a new course (you only have to do this once)
- Starting up a new set of changes
- Editing content
- Changing title
- Filing a PR
- Merging your PR
Here's a standard workflow for adding new content to your course. If you are new to git, it is recommended you go through Happy Git and GitHub for the useR. This is not meant to be a complete guide to git but just a summary of the steps you would need to take to add changes to a course.
Also if you do not do so already, it's recommended you use a git client to help you manage your branches more easily. GitKraken is one such git client that is handy for this. You may also find this git cheatsheet helpful. Note: The commands in these steps all for running in Terminal/Command Prompt.
Getting going with a new course (you only have to do this once)
- git clone the repo you are working on if you don't have it locally yet.
Starting up a new set of changes
- If you are looking at a particular existing issue you want to address, assign yourself to it so that others know not to be working on it. If there is no existing issue for the changes that need to be made you may want to consider making one so others know not to address that themselves if they have the same idea.
- Change your directory to be that git repository directory on your computer
git checkout -b “name-of-new-branch”. - Start up the Docker image:
docker run -it -v $PWD:/home/rstudio -e PASSWORD=CHOOSE_PASSWORD -p 8787:8787 jhudsl/course_templateBut replaceCHOOSE_PASSWORDwith a password of your choosing. - Navigate to
localhost:8787on your browser (your username is Rstudio and password is whatever you set it to be in the previous step).
Editing content
- In the RStudio window you just opened, copy the
02-chapter_of_course.Rmdcourse and use that as a guide to add a new chapter. - Make your edits. If your edits involve images, graphics, or videos, make sure you follow the set up in adding images and graphics in text
- To preview how your edits look in Bookdown, you can run bookdown::serve_book().
- As you’ve made enough edits and want to save them run
git add filepath. - Now
git commit -m “Add a pertinent message here”to add your edits to your branch. - When you are ready to push changes to be online, run
git push. - Repeat 6-10 as needed until you are happy with your changes and think they are ready for review. Keep in mind incremental changes can sometimes be a better strategy, as it is easier to fix things if you realize that something isn't rendering as expected. It also helps to avoid losing work in case something happens to your computer or work before you are able to push your changes.
Changing title
The title is specified on the index.Rmd page in the yml header. Follow the directions above and modify the yaml header to change the title for your course.
---
title: "Title of Course"
---
Filing a PR
- Now go to your GitHub repository’s website and click on Pull Requests.
- If you pushed your changes recently you will see a prompt to create a pull request as a yellow banner. Click on
Create Pull Request. - The pull request will be auto-populated with the template -- fill out the pull request prompts and check off the checklist marks by placing an
xbetween the brackets of the items you have completed. - Look at the
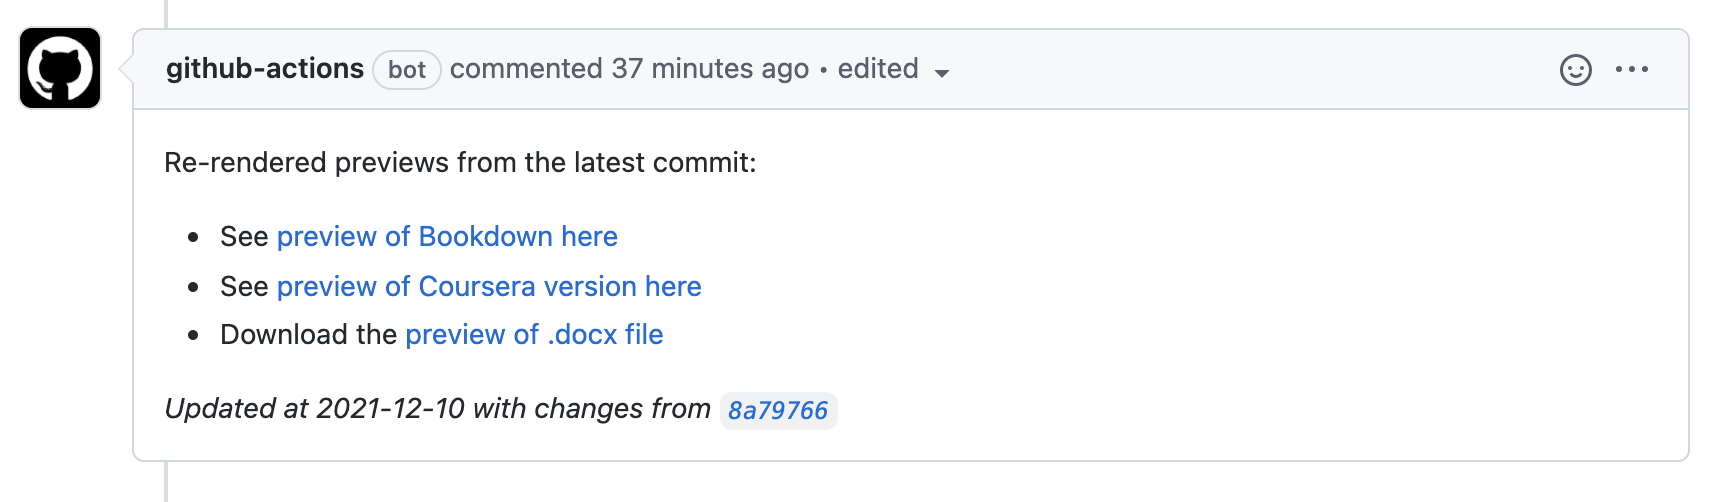
files changedtab. Does it show the changes you expected? If not, then continue to make edits following steps 6 - 10 as needed. - The Github actions will automatically generate a preview of your course and post it to a comment on your pull request like this:
- When you think it is ready for review, request a reviewer by clicking on
Revieweron the right side and choose an appropriate person to review your changes.
Have you been requested as a reviewer or just received a review? Read this page for advice on reviewing/receiving reviews.
Merging your PR
- When you receive feedback, repeat steps 6 - 10 to make edits and incorporate the feedback, all the while communicating with your reviewer through comments on the pull request.
- If any of the checks have failed, click on
Detailsand try to investigate why.
- For failed spell checks follow the instructions here.
- For failed URL checks follow the instructions here.
- If the checks have passed, and the reviewer thinks it's ready, use the down arrow next to the
mergebutton to choosesquash and merge. - Close the issues that your changes were addressing. File any new issues during any step to keep track of what you need to do next! Start with step 2 all over again.
Congrats! You did it!