Running Jupyter Notebooks - itiger-cluster/itiger-cluster.github.io GitHub Wiki
Jupyter Notebooks are often used in computational research and data science projects. Here's how to set it up on the HPC:
Creating a virtual environment before running a jupyter-notebook instance is recommended for module cleanliness--in addition, it is very simple to create one!
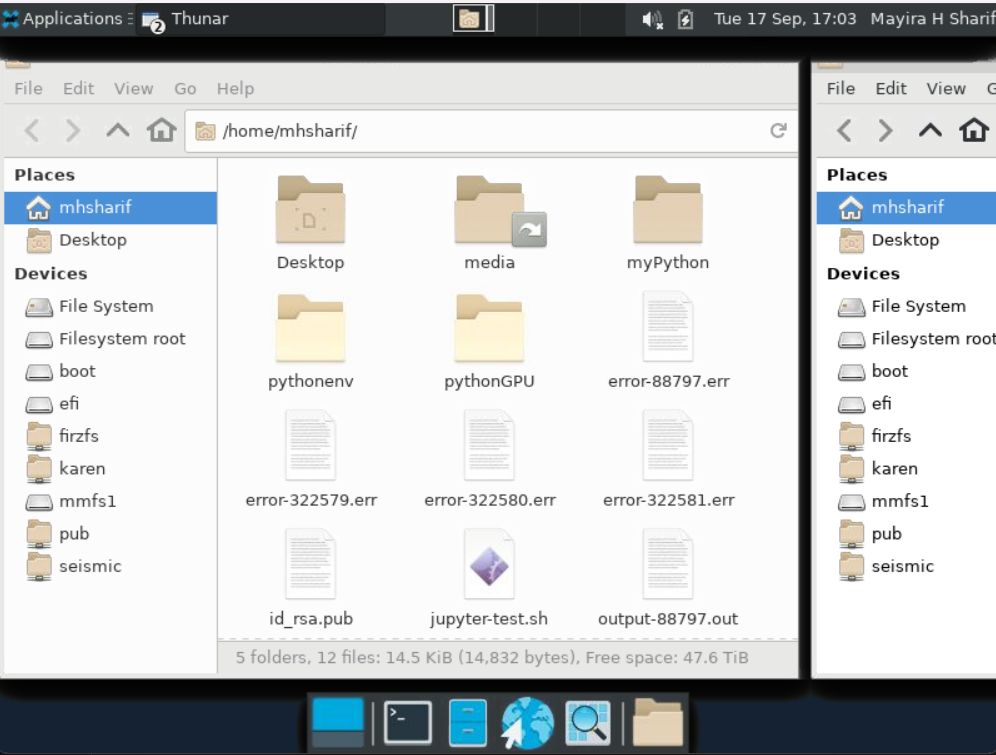
In the terminal, type python -m venv [your desired directory]. The picture below shows an example directory you could try:

Now, cd into your folder. You should see something like this:

Now, we must install the required dependencies(in this case, jupyter). In the terminal, simply run pip3 install jupyter to install the required modules.
Finally, we'll kickstart this jupyter instance through running a .sh file with sbatch. Create a new file to submit to the cluster, and make sure to include ~/[directory]/bin/activate, as well as module load python/[your_version].
Now, type in jupyter notebook into the file. save it, then submit it with sbatch. For context, this is an example:
#!/bin/bash
#SBATCH --cpus-per-task=1
#SBATCH --mem=10G
#SBATCH --time=1-00:00:00
#SBATCH --gres=gpu:1
#SBATCH --partition=agpuq

#module load nvhpc/23.11
#module load cuda/12.3
module load python/3.12.1

. ~/pythonGPU/bin/activate

echo "*** Starting Jupyter on: "$(hostname)
jupyter notebook
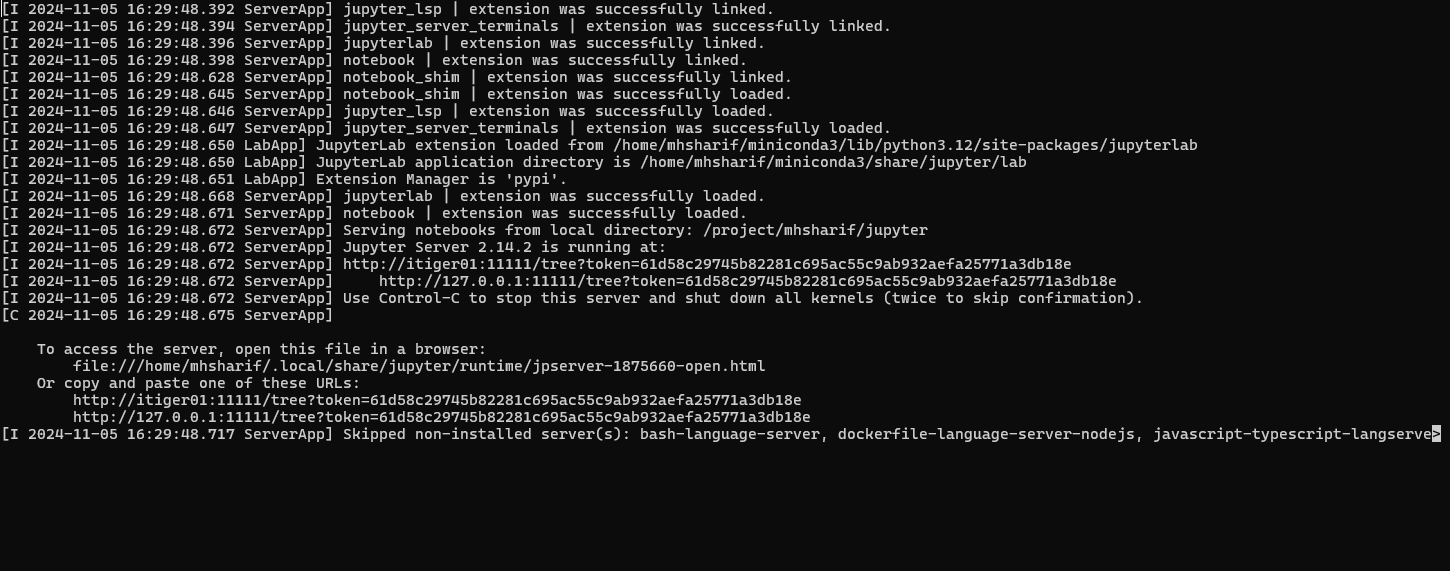
Once running, you should see a new .out file. Open it up, and you should see something like this:
Now that we have the instance running, we'll need to be able to view it!
The most convenient way to view your instances is through connecting to the cluster with X2go. To install X2go, simply download the version applicable to your device from this link. Once you do that, open up the application, and enter in the required parameters similar to the picture below. This is for the new session we will create. Make SURE to change the bottom parameter from the initial KDE to the XFCE option.
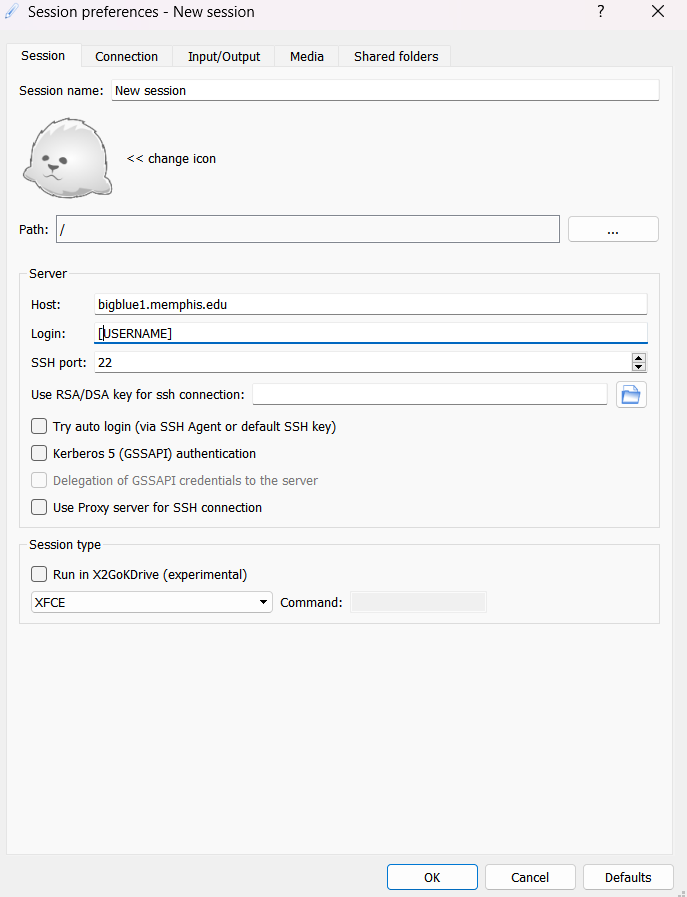
Pro tip: Notice that the host name is bigblue1.memphis.edu, and not bigblue.memphis.edu? This is because we actually have two login nodes--and they are represented by the corresponding numbers 1 and 2. If you wish to run both the virtual desktop session AND a terminal session at the same time, check for the last two digits after the @. If they say 01, make the host bigblue2.memphis.edu, and vice versa. This is optional, not required.
Now, continue by pressing OK.
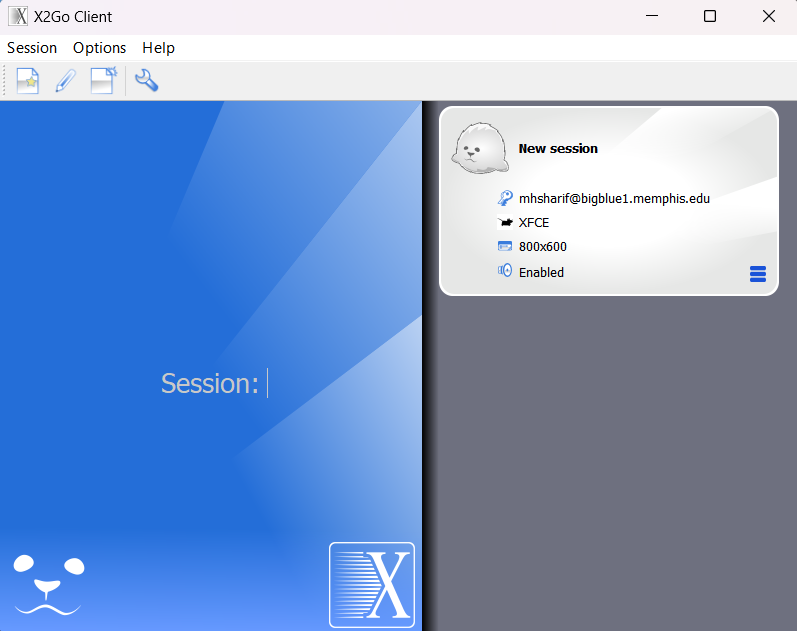
You should see something like this, where the box on the right represents the session you want to start. Click on it.
Now, enter in your credentials, and you should see a window open, looking like a virtual desktop.
On the bottom bar, click on the browser option. There, a web browser should open. From there, paste the jupyter link the .out file gave when we submitted that batch script. From there, you should be able to see your jupyter notebook running!
If you prefer to run your notebooks in your own browser, read below!
Before moving on, make sure you have read the above section on setting up the environment for a jupyter notebook. The point of divergence (i.e. the point where you decide whether to access the jupyter notebook through the virtual desktop or through your own browser) is listed in the bash file below.
#!/bin/bash
#SBATCH --cpus-per-task=1
#SBATCH --mem=10G
#SBATCH --gres=gpu:1
#SBATCH --partition=bigTiger

#module load nvhpc/23.11
#module load cuda/12.3
module load python/3.12.1

. ~/pythonGPU/bin/activate

echo "*** Starting Jupyter on: "$(hostname)
jupyter-notebook --no-browser --ip=0.0.0.0 --port 11111 #note that the port number doesn't have to be 11111, but it is best for simplicity
Once running, you should see a new .out file. Open it up, and you should see something like this:
Now that we have the instance running, we need to open a new terminal and type in the following command, adjusted to your specific username and selected port number:
ssh -t -t [email protected] -L 8888:localhost:8888 ssh itiger01 -L 8888:localhost:11111
Once this occurs, you'll see that we've logged in to the itiger01 node. This is good--now, open a browser of your choice and enter localhost:8888 in the search bar. You should see this:
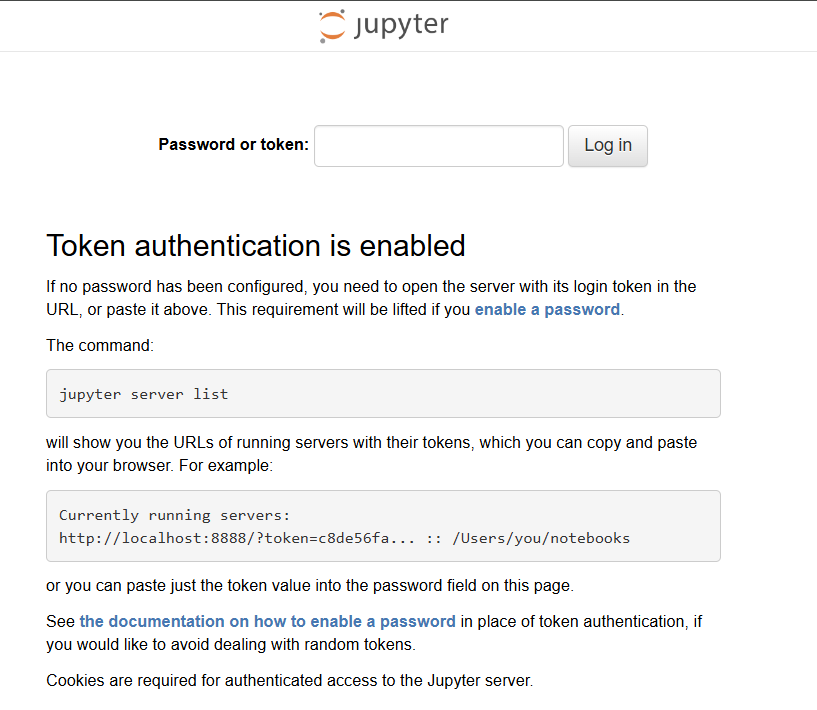
Find the [JOBNAME].error file in the directory where you started the jupyter notebook. Read the contents and you should see the sentence "Or copy and paste one of these URLs:"--below them are two URLS. Everything after the token= is your token. Copy that string and paste it into the jupyter notebook tab in localhost:8888.
You should now have access to your jupyter notebook in the browser! How convenient and easy was that?
Don't forget to close your jupyter notebook instance when you are done. You can do this by running
scancel [your job id]in the terminal.