PDC Wristband Printer - interactiveticketing/pos-docs GitHub Wiki
Model DT039-50
Calibrate Media Sensor
Load the wrist band stock into the printer. The solid black lines should face down so that the media sensor can detect the start of each new wristband.
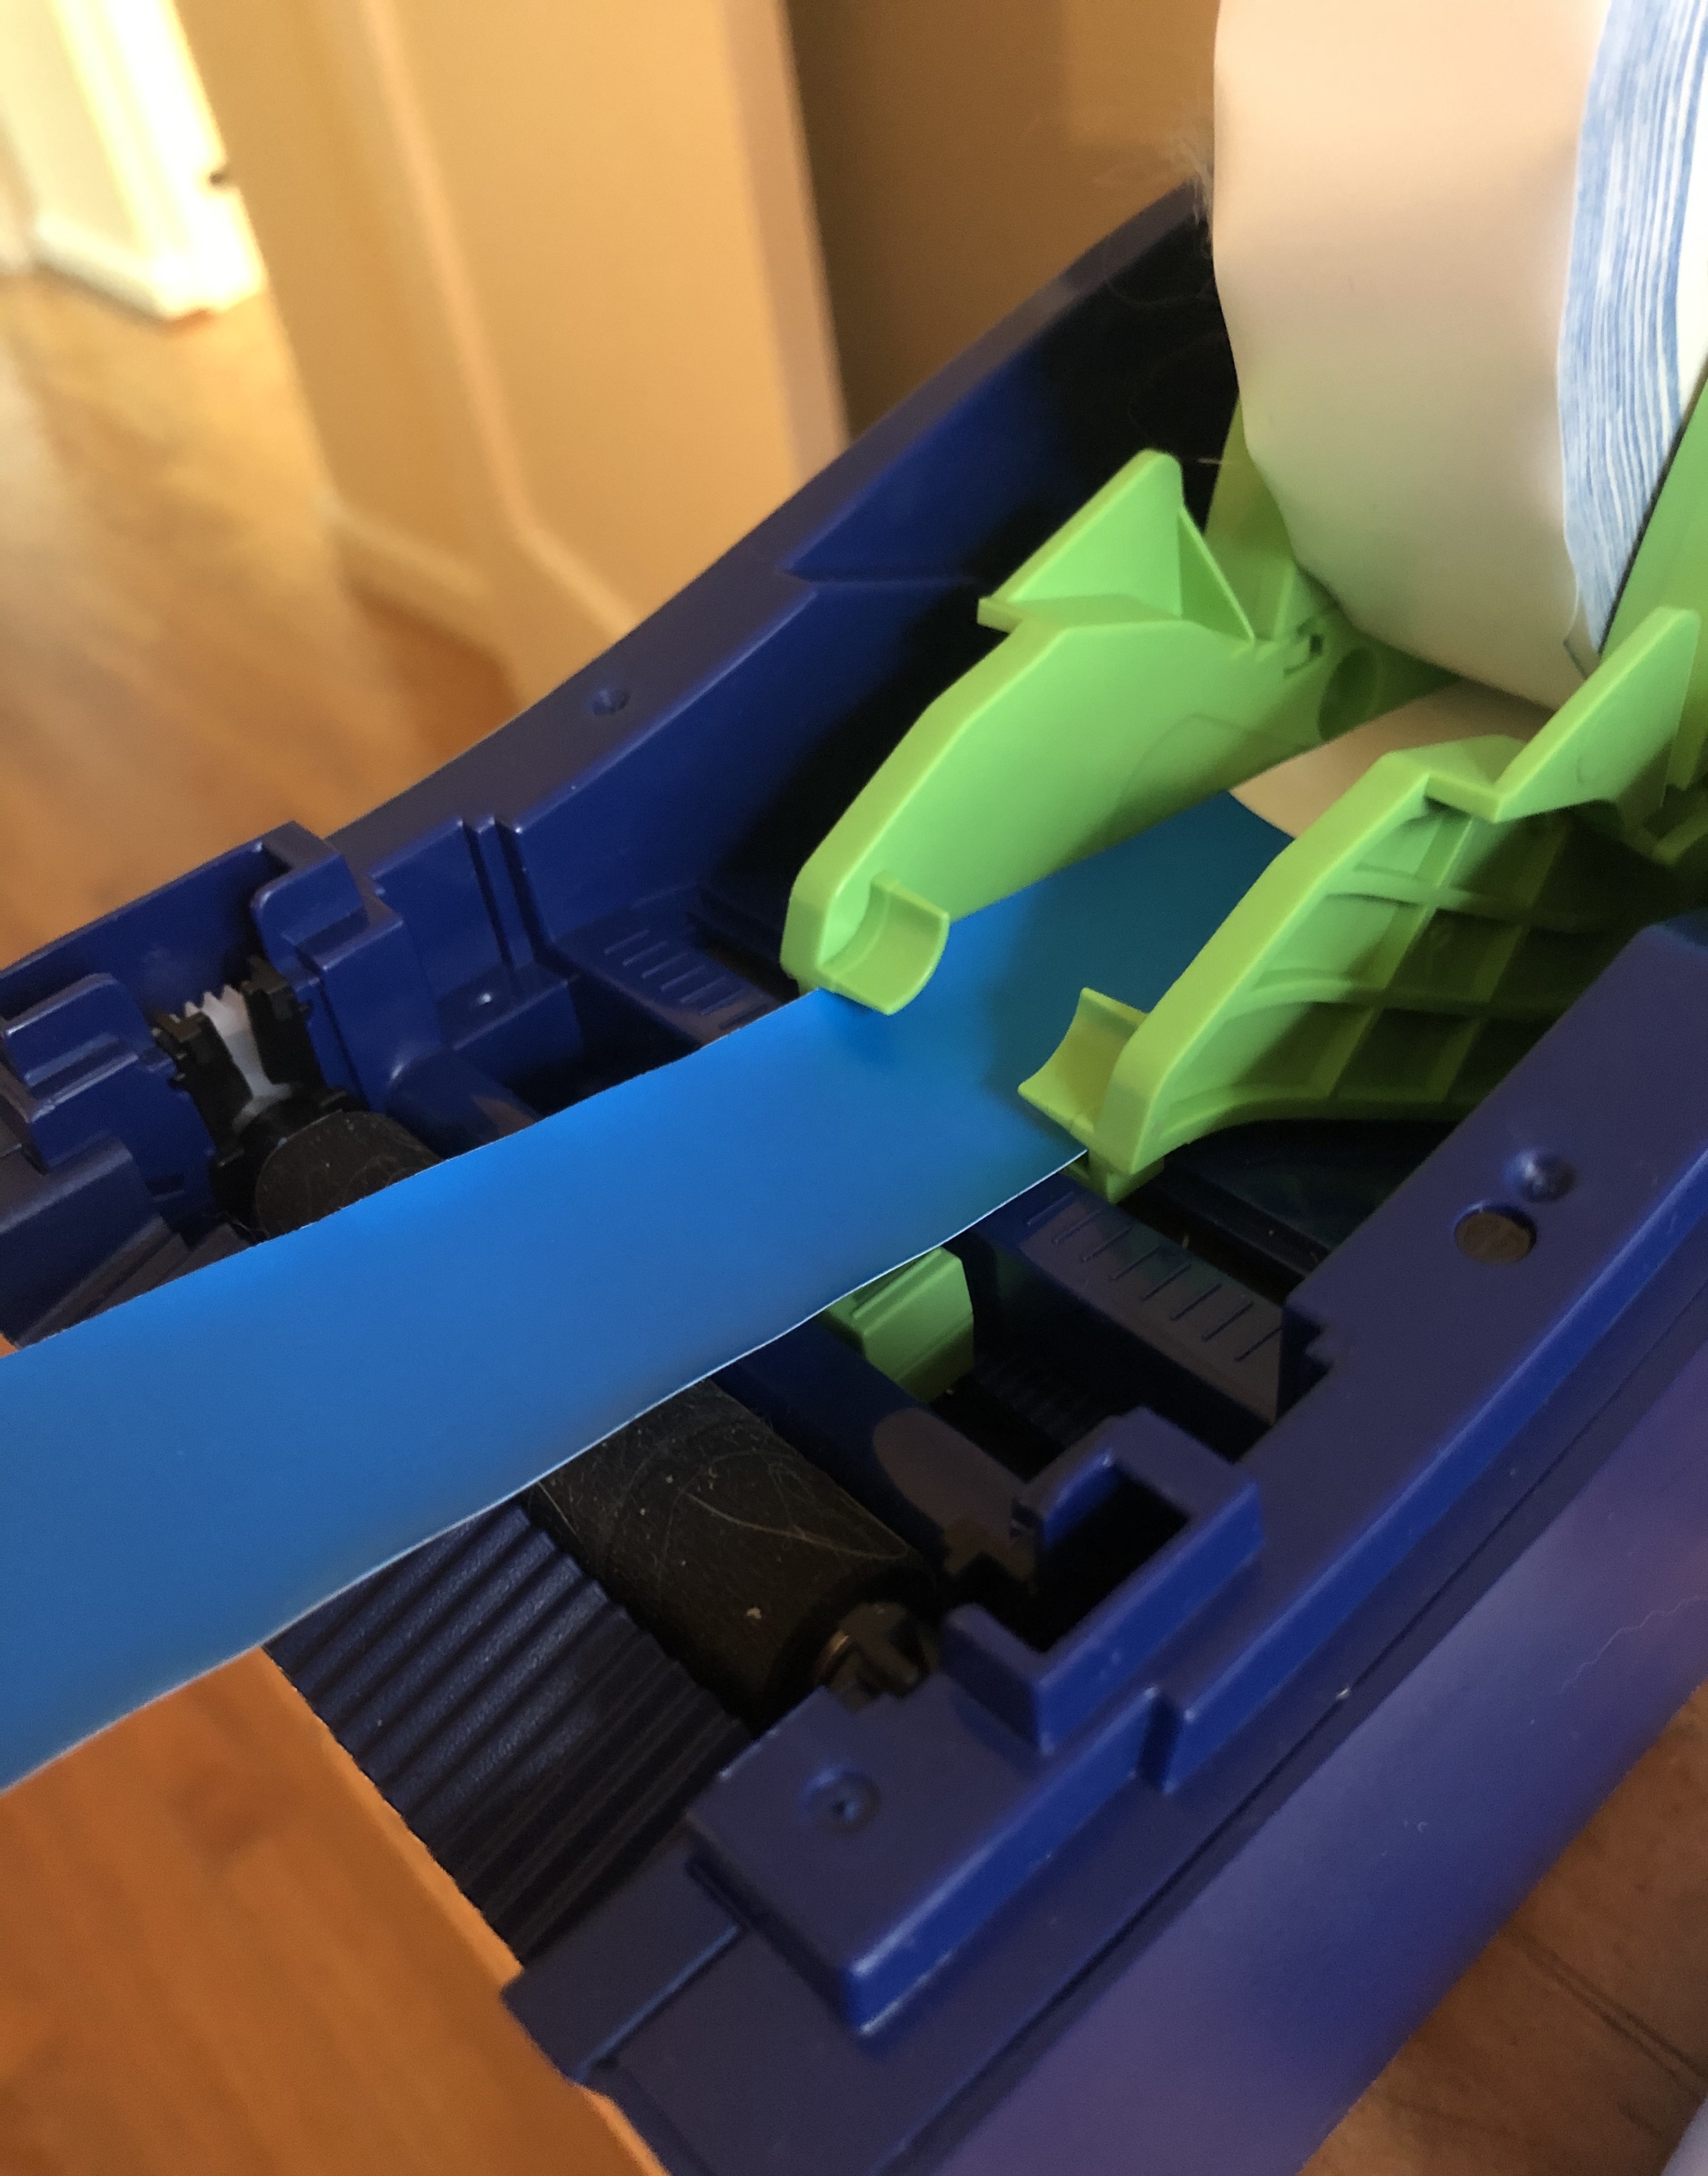
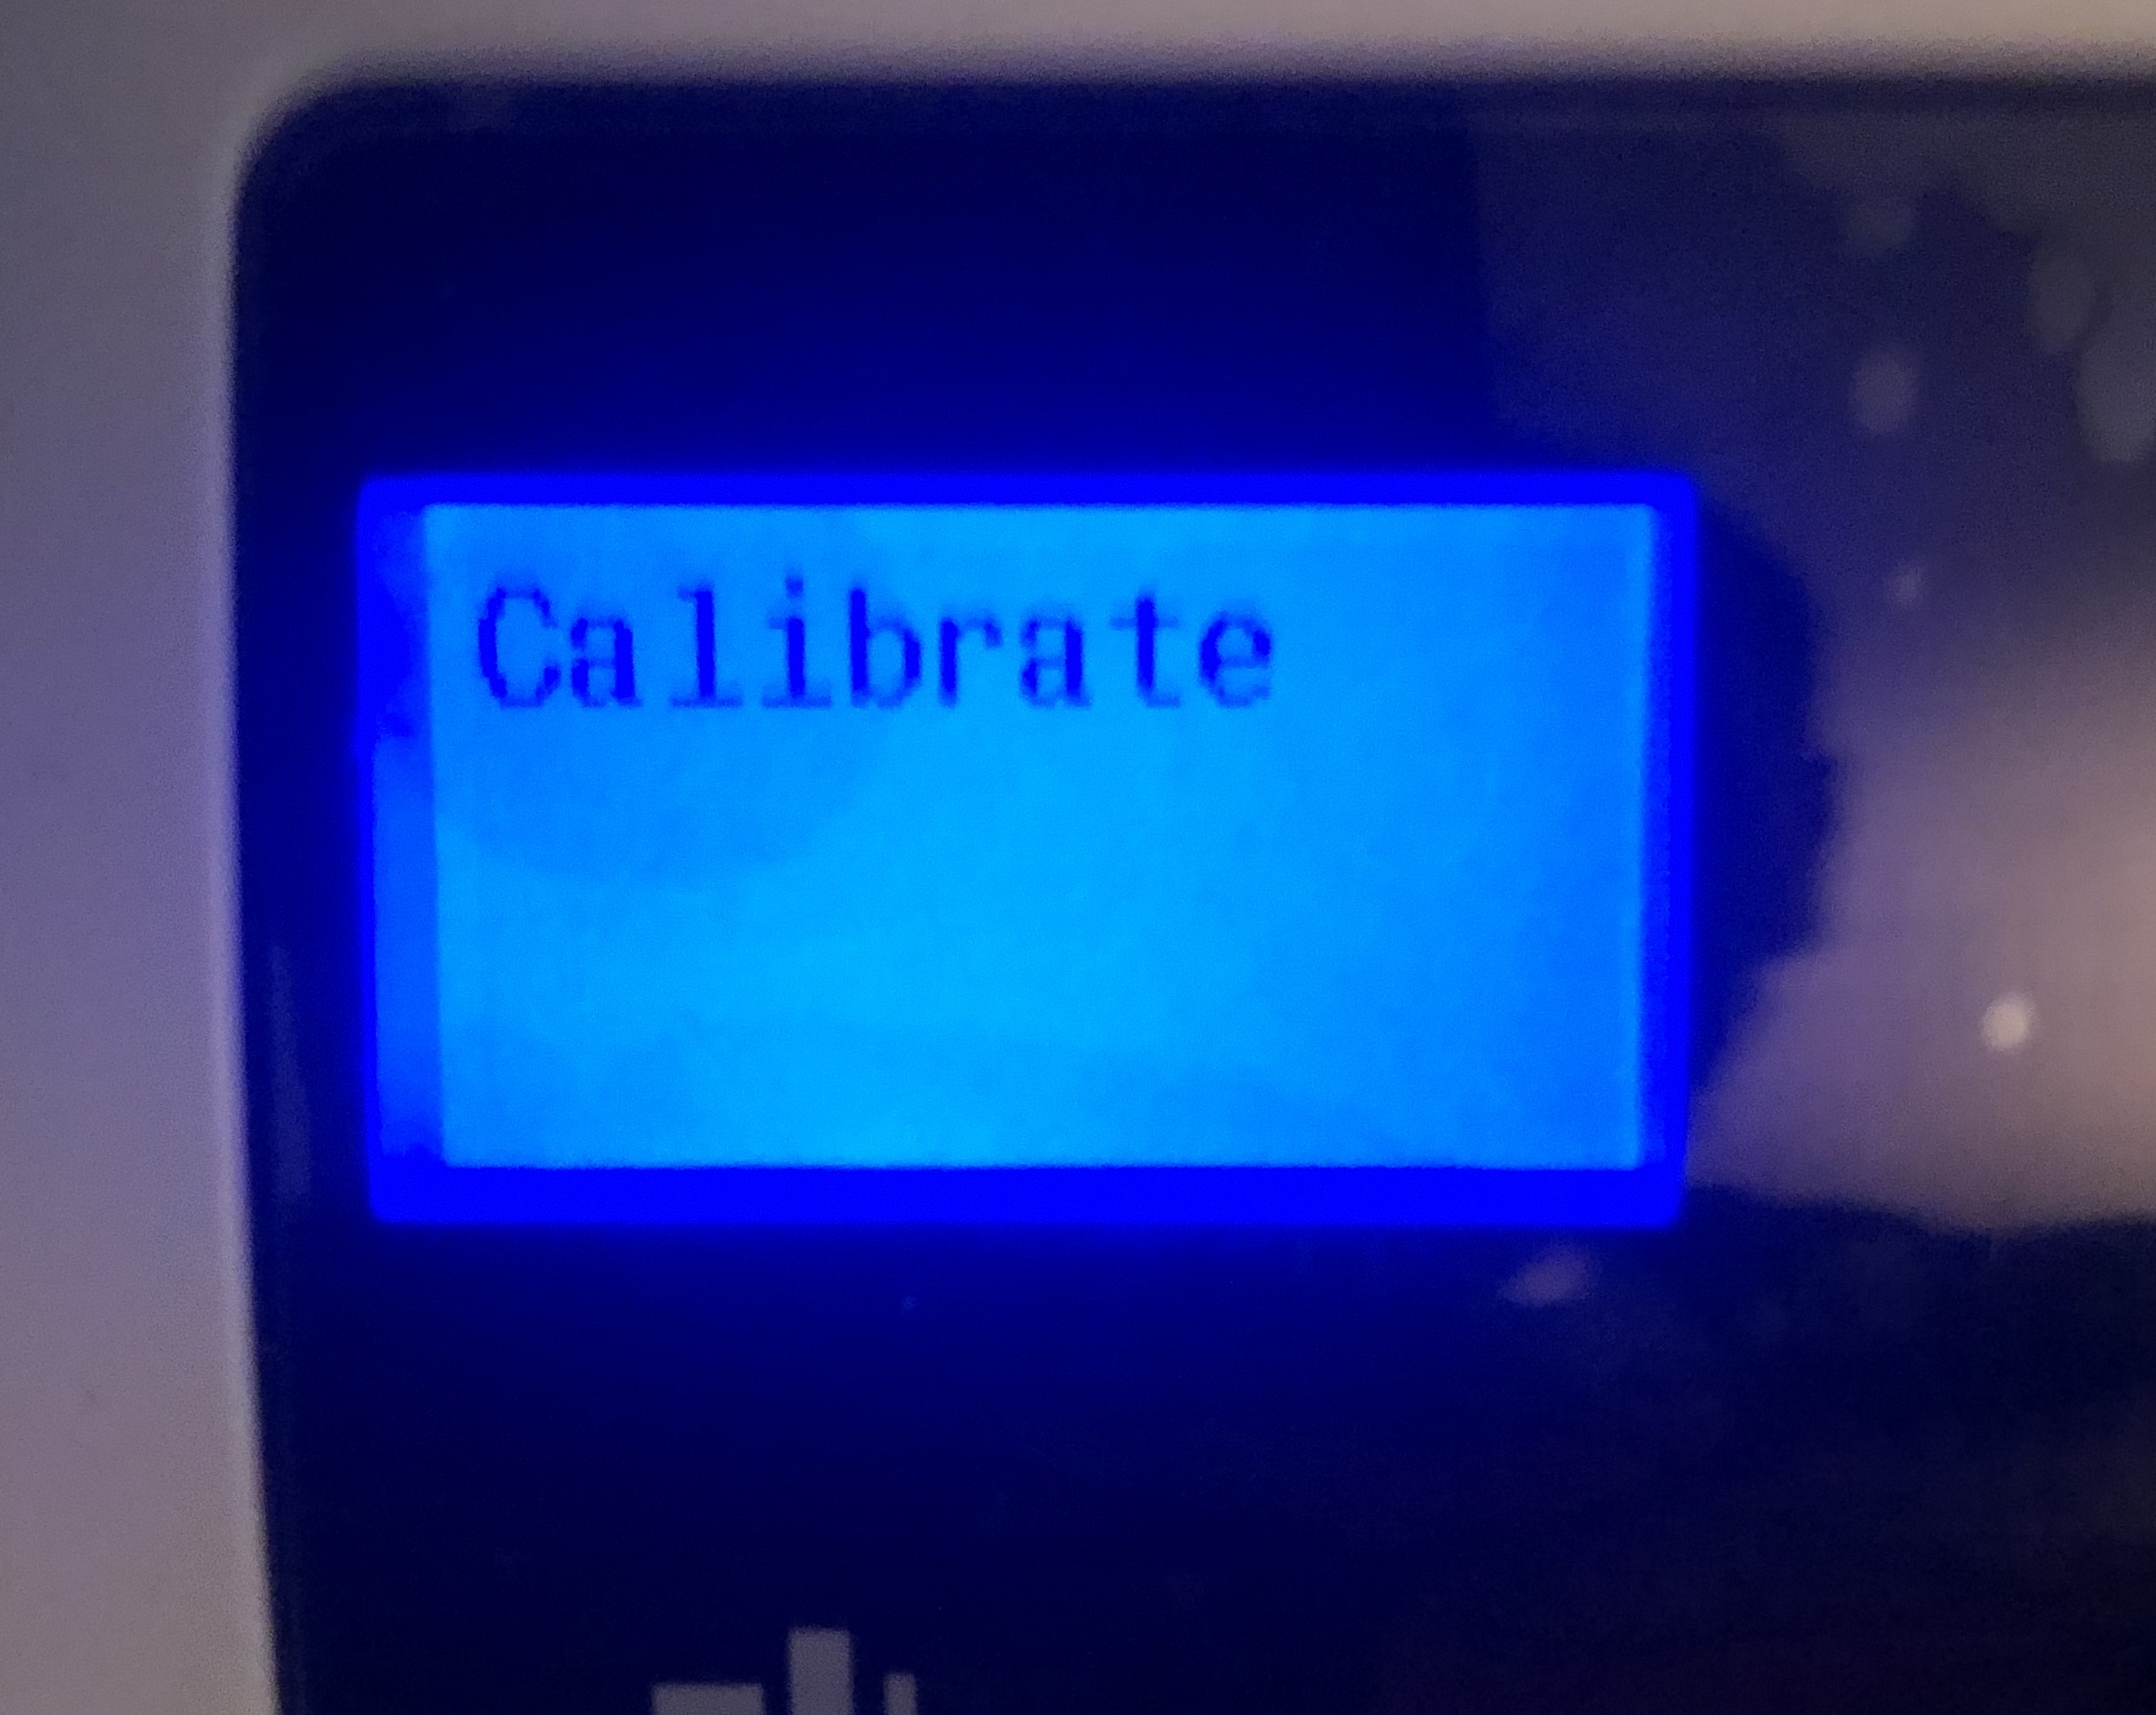
While pressing and holding the front-facing button down, turn on the printer power using the switch on the back. Hold the button until you see Calibrate displayed and immediately let go of the button. The screen display should change to Calibrating... and a wristband or two may feed out of the printer.
Install driver
Plug the printer USB into the POS computer if it is not already plugged in.
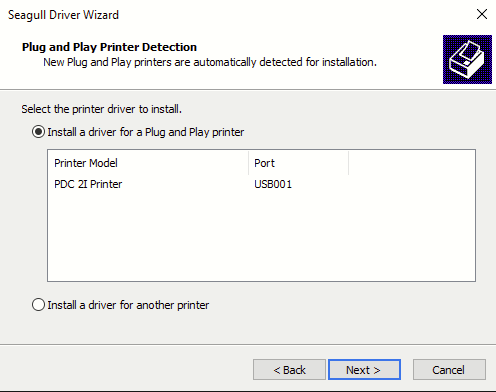
Download and install PDC_2020.2.exe. You may use whatever selections that are already selected for you on each step.


Create New Stock Configuration
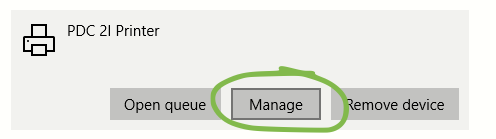
Type printer into the start menu search bar and press Enter key.

Locate the PDC printer and click on the Manage button.
Click on the Printing Preferences and use the New... button to setup a new stock with a name of your choice like Wristband. Be sure it has dimensions 1 by 11 inches as shown.
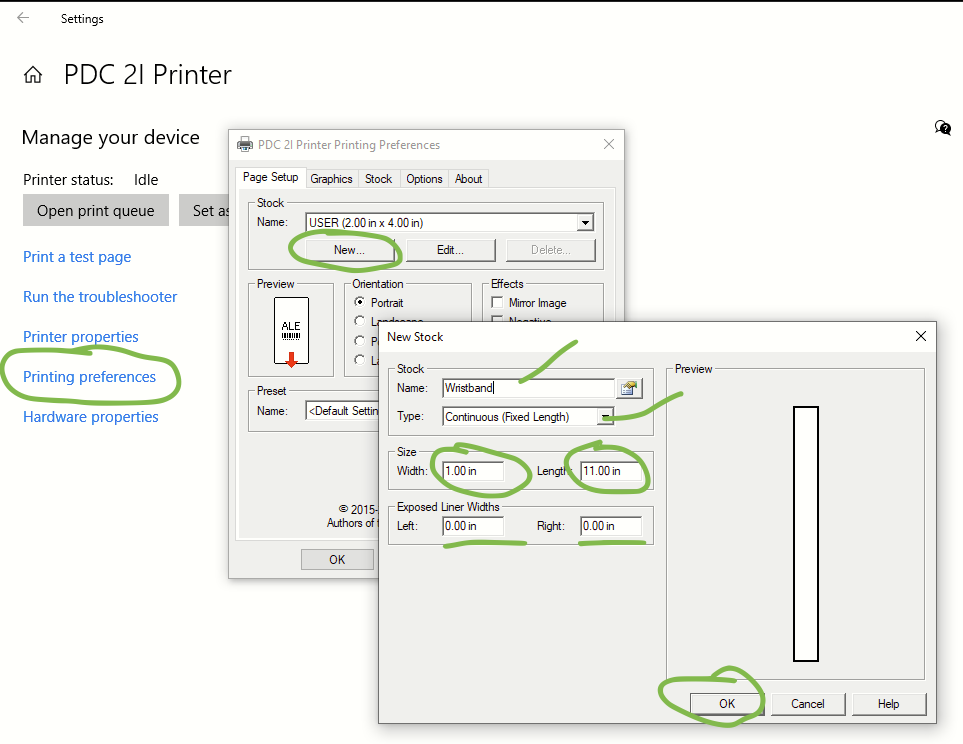
From the Options tab set a stronger Darkness like shown.

Setup POS Application
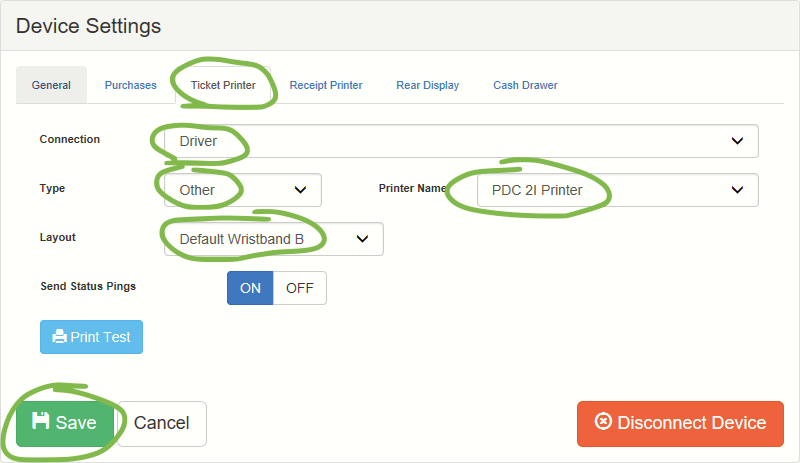
In the POS Settings select the printer and options as shown below.
Helpful video: https://www.youtube.com/watch?v=cp4J93Y-EkE