Setting up the Development Environment for Tutorials - ihmcrobotics/ihmc-open-robotics-software-tutorials GitHub Wiki
Introduction
Welcome! The purpose of this page is to set up the projects in your software environment. This is independent from the Getting Started with Eclipse guide. In other words, you shouldn't to go through Getting Started With Eclipse to set up your workspace for tutorial use. In fact, if the IHMC Open Robotics Software is checked out alongside the tutorials, the code will most likely not compile due to different versioning. Let's get started!
Step 1: Install Java 8, JavaFX 8, and Eclipse
- If you haven't yet installed Java or Eclipse, please visit Getting Started with Eclipse and perform steps 1 - 5 to properly install all necessities.
Step 2: Setting up Git
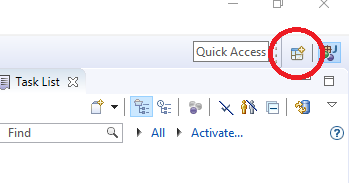
Open up Eclipse. In the top right corner, click on the "Open Perspective" button:
Select Git. The layout will change to include several new views, one of which is "Git Repositories". We need to clone this repository to access our tutorial materials; get the clone link here and copy it. In Eclipse, select "Clone a Git repository". A pop-up window should show up with the address to the repo already populated (If not, paste the URL copied into the URI blank in the Location block). Note, that you can leave the Authentication block blank since the repository is public.

Click "Next >". In the next pop-up, select the master branch and click "Next >". Make sure the repo is cloned at the desired location. The repo can be cloned inside the eclipse workspace directory. This is the directory you selected when starting up eclipse (e.g. /home/YourHomeFolder/eclipse-workspace on Ubuntu or C:\Users\YourHomeFolder\eclipse-workspace on Windows), and then click "Finish".

Your Git Repositories view should look like this:

Step 3: Specify Gradle version
This specification is necessary for smooth progression through this tutorial. Open the preferences dialog using the menus: Window > Preferences, then go to Gradle section and select the version 6.9 as shown below:

Finish by selected Apply and Close.