Run self install tutorial - henrikstengaard/hstwb-installer GitHub Wiki
This tutorial describes step by step how to run self install in an emulator or on real Amiga.
Self install can be run in following ways:
- HstWB Installer: Start HstWB Installer, load self install image, switch installer mode to test and run installer.
- Emulator: Start WinUAE, FS-UAE or similar Amiga emulator using an A1200 configuration with self install image added.
- Real Amiga: Write self install image to CF/SD card or harddrive insert in Amiga.
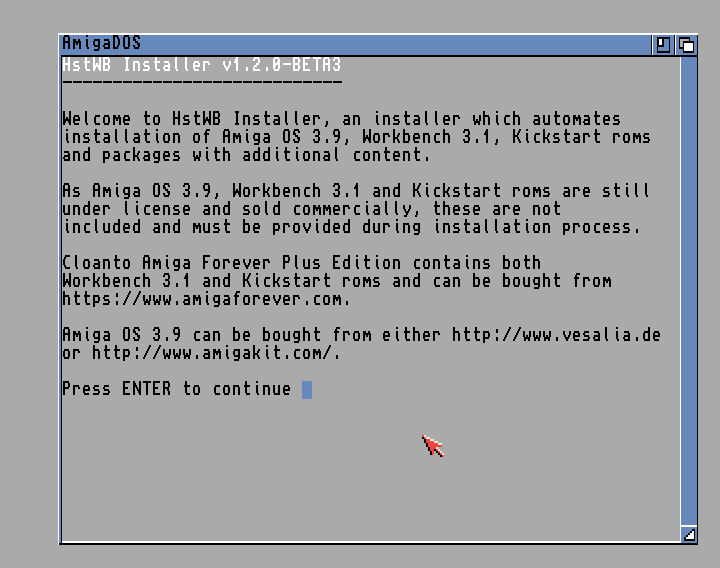
1. Welcome.
Booting the self install image will show HstWB Installer welcome message.
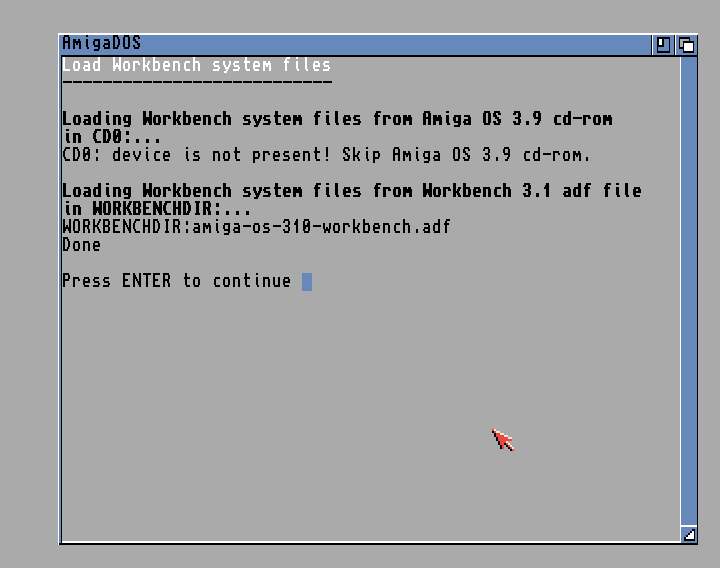
2. Workbench system files
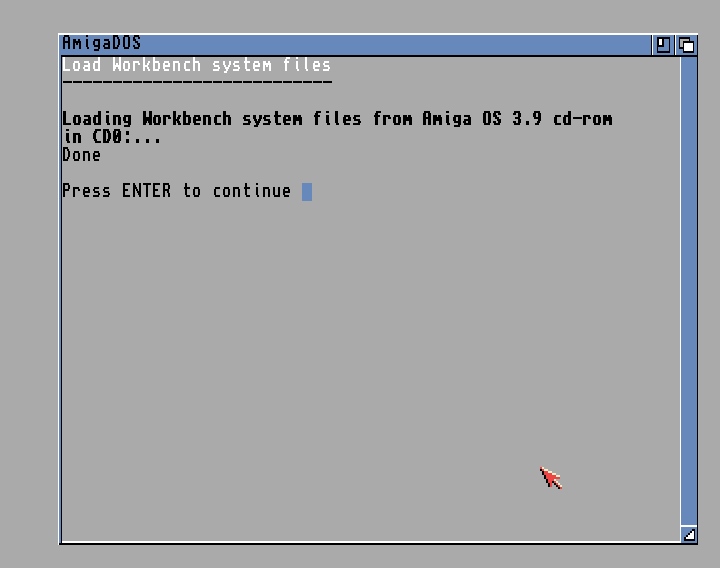
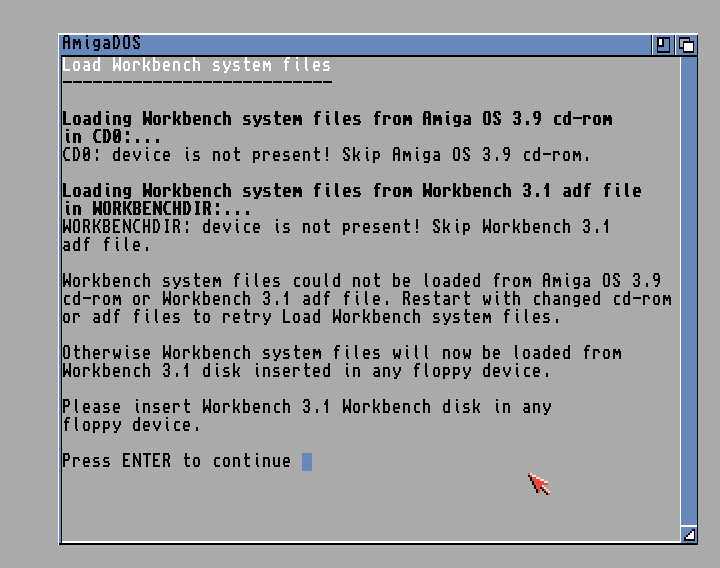
Workbench system files are required for installation process and they will automatically be loaded either from Amiga OS 3.9 cd-rom, Workbench 3.1 adf file or floppy disk.
For loading Workbench 3.1 system files from floppy disk, the installation process will automatically detect and use DF0:, DF1:, DF2: or DF3: containing required Workbench 3.1.
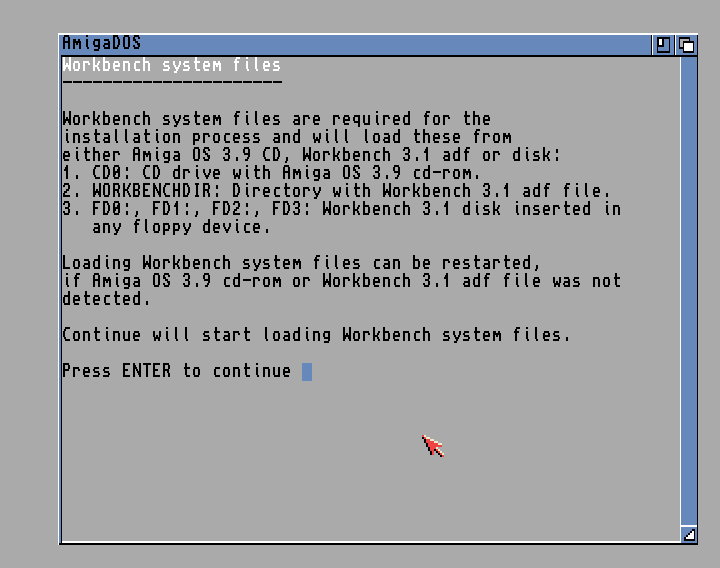
Workbench system files automatically loaded from Amiga CD 3.9 inserted in cd-rom drive CD0:.
Workbench system files automatically loaded from Workbench 3.1 adf file in added harddrive directory WORKBENCHDIR:.
Workbench system files loaded from Workbench 3.1 floppy disk inserted in DF0:.

Press enter to continue installation process.
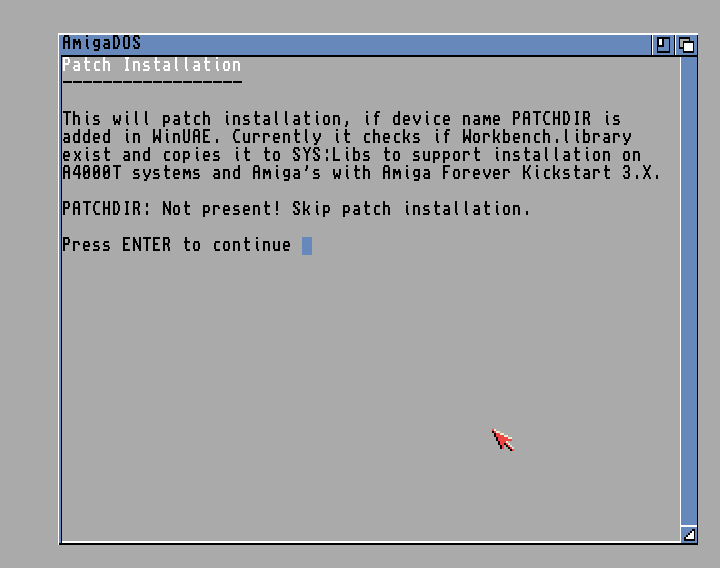
3. Patch installation
Patch installation will check if device name PATCHDIR: is present and use it to patch the installation.
If device name PATCHDIR: is present, it will copy Workbench.library from PATCHDIR: to SYS:Libs to add support for A4000T systems.
For this example device name PATCHDIR: is not present and patch installation is skipped.
Press enter to continue installation process.
4. Device names overview
Device names overview lists device names HstWB Installer can detect and use to automate installation of Amiga OS 3.9, Workbench 3.1, Kickstart roms and user packages.
Press enter to continue installation process.

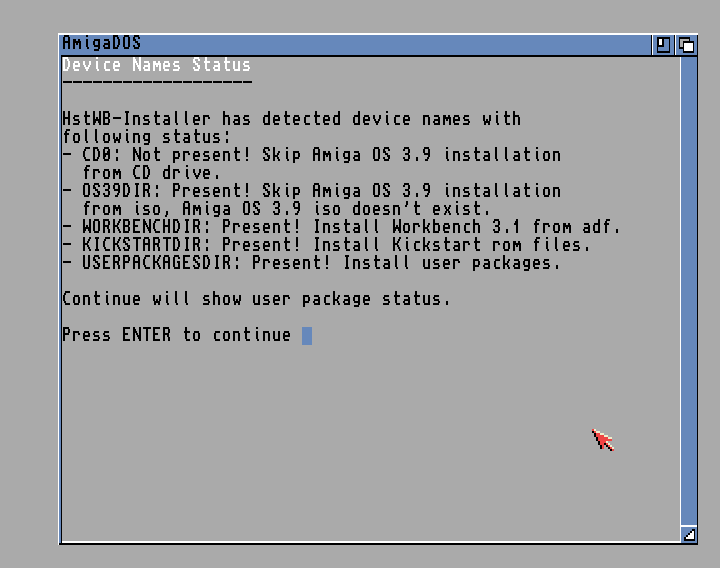
5. Device names status
Device names status lists device names detected and will use to automate installation of Amiga OS 3.9, Workbench 3.1, Kickstart roms and user packages.
For this example device names has following status:
- CD0: is not present and installation of Amiga OS 3.9 is skipped.
- OS39DIR: is present, but doesn't contain Amiga OS 3.9 iso, Boing Bag 1 or 2 lha files and installation of Amiga OS 3.9 is skipped.
- WORKBENCHDIR: is present and will be used to detect and install Workbench from adf files.
- KICKSTARTDIR: is present and will be used to detect and install Kickstart roms files.
- USERPACKAGESDIR: is present and will be used to detect and install user packages.
Press enter to continue installation process.
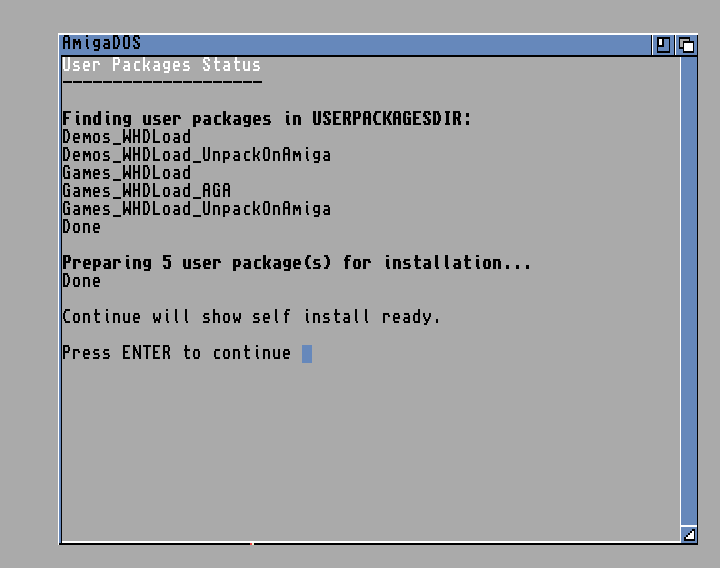
6. User packages status
User packages status lists user packages detected in USERPACKAGESDIR: and prepares them for installation.
For this example following user packages are detected and prepared:
- Demos_WHDLoad.
- Demos_WHDLoad_UnpackOnAmiga.
- Games_WHDLoad.
- Games_WHDLoad_AGA.
- Games_WHDLoad_UnpackOnAmiga.
Press enter to continue installation process.
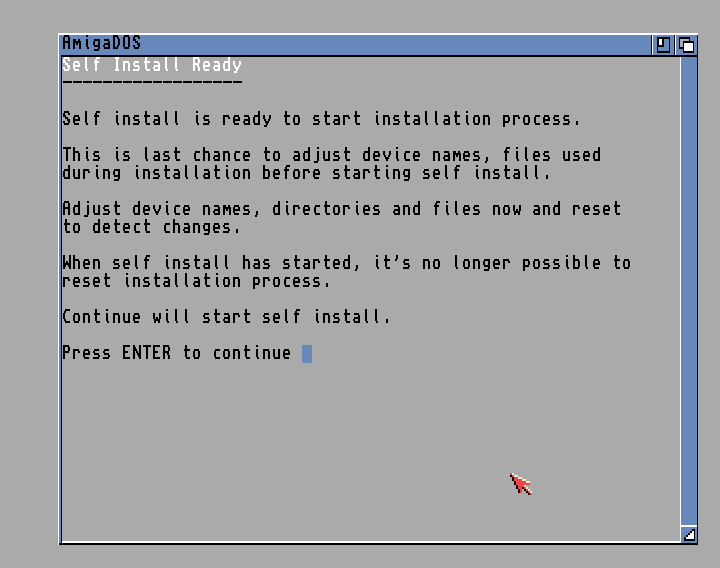
7. Self install ready
Self install ready is the last chance of adjusting device names, directories and files HstWB Installer uses for installation of Amiga OS 3.9, Workbench 3.1, Kickstart roms and user packages.
Configured device names, directories or files used can be adjusting and resetting Amiga will restart self install and detect changes.
When self install process starts, it's no longer possible to reset installation process.
For this example device names status are valid and adjusting is not necessary.
Press enter to continue installation process.
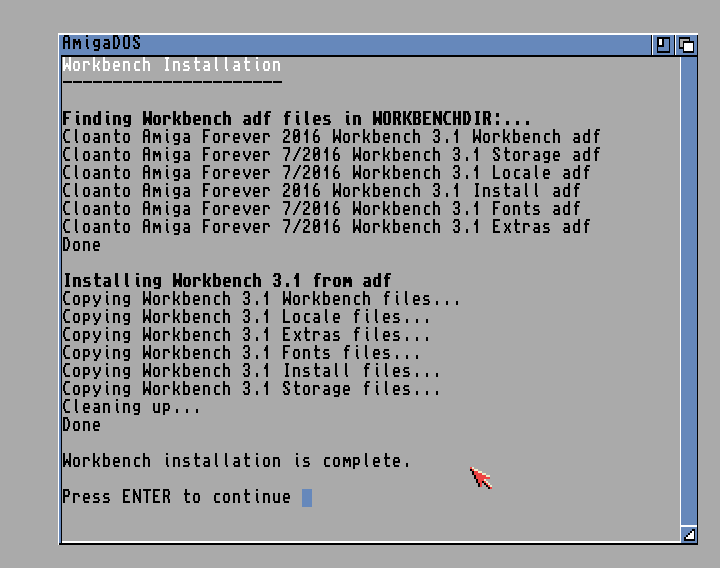
8. Workbench installation
Workbench installation uses detected device name WORKBENCHDIR: to install Workbench 3.1 from adf files.
For this example Workbench 3.1 is installed from Cloanto Amiga Forever Workbench 3.1 adf files.
Press enter to continue installation process.
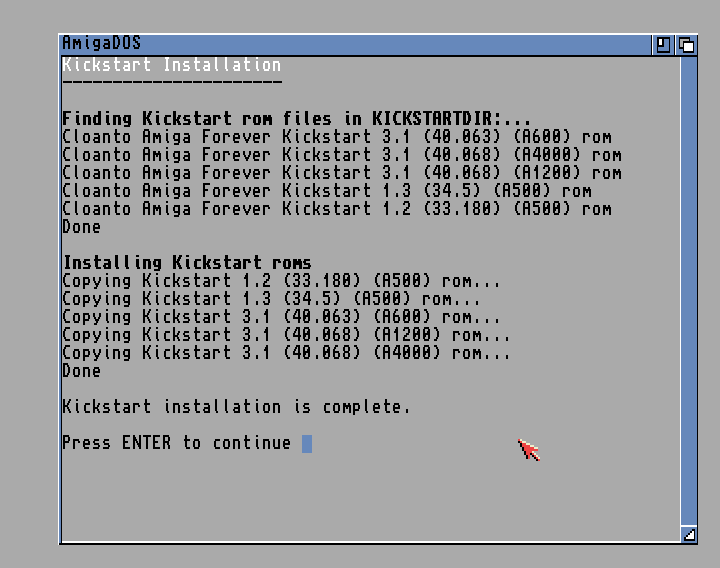
9. Kickstart installation
Kickstart installation uses detected device name KICKSTARTDIR: to install Kickstart rom files for WHDLoad.
For this example Kickstart rom files are installed from Cloanto Amiga Forever Kickstart rom files.
Press enter to continue installation process.
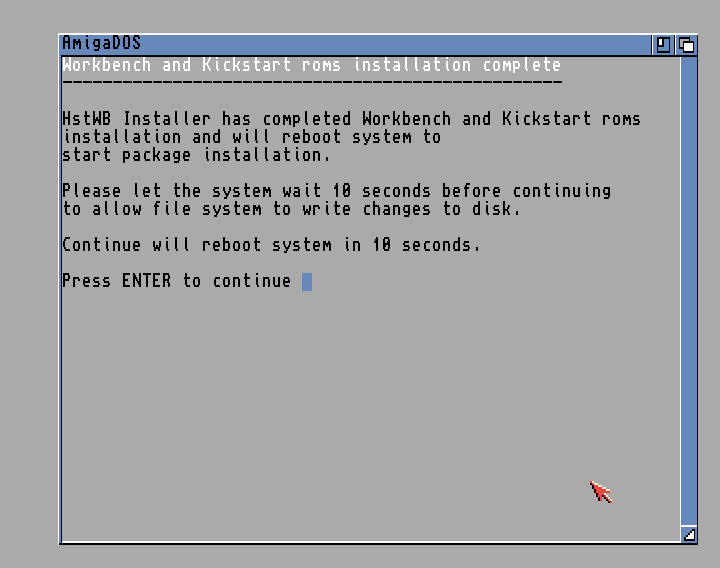
10. Workbench and Kickstart roms installation complete
Workbench and Kickstart roms installation is complete.
Press enter to continue reboot and start package installation.
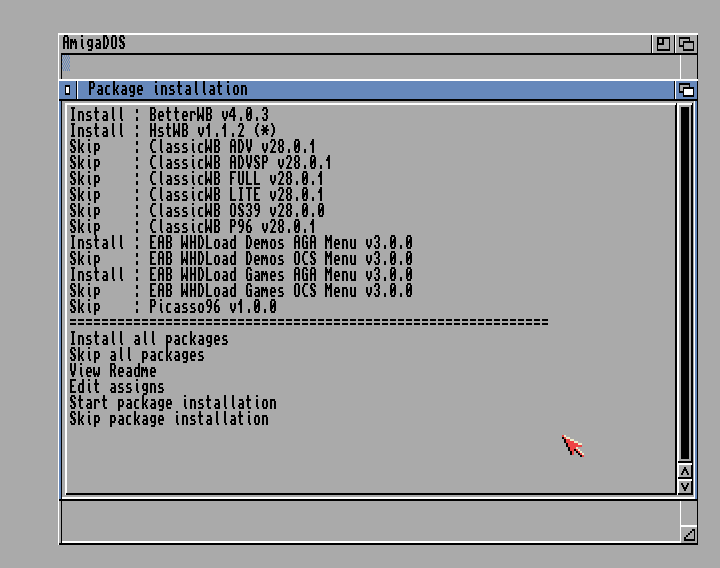
11. Select packages to install
Select packages to install shows a list of packages that are included in the self install.
Click on a package to switch it between being installed or skipped, which is indicated with "Install" or "Skip" in front of the package.
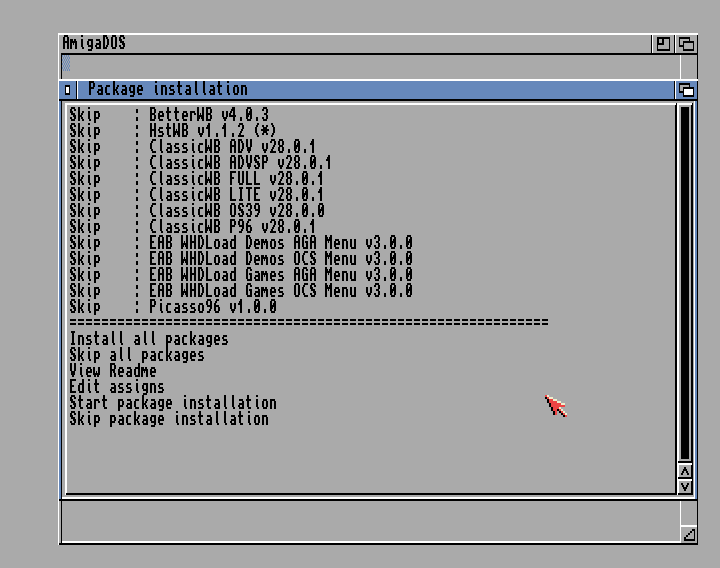
For this example click on packages BetterWB, HstWB, EAB WHDLoad Games AGA Menu and EAB WHDLoad Demos AGA Menu to switch them to "Install" to install them.
Note: Only one Workbench system package should be installed, so choose to install either BetterWB, BetterWB + HstWB or a ClassicWB package.
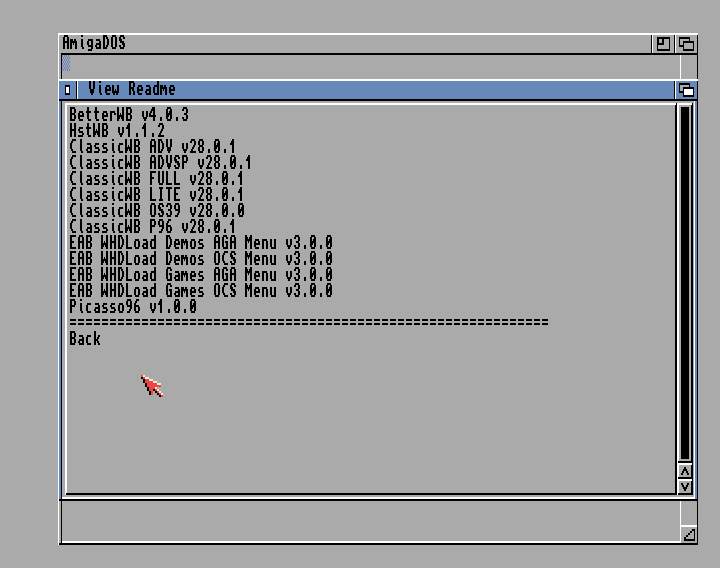
12. View readme
Click "View Readme" to view readme for packages that are included in the self install.
This is optional and can be skipped.
Click on a package to view it's readme.
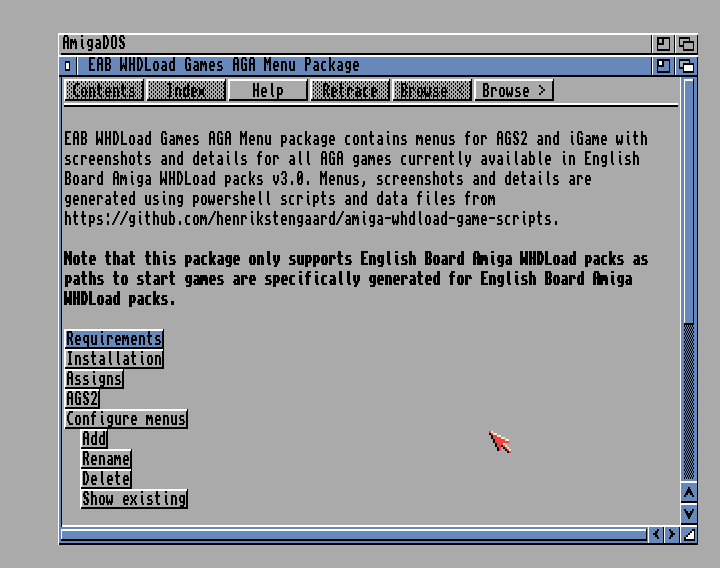
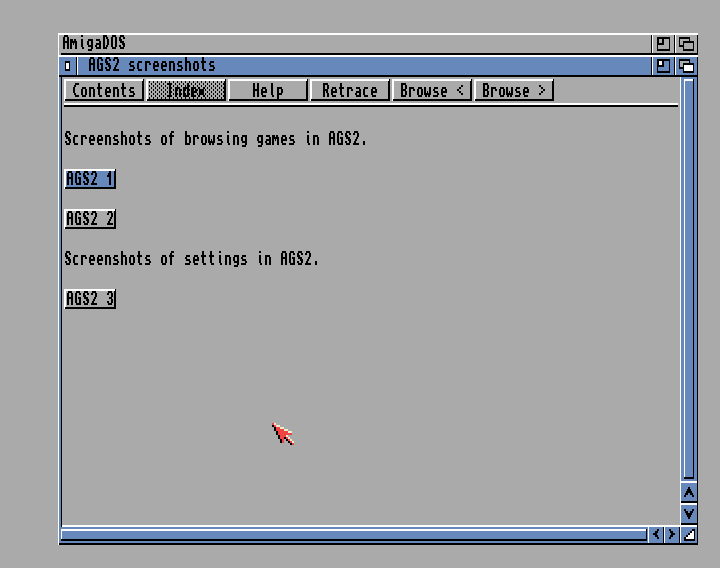
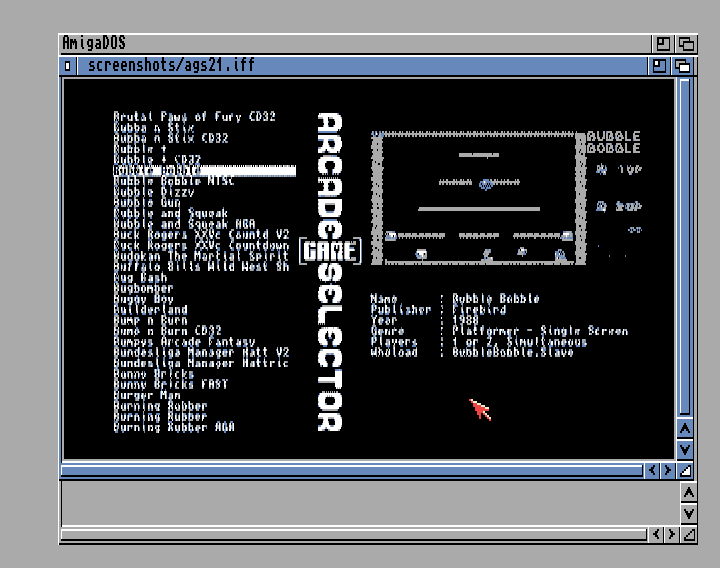
For example EAB WHDLoad Games AGA Menu is clicked showing it's Amiga guide readme description and screenshots.
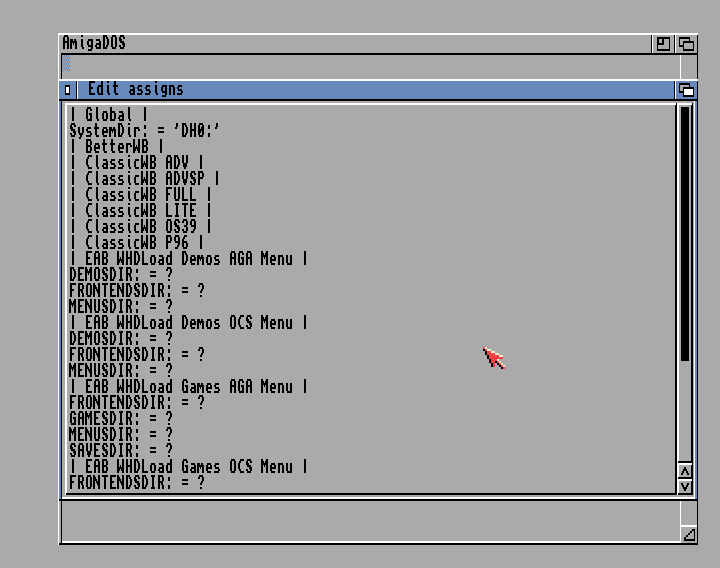
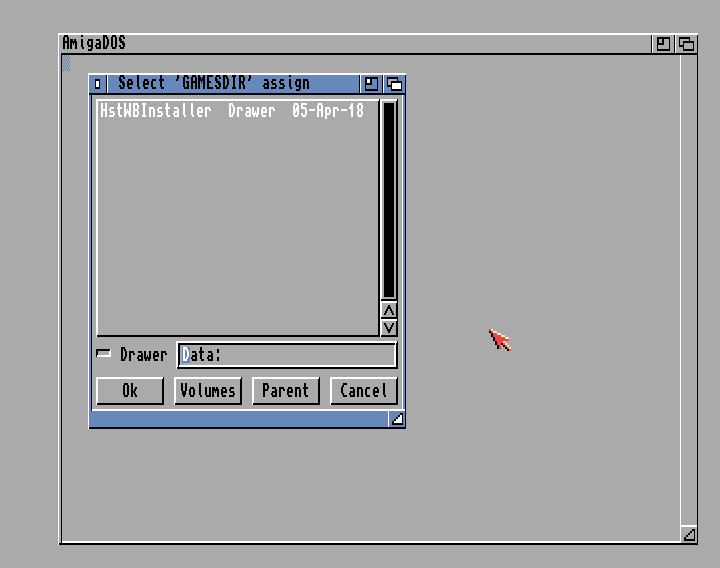
13. Edit assigns
Click "Edit assigns" to change assigns each package uses during package installation.
This is optional and can be skipped.
Edit assigns shows packages and the assigns each package uses during package installation.
Click on any assigns (ending with :) to edit them and change drawer the package will install it's content to.
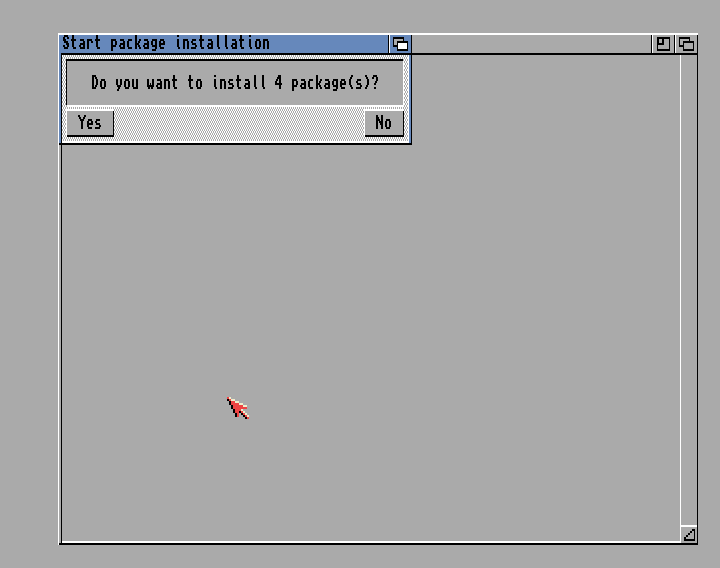
14. Start package installation
Click "Start package installation", when packages to install are selected and assigns have been edited (if needed).
Click "Yes" to confirm selected packages will be installed.
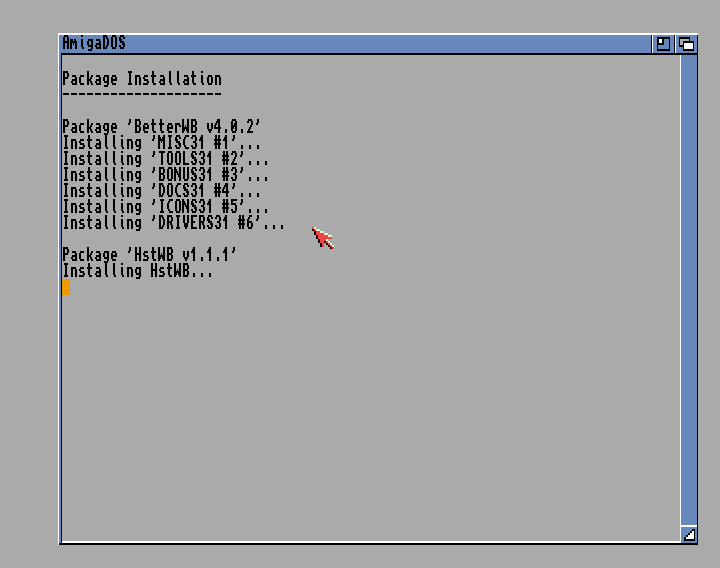
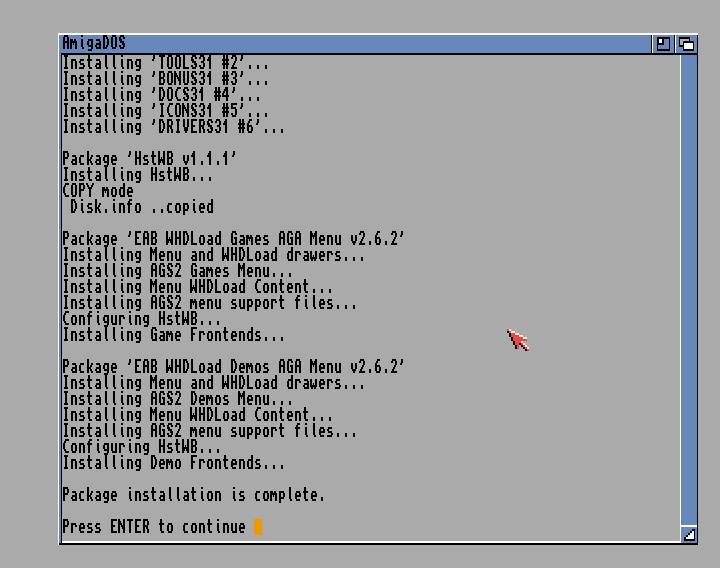
14. Package installation running
Package installation running showing progress if each package being installed.
15. Package installation done
Selected package are installed and package installation is done.
Press enter to continue, which will continue package installation.
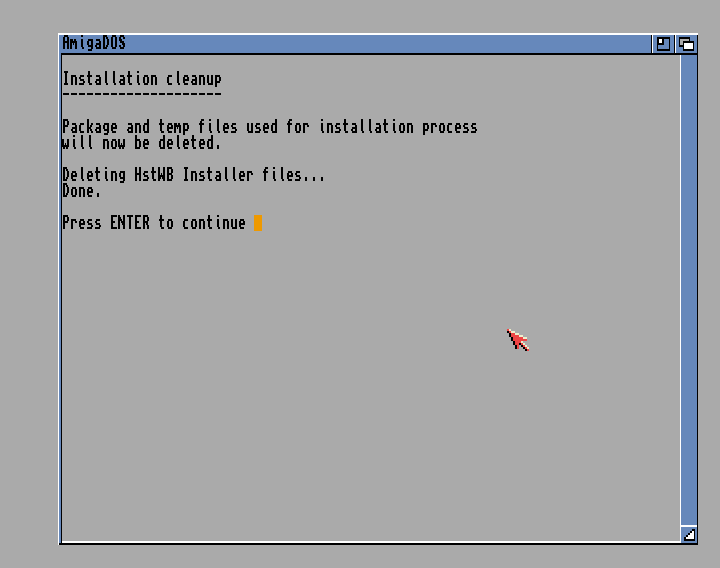
16. Installation cleanup
Packages and temp files used for installation process are deleted.
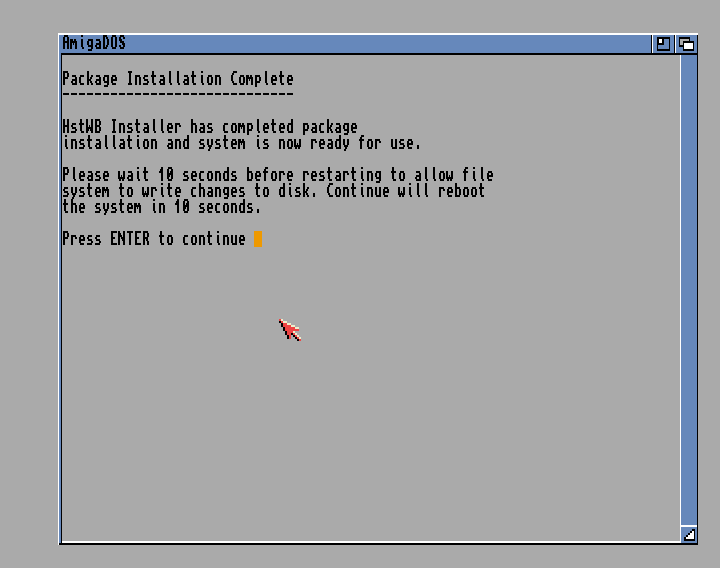
17. Package installation complete and reboot
Package installation is complete and the system is ready to use. It will wait 10 seconds to allow the system to write changes to the disk.
Press enter to continue system reboot in 10 seconds.