Run package installation tutorial - henrikstengaard/hstwb-installer GitHub Wiki
This tutorial describes step by step how to run package installation in an emulator or on real Amiga.
Package installation can be run in following ways:
- HstWB Installer Setup: Switch to test mode and run installer.
- Manually using an emulator: Start WinUAE, FS-UAE, UAE4ARM or other Amiga emulator with HDF files and/or directories added.
- Real Amiga: Copy package installation to FAT-32 formatted CF-card and insert into Amiga using PCMCIA adapter.
Package installation can be run using an emulator by adding directory containing package installation.
1. Start WinUAE
Configure harddrive directories for WinUAE in following ways:
- Using HstWB Installer test mode press F12 after WinUAE is launched to configure harddrive directories.
- Manually start WinUAE and use own configuration with image HDF files and/or harddrive directories added.
2. Configure harddrive directories
Click "CD & Hard drives".
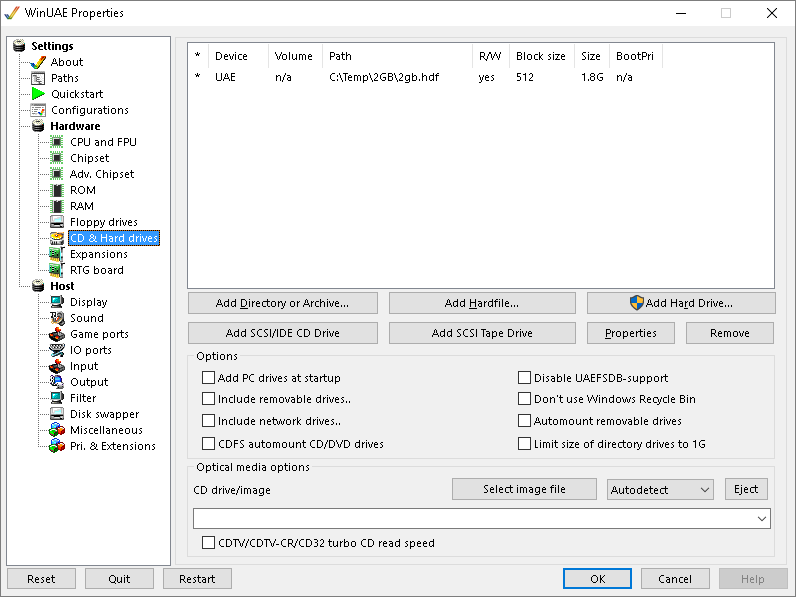
3. Add PC harddrive directory
Click "Add Directory or Archive".
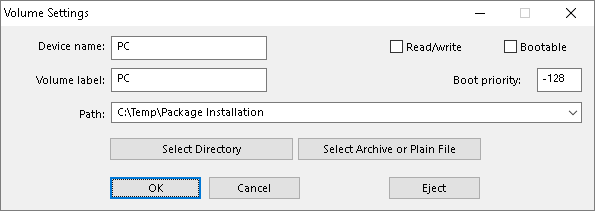
Enter "PC" in device name and volume label textboxes.
Uncheck "Read/Write" and "Bootable" checkboxes.
Click "Select Directory" and select directory "c:\Temp\Package Installation".
Click "OK" to add the directory as a harddrive.
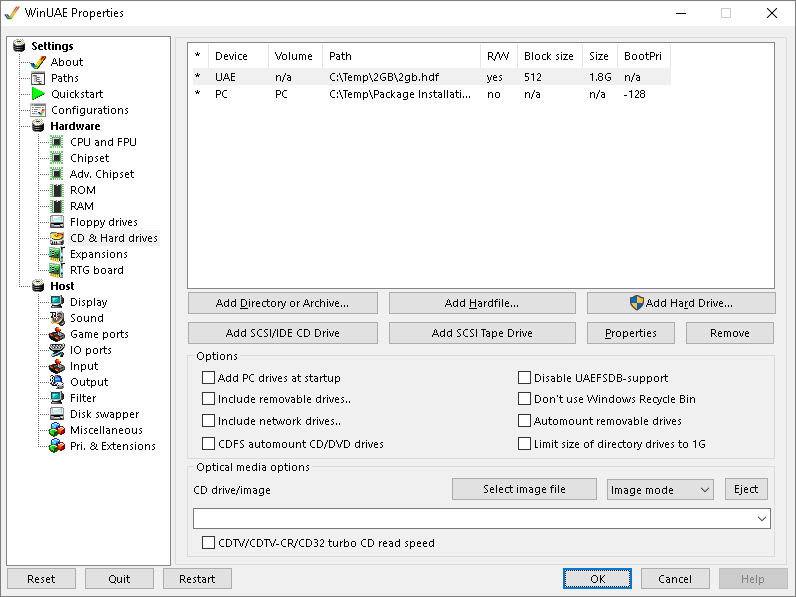
4. Verify configured harddrives
Verify WinUAE has image HDF files and/or directories added together with "PC" directory harddrive.
5. Reset WinUAE
Click "Reset" to reset emulator and PC harddrive is available in Workbench.
6. Open PC harddrive
Open PC harddrive with double-click and package installation can be started.
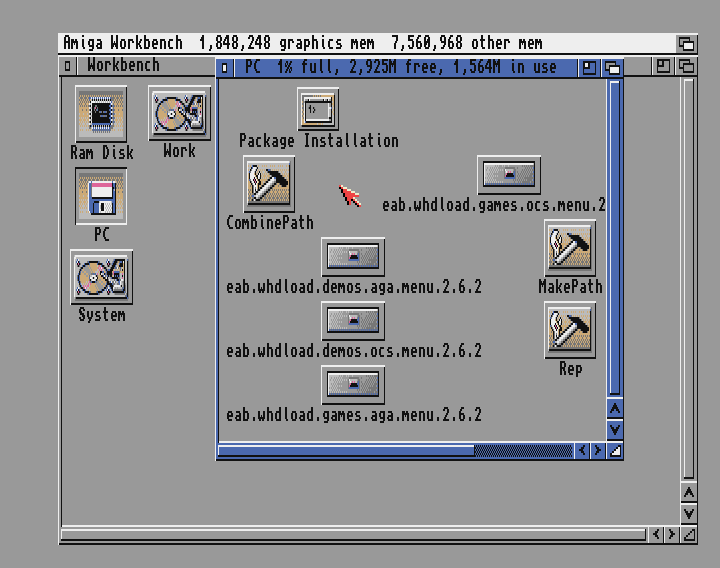
1. Start package installation.
Double-click "Package Installation" icon to start package installation.
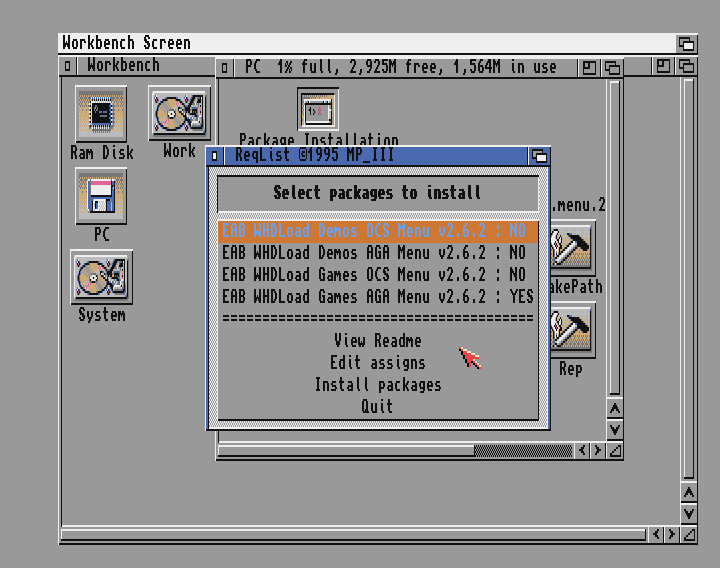
2. Select packages to install
Select packages to install shows a list of packages that are included in the package installation.
Click on a package to select if it will be installed or not, which is indicated with YES or NO next to the package.
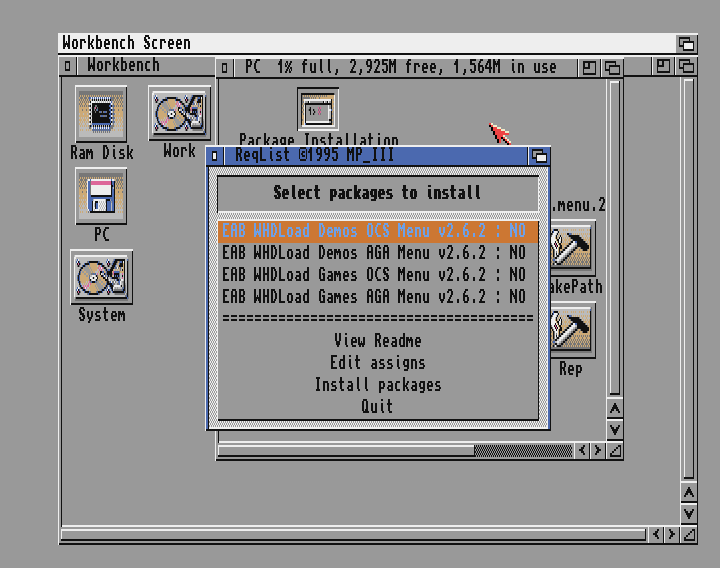
For this example click on package EAB WHDLoad Games AGA Menu to switch it to YES, so it will be installed.
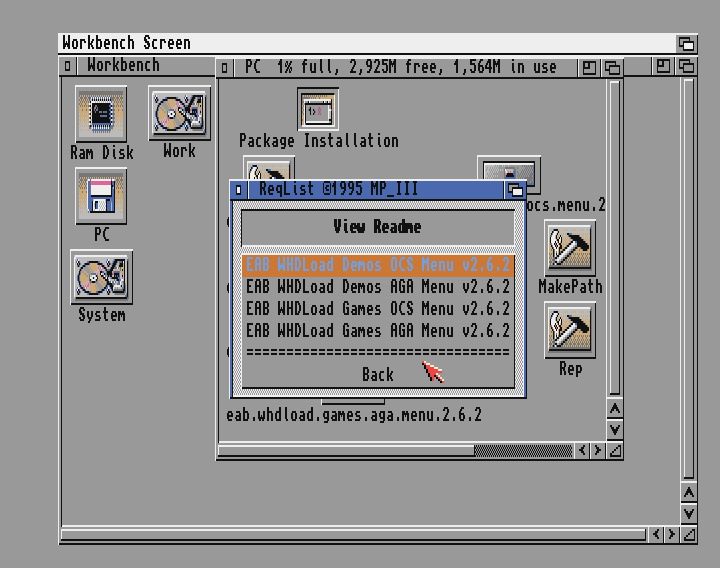
3. View readme
Click "View Readme" to view readme for packages that are included in the package installation.
This is optional and can be skipped.
Click on a package to view it's readme.
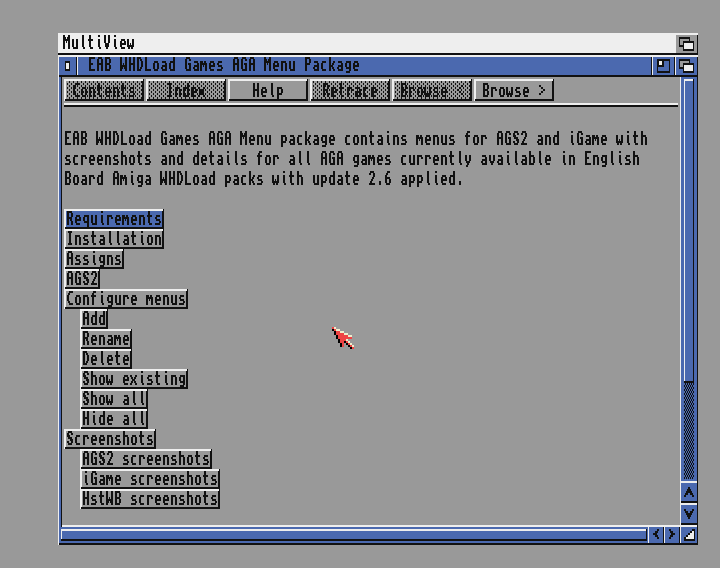
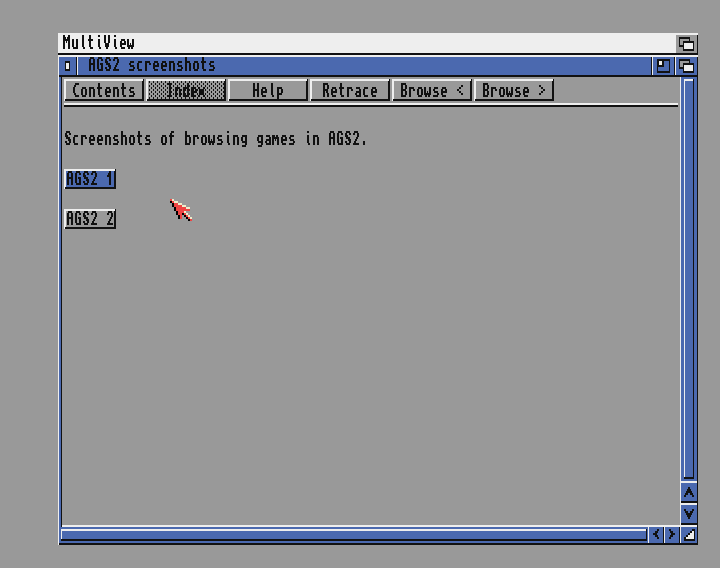
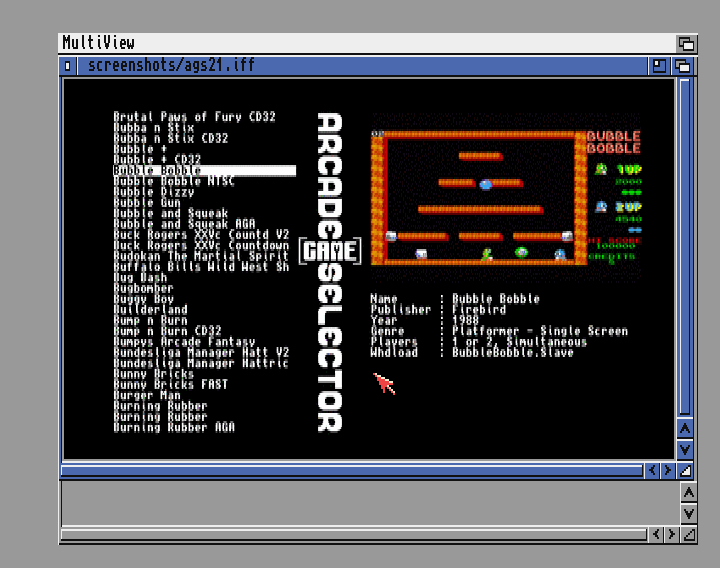
For example EAB WHDLoad Games AGA Menu is clicked showing it's Amiga guide readme description and screenshots.
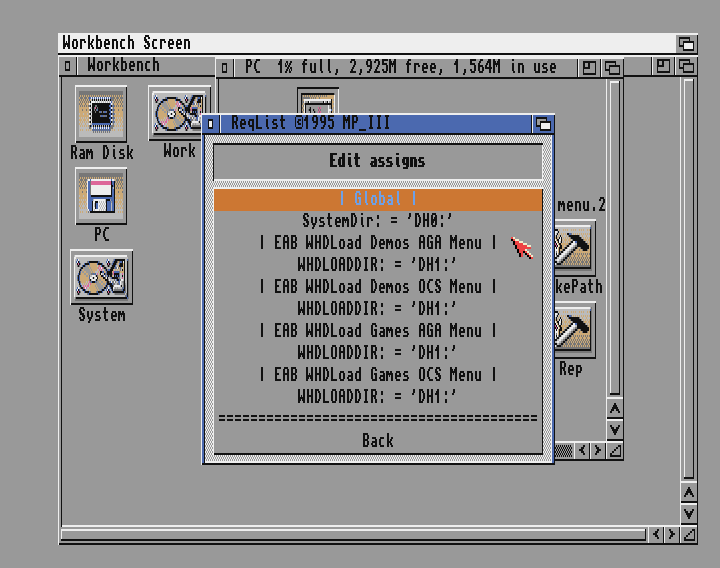
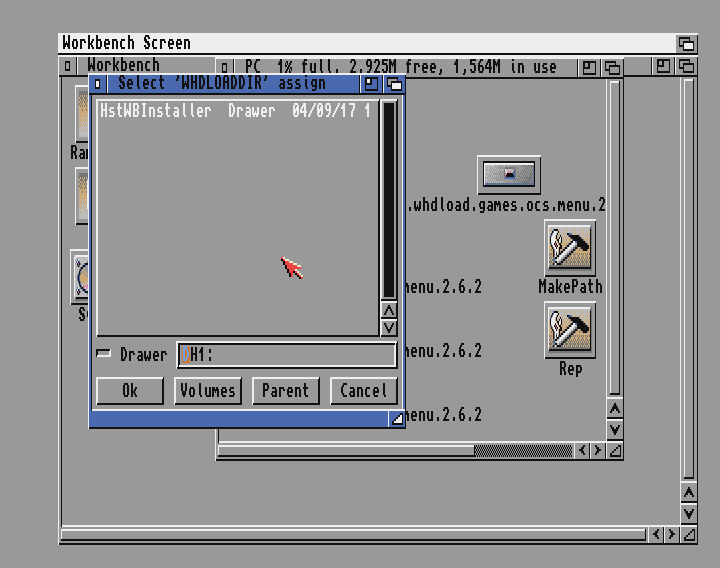
4. Edit assigns
Click "Edit assigns" to change assigns each package uses during package installation.
This is optional and can be skipped.
Edit assigns shows packages and the assigns each package uses during package installation.
Click on any assigns (ending with :) to edit them and change drawer the package will install it's content to.
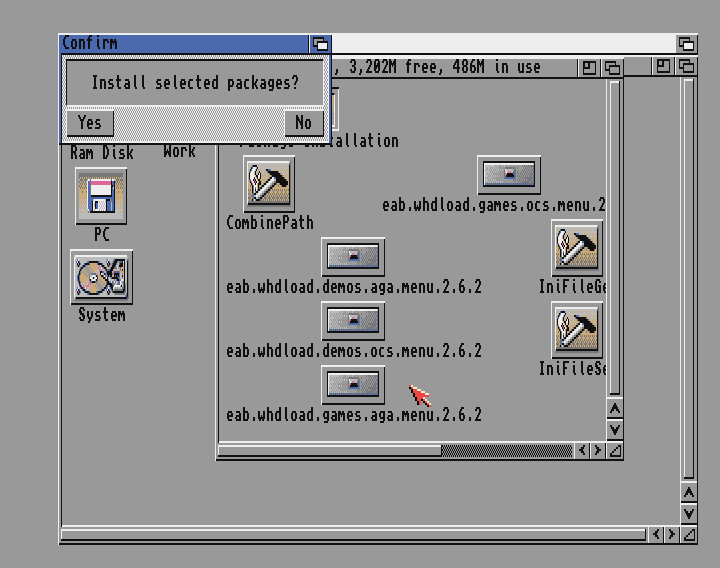
5. Ready to install packages
Click "Install packages", when packages to install are selected and assigns have been edited (if needed).
6. Confirm package installation
Click "Yes" to confirm selected packages will be installed.
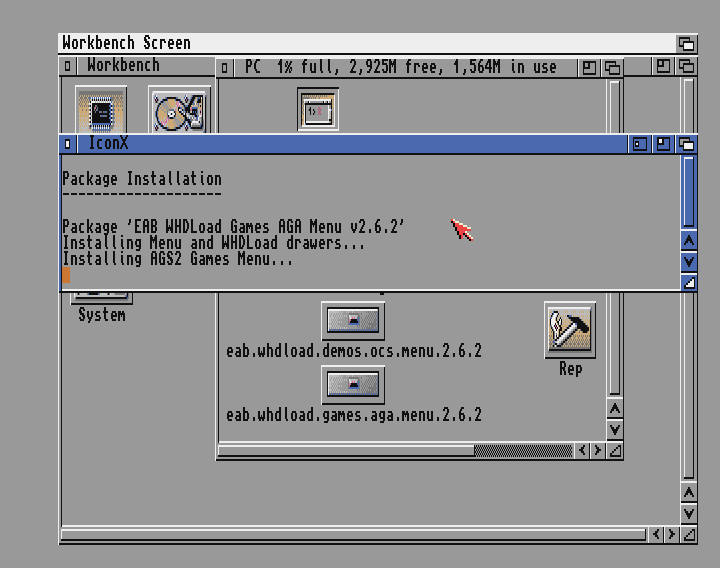
7. Package installation running
Package installation running showing progress if each package being installed.
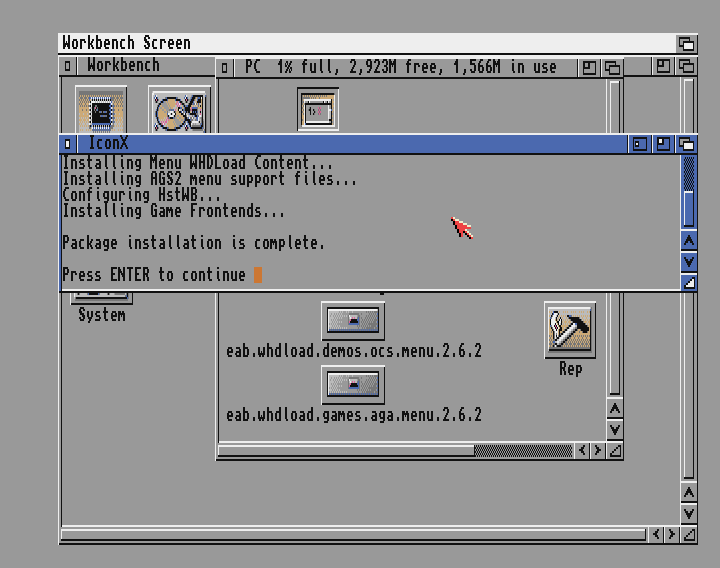
8. Package installation done
Selected package are installed and package installation is done.
Press enter to continue, which will end and close package installation.