Install Raspberry Pi OS - henrikstengaard/hstwb-installer GitHub Wiki
Install Raspberry Pi OS with following steps:
- Prepare Micro-SD card with Raspberry Pi OS:
- Boot and setup Raspberry Pi OS.
Prepare Raspberry Pi OS by writing to storage device (Micro-SD) using method described below.
Download and install Raspberyr Pi Imager with following steps:
- Open https://www.raspberrypi.com/software/ in browser.
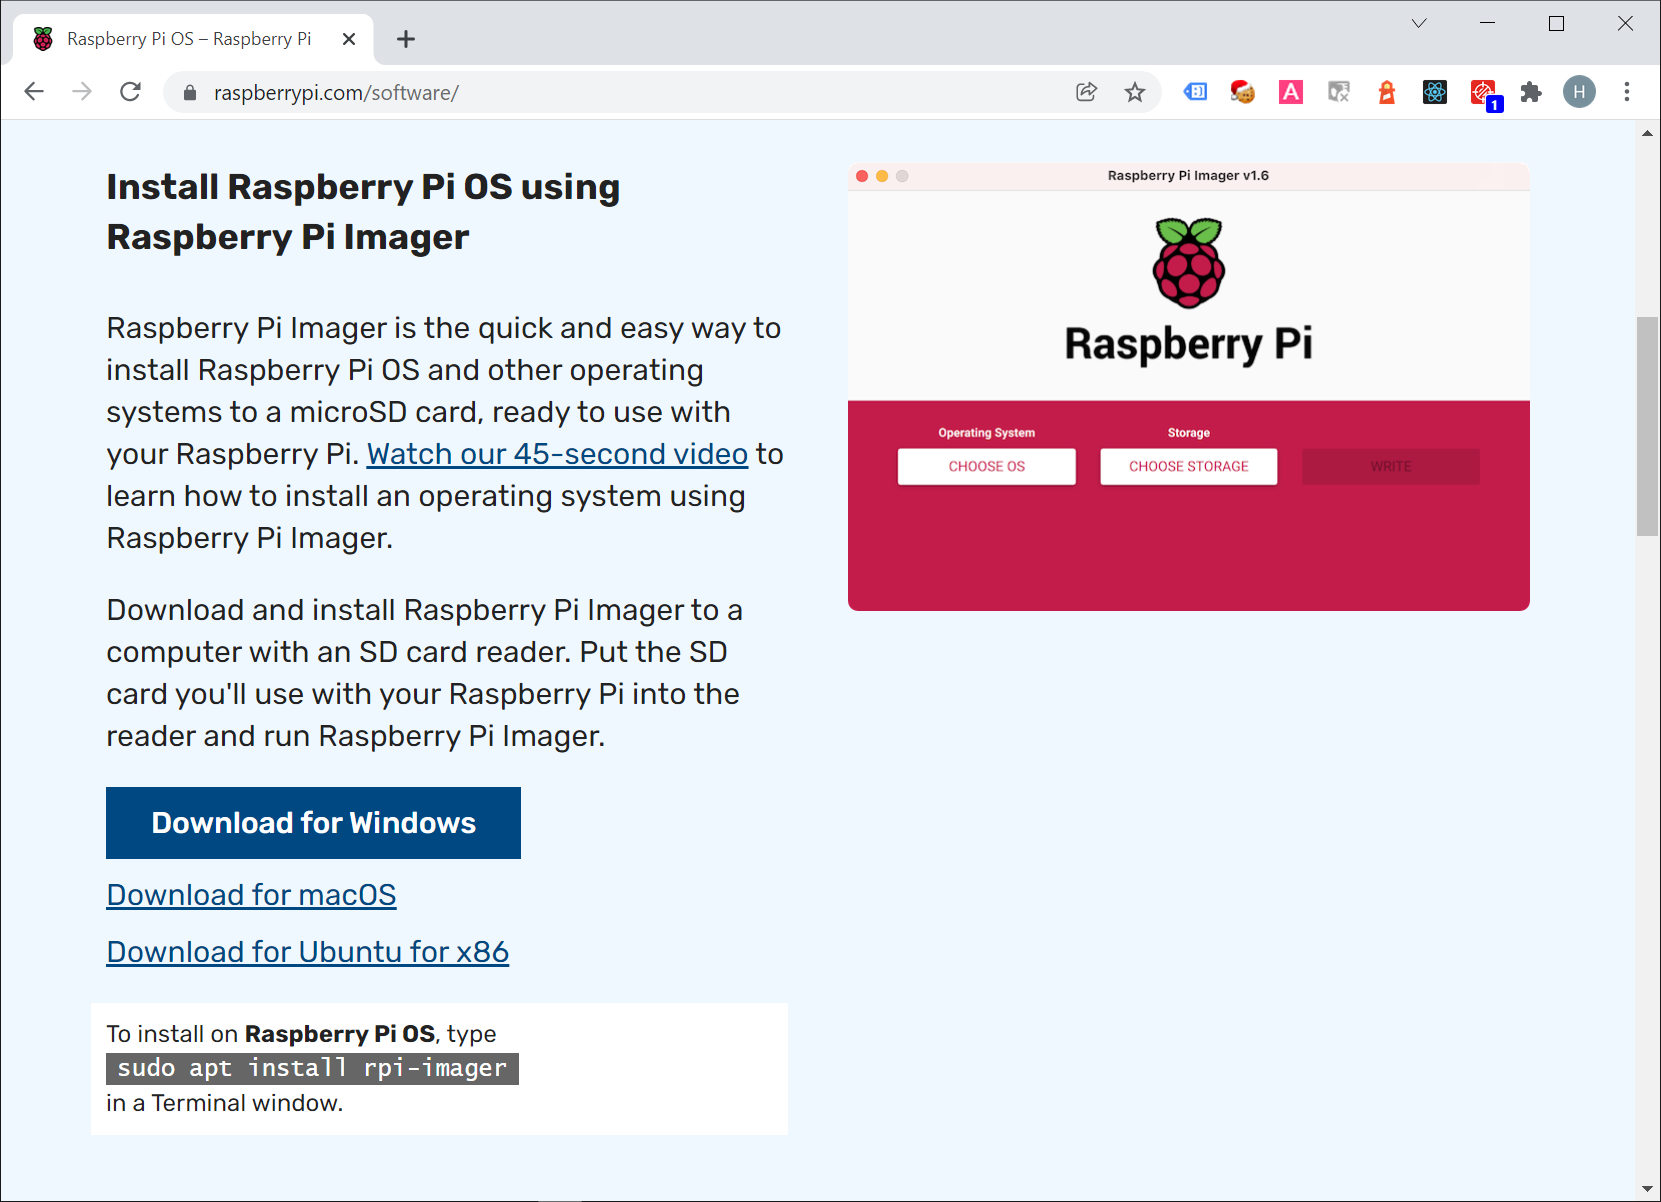
- Download and install Raspberry Pi Imager for your operating system: Windows, macOS or Linux.
Download and install Raspberyr Pi Imager with following steps:
- Start Raspberry Pi Imager
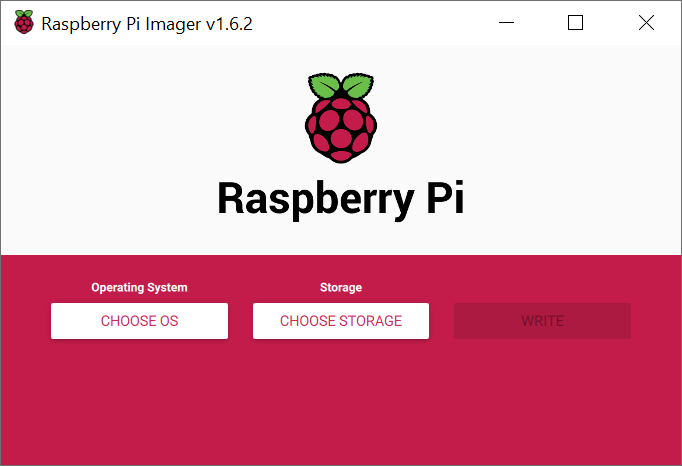
- Click "CHOOSE OS".
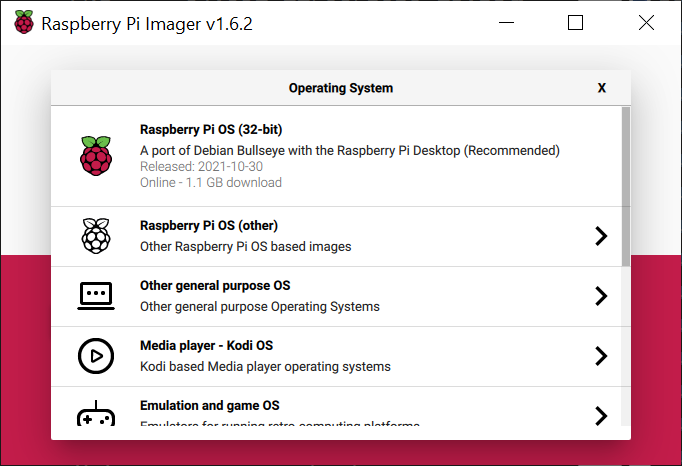
- Click "Raspberry Pi OS (other)".

- Click "Raspberry Pi OS Lite (32-bit)".
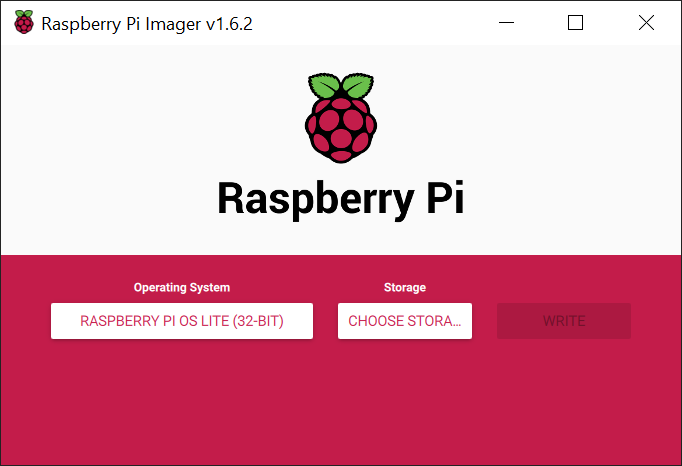
- Click "CHOOSE STORAGE".
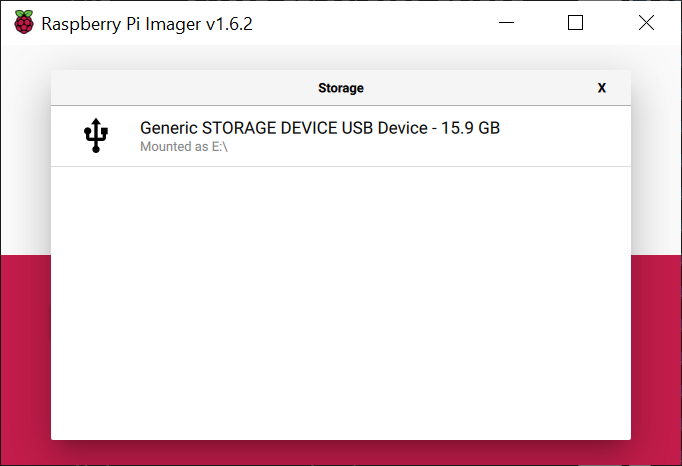
- Click storage device.
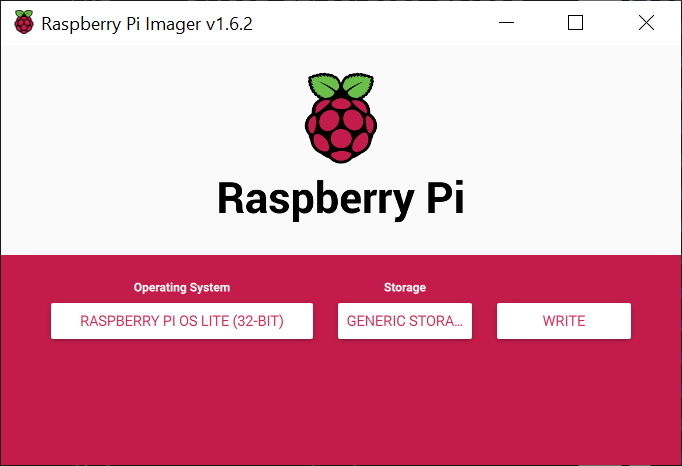
- Click "Write" to start writing Raspberry Pi Lite OS to storage device.
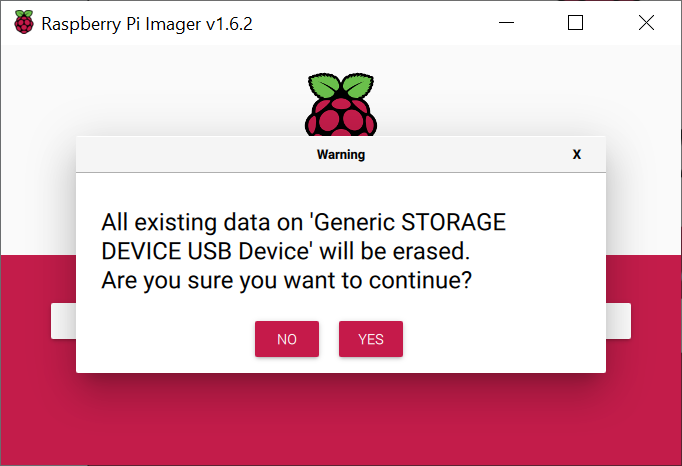
- Click "YES" to continue.
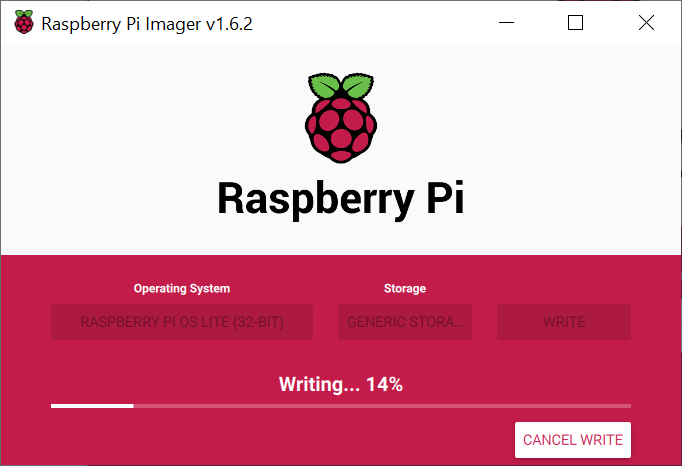
- Wait for Raspberry Pi Imager to finish writing.
- Eject storage device.
- Insert storage device in Raspberry Pi and power on Raspberry Pi.
Raspberry Pi OS Lite is configured with a default user pi and password raspberry.
Login to Raspberry Pi OS with following steps:
- Enter username
pi - Enter password
raspberry.

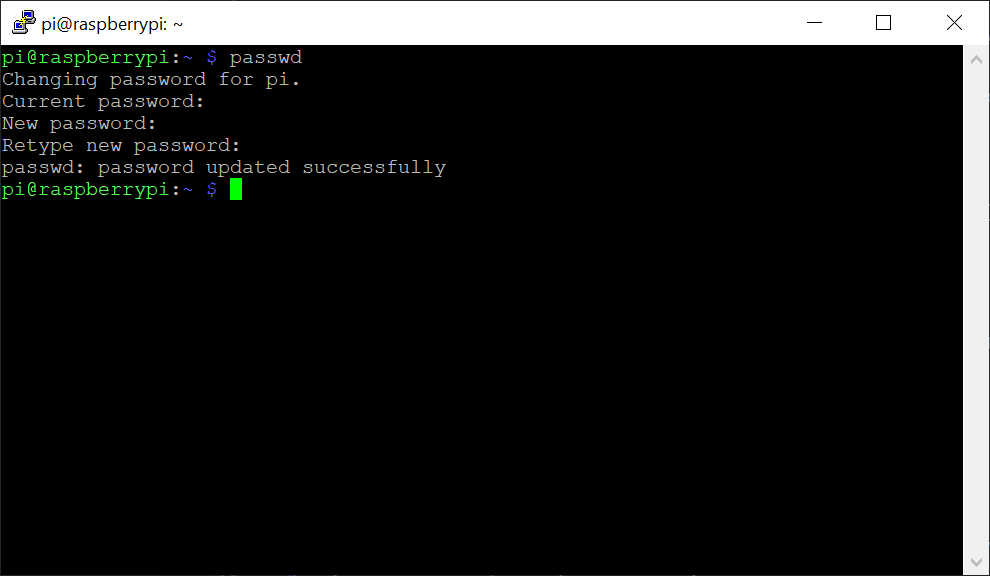
It's recommended to change the default password for security reasons with following steps:
- Type
passwdand press enter. - Enter current password and press enter.
- Enter new password and press enter.
- Enter new password again and press enter.
Configure network LAN or WiFi connection to install updates and HstWB Installer.
Configure LAN by connecting ethernet cable and Raspberry Pi will automatically get an ip-address from local network DHCP server.
Configure WiFi with following steps:
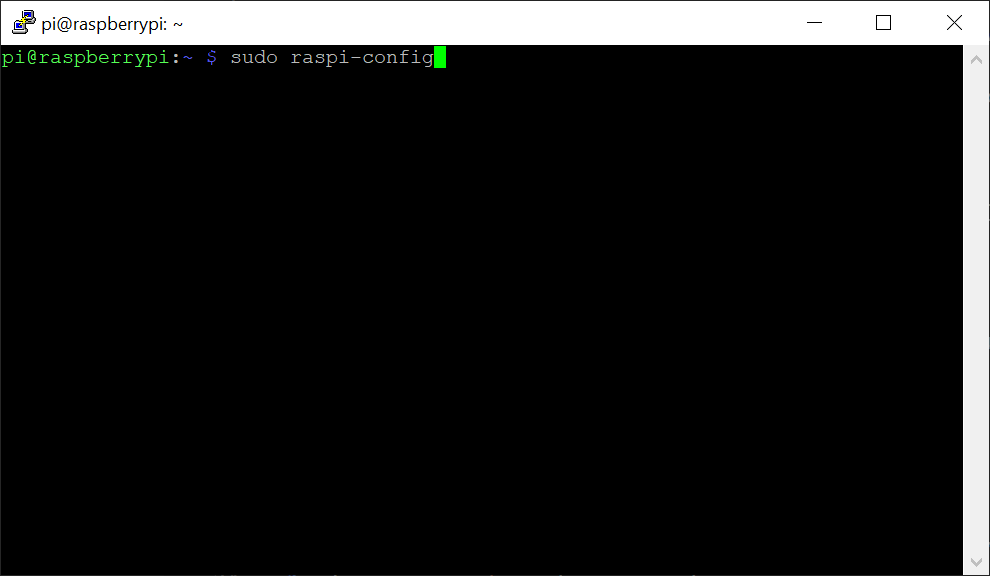
- Run
sudo raspi-config.
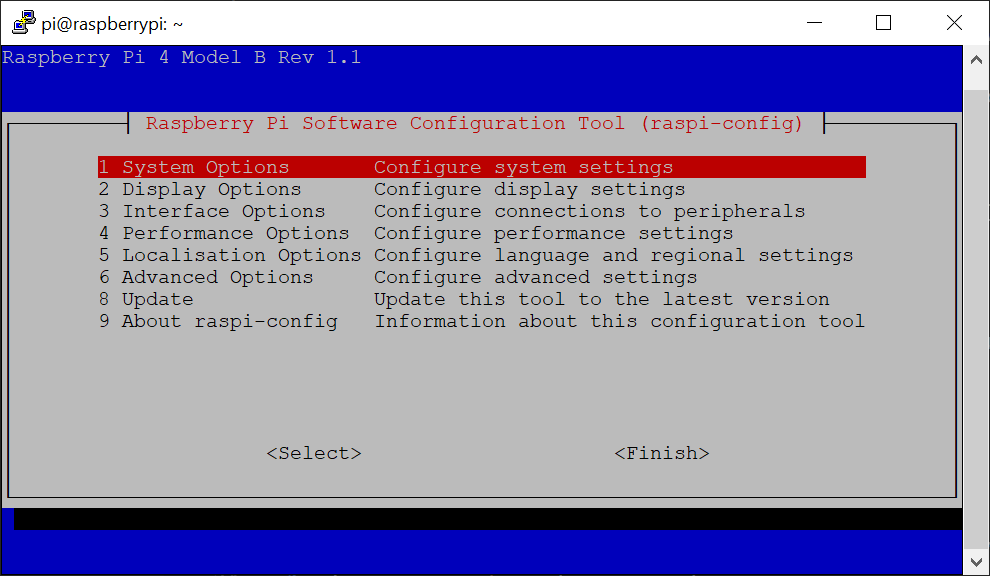
- Select
1 System Options.
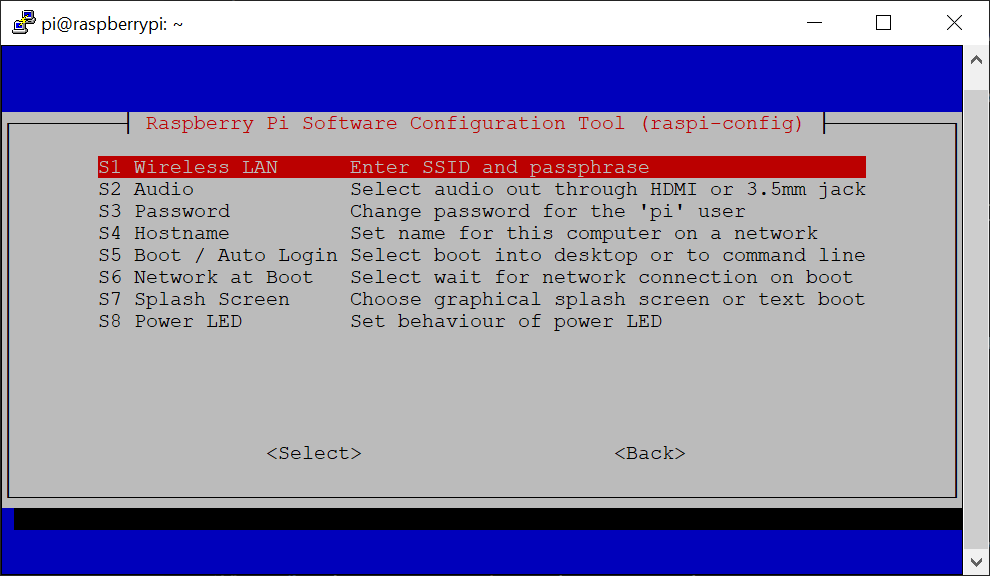
- Select
S1 Wireless LAN.
- Select the contry where the Raspberry Pi is located.
- Enter SSID.

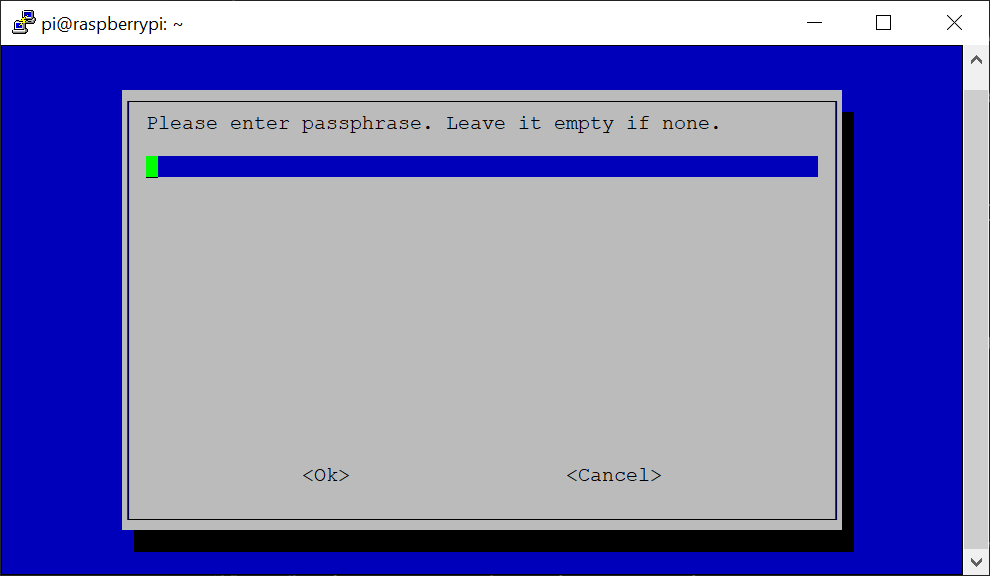
- Enter passphrase.
- Exit raspi-config by pressing ESC key twice.
WiFi connection should be ready to use within 10-30 seconds after configuring it.
Verify internet connection with following command:
ping www.google.com
Ping output should look like this, when internet connection is working:
PING www.google.com (142.250.181.228) 56(84) bytes of data.
64 bytes from fra16s56-in-f4.1e100.net (142.250.181.228): icmp_seq=1 ttl=109 time=43.8 ms
64 bytes from fra16s56-in-f4.1e100.net (142.250.181.228): icmp_seq=2 ttl=109 time=44.0 ms
64 bytes from fra16s56-in-f4.1e100.net (142.250.181.228): icmp_seq=3 ttl=109 time=43.6 ms
64 bytes from fra16s56-in-f4.1e100.net (142.250.181.228): icmp_seq=4 ttl=109 time=43.8 ms
64 bytes from fra16s56-in-f4.1e100.net (142.250.181.228): icmp_seq=5 ttl=109 time=44.0 ms
^C
--- www.google.com ping statistics ---
5 packets transmitted, 5 received, 0% packet loss, time 4003ms
rtt min/avg/max/mdev = 43.630/43.843/44.002/0.138 ms
Press CTRL + C to stop pinging.
Enabling SSH is optional and mostly for convenience as it allows remote connection with copy & paste of commands to run instead of typing them directly on the Raspberry Pi.
It's highly recommended to change the default password with SSH connections enabled and avoid having the Raspberry Pi's ip-address exposed to the internet via NAT routing unless further security measures are configured like firewall autoban of brute force connections and such!
Enable SSH connection with following steps:
- Run
sudo raspi-config.
- Select
3 Interface Options.
- Select
I2 SSH.

- Select
Yesto enable SSH connections. - Exit raspi-config by pressing ESC key twice.
To connect to Raspberry Pi with SSH get ip-address with following steps:
- Run
ifconfig.
eth0: flags=4099<UP,BROADCAST,MULTICAST>  mtu 1500
        ether xx:xx:xx:xx:xx:xx  txqueuelen 1000  (Ethernet)
        RX packets 0  bytes 0 (0.0 B)
        RX errors 0  dropped 0  overruns 0  frame 0
        TX packets 0  bytes 0 (0.0 B)
        TX errors 0  dropped 0 overruns 0  carrier 0  collisions 0

lo: flags=73<UP,LOOPBACK,RUNNING>  mtu 65536
        inet 127.0.0.1  netmask 255.0.0.0
        inet6 ::1  prefixlen 128  scopeid 0x10<host>
        loop  txqueuelen 1000  (Local Loopback)
        RX packets 14  bytes 1800 (1.7 KiB)
        RX errors 0  dropped 0  overruns 0  frame 0
        TX packets 14  bytes 1800 (1.7 KiB)
        TX errors 0  dropped 0 overruns 0  carrier 0  collisions 0

wlan0: flags=4163<UP,BROADCAST,RUNNING,MULTICAST>  mtu 1500
        inet 192.168.0.150  netmask 255.255.255.0  broadcast 192.168.0.255
        inet6 xxxx::xxxx:xxxx:xxxx:xxxx  prefixlen 64  scopeid 0x20<link>
        ether xx:xx:xx:xx:xx:xx  txqueuelen 1000  (Ethernet)
        RX packets 70229  bytes 93282038 (88.9 MiB)
        RX errors 0  dropped 0  overruns 0  frame 0
        TX packets 20561  bytes 2015384 (1.9 MiB)
        TX errors 0  dropped 0 overruns 0  carrier 0  collisions 0
Raspberry Pi ip-address is listed as eth0 inet for etnernet connection or wlan0 inet for wifi connection.
Connect to Raspberry Pi with SSH connection on Windows 10, macOS or Linux with following command, if ip-address is 192.168.0.150:
Type yes and enter to continue. This is only required first time SSH connection is made.
Older versions of Windows might have to use PuTTY to connect to Raspberry Pi with SSH.
Update Raspberry Pi OS Software Configuration Tool to latest version with following steps:
- Run
sudo raspi-config.
- Select
8 Update.- Wait a few minutes for updates to be downloaded and installed.
- Exit raspi-config by pressing ESC key.
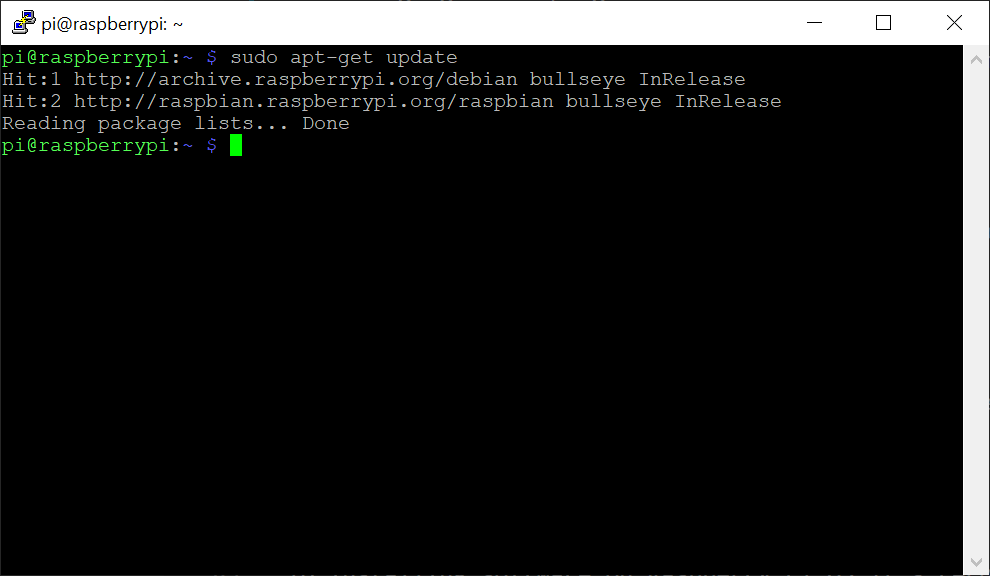
To installing software on Raspberry Pi OS it's recommended to download the latest package lists from the repositories and "updates" them to get information on the newest versions of packages and their dependencies.
Update package lists with following command:
- Run
sudo apt-get update.- Wait a few seconds for package lists to be updated.