How To Review A Pull Request Involving Github Actions - hackforla/website GitHub Wiki
GitHub Actions makes it easy to automate all your software workflows. It provides various built in triggers, event listeners and timers with which you can trigger and control your automations. Due to the fact that GH action is not a part of our front end website the typical workflow that you have been following in reviewing pull requests will not work when it comes to actions.
This guide goes over the steps that needs to be taken to successfully test out a new github action.
A lot of automations often times revolves around managing issues and pull request. To be able to successfully test these actions you will need to enable the issues in your fork of the website repository (by default this is turned off) .
You can do this by,
-
Navigate to
https://github.com/<your_username>/website/settings -
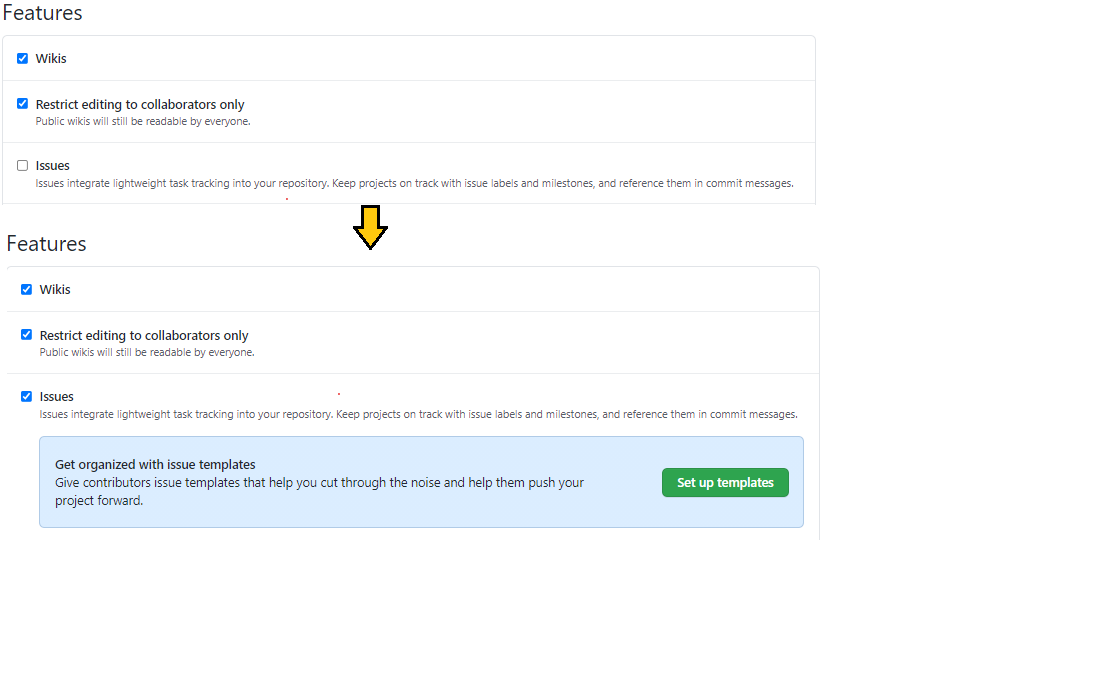
Scroll down to 'Features' section
-
Toggle the issues box On
Image Of Toggling On Issues
-
Lastly, you are going to need to change the default branch of your repository to whatever the branch name of the pull-request is going to be. You can do this by navigating to
https://github.com/<your_username>/website/settings/branches. You need to do this because github actions generally run from the default branch . We are going to come to this step further down
In this step you are going to checking out a new branch, then you are going to pull the changes made in your pull request to your local machine followed by pushing the newly created branch to YOUR remote fork.
A short summary of what rebasing does

- It moves the entire feature branch to begin on the tip of the main branch.
- The major benefit of rebasing is that you get a much cleaner project history. First, it eliminates the unnecessary merge commits required by git merge. Second, as you can see in the above diagram, rebasing also results in a perfectly linear project history—you can follow the tip of feature all the way to the beginning of the project without any forks.
Source:
In the next following steps, this pull request is being used as an example
-
Checkout :
git checkout -b Aveline-art-add-labels-to-pr-update upstream-gh-pages -
Pull :
git pull https://github.com/Aveline-art/website.git add-labels-to-pr-update -
Rebase :
git rebase upstream-gh-pages -
Push :
git push --set-upstream origin Aveline-art-add-labels-to-pr-update
After doing the above steps, YOUR remote repository is now going to have a branch called Aveline-art-add-labels-to-pr-update and this is when you change the default branch of your repository from gh-pages -> Aveline-art-add-labels-to-pr-update . (Refer to Step 1.4 above)