Upconverter_Enclosure - ha7ilm/opendous GitHub Wiki
Cheap and Simple
Work is underway on a cheap and simple DIY enclosure fabrication process. Basically it involves insulating the Upconverter using something like Heat-shrink tubing or a plastic bag and then wrapping everything with Copper Shielding Tape. The trick is to keep the copper tape far enough away from the RF signal path to avoid altering impedance.
Aluminum Box
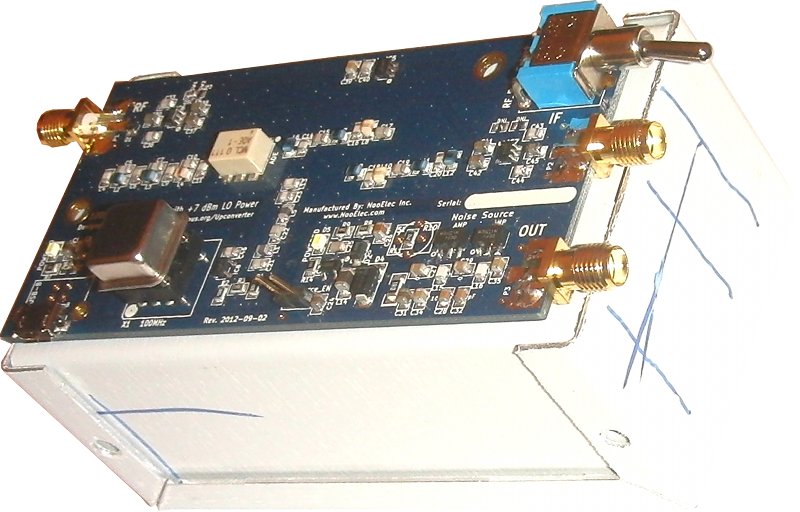
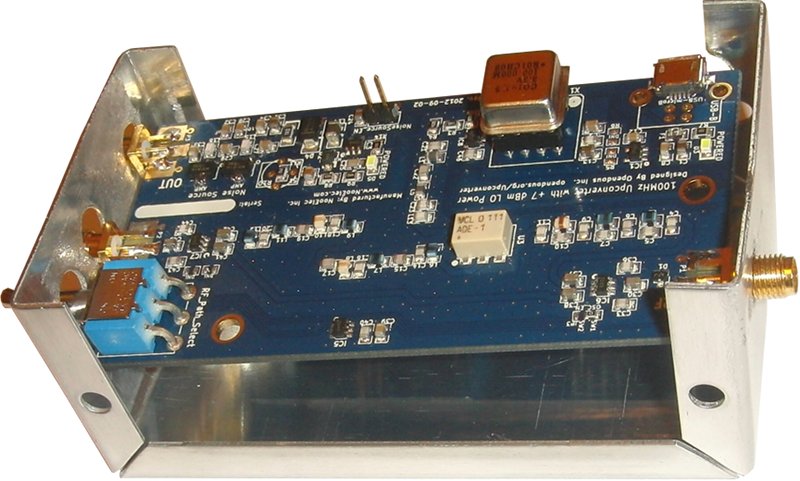
The Upconverter is designed to fit within a Hammond 1411GU Box. The box needs holes drilled for the Upconverter. It is available from DigiKey, Mouser, Farnell, and other suppliers.
In most circumstances, the effort to fabricate such an enclosure is not worth the marginal performance increase.
Remove the protective film as it will be much more difficult to do at the end.
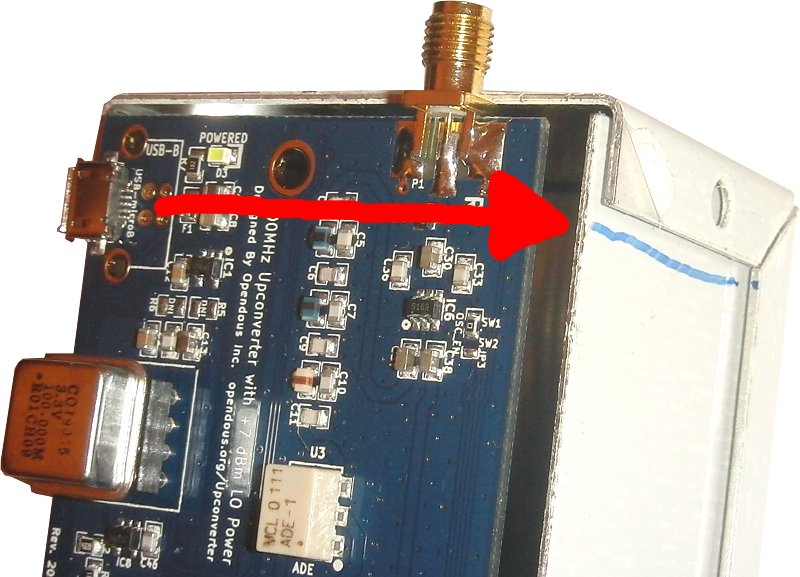
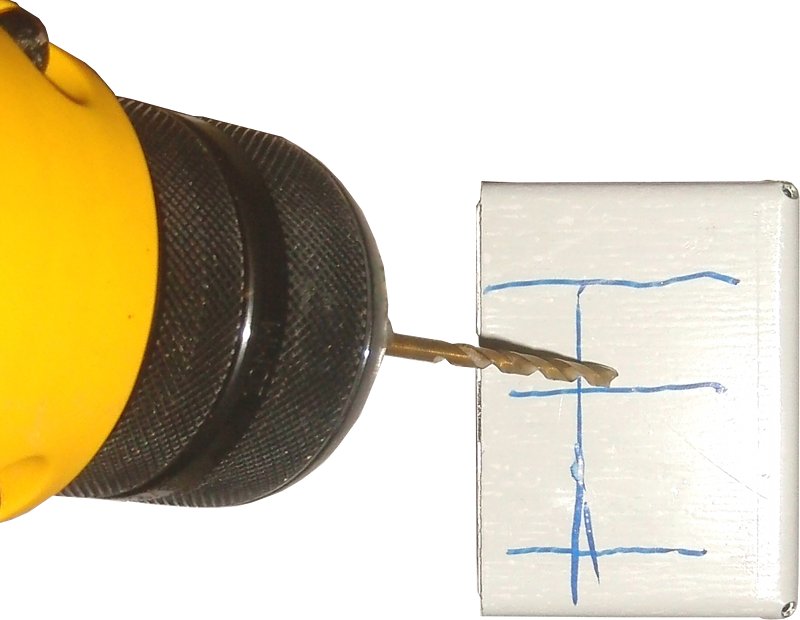
Place the U piece of the enclosure inside the main piece and lay the Upconverter over the cavity. Make vertical marks in line with all the connectors.

Mark the opposite side for the USB connector since the U piece will be reversed.
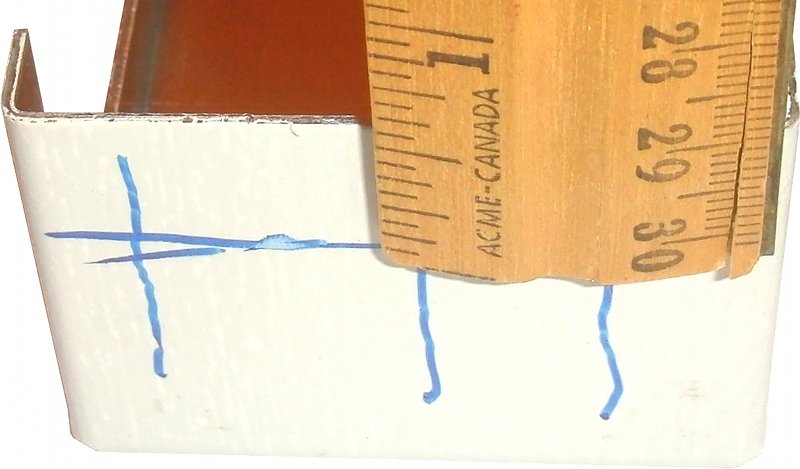
Draw a horizontal line across the vertical lines about 1" (2.5cm) below the edge. Any lower and it will be difficult to insert the Upconverter later on. Any higher and the oscillator will not fit.
Fit the enclosure pieces together properly and lay the Upconverter on top to check alignment.
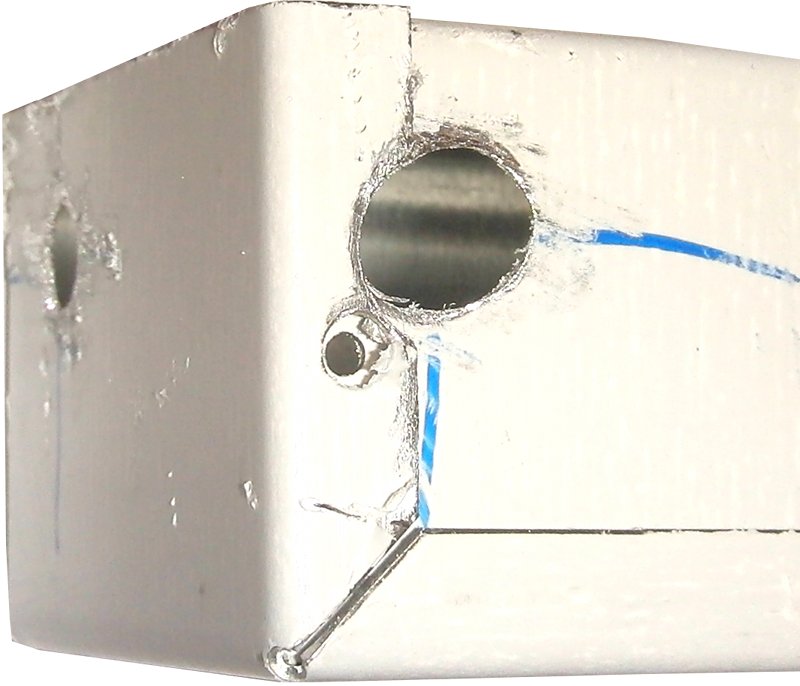
Start with a fine metal-capable drill bit and drill the marked cross-points. Or, use a Step Drill if you have one.
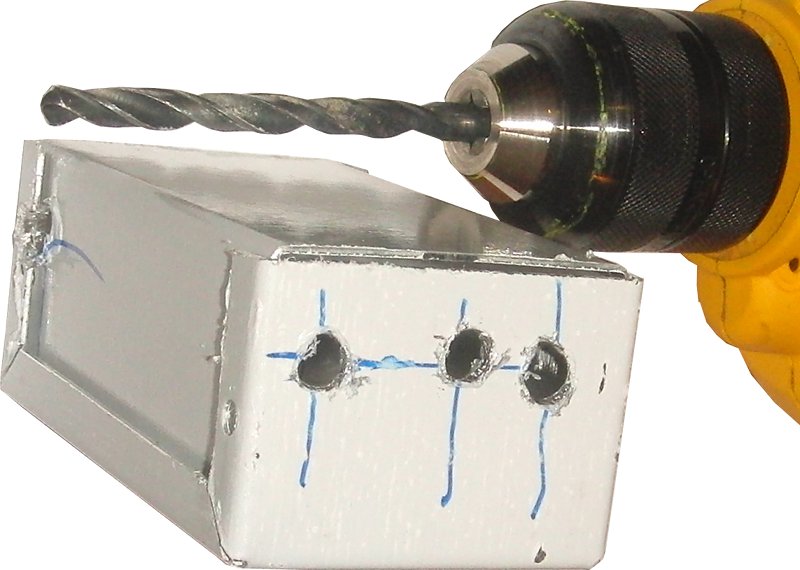
Move on to larger drill bits until you get to 1/4".
Use a rotary tool with an Aluminum Oxide grinding bit to grind down the drilling burrs.
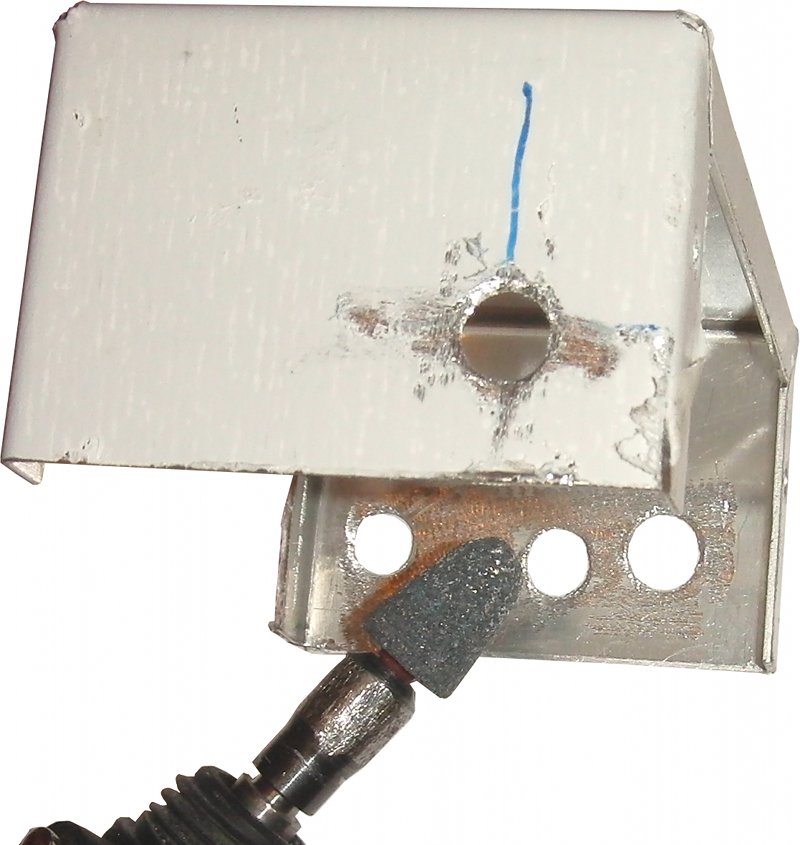
Use the grinding bit to enlarge the USB-microB connector hole.
Bend one side of the main enclosure piece and insert the Upconverter board.

Bend back the enclosure.
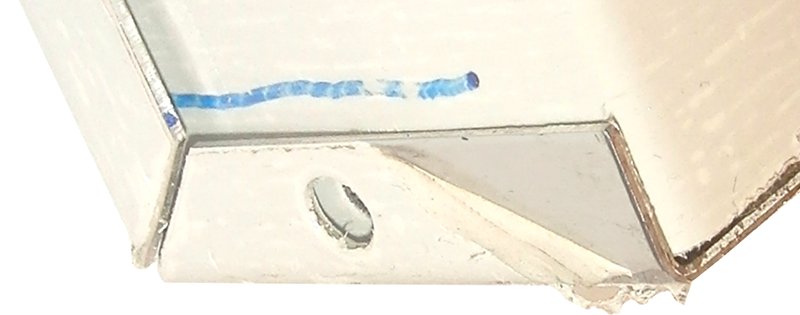
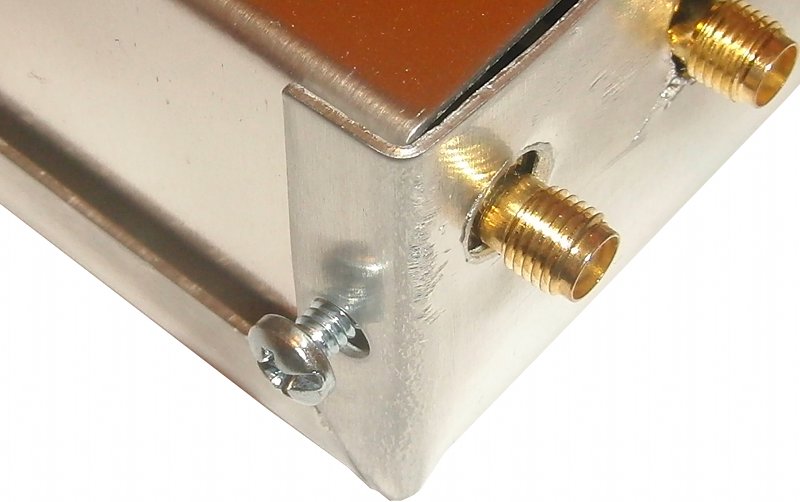
Screw the two enclosure pieces together.
If the drilled holes are too big you may need to fill in the space using EMI Gasket Fabric.
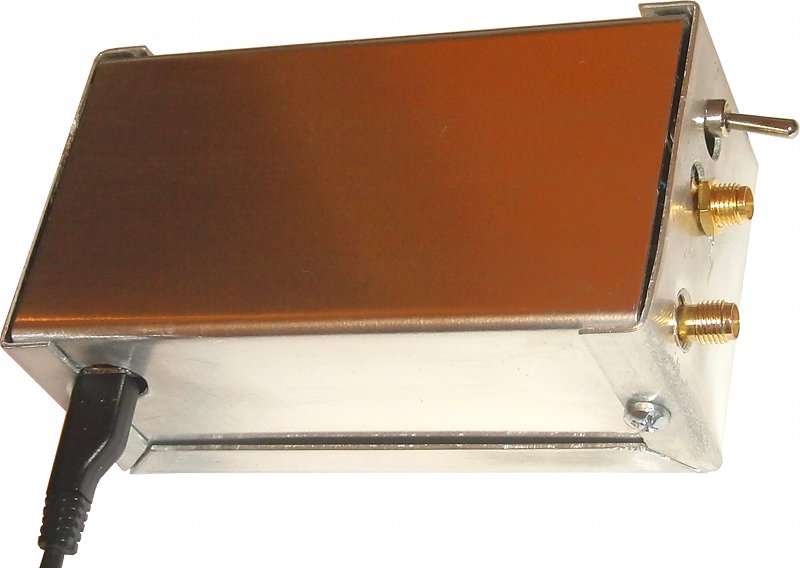
The finished enclosure will look something like this: