KiCADTutorialOpeningProjects - ha7ilm/opendous GitHub Wiki
This quick tutorial is for an older version of KiCad. The KiCad website has many newer tutorials.
Install KiCAD by downloading and running the installer under Windows. Under Ubuntu, KiCAD is in the universe repository and can be installed with sudo apt-get -y install kicad. Under Fedora, KiCAD is in the RPM Fusion repository and can be installed with yum install kicad as root. LinuxQuickStart contains tutorials related to installing software under Linux.
This Tutorial uses the Micropendous1 project as an example.
Under Windows, run KiCAD.exe through the shortcut created on your desktop or in the Start Menu.
Under Linux, the shortcut will be under Applications -> Programming -> kicad.
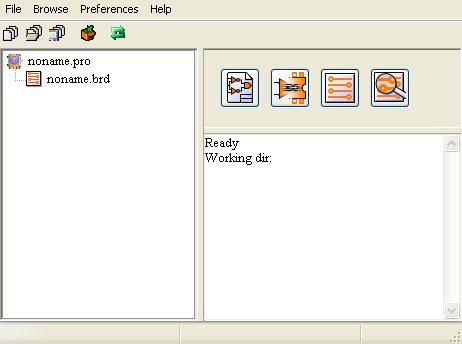
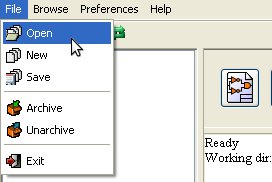
Click File, then Open, then find your project's .pro KiCAD Project File and click Open.
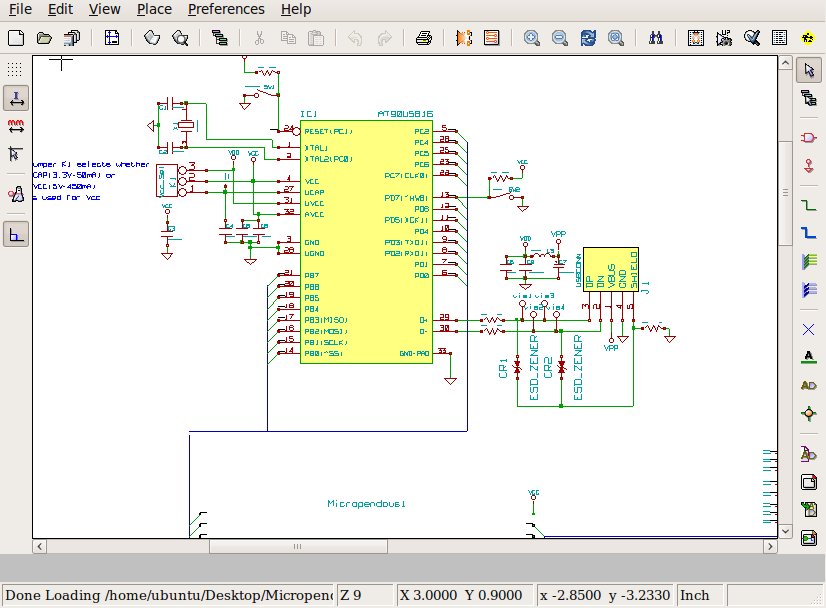
Click the Eeschema button to start the schematic editor.

While in the Schematic Editor, use your mouse wheel to zoom in and out to view the schematic. KiCAD is heavily reliant on a wheel mouse. Zooming is critical to using KiCAD.
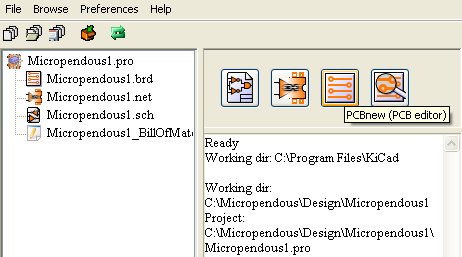
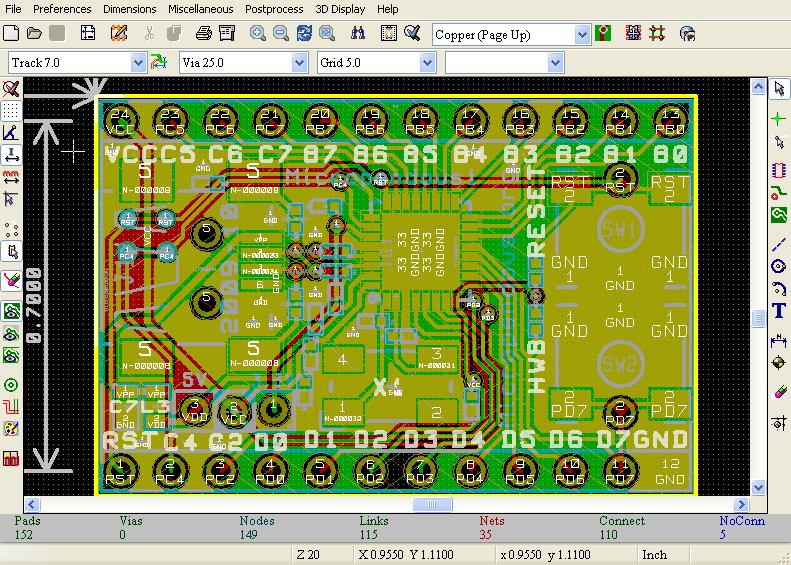
To start the PCB editor, you can click the PCBnew button in either Eeschema, the Schematic Editor, or through the main KiCAD program.
While in the Layout Editor, PCBnew, use your mouse wheel to zoom in and out to view the layout. Once again, KiCAD is heavily reliant on a wheel mouse.
Next
KiCADTutorialAddingLibraries - adding schematic symbol and layout module libraries
Tutorials - back to the main tutorials page