Step 7 - gunjandatta/spfx-forms GitHub Wiki
Previous Step
Demo
Now that we have the solution packaged, we will deploy it to our tenant.
App Catalog
This section will add the SPFx package to an app catalog and deploy it.
- Access the site collection containing the target app catalog
- Click on
Apps for SharePointfrom the navigation - Click on the
Uploadbutton to add your SPFx package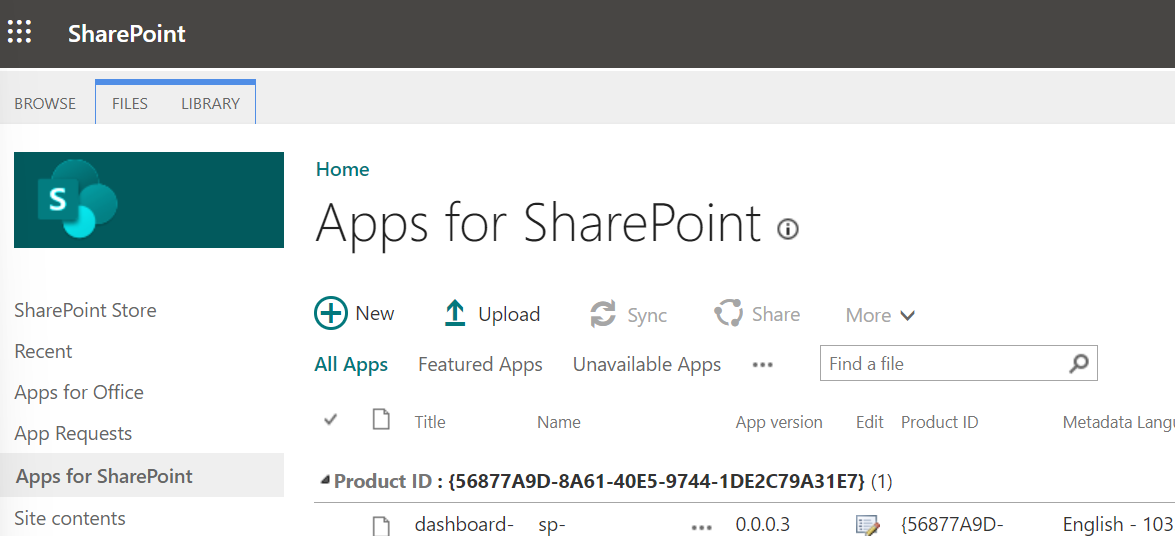
- Select your SPFx package and click on
OKto add it to the app catalog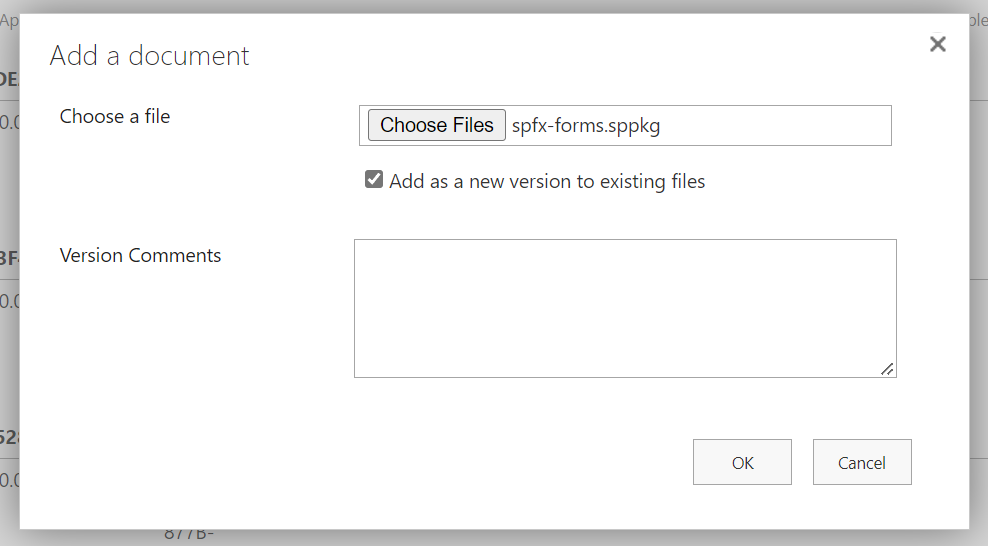
- Click on
Deployto make the solution available to other site collections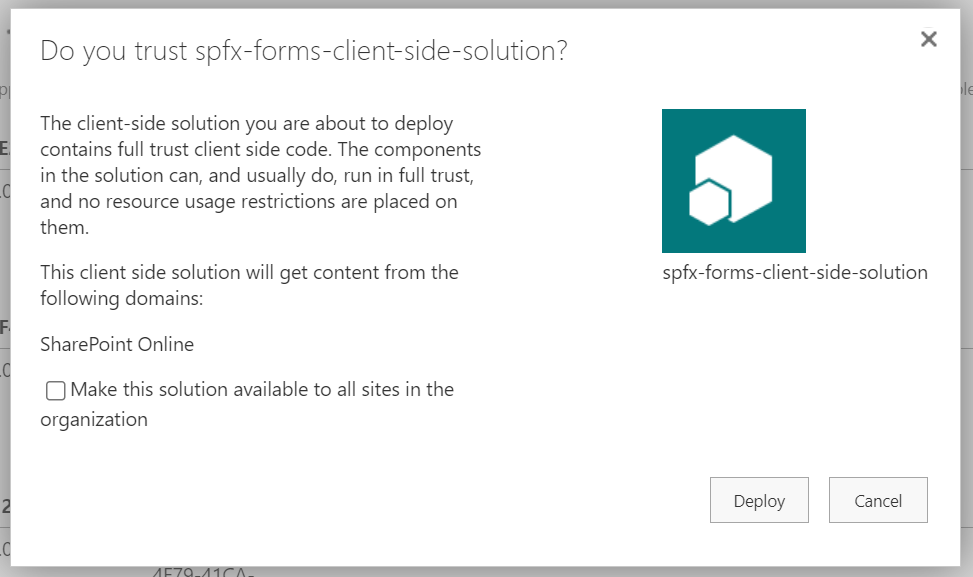
Add App to Site
This section will go over adding the app to the site.
- Access the site that has the target list to apply the custom list form to
- Click on
Site Contentsfrom the navigation - Click on
New->App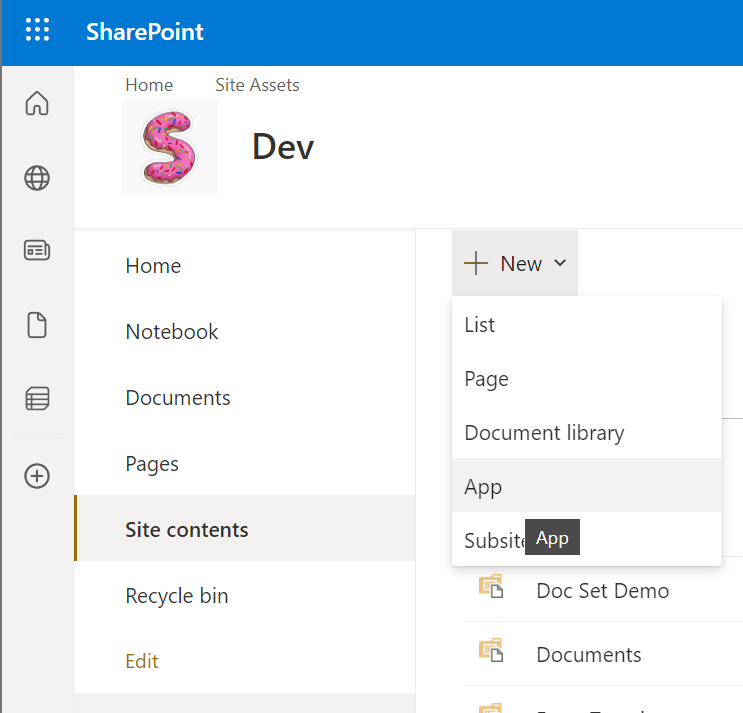
- Click on
From my organizationand then select the custom forms solution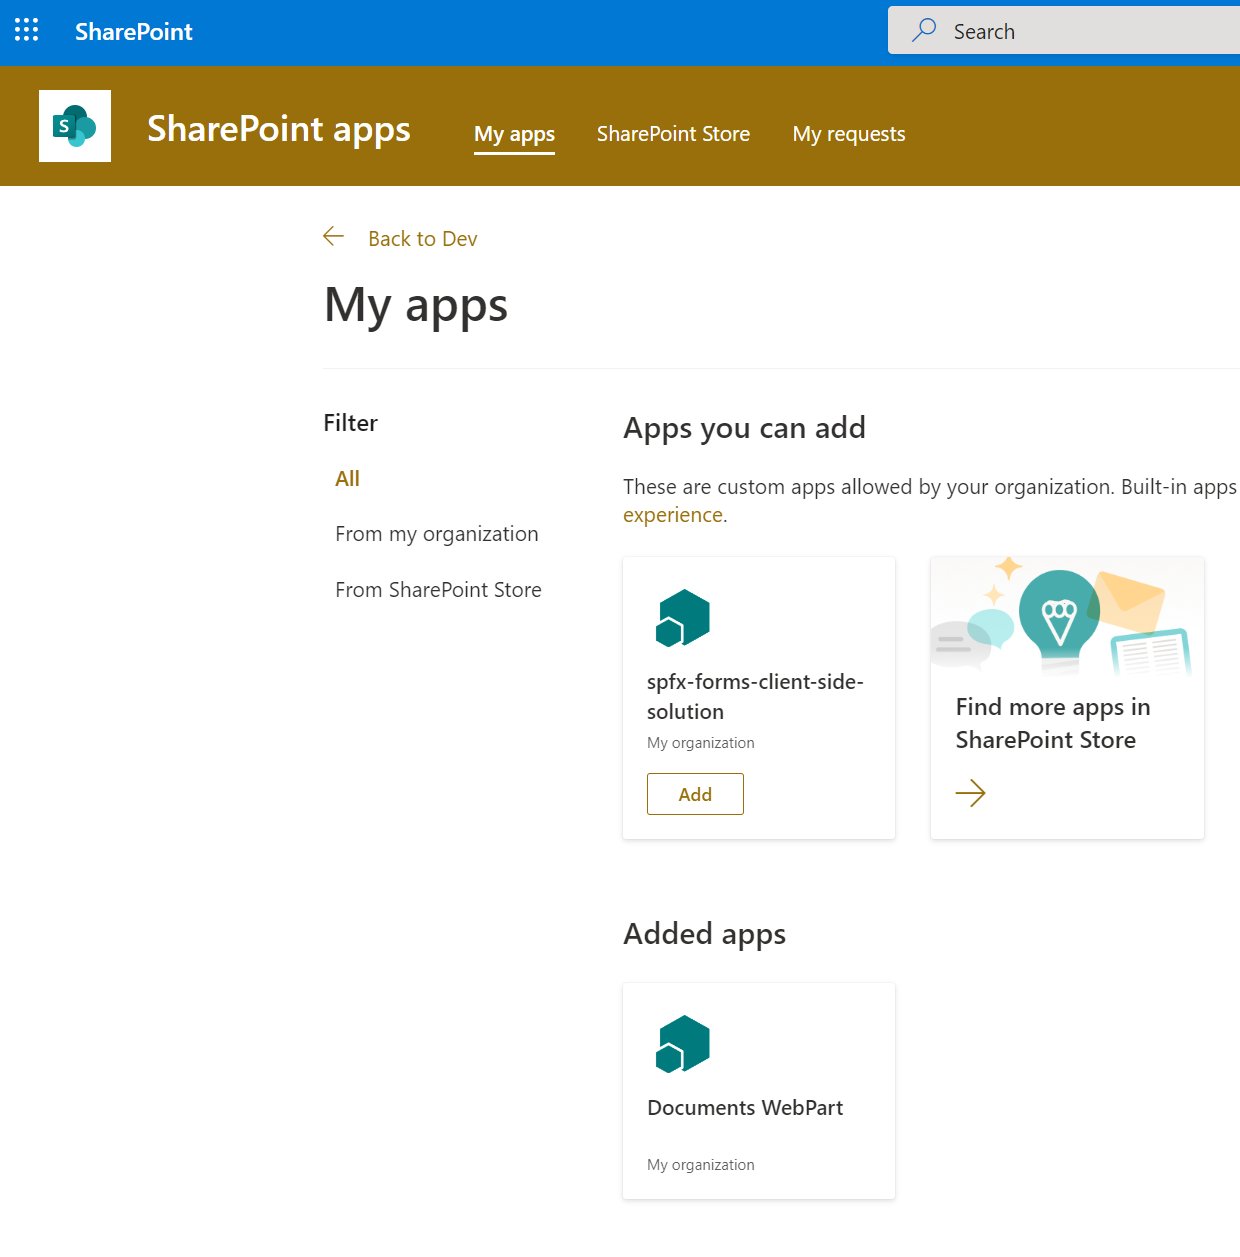
Create List Form Manager Page
The app has two solutions, the custom list forms and the helper webpart. This section will go over creating the page to apply/remove the custom list forms.
- From the navigation, select the
Pageslibrary and click onNew->Site Page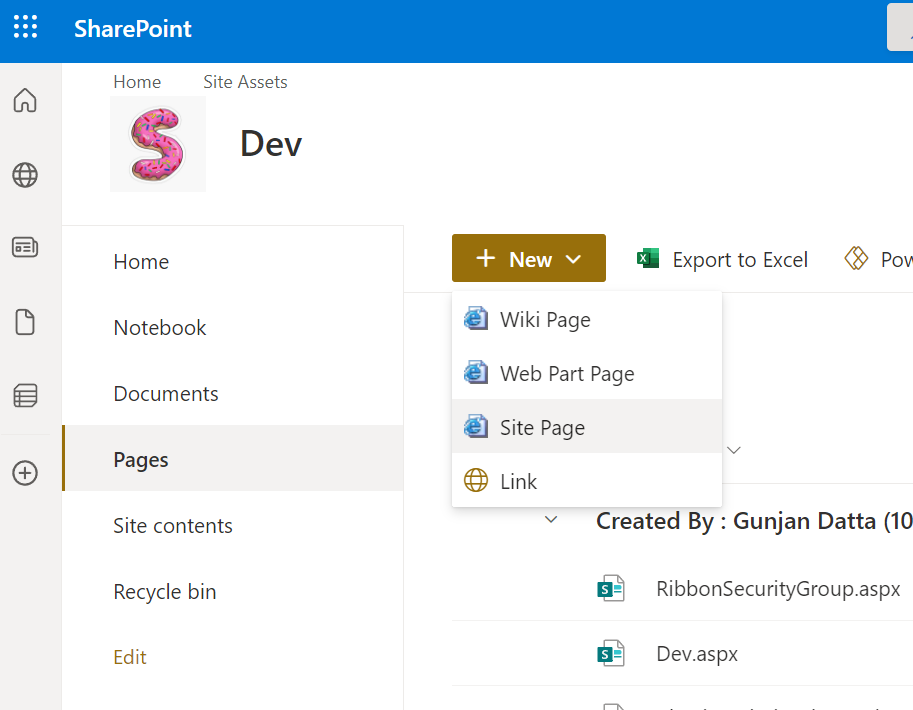
- Add a title, and click on the
+icon to add a webpart to the page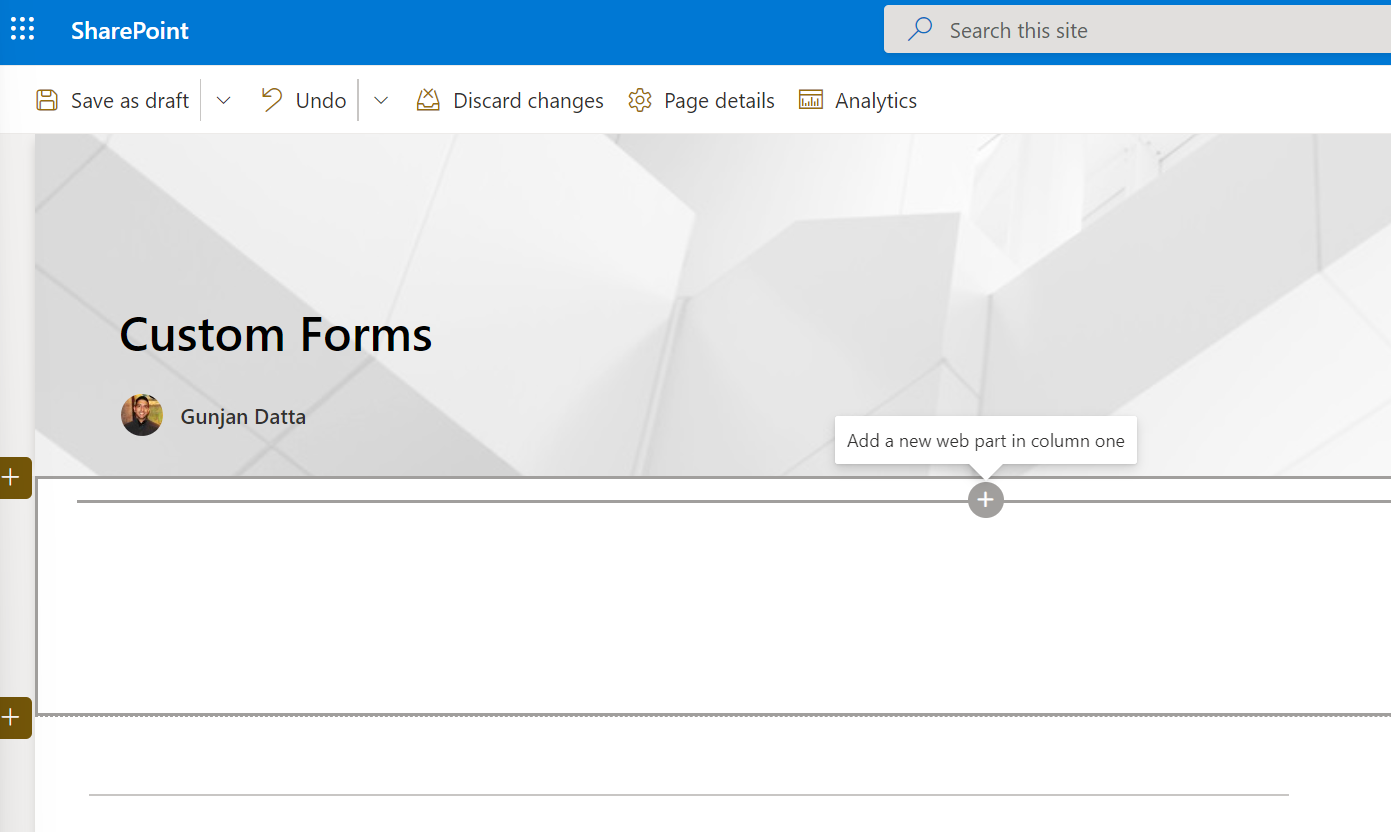
- Select the
ListFormManagerwebpart from theAdvancedsection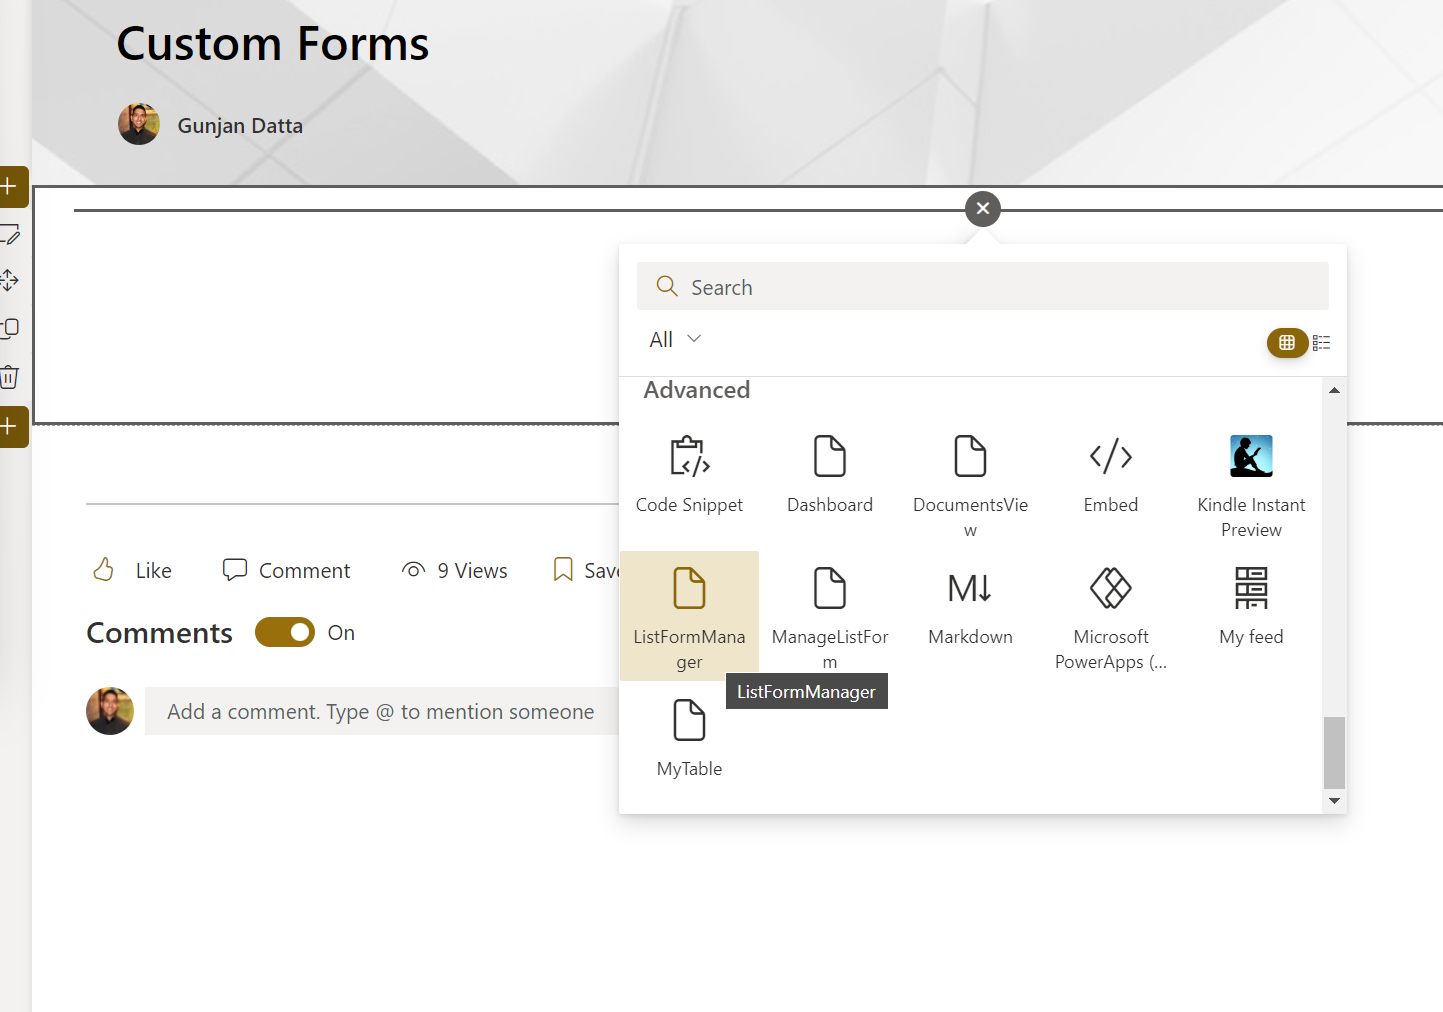
- Click on the
Editbutton to select the target list - Select the target list from the drop down and click on the
Savebutton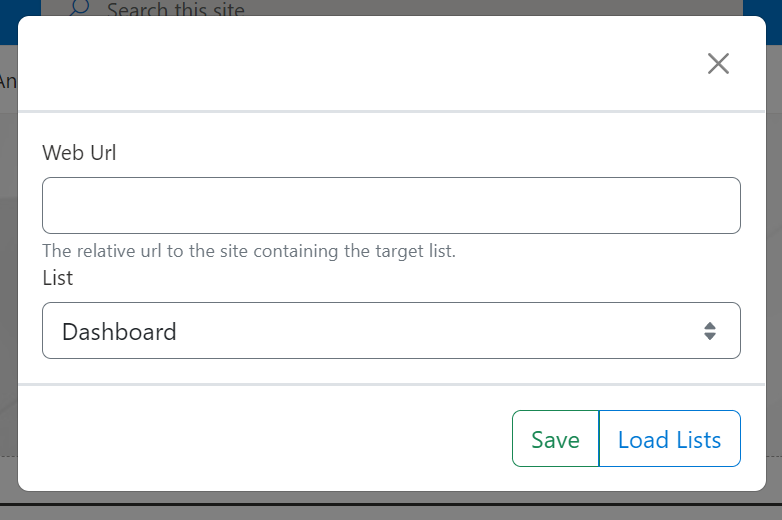
- Click on the
Configure Listbutton and click on theApply Custom Formsbutton to apply the custom list forms
View Custom List Forms
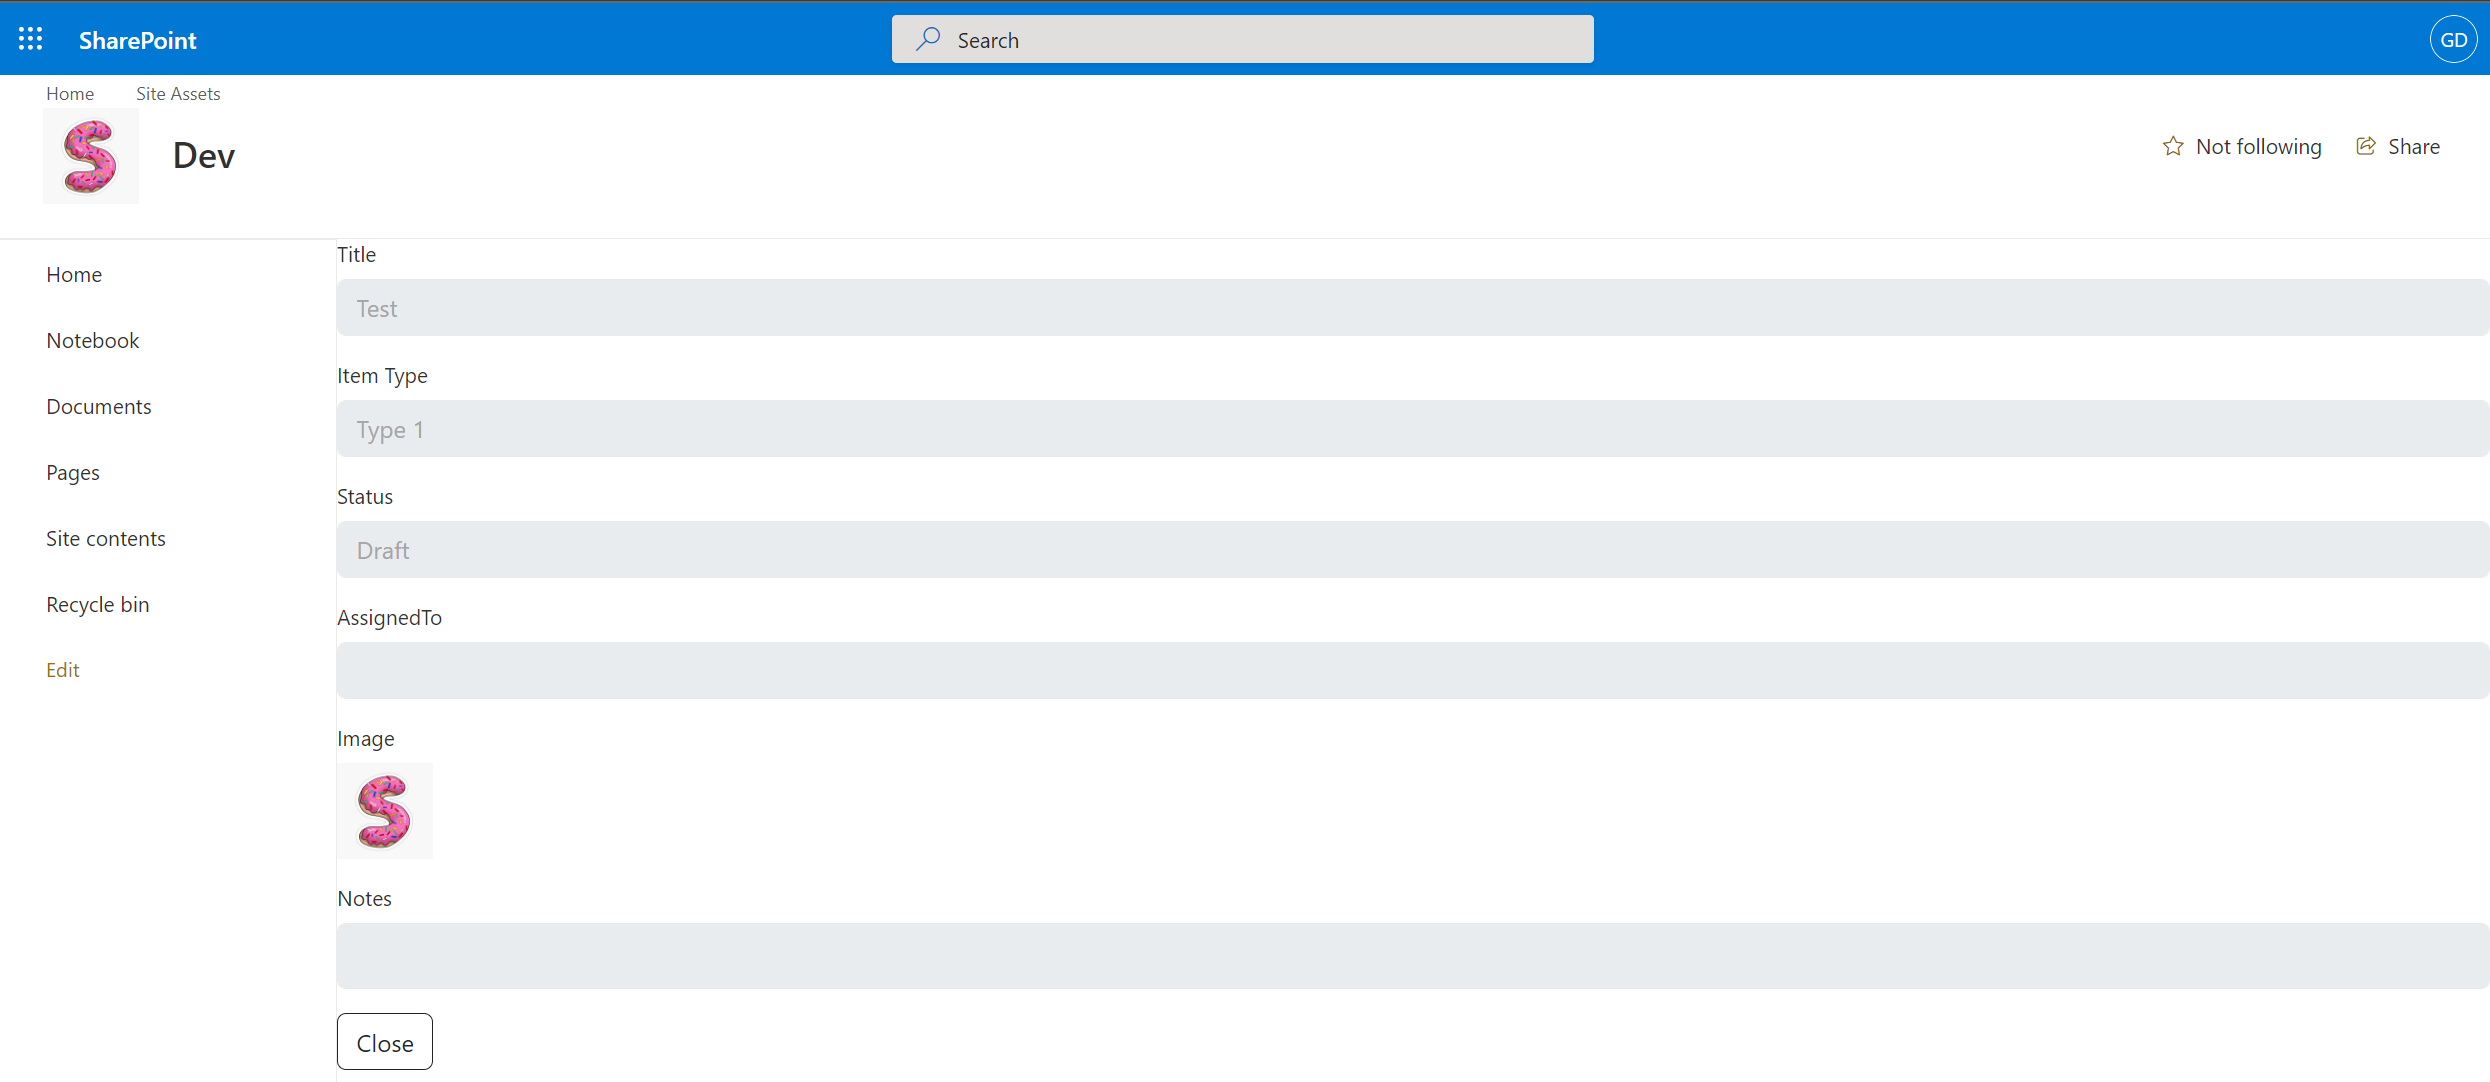
- Access the list we applied the custom list forms to
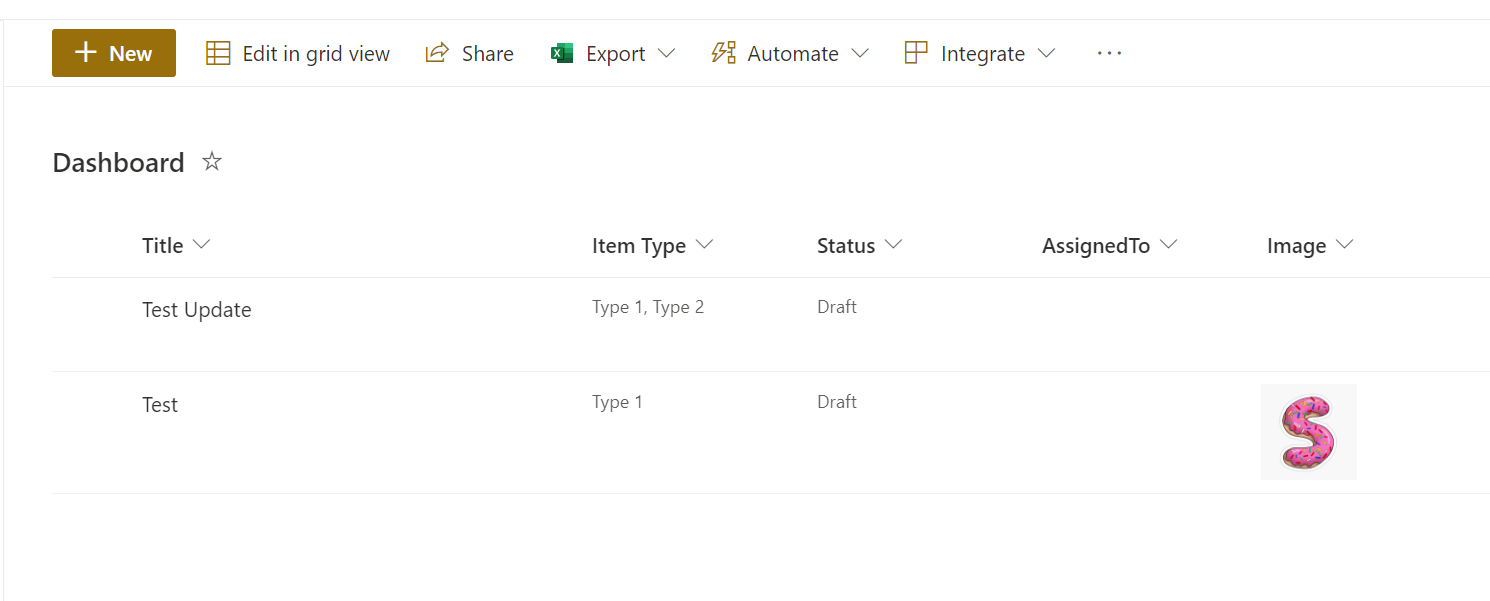
- Click on
+ Newto view the new form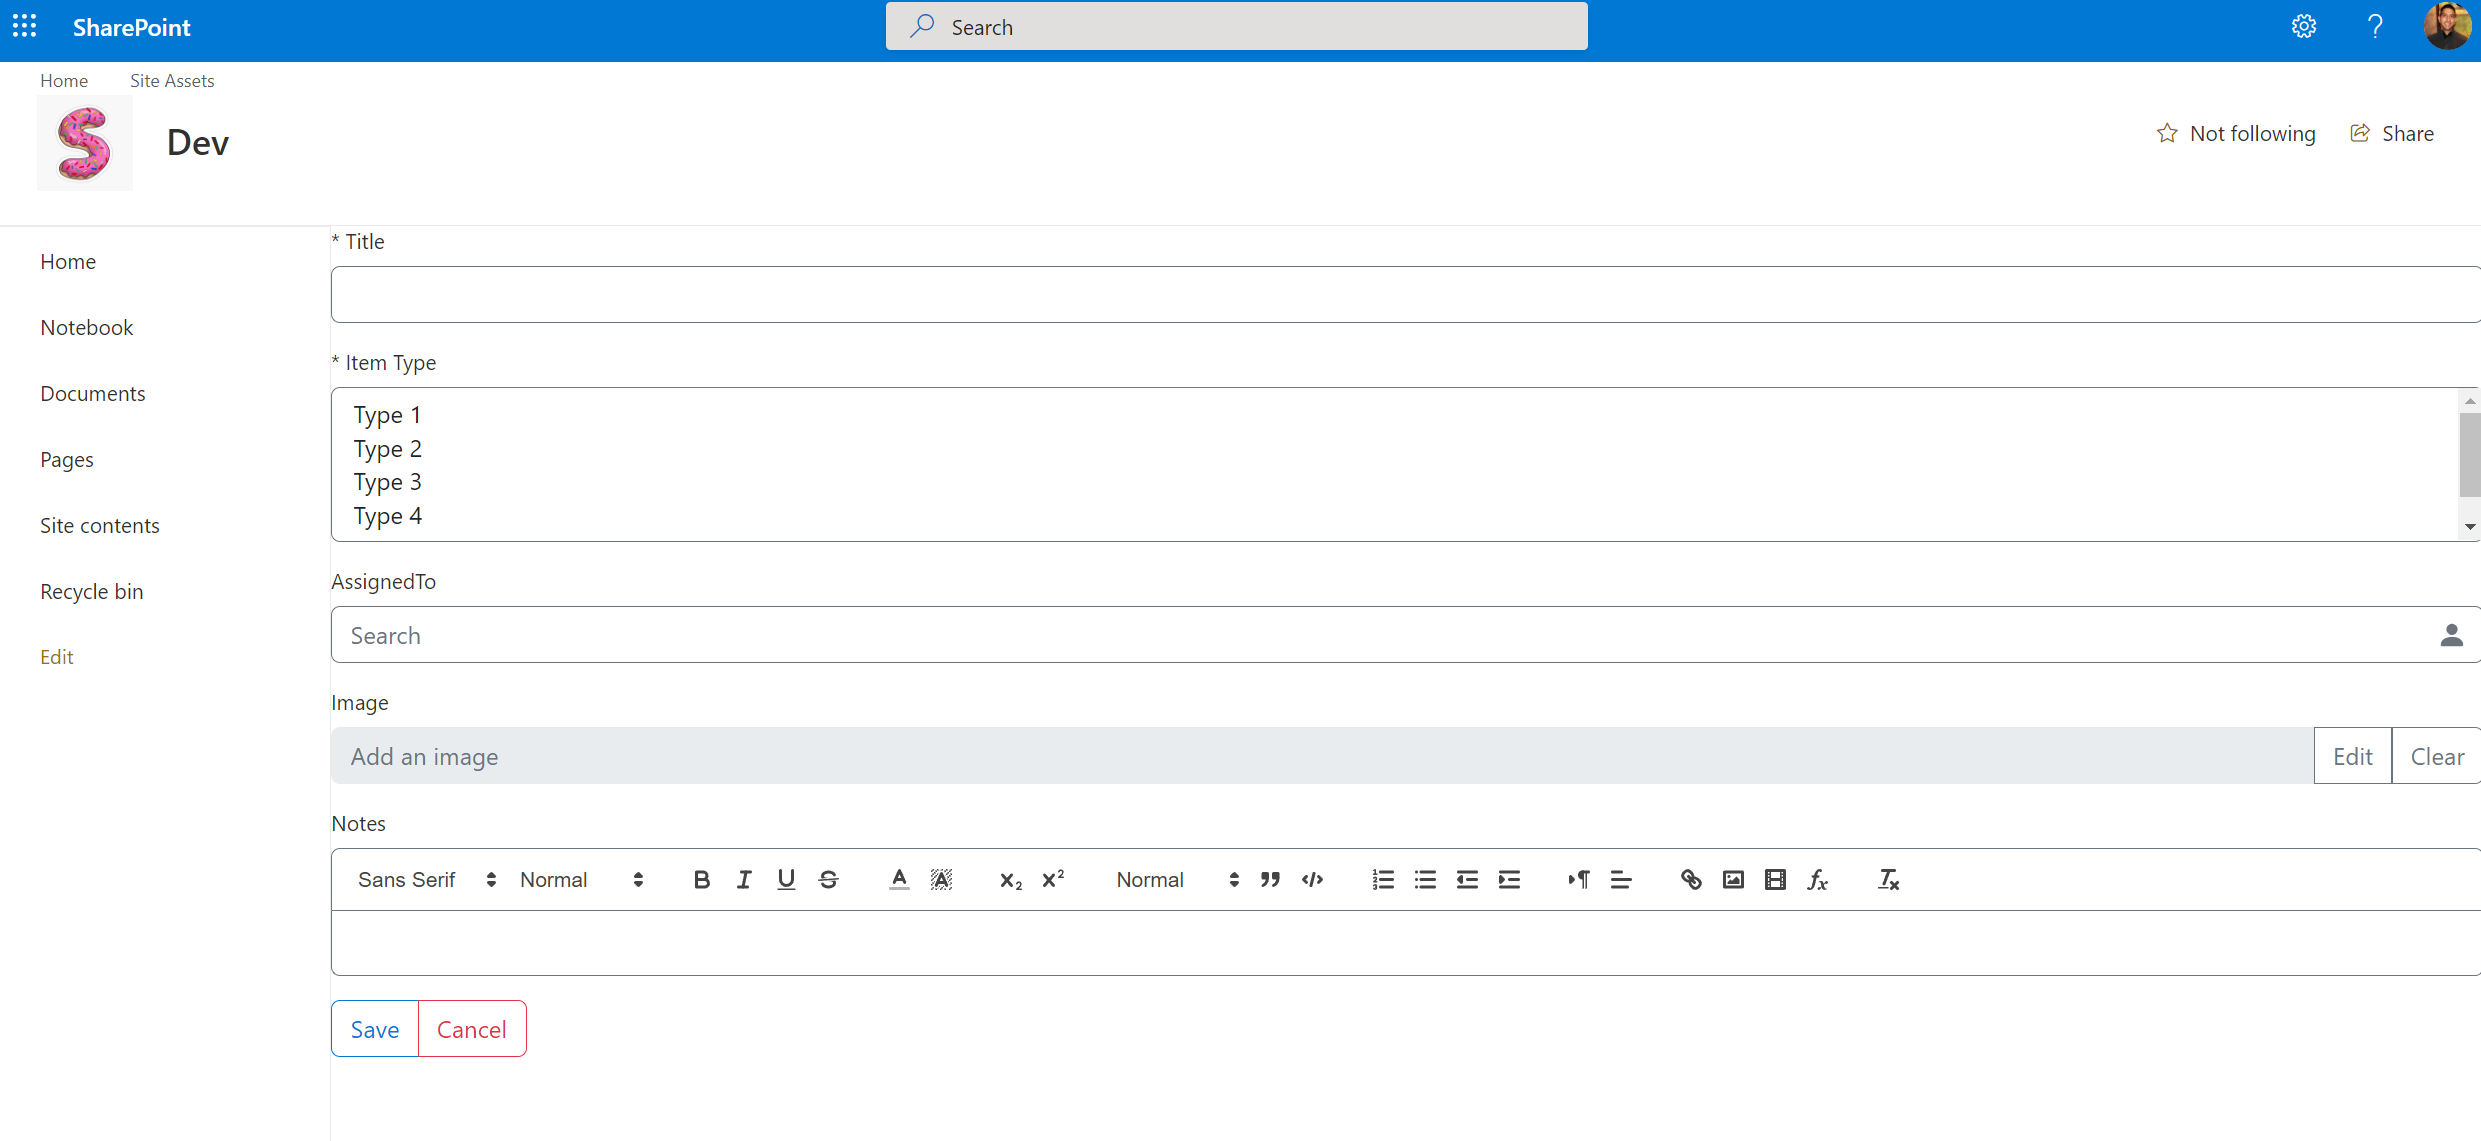
- Click on the item to display the view form
Remove Custom List Form
This section will remove the custom list forms.
- Access the
List Form Managerpage we created earlier - Edit the page
- Click the
Configure Listbutton - Click the
Clear Custom Formsbutton to remove the custom forms - Access the list we updated
- Validate the forms have reverted