06 Transforms Adjustments - grymmjack/DRAW GitHub Wiki
What you'll learn: Quick flips, rotations and scales, the on-canvas Transform overlay (Scale / Rotate / Shear / Distort / Perspective), the Move tool with Smart Guides, and DRAW's image-adjustment dialogs (Brightness/Contrast, Hue/Sat, Levels, etc.).
🎯 Goal: Transform layers and selections quickly.
These are the no-dialog shortcuts you'll reach for hundreds of times a session.
| Action | Shortcut | Icon |
|---|---|---|
| Flip Horizontal | H |
 |
| Flip Vertical | Ctrl+Shift+H |
 |
| Rotate 90° CW | > |
 |
| Rotate 90° CCW | < |
 |
| Scale Up 50% | Ctrl+Shift+= |
 |
| Scale Down 50% | Ctrl+Shift+- |
 |
All of the above operate on the active selection if there is one, otherwise on the active layer (or the multi-selected layers). For canvas-level flips that move every layer at once, use the corresponding entries under the Image menu.
🎯 Goal: Use the interactive on-canvas transform tool.
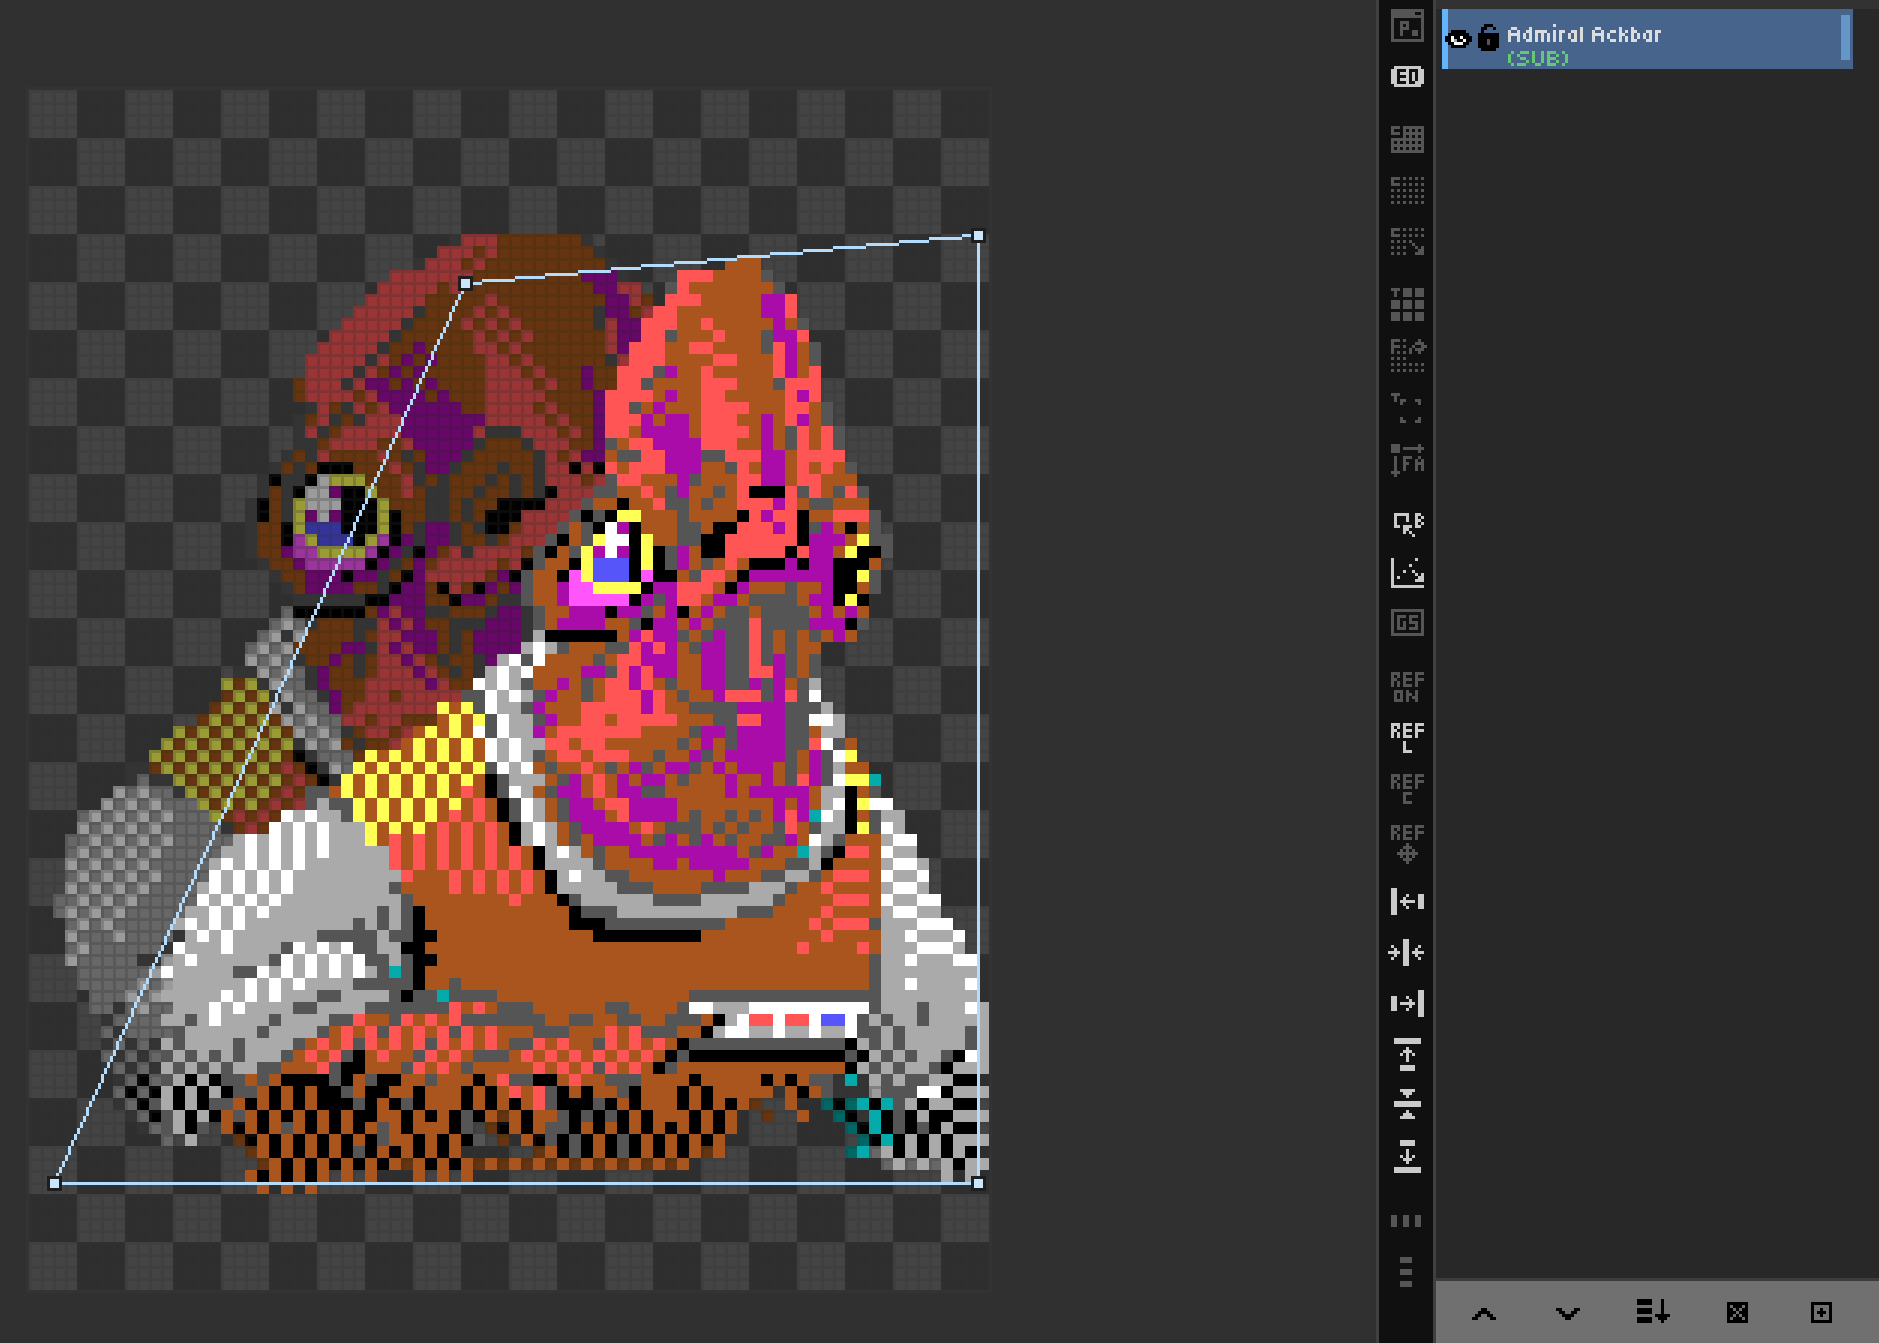
Open it with Edit → TRANSFORM… (or via the Command Palette). Note that Transform is not a toolbar tool — it's a temporary overlay you commit or cancel.
The overlay supports five modes; switch between them with yhe menu bar items and use the corresponding hotkeys:
-
Scale — drag handles.
Shiftlocks aspect ratio. -
Rotate — drag outside the bounding box.
Shiftsnaps to 15° increments. - Shear — drag the box edges to skew.
- Distort — drag each corner independently.
-
Perspective —
Shiftenables a special wall / floor projection.
The overlay frame and handles are themeable in THEME.CFG. Press Enter to apply (full undo step is recorded), Esc to cancel without modifying anything.
🎯 Goal: Reposition layer content precisely.
The Move tool (V,  ) translates the active layer (or multi-selection). Modifiers:
- Drag — move.
-
Arrow keys — nudge 1px (10px with
Shift). - Alt+Drag — clone stamp; the original stays where it was and the dragged duplicate becomes a new layer.
-
Ctrl+Arrows — move selection content 1px (
Ctrl+Shift+Arrowsfor a larger step; holdAltto clone). (Ctrl+Arrows resizes only while placing an imported/pasted image.) - Shift+Click — auto-select the topmost layer under the cursor.
Pro-tip: If you have an active selection, you can clone in Selection mode while holding
Ctrl+Alt
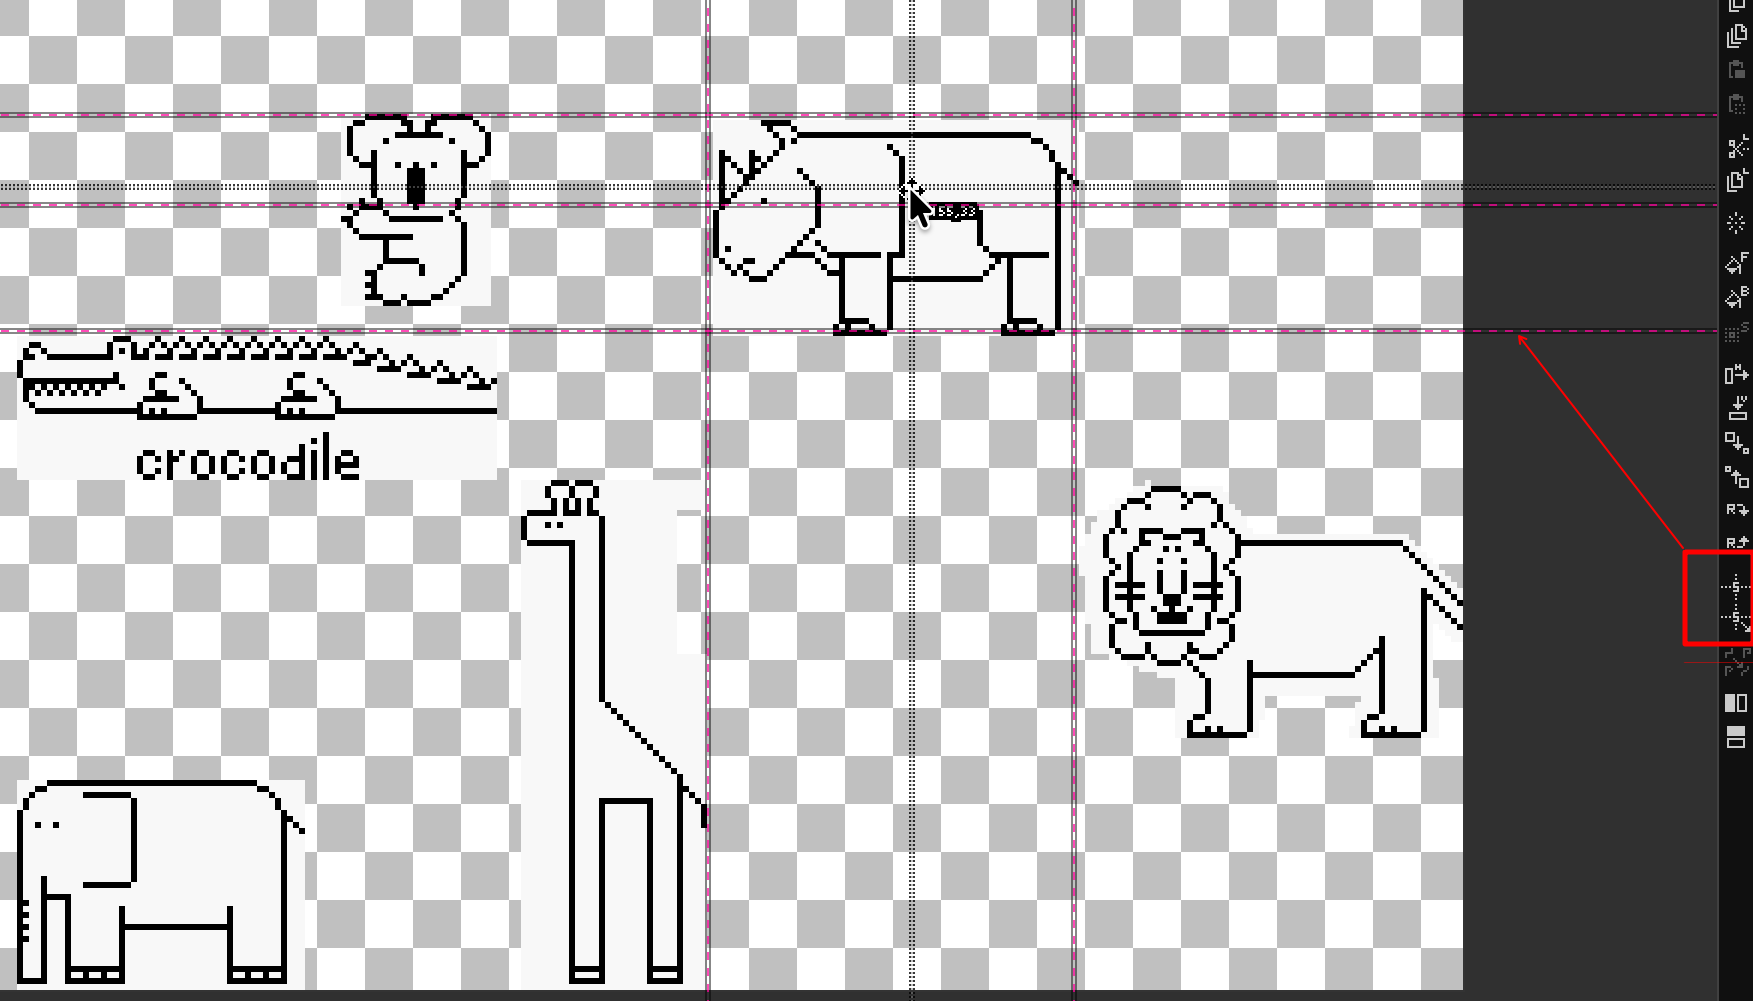
When you move a layer, DRAW can render Smart Guides — temporary alignment lines that snap to canvas edges, canvas centers, and other layers' edges. This makes pixel-perfect alignment between sprites trivial.
| Toggle | Shortcut |
|---|---|
| Show Smart Guides | Grid menu |
| Snap to Smart Guides | Grid menu |
Smart-guide colors and opacity are themeable.
🎯 Goal: Apply per-layer color adjustments.
DRAW has two flavors of adjustment: dialog-based (with live preview, scrollable parameters) and one-shot (instant, undoable).
- Brightness / Contrast — Change the values and intensities of colors.
- Hue / Saturation — Rotate the colors on the color wheel and make them more or less colorful.
- Levels — Black point, White point, Gamma.
- Color Balance — Shadows / Midtones / Highlights.
- Blur — Gaussian, adjustable radius.
- Sharpen — adjustable intensity.
Hover any slider and use the mouse wheel for fine control.
- Invert (RGB negative)
-
Desaturate (luminosity grayscale) (note you can use
Ctrl+Shift+Alt+Gto toggle Gray Scale Mode preview ON or OFF) - Posterize (N levels, with optional dithering)
- Pixelate (block size)
- Remove Background
Every adjustment preserves the alpha channel and is undone in a single Ctrl+Z.
🎯 Goal: Stylize a layer with a large library of filters and generative effects.
Beyond the Image-menu adjustments, DRAW has a dedicated EFFECTS menu organized
into flyout submenu categories (hover a category to open its list). Every
effect opens a dialog with a split ORIG / ADJ live-preview loupe, mouse-wheel
sliders, and an OK / RESET / CANCEL button row — RESET restores that
effect's default parameters. Effects apply per-layer (multi-layer aware), preserve
alpha where appropriate, and undo in a single Ctrl+Z.
- ADJUST → Gamma, Sepia, Threshold, Colorize, Gradient Map, Solarize, Duotone / Tritone
- STYLIZE → Glow, Film Grain, Vignette, Outline / Stroke, Edge Detect (Sobel), Grow / Shrink (dilate / erode), Chromatic Aberration, Emboss (with a Light Angle), Wind
- LAYER FX → Drop Shadow (Distance / Angle / Softness / Opacity), Perspective Shadow (Length / Cast Angle), Bevel (Height / Strength / Light Angle / Direction), Outer Glow, Inner Glow, Chrome / Metallic
- DISTORT → Wave / Ripple, Twirl, Pinch / Bulge (spherize), Kaleidoscope (auto mandala)
- PIXELATE → Crystallize, Stained Glass, Mosaic / Tessellate, Extrude, Pointillize
- NOISE → Add Noise, Median / Despeckle, Dust & Scratches
- RENDER → Clouds, Difference Clouds, Lens Flare, Terrain, Grid (with perspective), Sky (day / night / space)
Effects that work off the shape's alpha edge — backlights, glows, shadows, and elemental overlays: Backlight, Corona, Cutout, Bevel, Chrome, Extrude, Outer Glow, Inner Glow, Drop Shadow, Perspective Shadow, Motion Trail, Rust, Snow, Fire, Smoke, Icicles, Drip, Glass, Electrify, Water Drops.
Procedural surfaces painted onto the shape, each with a MIX slider (0–100) to blend the texture with the original art instead of replacing it outright: Wood, Marble, Brick Wall, Brushed Metal, Weave, Clouds, Swirl, Water Drops, Ripples, Animal Fur, Texture Noise, Stone Wall, Reptile Skin, Diamond Plate, Lightning.
💡 Effects that draw outside the shape (Drop Shadow, Outer Glow, Fire, Smoke, Icicles, Drip, Backlight, Corona, Motion Trail, Snow flecks) work best on a transparent layer so there's room around the artwork — add one with
Ctrl+Shift+N. Effects that use a colour (Backlight, Corona, Inner/Outer Glow, Gradient Map, Duotone, Drop/Perspective Shadow) read the current FG / BG colours.
➡️ Next: Chapter 7 — Text System