04 Layers - grymmjack/DRAW GitHub Wiki
What you'll learn: How to use DRAW's 64-layer system, opacity and visibility, the 19 blend modes, layer groups, multi-layer selection, alignment, and the unique symbol layer system for repeated artwork.
🎯 Goal: Work with multiple layers.
DRAW supports up to 64 layers per canvas. The Layer Panel on the right lists every layer top-to-bottom in render order — top of the list is on top of the canvas.
| Action | Shortcut |
|---|---|
| New Layer | Ctrl+Shift+N |
| Duplicate Layer | Ctrl+Shift+D |
| Delete Layer | Ctrl+Shift+Delete |
| Move Up / Down in stack |
Ctrl+PgUp / Ctrl+PgDn
|
| Move to top / bottom |
Ctrl+Shift+] / Ctrl+Shift+[
|
| Rename | Right-click → Rename |
You can also drag a layer row with the left mouse button to reorder. Right-click any layer for the full context menu (rename, duplicate, delete, group, blend mode, etc.).
🎨 Try it — multi-layer sprite
- Layer 1: scene/background.
- Layer 2: character outline.
- Layer 3: character base colors (with Opacity Lock — see below).
- Layer 4: highlights and effects.
🎯 Goal: Control transparency and protect existing pixels.
Each layer row has three persistent controls:
- Eye icon — toggle visibility. Alt+Click the eye for Solo mode: hide every other layer. Drag horizontally across multiple eye icons to sweep the visibility state.
- Opacity bar — drag, or hover and use the mouse wheel, for 0–100%.
- Lock icon — Opacity Lock. When enabled, drawing tools can only modify pixels that are already opaque. Perfect for recoloring within a finalized silhouette without bleeding outside.
🎨 Try it — opacity-locked recolor
- Draw a character on one layer (transparent background).
- Toggle the lock icon on that layer.
- Take a giant brush and slosh new color over the whole canvas. Notice it only paints inside the silhouette.
🎯 Goal: Use blend modes creatively.
A layer's blend mode determines how its pixels combine with the composite below it. DRAW implements all the modes you would expect from a modern raster editor:
| Family | Modes |
|---|---|
| Basic | Normal · Multiply · Screen · Overlay |
| Math | Add (Linear Dodge) · Subtract · Difference |
| Comparison | Darken · Lighten |
| Dodge / Burn | Color Dodge · Color Burn |
| Light | Hard Light · Soft Light · Vivid Light · Linear Light · Pin Light |
| Color / Difference variants | Exclusion · Color · Luminosity |
| Group only | Pass Through (Chapter 4 / EP15) |
Common pairings:
- Multiply — for shadows and ambient occlusion. Multiplying any color by a darker color produces a richer darker color.
- Screen / Add — for highlights, glow, fire and lights. Screen is the gentler companion; Add can blow out very quickly.
- Overlay — for contrast and saturation boost passes.
- Color — apply hue and saturation while preserving the underlying luminosity. The classic photograph-tinting trick.
- Luminosity — the inverse: apply brightness while preserving the underlying color.
To cycle a layer's blend mode without opening the dropdown, Shift+Right-click on the layer row.
🎨 Try it — three-layer lighting study
- Base sprite on layer 1, Normal mode.
- Layer 2: Multiply mode, paint cool desaturated tones for shadows.
- Layer 3: Screen (or Add) mode, paint warm highlights.
🎯 Goal: Organize complex artwork.
| Action | Shortcut |
|---|---|
| Create empty group | Ctrl+G |
| Group selected layers | Ctrl+Shift+G |
| Ungroup | Ctrl+Shift+U |
Groups can be nested arbitrarily and use a special Pass Through blend mode that lets each child blend naturally with what's below the group.
-
Merge Down —
Ctrl+Alt+E -
Merge Visible —
Ctrl+Alt+Shift+E - Merge Selected — fold a multi-selection into one layer.
- Merge Group to Single Layer — flatten a group while preserving its visual result.
Ctrl+Click toggles individual selection. Shift+Click also works like Ctrl because Mac users need that. Once multiple layers are selected, every relevant operation — clear, fill, flip, scale, rotate — runs against the whole selection. There is also Select All in Group.
DRAW provides nine alignment commands (Left/Center/Right × Top/Middle/Bottom) and two distribution commands (horizontal, vertical). Combined with multi-layer selection, this is the fastest way to lay out drawn objects in pleasing ways.
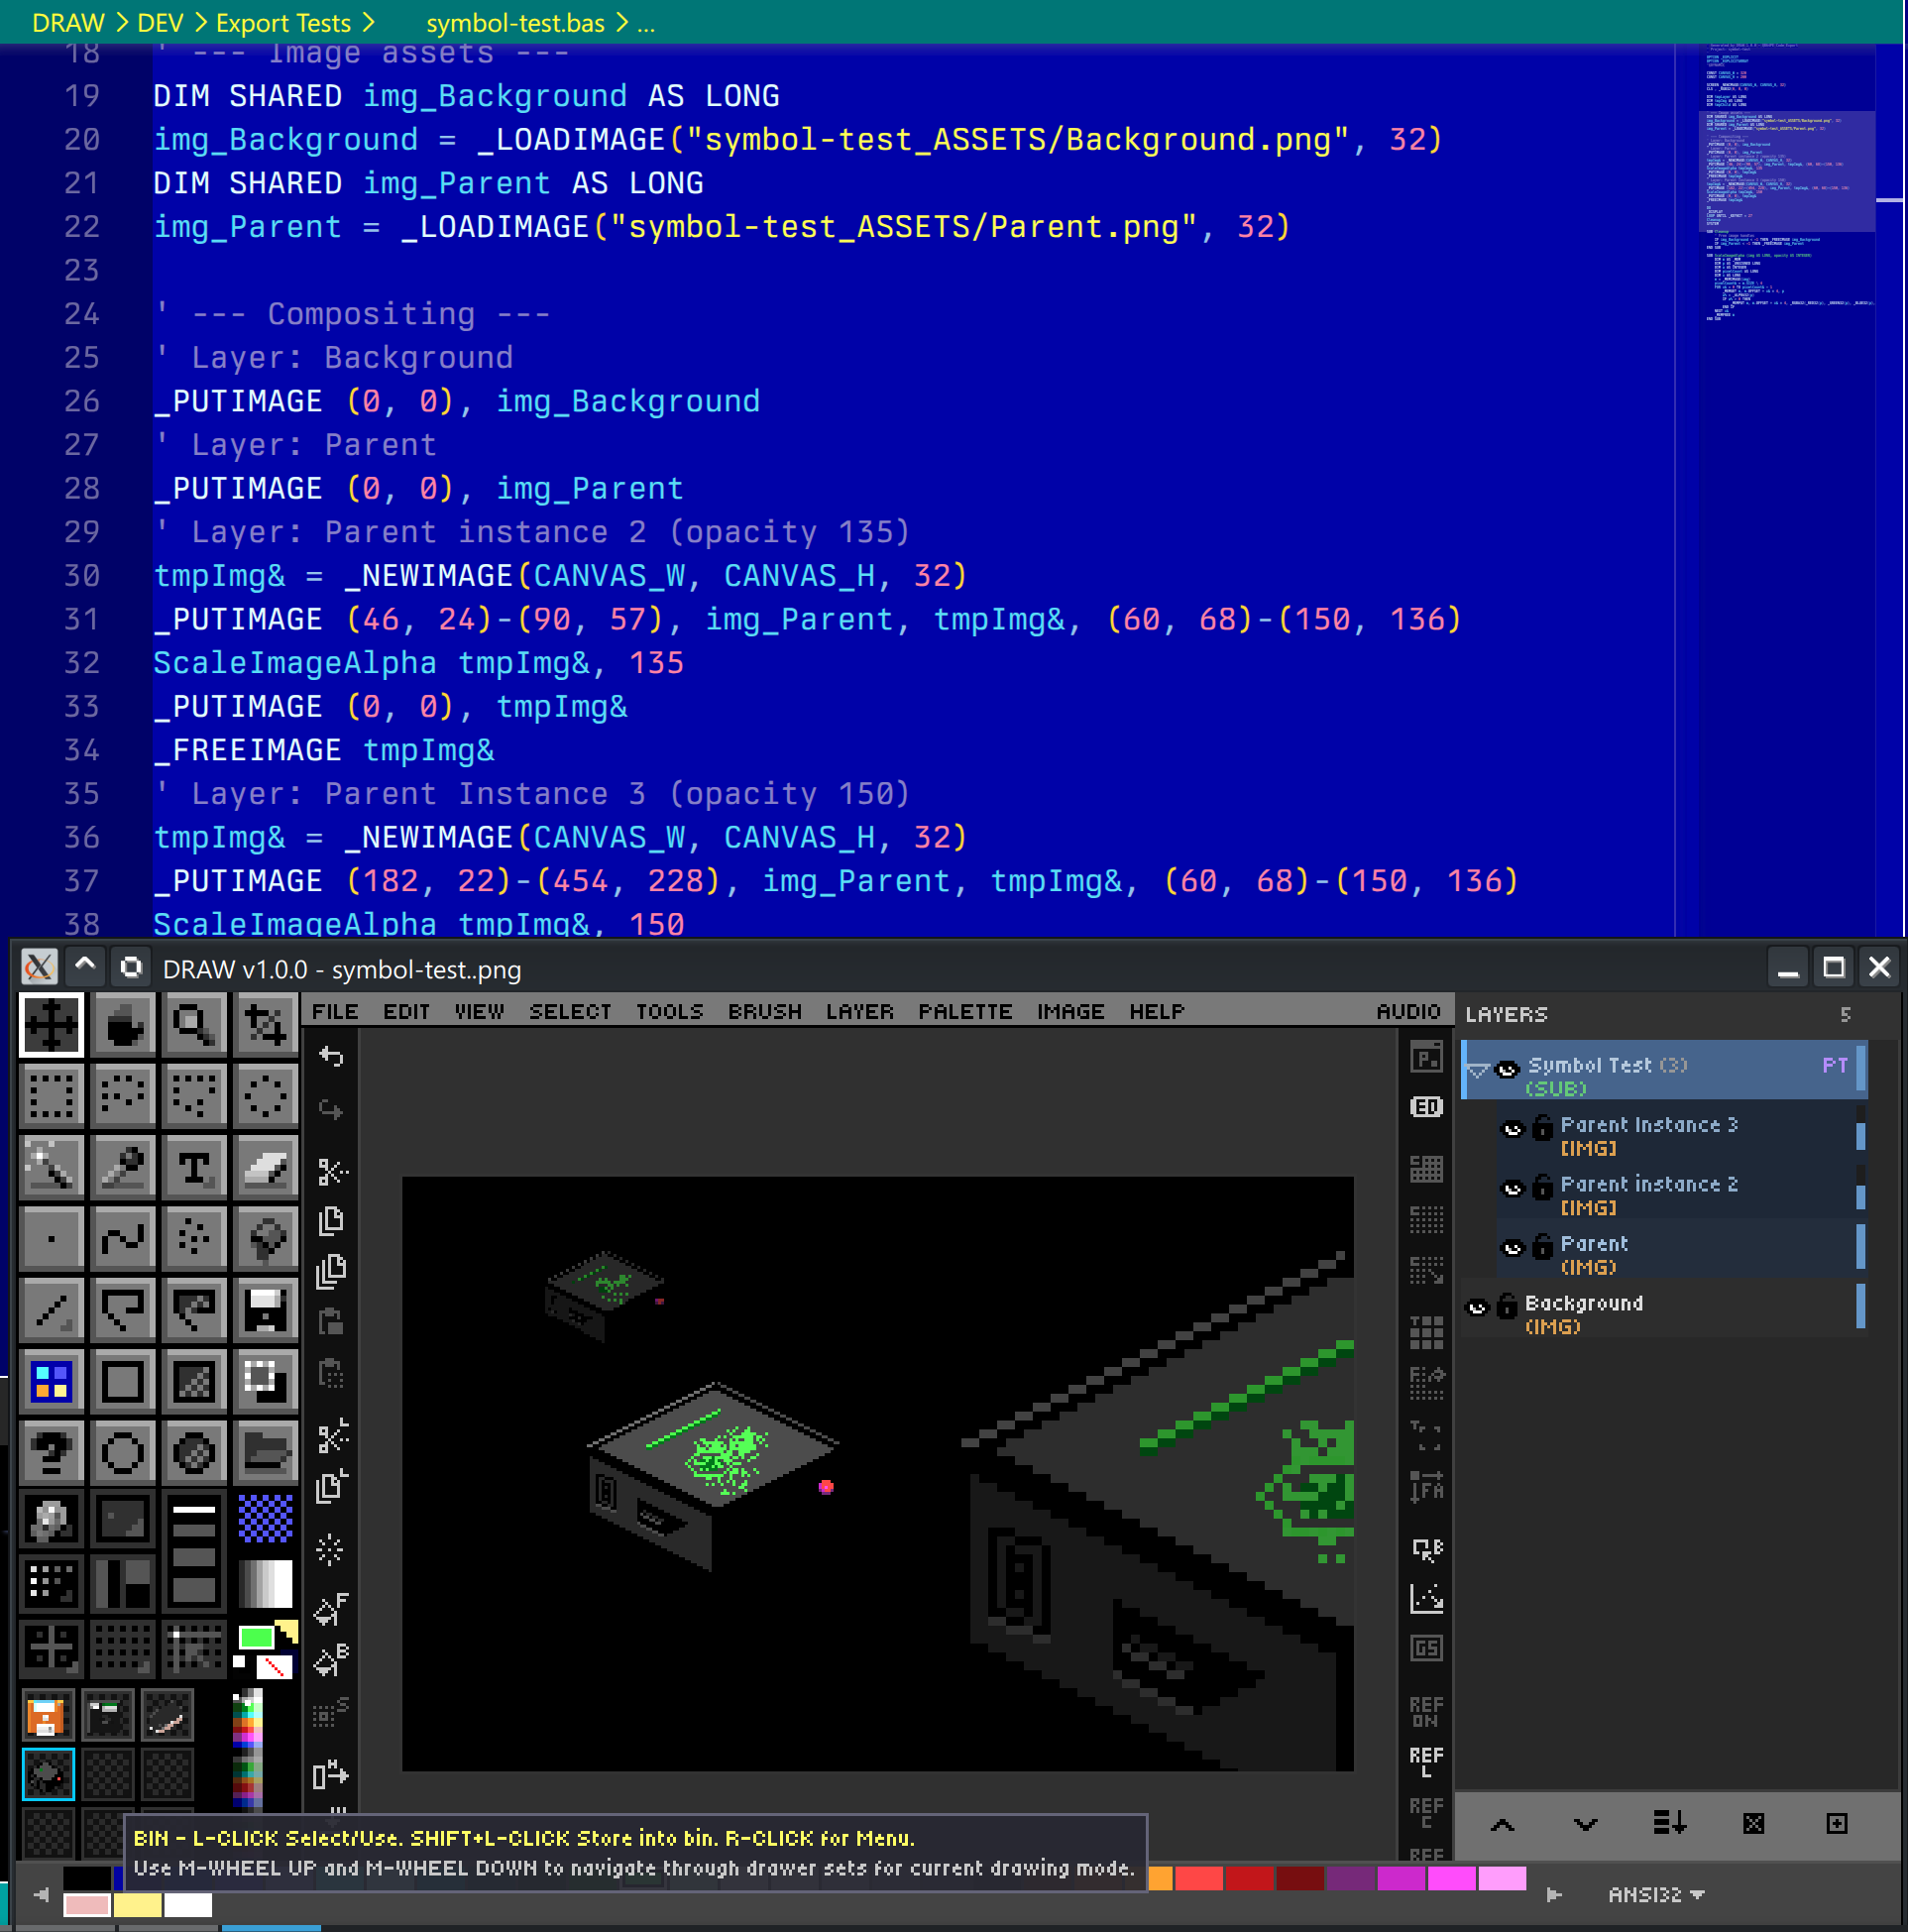
A Symbol Parent layer can have one or more Symbol Children. Drawing on the parent automatically syncs to every child — but each child can be independently scaled and repositioned. Use this for repeated elements like coins, enemies, tiles, or recurring UI components.
When you finish a child or want to have a child no longer inherit changes from it's parent:
- Rasterize — bake the child into a normal pixel layer (severs the link permanently).
- Detach — break the sync but keep the child as an independent layer.
Create them via Layer → New Symbol Layer or Layer → Convert to Symbol.
➡️ Next: Chapter 5 — Selection & Clipboard