07. Focus - gordtulloch/Galileo GitHub Wiki
07. Focus
Overview. Every control on this screen has detailed built-in help: hover it, press F1, or click the ? beside the title. See Built-in Help.
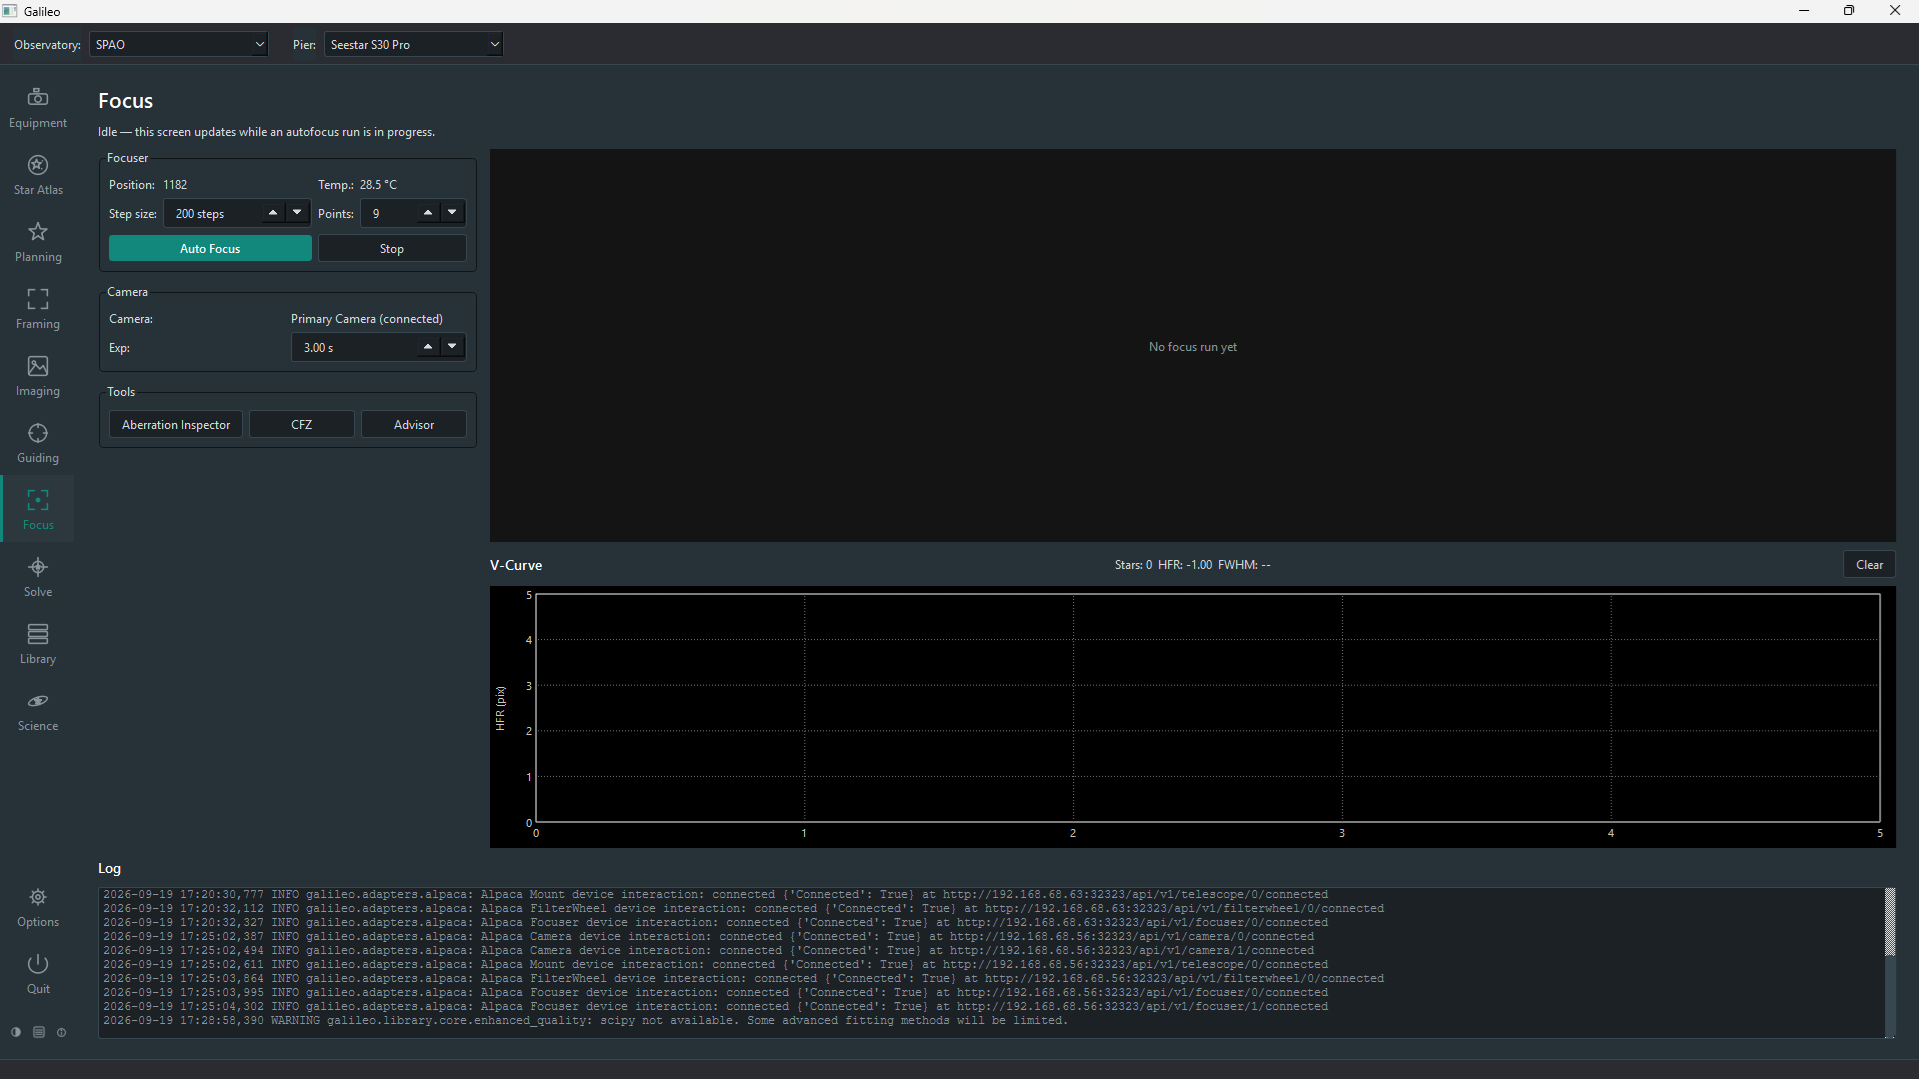
The Focus screen runs and displays an autofocus sequence using the connected camera and focuser. It is separate from the Imaging screen so you can focus without disrupting a capture run.
Contents
- Prerequisites
- Running autofocus
- The HFR V-curve
- Focus controls
- Manual focuser control
- Filter offsets
Prerequisites
- A camera connected under Equipment > Camera.
- A focuser connected under Equipment > Focuser.
- The focuser and camera should be associated with the same optical tube under Equipment > Optics.
Running autofocus
- Open Focus in the sidebar.
- Set the step size (focuser steps per measurement position) and the number of steps (how many positions to sample on each side of the current position).
- Click Auto Focus. Galileo moves the focuser through the measurement range, taking a short exposure at each position, detecting stars and computing the HFR (half-flux radius). Lower HFR means sharper stars.
- When the sequence finishes, the focuser moves to the position that minimises HFR — the fitted minimum of the V-curve.
Click Stop at any time to halt the sequence after the current exposure. The focuser stays at whatever position it reached.
The HFR V-curve
As the focuser moves through its range the HFR values trace a V shape: high and blurry far from focus, dropping to a sharp minimum at the best focus position, then rising again as the focuser moves past it. The chart shows:
- Blue dots: measured HFR at each focuser step
- Red curve: the parabola fit through the measurements
- Vertical line: the fitted minimum (the position the focuser moves to)
- Star count: shown alongside each measurement point — a sudden drop in star count at an extreme position can indicate the frame is too blurred to detect stars reliably
The current frame is shown above the V-curve chart in real time as each exposure arrives.
Focus controls
| Control | Effect |
|---|---|
| Step size | Focuser steps between exposures in the sweep |
| Points | How many exposures the sweep takes, centred on the current position |
| Backlash | Overshoot-and-return steps before each move so gear slack is taken up consistently (0 = off) |
| Exp | Exposure time of each measurement frame — long enough for several stars, short enough not to saturate |
| Auto Focus | Start the automatic sweep: the focuser moves to the best position, or returns to where it began if no sensible focus is found |
| Stop | End the run; the focuser goes back where it started |
The same defaults can be set per Pier under Options > Focus; sessions and triggers use them.
Manual focuser control
The Manual Focus box on the left lets you focus by hand without a full sweep: type a Position and press Move, Capture one exposure to measure its HFR, or Loop repeated exposures while you adjust and watch the HFR fall; Stop ends the loop.
Filter offsets
Different filters focus at slightly different positions. Filter Offsets… measures each filter's best focus relative to a Primary filter once; afterwards, changing filter in a session shifts the focuser by that offset instead of running a full autofocus.