03 Customize your Azure IoT Central - gloveboxes/AiPoweredPredictiveMaintenance GitHub Wiki
Customize your Azure IoT Central app
Customize your IoT Central app to display the predictive maintenance properties published by the Azure Sphere app.
Open the Azure IoT Central
- Go to Azure IoT Central.
Create a device template
- From the left pane, select Device templates.
- Select +New.
- Select IoT device.
- Select Next:Customize.
- Name your device template Predictive Maintenance.
- Select Next:review.
- Select Create.
Create a custom model
-
Select Custom model
-
Select + Add capability.
-
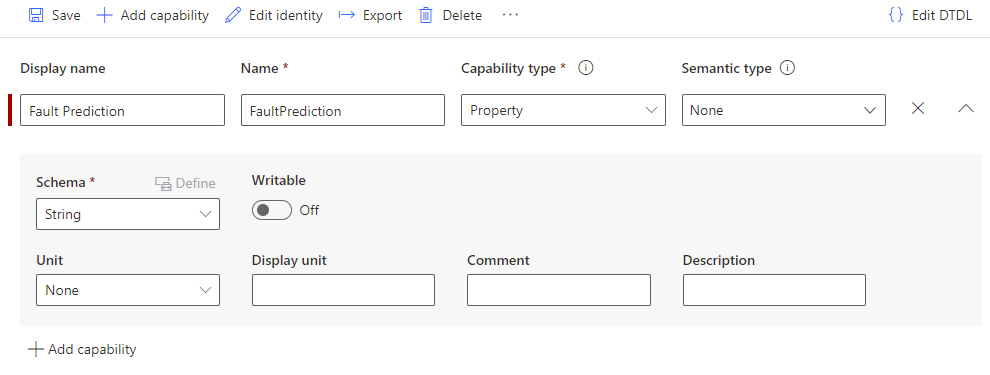
Create a capability as follows:
- Display name: Fault Prediction.
- Name: FaultPrediction.
- Capability type: Property.
- Expand the capability dialogue, and select schema string.
-
Repeat this process adding the following capabilities.
Display name Name Capability type Schema Software Version SoftwareVersion Property string Startup Utc StartupUtc Property string -
Select Save.
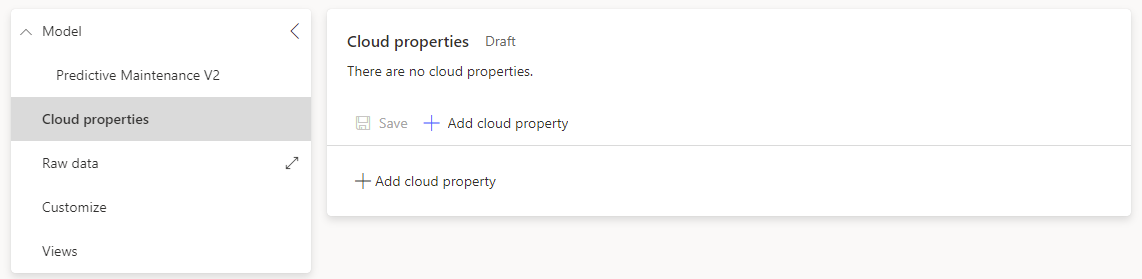
Create cloud properties
Cloud properties are used to provide additional metadata about a device.
-
Select the model Cloud properties tab.
-
Select + Add cloud property.
-
Create a cloud property as follows:
- Display name: Contact Name.
- Name: ContactName.
- Expand the property dialogue, and select schema string.
-
Repeat this process adding the following cloud properties.
Display name Name Schema Contact Number ContactNumber string Device Location DeviceLocation string Device description DeviceDescription string 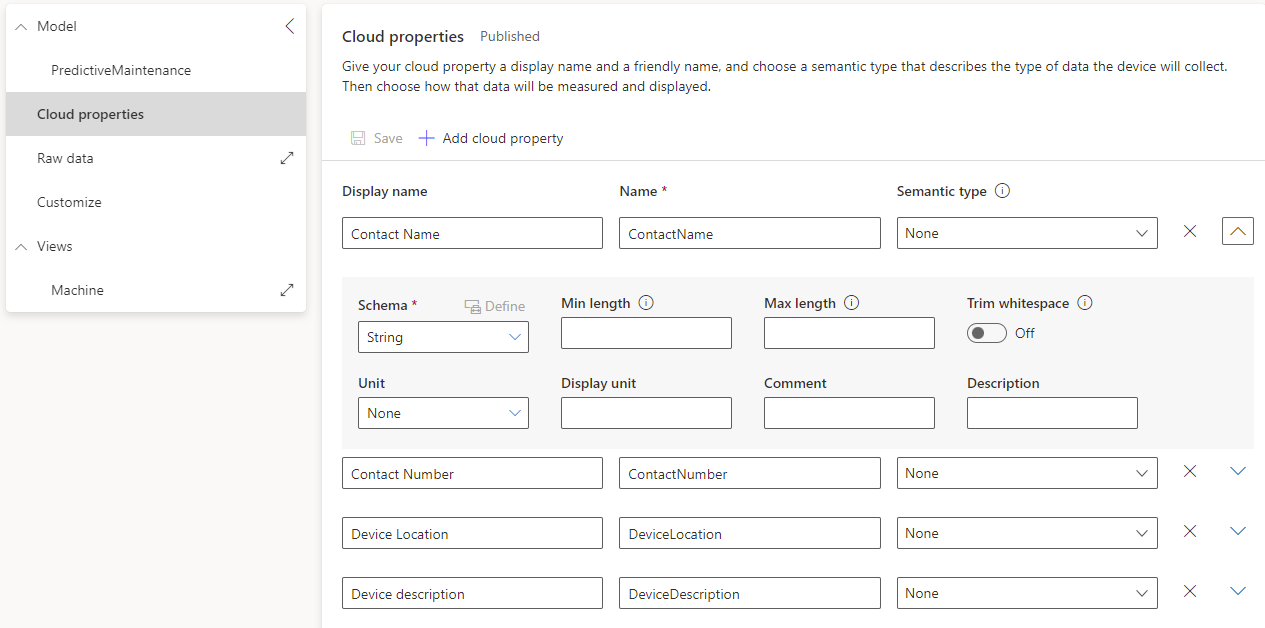
-
Select Save.
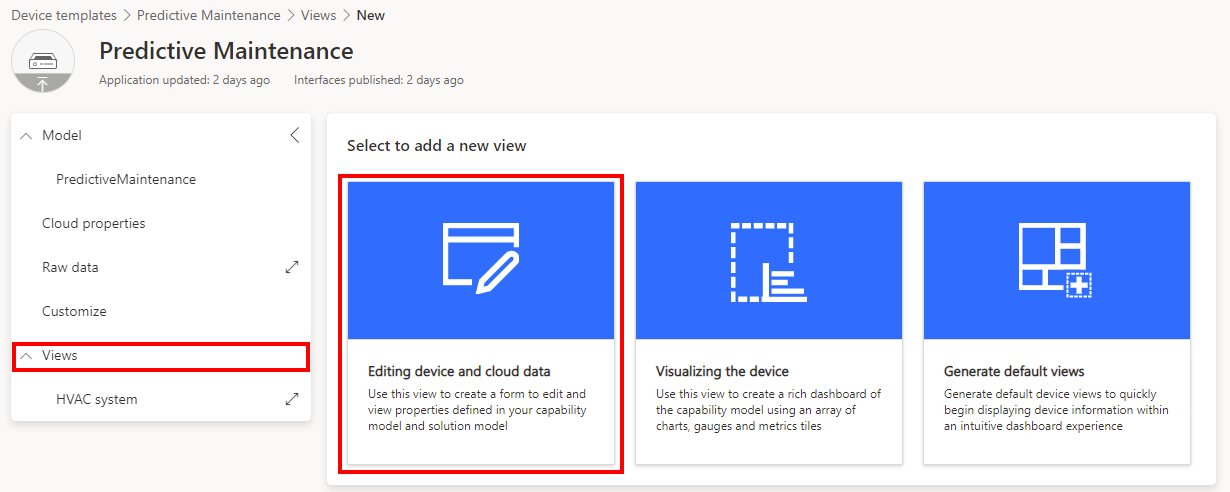
Add a property view
-
On the left pane, select Views, and then select the Editing device and cloud data tile.
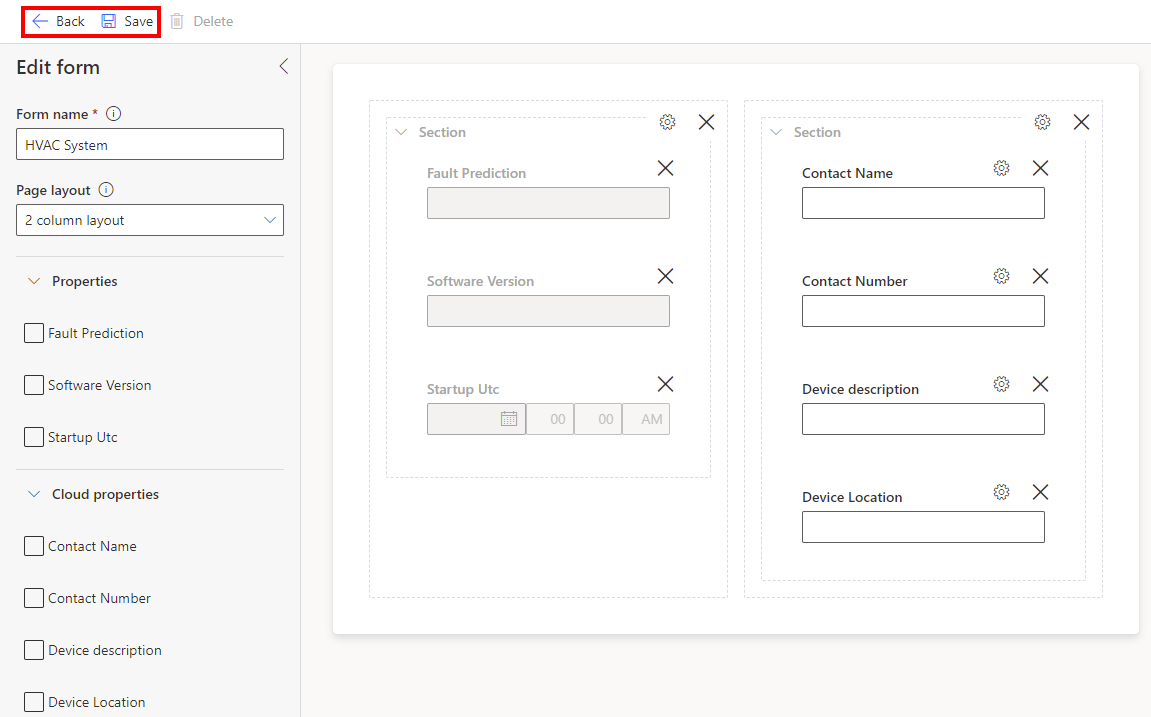
Add properties
- Name the form HVAC system.
- Select 2 column layout.
- Expand Properties.
- Select all of the properties.
- Select Add section.
- Drag the newly added section in column 2 to column 1
Add cloud properties
- Expand Cloud properties.
- Select all of the cloud properties.
- Select Add section.
Save properties view
The completed properties form should look like the following screenshot.
- Select Save.
- Select Back.
Publish the template
To publish the template to the Azure IoT Central application, select the Publish button.
