How To Use The Graph - globe-and-citizen/cnc-portal GitHub Wiki
This wiki shows how to use the Graph protocol on the CNC Portal. It offers options for either using the Graph Studio or running a local Graph node or both, you can choose the one that suits your preference. The Setup your environment for the Graph includes all inclusive instructions without regard for preferred set-up.
Create an account on the Graph Studio dApp by connecting your wallet at https://thegraph.com/studio/
Create a subgraph in the Graph Studio by clicking on the Create a Subgraph button and give it a name (slug) of your choice
Install the Graph CLI globally on your system.
npm install -g @graphprotocol/graph-cli@latestNB: As of writing the Graph CLI requires Node.js version 20.18.1 and upwards so make sure you're using the latest version.
Authenticate your subgraph for the Graph Studio on your system. You can get your deploy key from your subgraph page in the Graph Studio
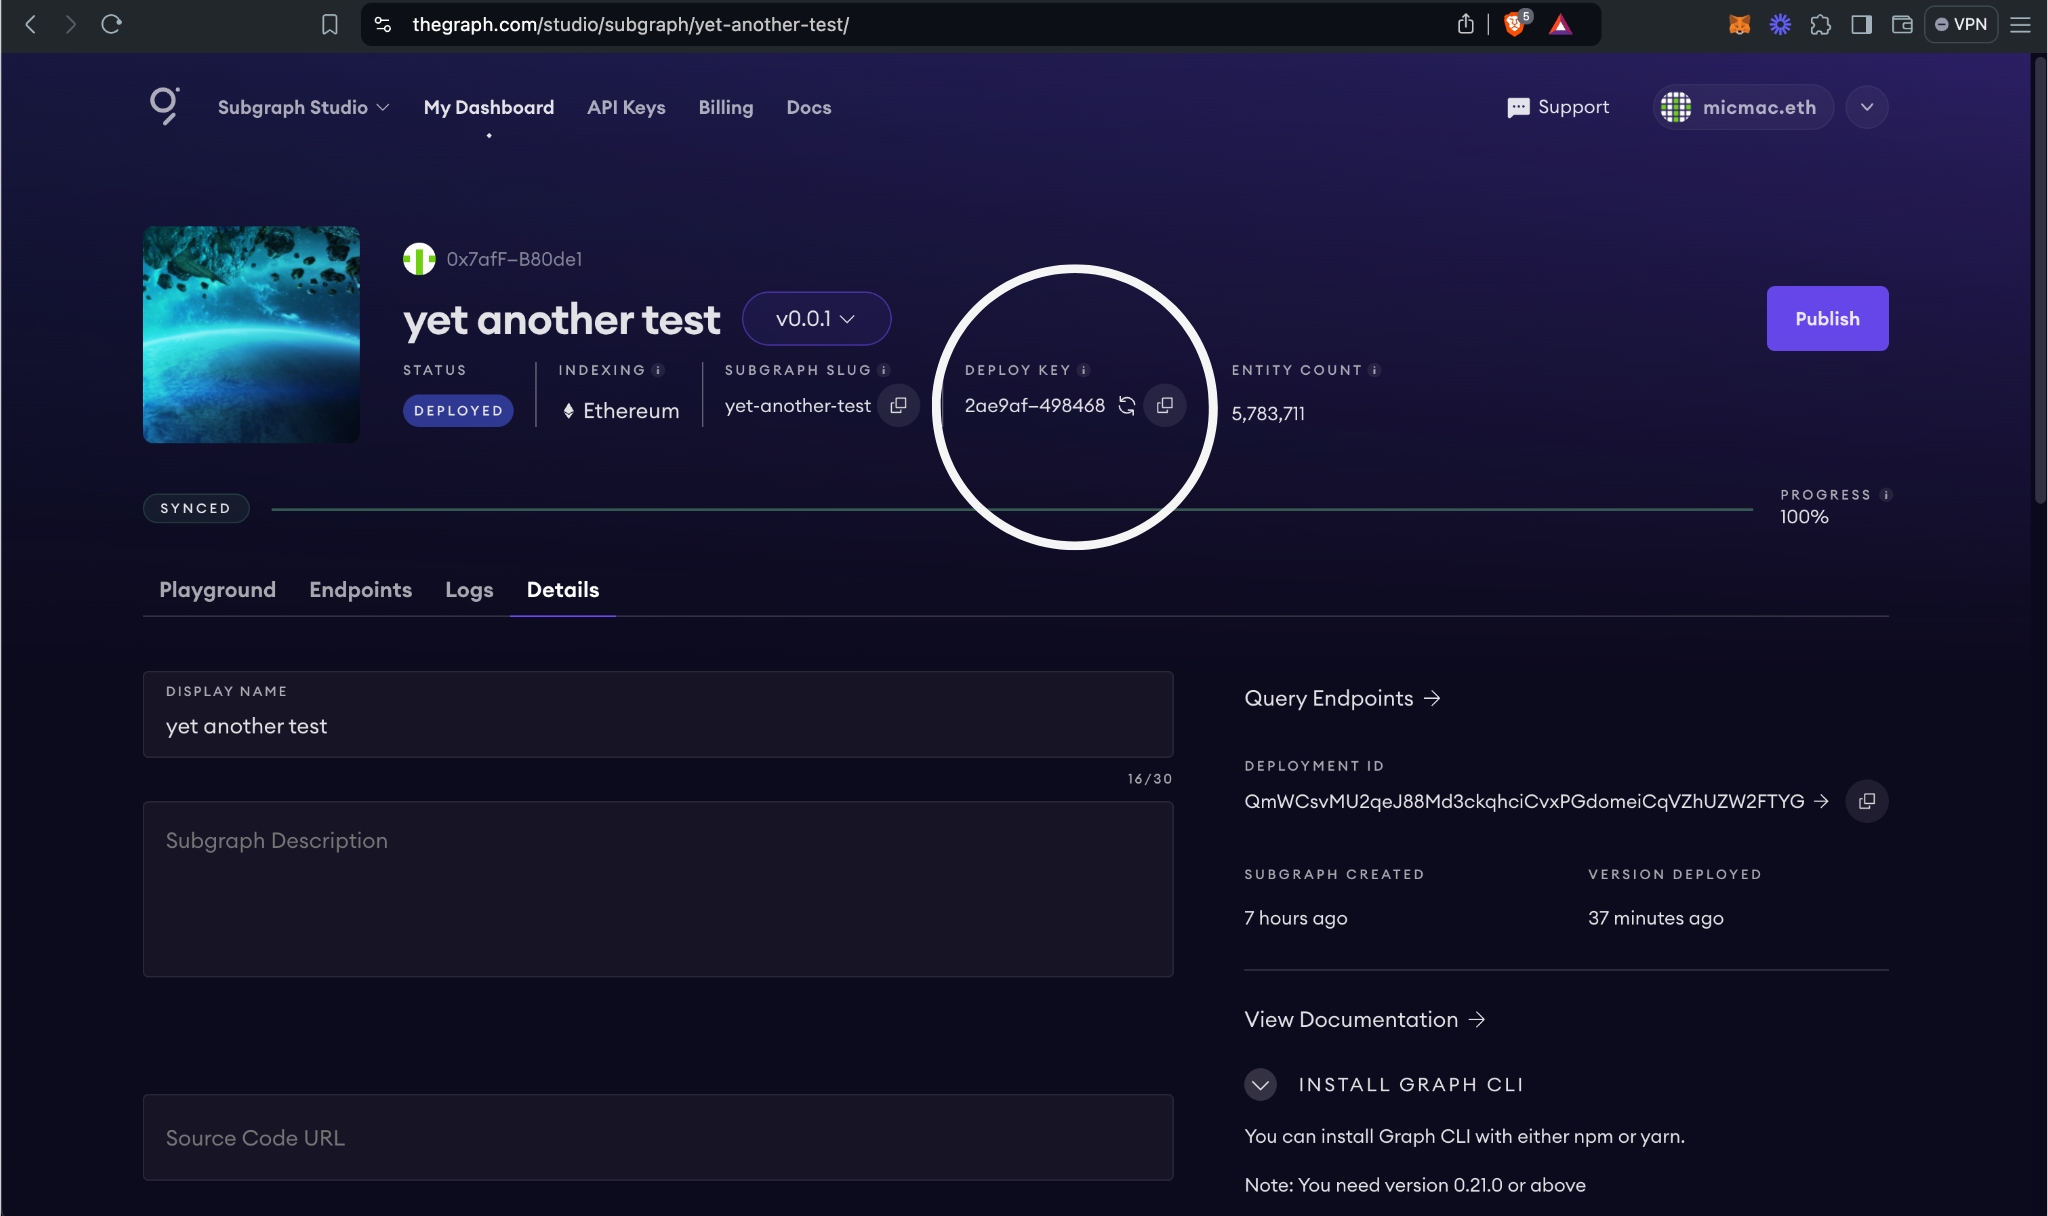
graph auth <YOUR_DEPLOY_KEY>To build for deploying using the current network specified in subgraph.yaml use
graph codegen && graph buildTo deploy to a different network from the one in subgraph.yaml or to be sure of the network you're deploying to:
graph codegen && graph build --network <NETWORK_NAME>NB: <NETWORK_NAME> is a name that is set and in the networks.json file located at the root of the-graph folder
To deploy to the Graph Studio use
graph deploy <SUBGRAPH_NAME>NB: <SUBGRAPH_NAME> is the name or slug of the subgraph that you created when you set up your account earlier in step 2 of Set up your environment for the Graph
For each subsequent deployment that you make you also need to specify a unique version number e.g v0.0.1 for the first deployment then v0.0.2 for the second deployment. If you use the same version number that you've used before you'll get an error.
This step is only necessary if you're testing on localhost. For testing using anvil you need to make sure that the test Ethereum node is running first before attempting to start the Graph Node.
anvil --port 0.0.0.0NB: Make sure to include the --port flag set to 0.0.0.0, using the default 127.0.0.1 the container fails to connect to the host machine on Ubuntu. It might not be the case on Mac or Windows but just to be sure.
Set the ETHEREUM_RPC_URL environment variable in your .env file at the root of the the-graph folder. It is in the form <NETWORK_NAME>:<RPC_URL>. For the purposes of testing on local host set it using the following
ETHEREUM_RPC_URL=localhost:http://host.docker.internal:8545If this isn't the first time that you're running the Graph Node and you're using it for testing on localhost you need to first delete the data folder located at the-graph/data. The folder is automatically generated by the Graph and requires root privileges to delete.
sudo rm -r dataAfter that you can run the Graph Node
docker-compose upWhen testing on localhost you need to deploy the CNC contracts including the mock USDC and USDT contracts deterministically using the deploy script located at contract/deploy.sh and update the deployed addresses.
./deploy localhost mock
cd ../app
npm run git:ignore-locally
cd ../contract
npm run moveConstantsYou need build the subgraph artifacts the same as when you're deploying to Subgraph Studio
graph codegen && graph build --network localhostNext step is to and deploy the subgraph to the local Graph Node. Start by creating the subgraph.
yarn create-localThen deploy the subgraph
yarn deploy-localIn order for the application to be able to query the Graph and get data you need to set the VITE_APP_SUBGRAPH_ENDPOINT variable in the .env in the app folder.
If you deployed to the Graph Studio the endpoint URL is located in Endpoint tab of your subgraph
VITE_APP_SUBGRAPH_ENDPOINT=https://api.studio.thegraph.com/query/<ID>/<YOUR_SUBGRAPH_NAME>/version/latestIf you deployed to localhost the HTTP query URL is supplied when you deploy the subgraph at Step 5 of Deploy to Localhost
VITE_APP_SUBGRAPH_ENDPOINT=http://localhost:8000/subgraphs/name/test-the-graphIf you deployed to the Graph Studio you'll find the Playground tab of your subgraph on the Graph Studio. If you deployed to localhost it will be located at http://localhost:8000/subgraphs/name/test-the-graph/graphql