Development with VS Code and WSL - giobim/Some-help-from-my-Friends GitHub Wiki
This document describes the common development tasks using WSL and VS Code.
The Visual Studio Code Remote - WSL extension lets you use the Windows Subsystem for Linux (WSL) as your full-time development environment right from VS Code. You can develop in a Linux-based environment, use Linux-specific toolchains and utilities, and run and debug your Linux-based applications all from the comfort of Windows.
The extension runs commands and other extensions directly in WSL so you can edit files located in WSL or the mounted Windows filesystem (for example /mnt/c) without worrying about pathing issues, binary compatibility, or other cross-OS challenges.
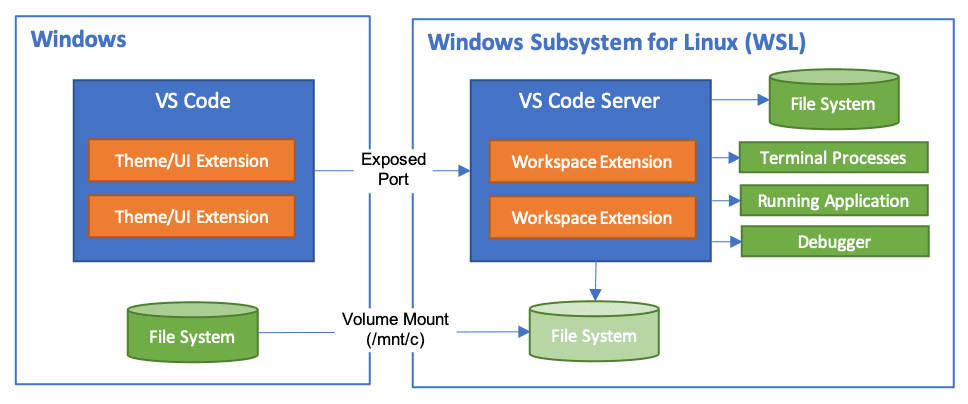
Fig. 5. WSL-Remote behind the scene
This lets VS Code provide a local-quality development experience — including full IntelliSense (completions), code navigation, and debugging — regardless of where your code is hosted.
First Steps
Open a folder in WSL
Opening a folder inside the Windows Subsystem for Linux in VS Code is very similar to opening up a Windows folder from the command prompt or PowerShell.
-
Open the
Windows Terminal (Preview)using the start menu item. -
Open a WSL terminal window from the
Windows Terminal (Preview)(using the drop-downvmenu item or by typingwslfrom the opened shell). -
Navigate to a folder you'd like to open in VS Code (including, but not limited to, Windows filesystem mounts like
/mnt/c) -
Type
code .in the terminal. When doing this for the first time, you should see VS Code fetching components needed to run in WSL. This should only take a short while, and is only needed once.Note: If this command does not work, you may need to restart your terminal or you may not have added VS Code to your path when it was installed.
-
After a moment, a new VS Code window will appear, and you'll see a notification that VS Code is opening the folder in WSL.

-
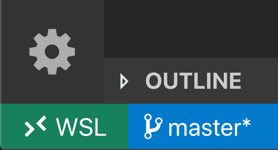
Once finished, you now see a WSL indicator in the bottom left corner, and you'll be able to use VS Code as you would normally!
That's it! Any VS Code operations you perform in this window will be executed in the WSL environment, everything from editing and file operations, to debugging, using terminals, and more.
Alternatively, you can open a Remote WSL window directly from VS Code:
- Start VS Code.
- Press
F1, select Remote-WSL: New Window for the default distro or Remote-WSL: New Window using Distro for a specific distro. - Use the File menu to open your folder.
If you already have a folder open, you can also use the Remote-WSL: Reopen in WSL command. You will be prompted which distro to use.
If you are in a WSL window and want to open the current input in a local window, use Remote-WSL: Reopen in Windows.
Working with Git
If you are working with the same repository in WSL and Windows, be sure to set up consistent line endings.
Since Windows and Linux use different default line endings, Git may report a large number of modified files that have no differences aside from their line endings. To prevent this from happening, you can disable line ending conversion using a .gitattributes file or globally on the Windows side.
Typically adding or modifying a .gitattributes file in your repository is the most reliable way to solve this problem. Committing this file to source control will help others and allows you to vary behaviors by repository as appropriate. For example, adding the following to .gitattributes file to the root of your repository will force everything to be LF, except for Windows batch files that require CRLF:
* text=auto eol=lf
*.{cmd,[cC][mM][dD]} text eol=crlf
*.{bat,[bB][aA][tT]} text eol=crlf
Note that this works in Git v2.10+, so if you are running into problems, be sure you've got a recent Git client installed. You can add other file types in your repository that require CRLF to this same file.
If you would prefer to still always upload Unix-style line endings (LF), you can use the input option.
$ git config --global core.autocrlf input
If you'd prefer to disable line ending conversation entirely, run the following instead:
$ git config --global core.autocrlf false
Finally, you may need to clone the repository again for these settings to take effect.
You can also avoid passwords by configuring WSL to use the Git-Windows credential manager to share Git credentials between Windows and WSL
If you use HTTPS to clone your repositories and have a credential helper configured in Windows, you can share this with WSL so that passwords you enter are persisted on both sides. (Note that this does not apply to using SSH keys.)
Just follow these steps:
- Configure the credential manager on Windows by running the following in a Windows command prompt or PowerShell:
$ git config --global credential.helper wincred - Configure WSL to use the same credential helper, but running the following in a WSL terminal:
$ git config --global credential.helper "/mnt/c/Program\ Files/Git/mingw64/libexec/git-core/git-credential-wincred.exe"
Any password you enter when working with Git on the Windows side will now be available to WSL and vice versa.
Managing extensions
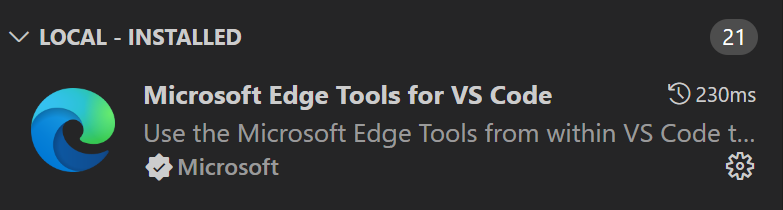
VS Code runs extensions in one of two places: locally on the UI / client side, or in WSL. While extensions that affect the VS Code UI, like themes and snippets, are installed locally, most extensions will reside inside WSL.
If you install an extension from the Extensions view, it will automatically be installed in the correct location. Once installed, you can tell where an extension is installed based on the category grouping. There will be Local - Installed category and one for WSL.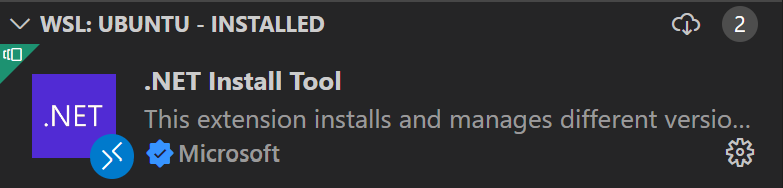
Note: If you are an extension author and your extension is not working properly or installs in the wrong place, see Supporting Remote Development for details.
Local extensions that actually need to run remotely will appear Disabled in the Local - Installed category. Select Install to install an extension on your remote host.
You can also install all locally installed extensions inside WSL by going to the Extensions view and selecting Install Local Extensions in WSL: [Name] from the More Actions menu (...).
Opening a terminal in WSL
Opening a terminal in WSL from VS Code is simple. Once folder is opened in WSL, any terminal window you open in VS Code (Terminal > New Terminal) will automatically run in WSL rather than locally.
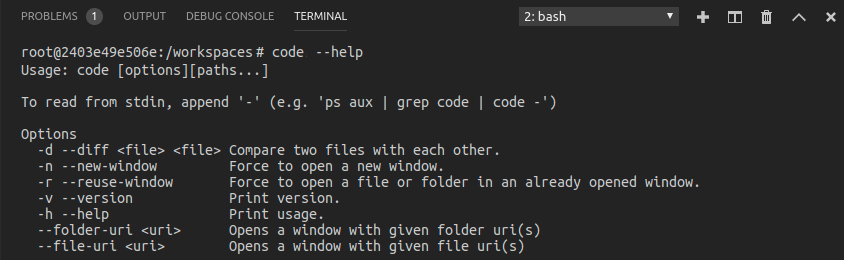
You can also use the code command line from this same terminal window to perform a number of operations such as opening a new file or folder in WSL. Type code --help to see what options are available from the command line.
Debugging in WSL
Once you've opened a folder in WSL, you can use VS Code's debugger in the same way you would when running the application locally. For example, if you select a launch configuration in launch.json and start debugging (F5), the application will start on remote host and attach the debugger to it.
See the debugging documentation for details on configuring VS Code's debugging features in .vscode/launch.json.
WSL specific settings
VS Code's local user settings are also reused when you have opened a folder in WSL. While this keeps your user experience consistent, you may want to vary some of these settings between your local machine and WSL. Fortunately, once you have connected to WSL, you can also set WSL specific settings by running the Preferences: Open Remote Settings command from the Command Palette (F1) or by selecting the Remote tab in the Settings editor. These will override any local settings you have in place whenever you open a folder in WSL.
Advanced: Environment setup script
When VS Code Remote is started in WSL, no shell startup scripts are run. This was done to avoid issues with startup scripts that are tuned for shells. If you want to run additional commands or modify the environment this can be done in a setup script ~/.vscode-server/server-env-setup (Insiders: ~/.vscode-server-insiders/server-env-setup). If present, the script is processed before the server is started.
The script needs to be a valid Bourne shell script. Be aware that an invalid script will prevent the server from starting up. If you end up with a script that prevents the server from starting, you will have to use a regular WSL shell and delete or rename the setup script.
Check the WSL log (Remote WSL: Open WSL Log) for output and errors.
If you run into problem, take a look to current limitations to resolve the known issues.
That's all Folks!