Tutorial assembly Dji Mini Air 2 raw to Sphere with Rawtherapee and Hugin step by step - fran6t/ExhibMyDrone GitHub Wiki
For information, the 26 original .DNG files and the DJI_ASSISTANT file of this tutorial are available in this zip file: Src-Tuto-rawtherapee-Hugin.zip
The very high definition sphere obtained via this tutorial and the original one of the Dji Fly application are visible here: result How-To vs Dji Fly
First of all to get the photos with the maximum resolution of the Dji mini air 2 you have to be a little tricky.
By default, the launch of a sphere or 360 ° Panorama causes the shooting and the stitching of a photo with a size of 2000x1500 pixels while the possibilities of the sensor are double, 4000x3000 pixels.
The trick is therefore to activate the .JPG + Raw option, the raw format being the result without processing of what the photographic sensor of the drone's camera measures.
It's a lot of manipulation, but in photos when you think of holding a masterpiece it's always a must to have the raws.
The main principle is as follows:
- Activation of the .JPG + .RAW option;
- Development of Raw files to JPG with RawTherapee;
- Use exif data for the angle and position of the differents picture;
- Final assembly with Hugin;
- Sharing the Sphere with ExhibMyDrone.
On the SD card, we therefore have the 26 images in two formats, the JPG which does not interest us because with a size of 2000x1500pixels and the .dng files which are the Raw that we are going to develop.
First, we copy the .DNG files into a directory on its hard drive (so as not to work on the SD card).
Select all files
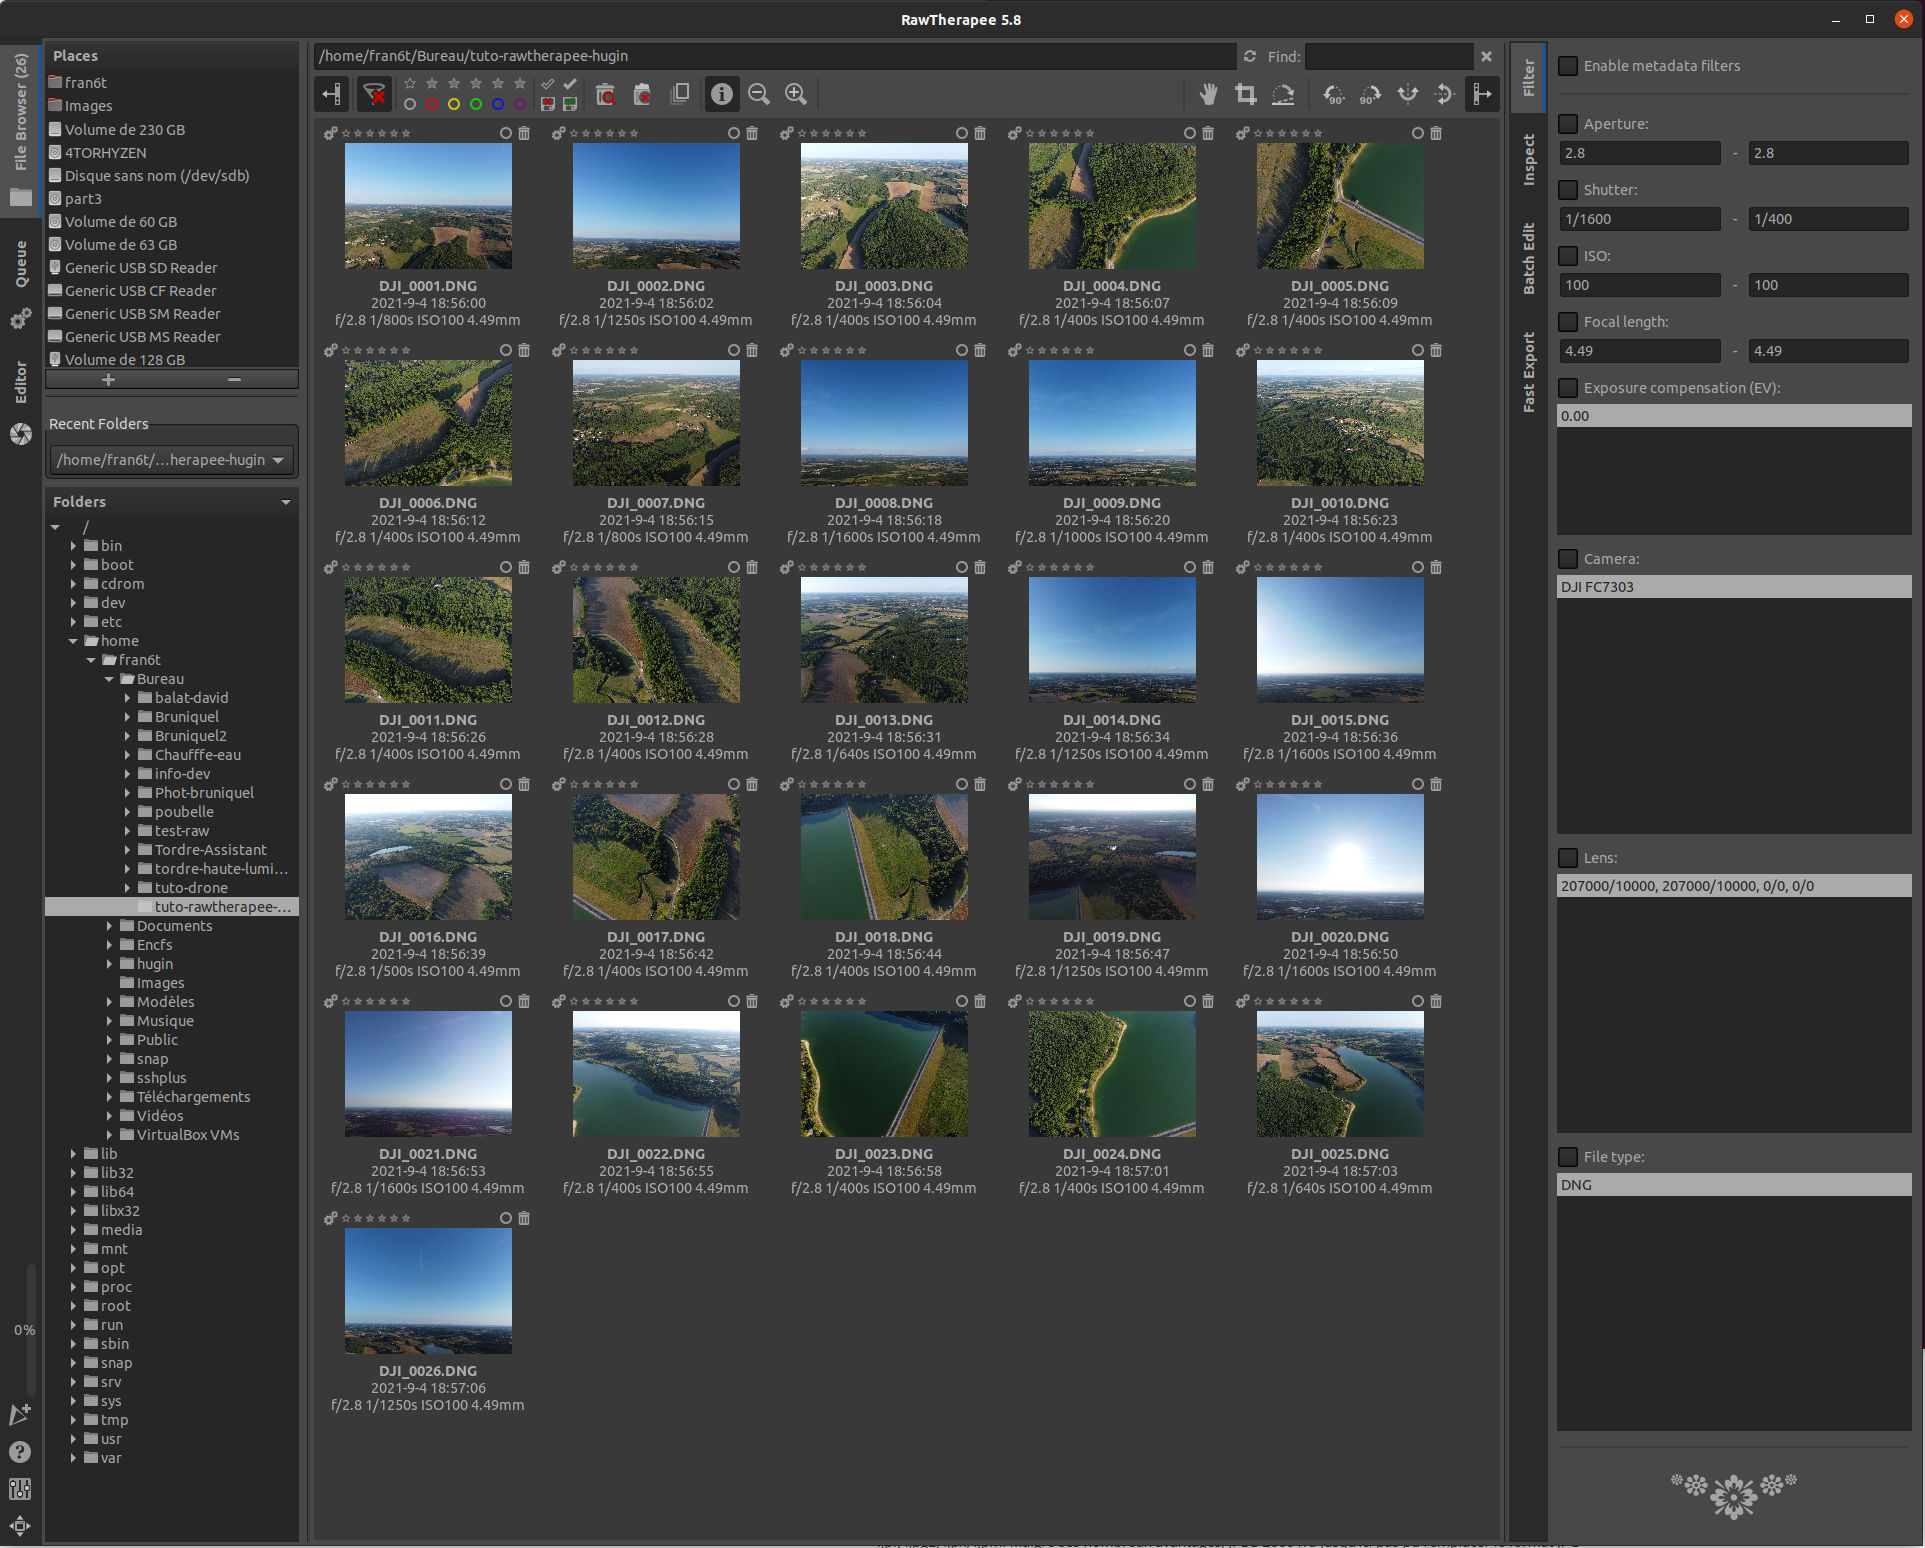
Apply filter "Auto-Matched Curve - Isow Low" this filter is natively supplied with the RawTherapee 5.6 version
To do this right click on the first image and in the contextual menu and choose "Processing profile opérations" -> Apply -> Bundled profiles -> auto_Matched Curve - ISOW LOW
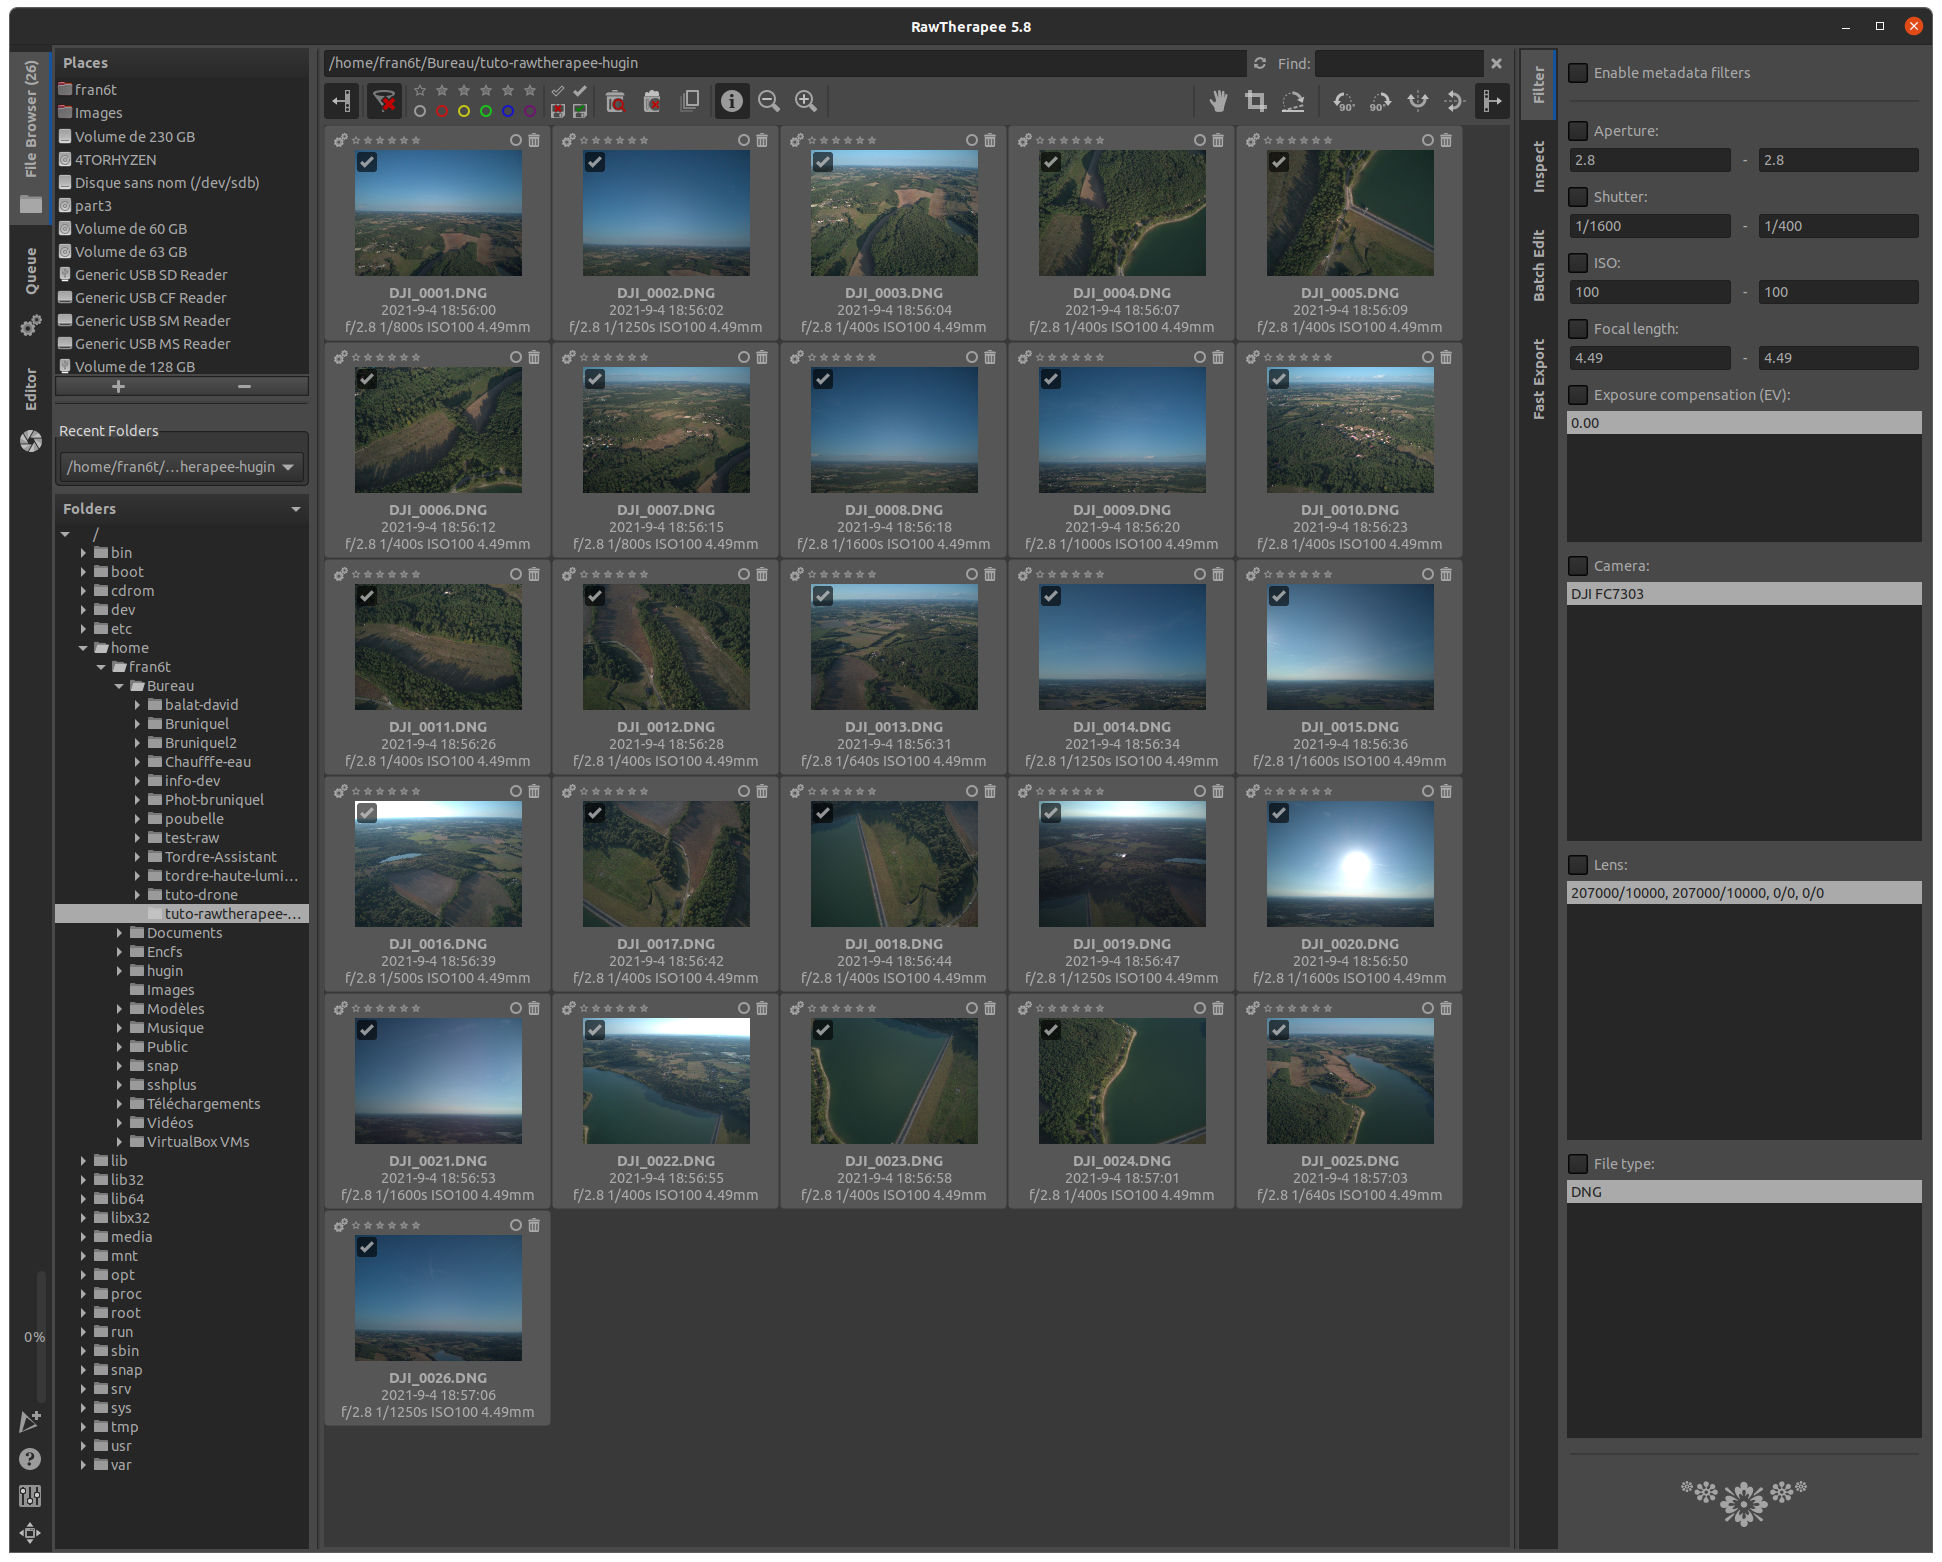
A small check mark must be placed at the top left of each thumbnail to indicate that there is a filter in progress
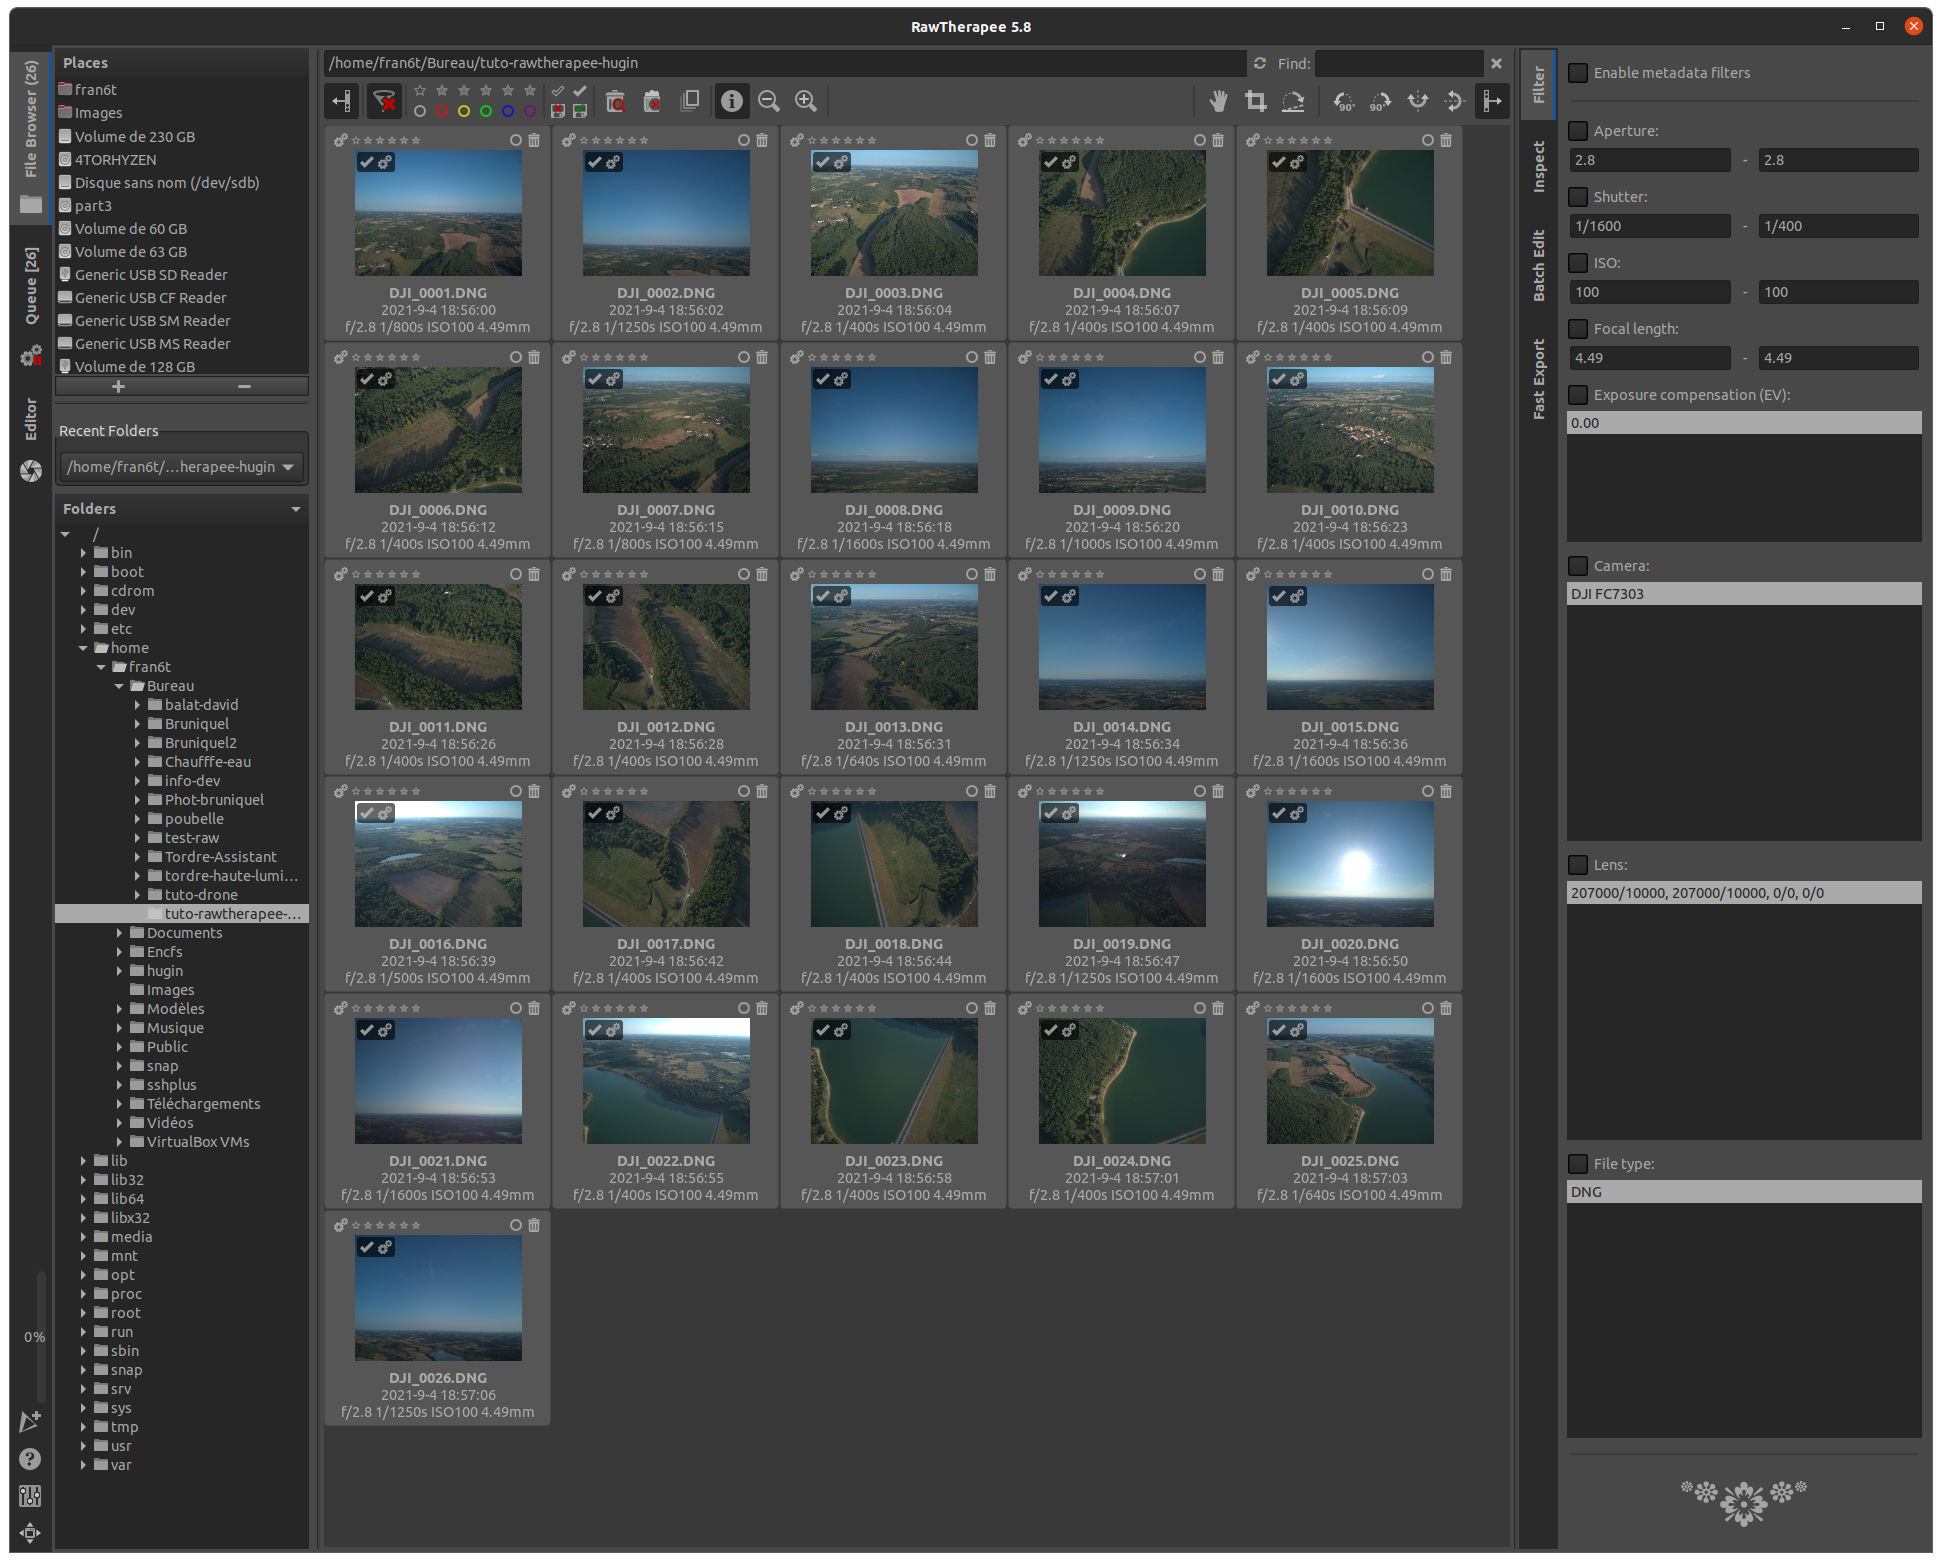
Now always with the right click we add all this to the processing queue you should see a double cogwheel on the thumbnails
"Put to queue"
We make sure to have "Best quility" and compression at 100
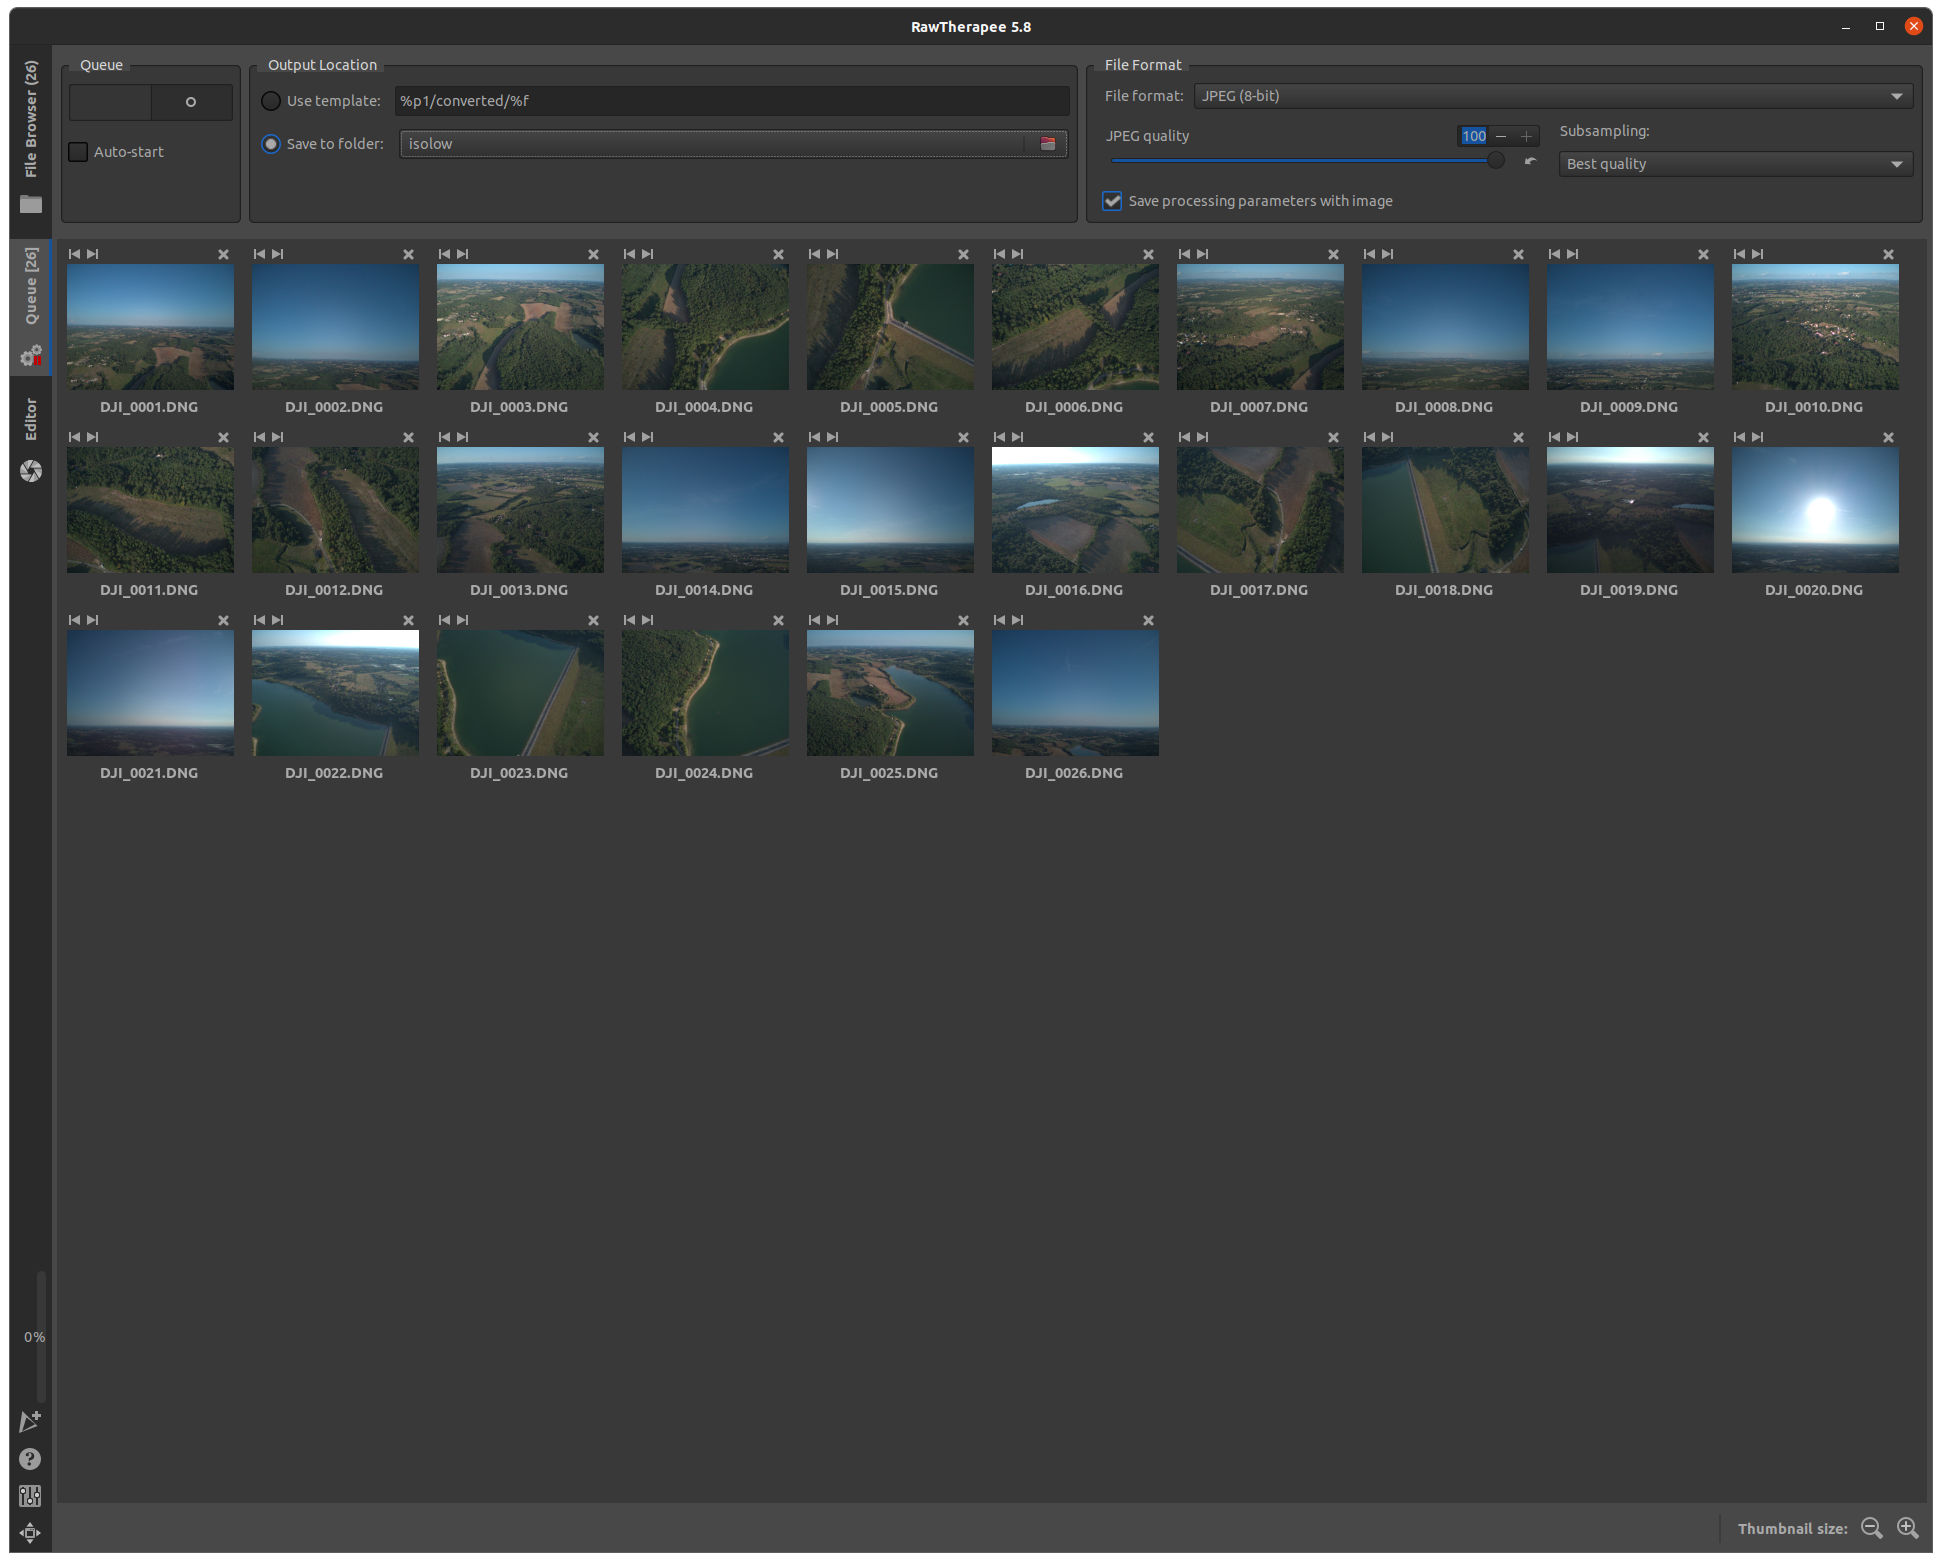
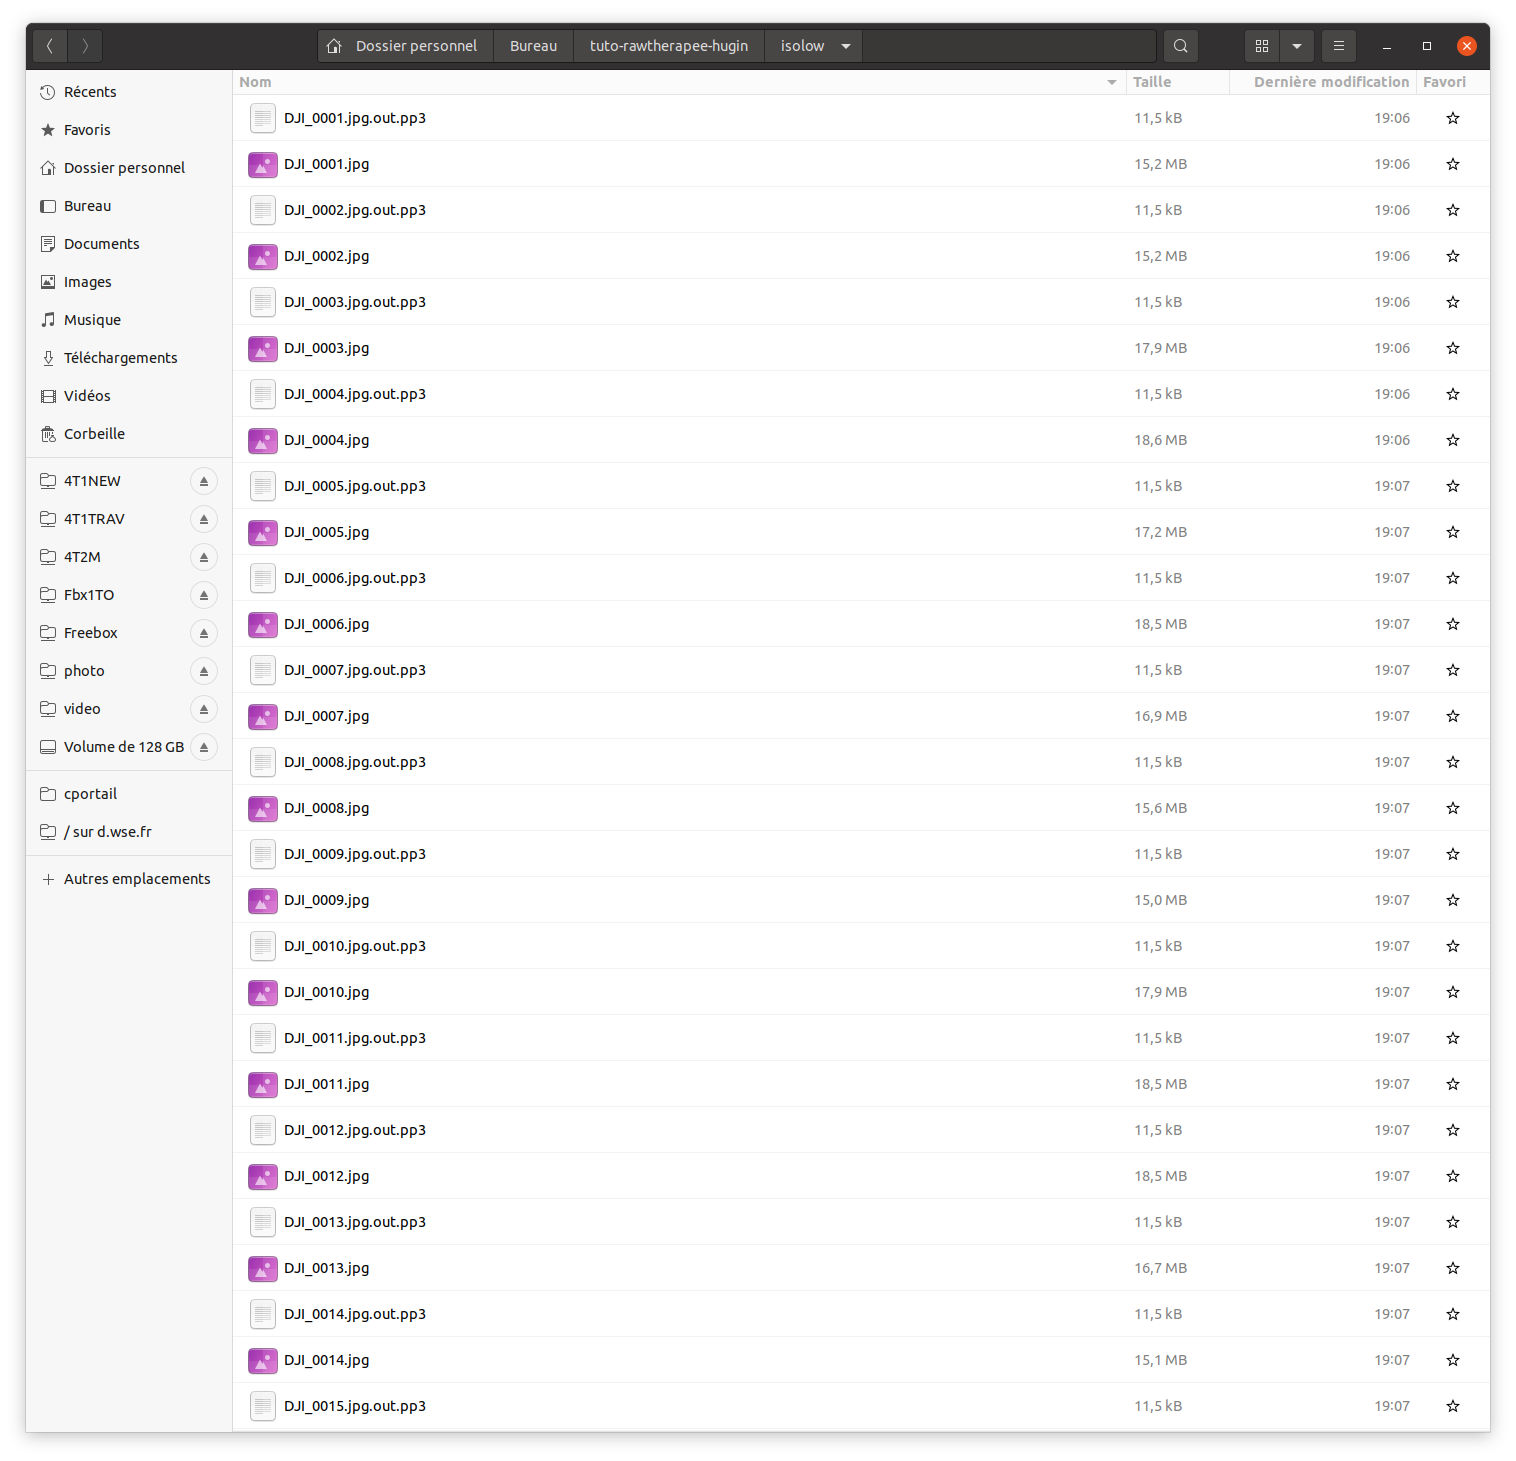
We now have 26 files in jpg format of 4000x3000 pixels most of the images are in the 11MB
We will now use Hugin to perform the assembly and creation of the sphere.
Hugin has 3 interfaces "Simple", "Advanced" and "Expert"
We will first use "Expert" then secondly "Simple"
Before launching Hugin you have to set up a script to do a pre-processing and especially to ensure that the positioning of the .jpg files is correct.
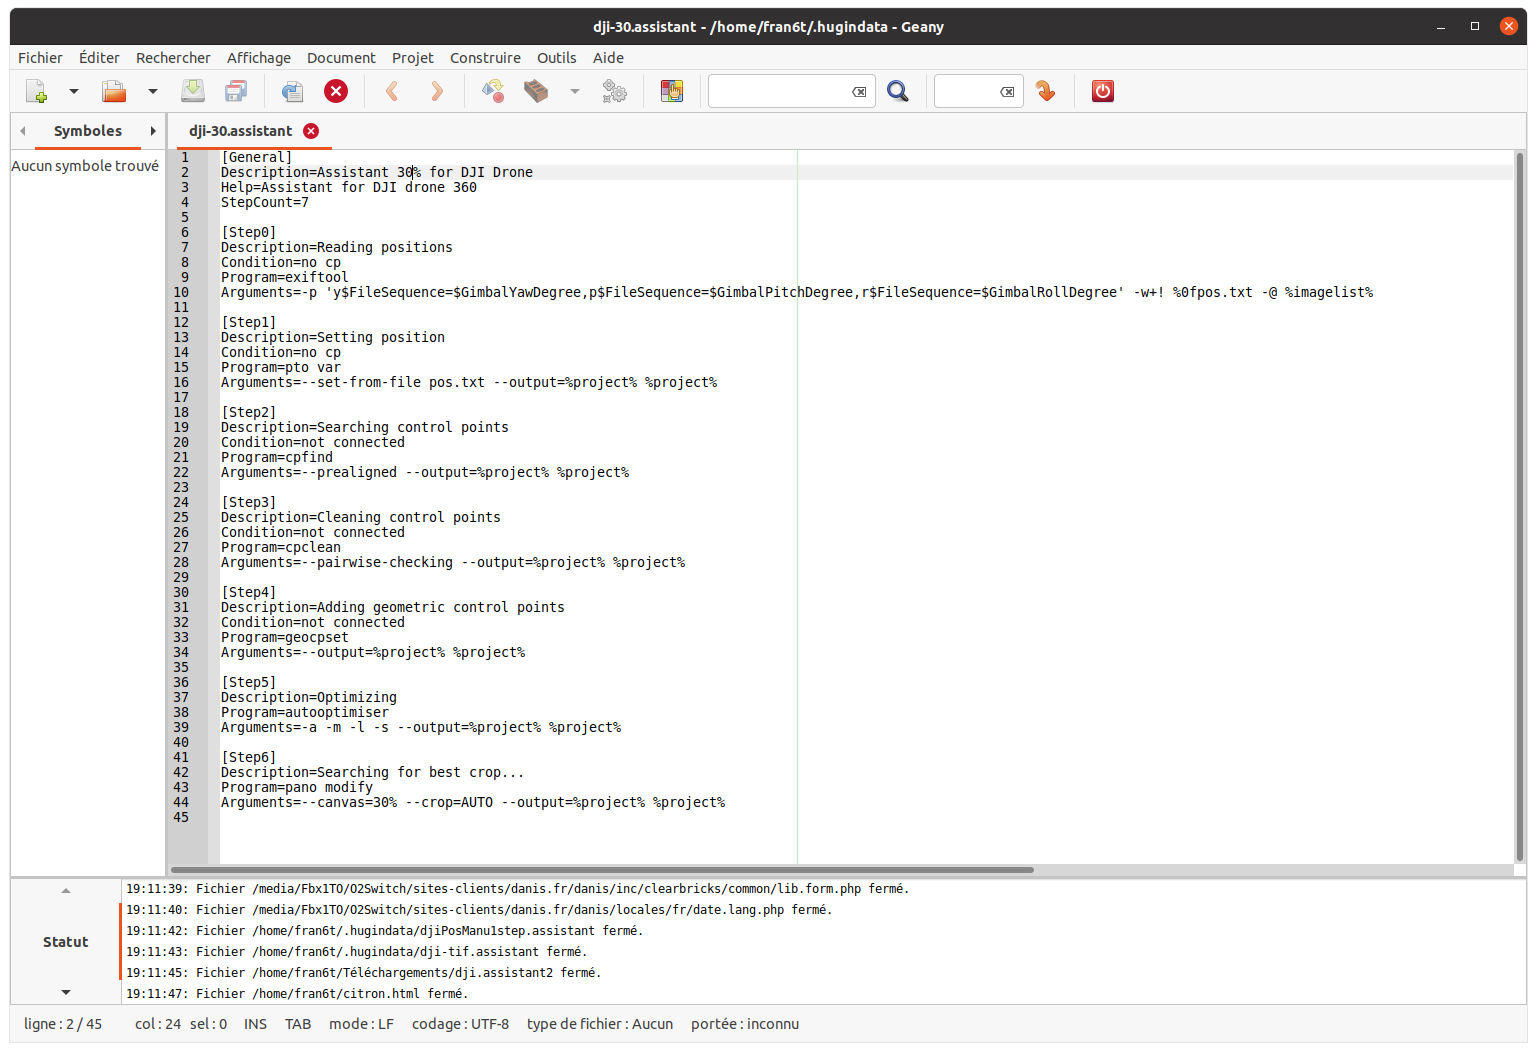
On the Dji Mini air 2 the exif data allowing to know the orientation of the camera at the time of the shooting are contained in the "Gimbal ..." Tags
The DJI_assistant file is available here dji-30.assistant
Many thanks to T. Modes (Thomas) sur le groupe de discution Hugin-ptx for debugging me and especially providing this dji_assistant script
At the end of the script there is a "Crop" parameter I did several tests and I retained 30%
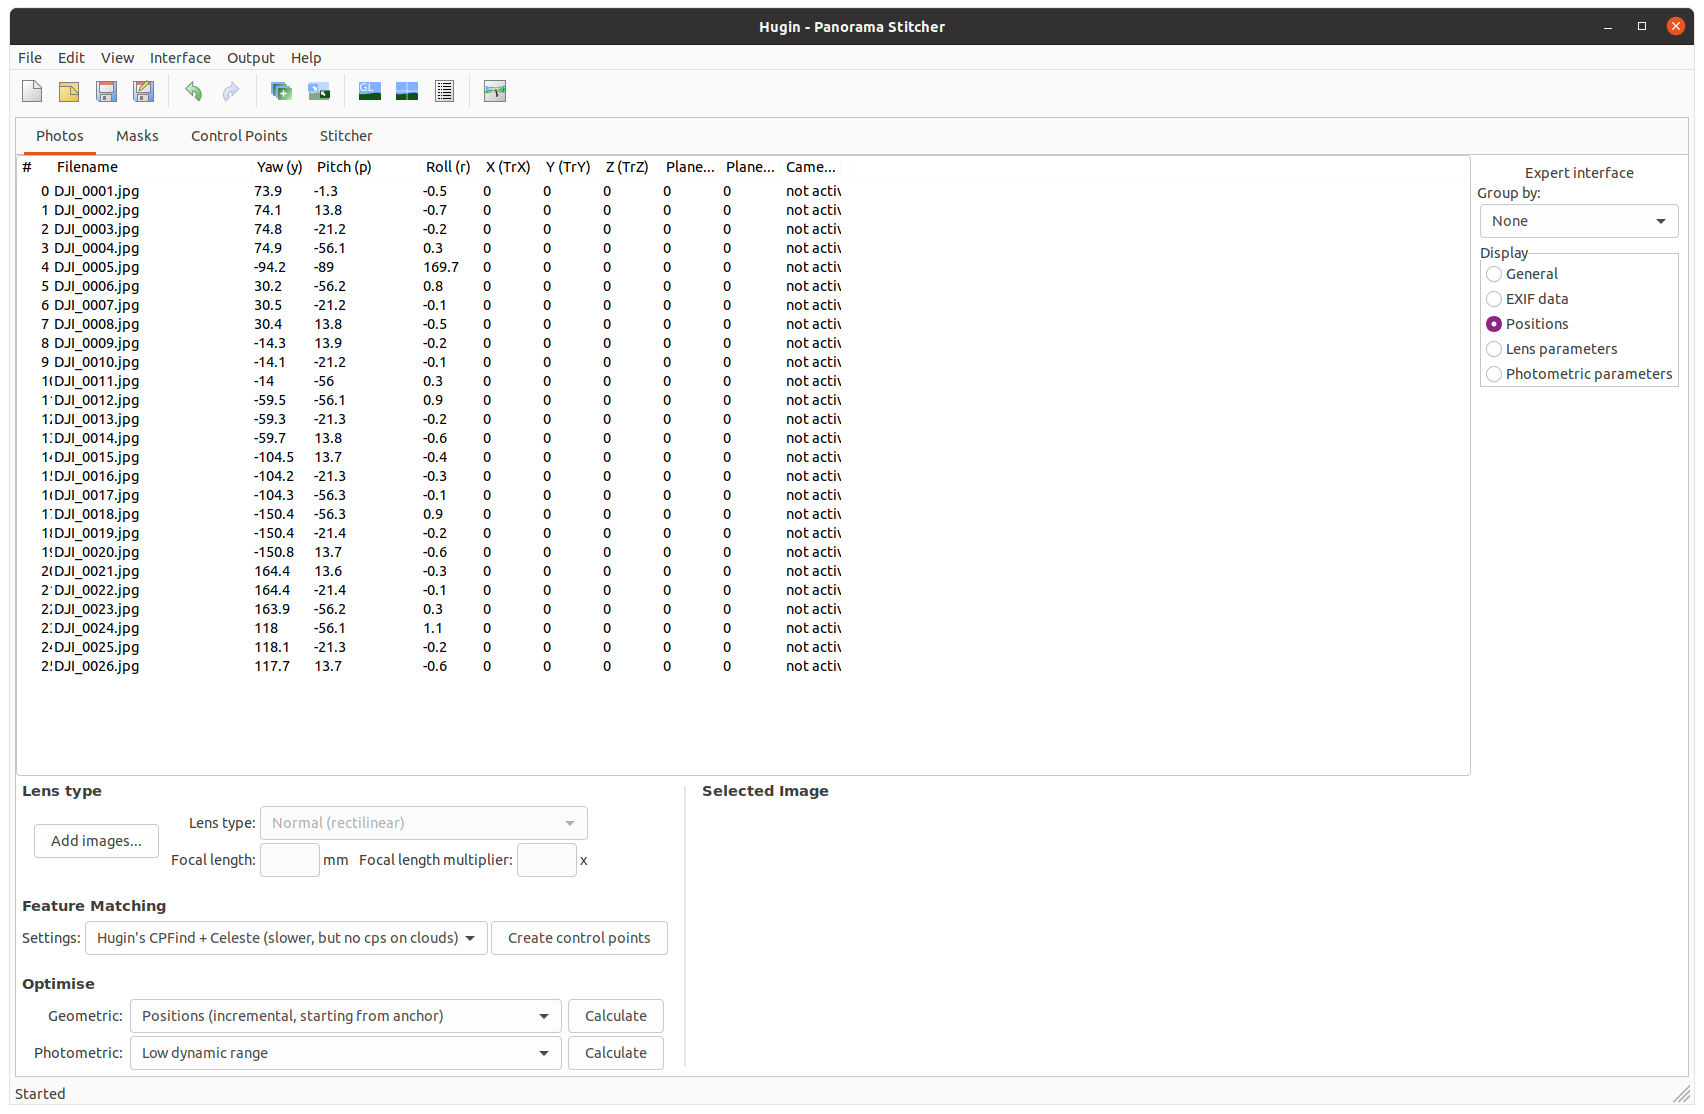
So let's open Hugin then go to the "Expert" interface
We add the 26 .jpg files with the right click "Add individual images ..."
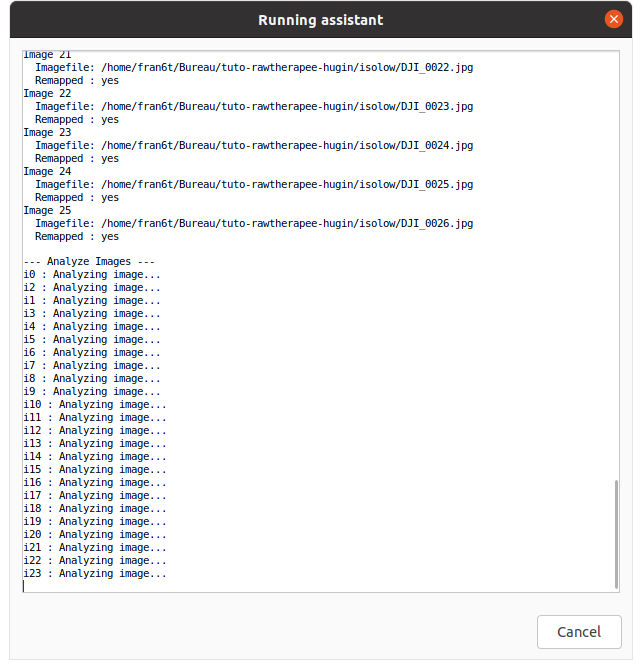
Then from the menu we will launch the dji assistant script "Edit" -> "User defined assistant" -> "Assistant 30% for DJI Drone"

The following popup opens and Hugin executes all the commands in the DJI_Assistant file
Now that the popup is closed, we check by clicking on "Position" in the "Display" part that the "Roll" columns is filled in
We can then switch to "Simple" interface mode
We can see that the assembly is correct at the top right we have the mention:
Images are connected by 1855 control points. Mean error after optimization 1.8 pixel, max 8.2%%%
The figures 1.8 pixel and 8.2 indicate the correlation between the different points the idea and to have them as low as possible, for our sphere I consider that it is correct there is a small shift on the horizon on the left but too bad it is due to the bad original conditions of the photos (burnt sky)
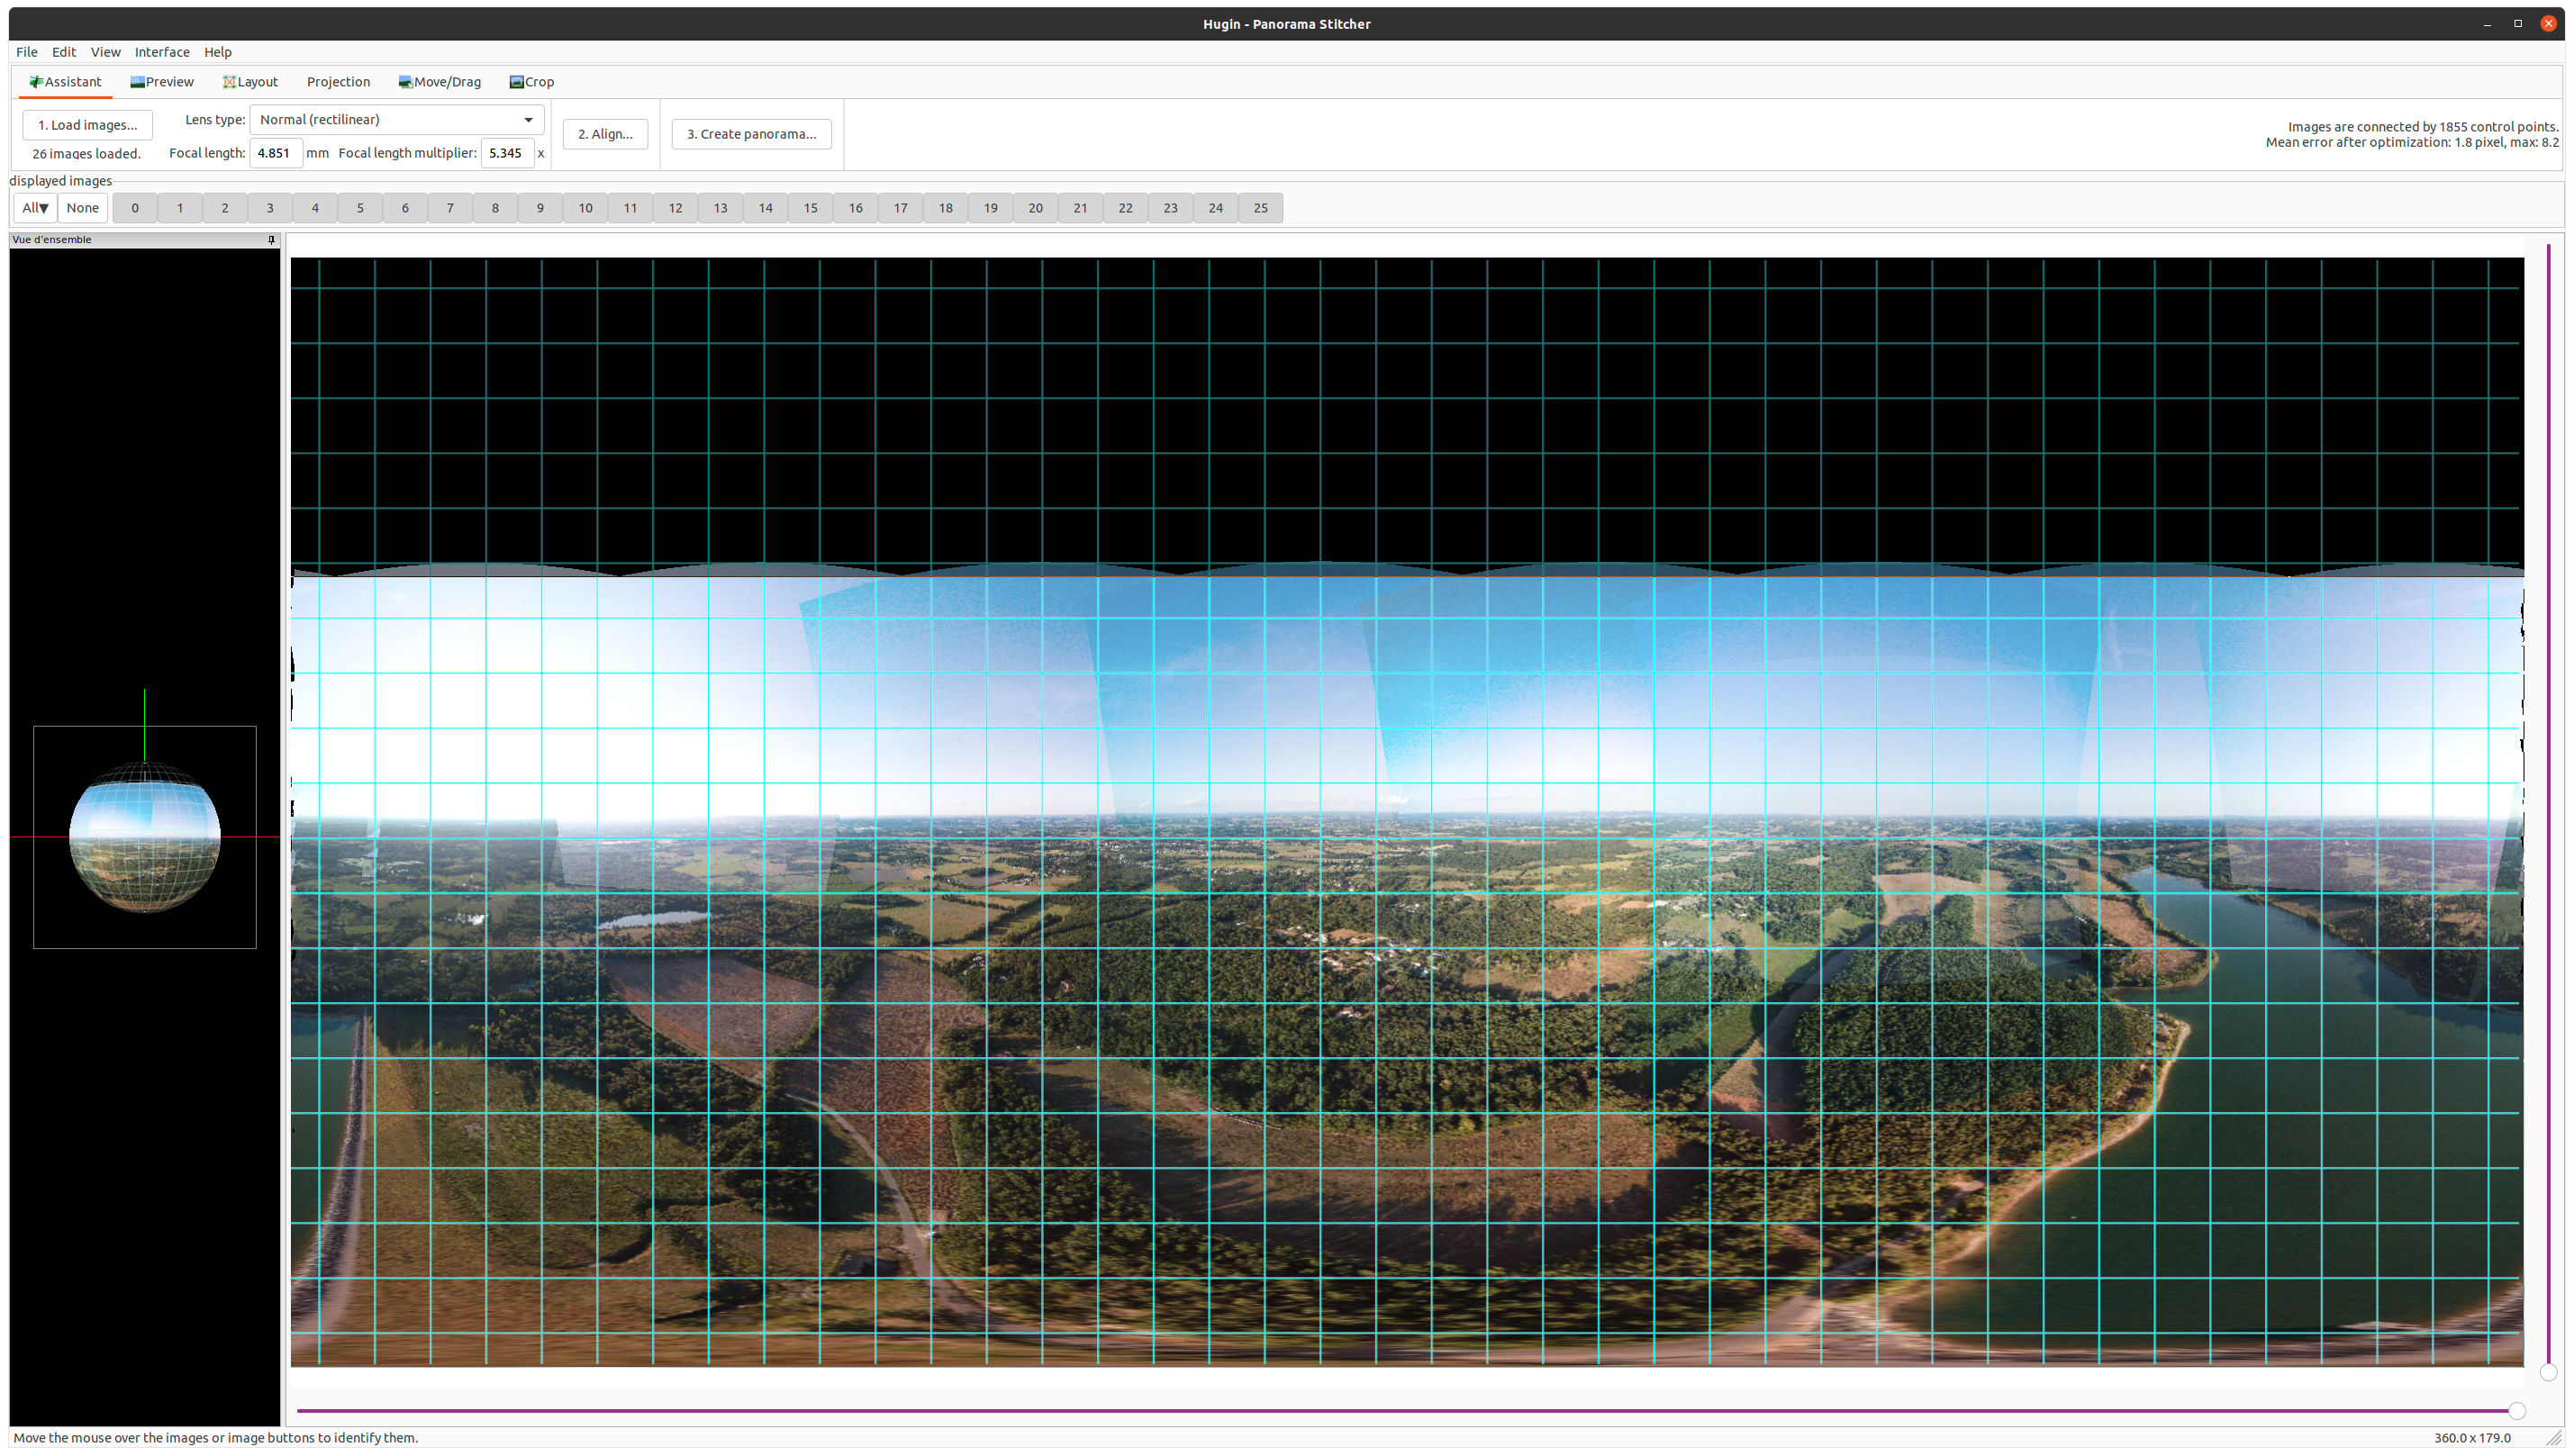
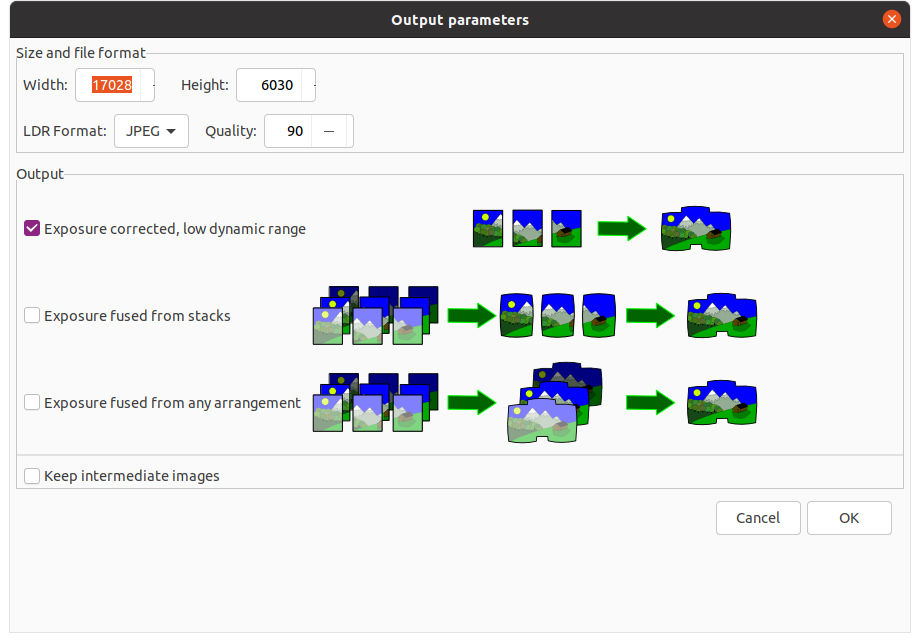
We are ready to generate the final image which can be used as a basis for ExhibMyDrone for display We can see the size will be 17028x6030 pixel I check only "Exposure corrected, low dynamic range"
It does a lot of manipulation, but the result is there I find. The fact of using the Exif positioning information then allows ExhibMyDrone to be able to have a point of interest placed on the sphere, thus making it possible to directly see the image in its maximum resolution.
I still have a lot of things to do on ExhibMyDrone to make it perfect from my point of view. I do not master Hugin well, I have done a lot of tests and for now I am sticking to the procedure that I have just described. %%%
I am exploring ways to improve the development of raw via Dark Table, to make it possible to publish the maximum size sphere by cutting it into multiple tiles in order to allow those who do not have the optical fiber to benefit of high resolution.
For now, I have chosen to publish my spheres in two formats, the one obtained directly by the Dji Fly application and the 2000x1500 jpg and the version I have just described for those who have 4k screens and fiber optics. I give you the link to the two spheres.