BlueSCSI 1.1 DB25 Assembly - erichelgeson/BlueSCSI GitHub Wiki
[!IMPORTANT] If you are looking for BlueSCSI v2 documentation please go here: https://github.com/BlueSCSI/BlueSCSI-v2/wiki
1.1 DB25 Assembly - Work In Progress
Before you start
Read through all instructions before starting.
Read through all instructions before starting.
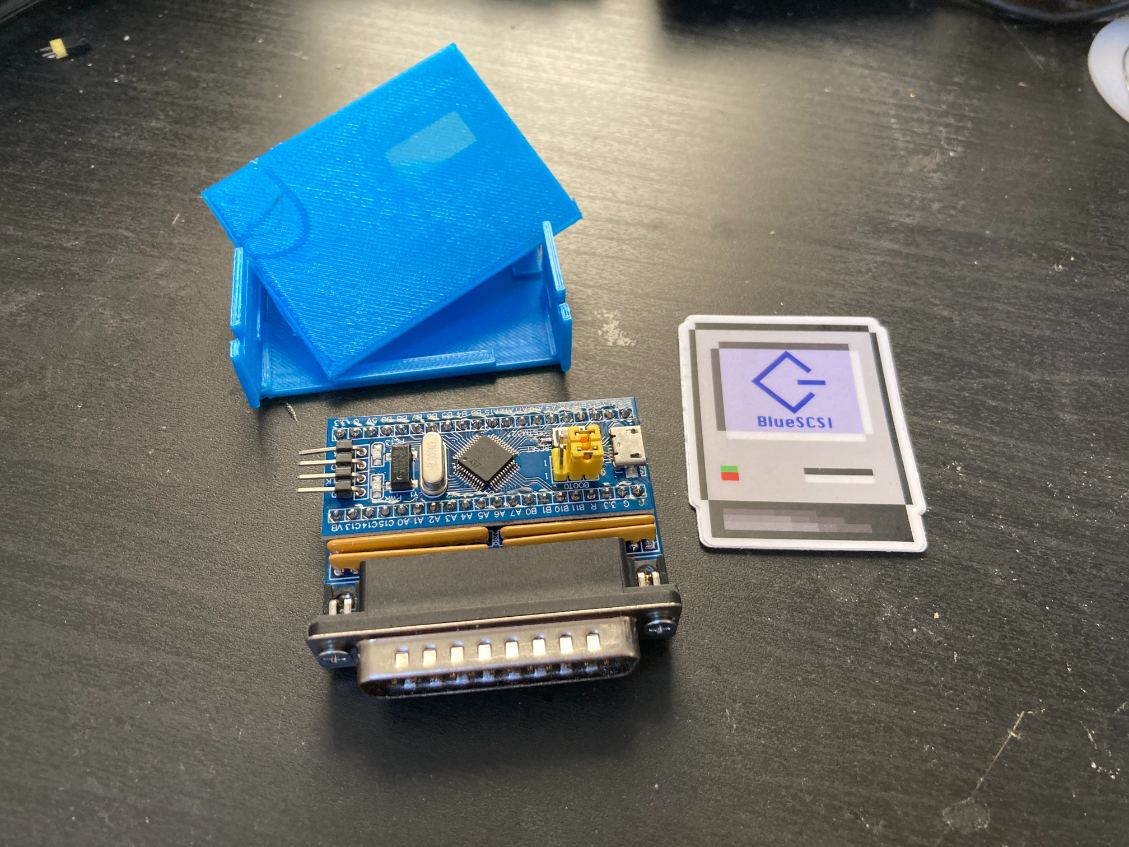
Verify you have all the components
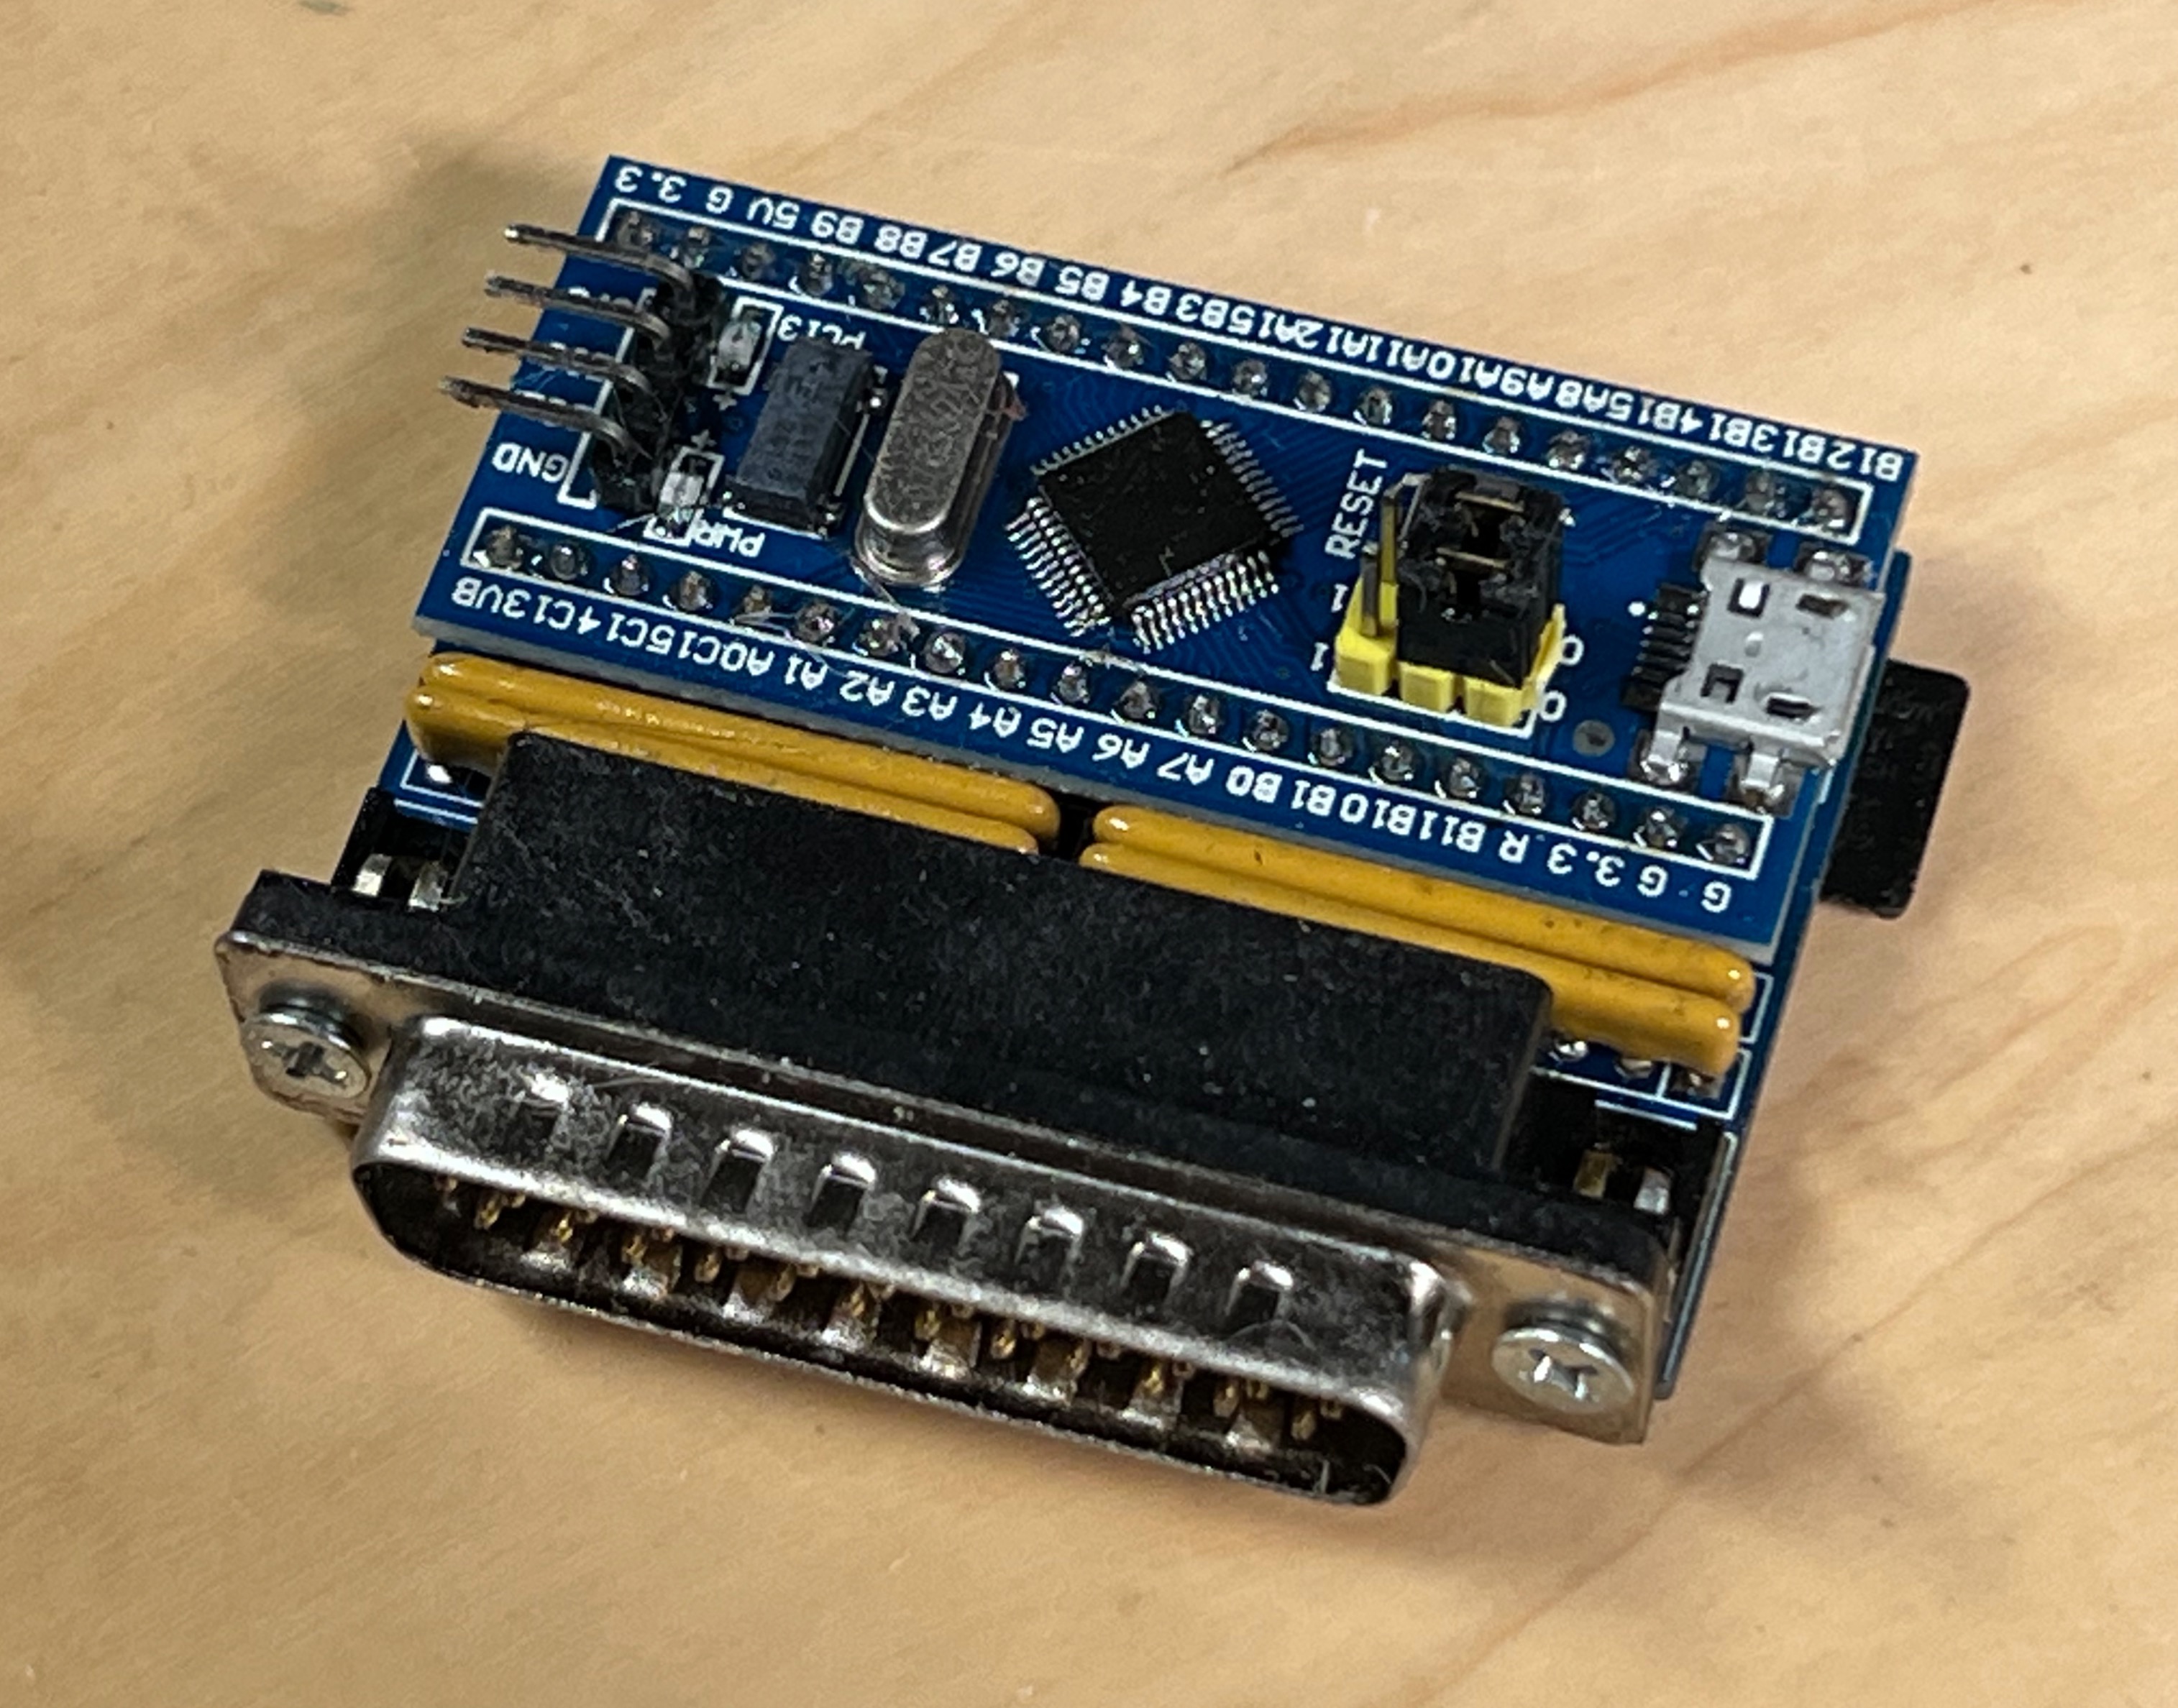
- Preprogrammed STM32 BluePill with 2x 20 pin headers
- BlueSCSI 1.1 DB25 PCB
- PCB Mount DB25 connector
- 1x Diode
- 2x 220ohm Resistor Networks
- 2x 330ohm Resistor Networks
- MicroSD Socket
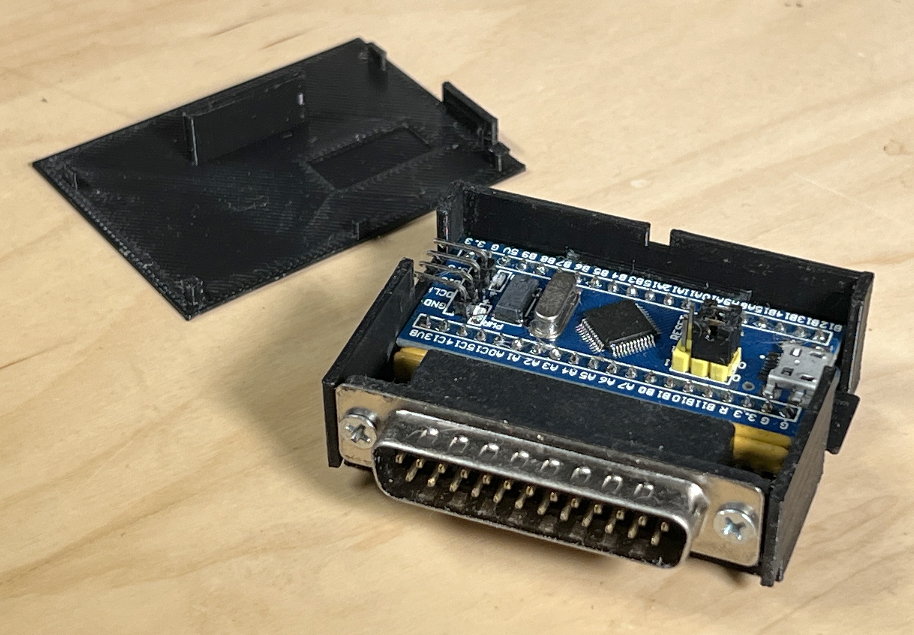
- (Optional) - 3d printed Case
Assembly videos
Branchus Creations - Building and setting up an external DB25 BlueSCSI (22:59)
Building
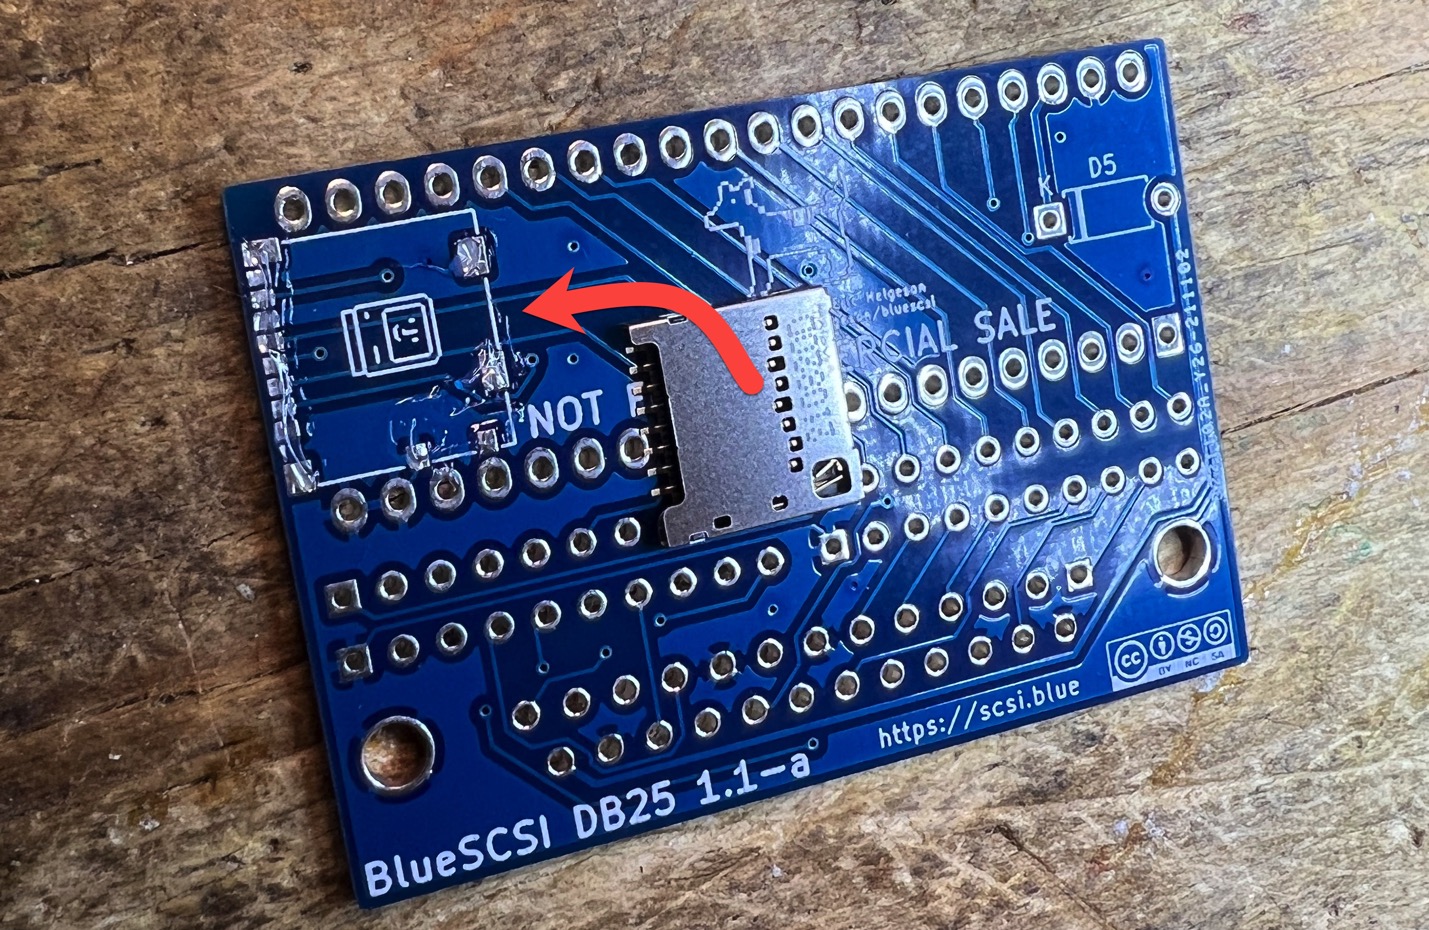
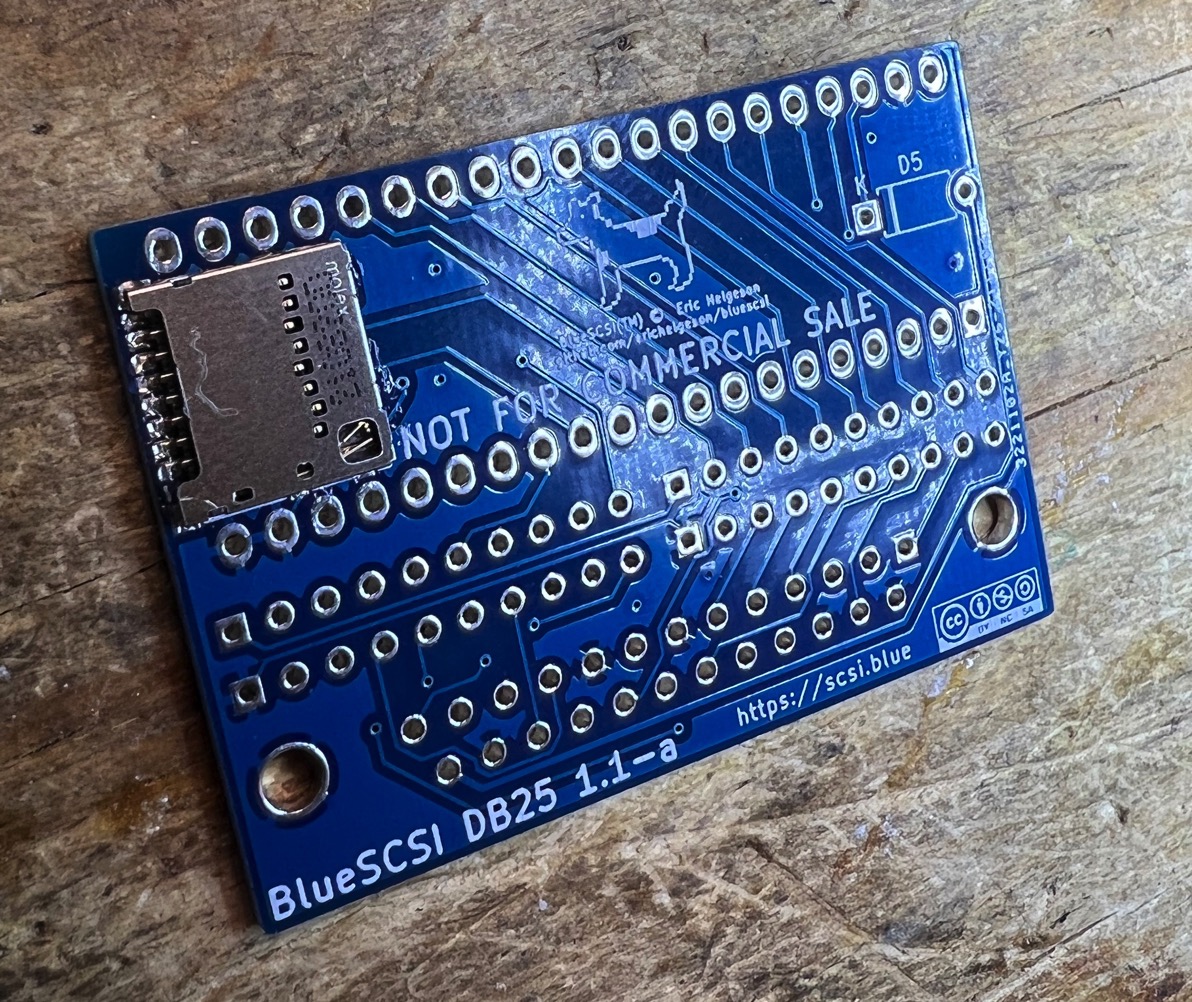
- Solder the surface mount SD Card holder onto the bottom of the board. Use the Drag Solder technique
- Once on, check continuity of all connections. Fixing this after the BluePill is on will be difficult.
- Ensure the SD card fits and you dont have too much solder on the sides or contacts - if you do, you can use solder wick to clean some off
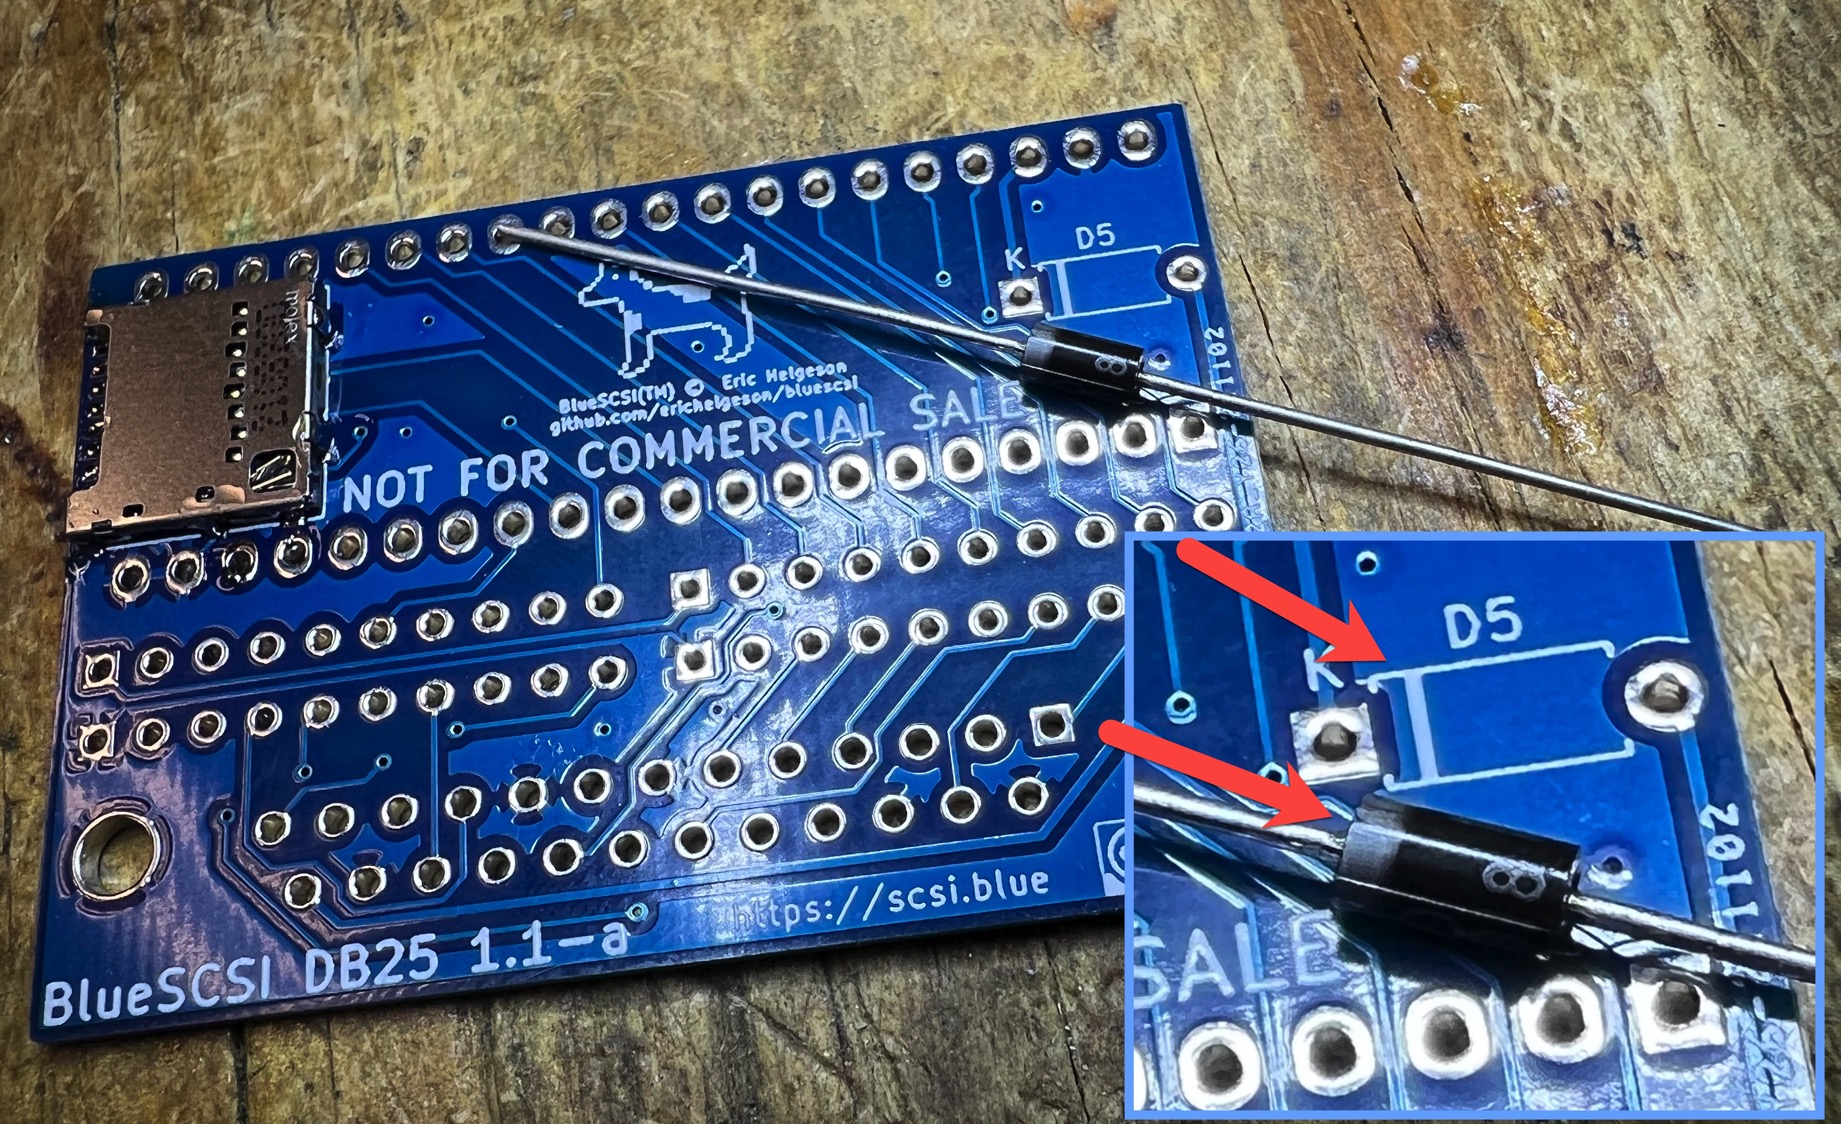
- Solder the diode to the bottom of the board. Take note of the orientation and ensure it is as flush with the PCB as possible. Trim the excess legs when finished.
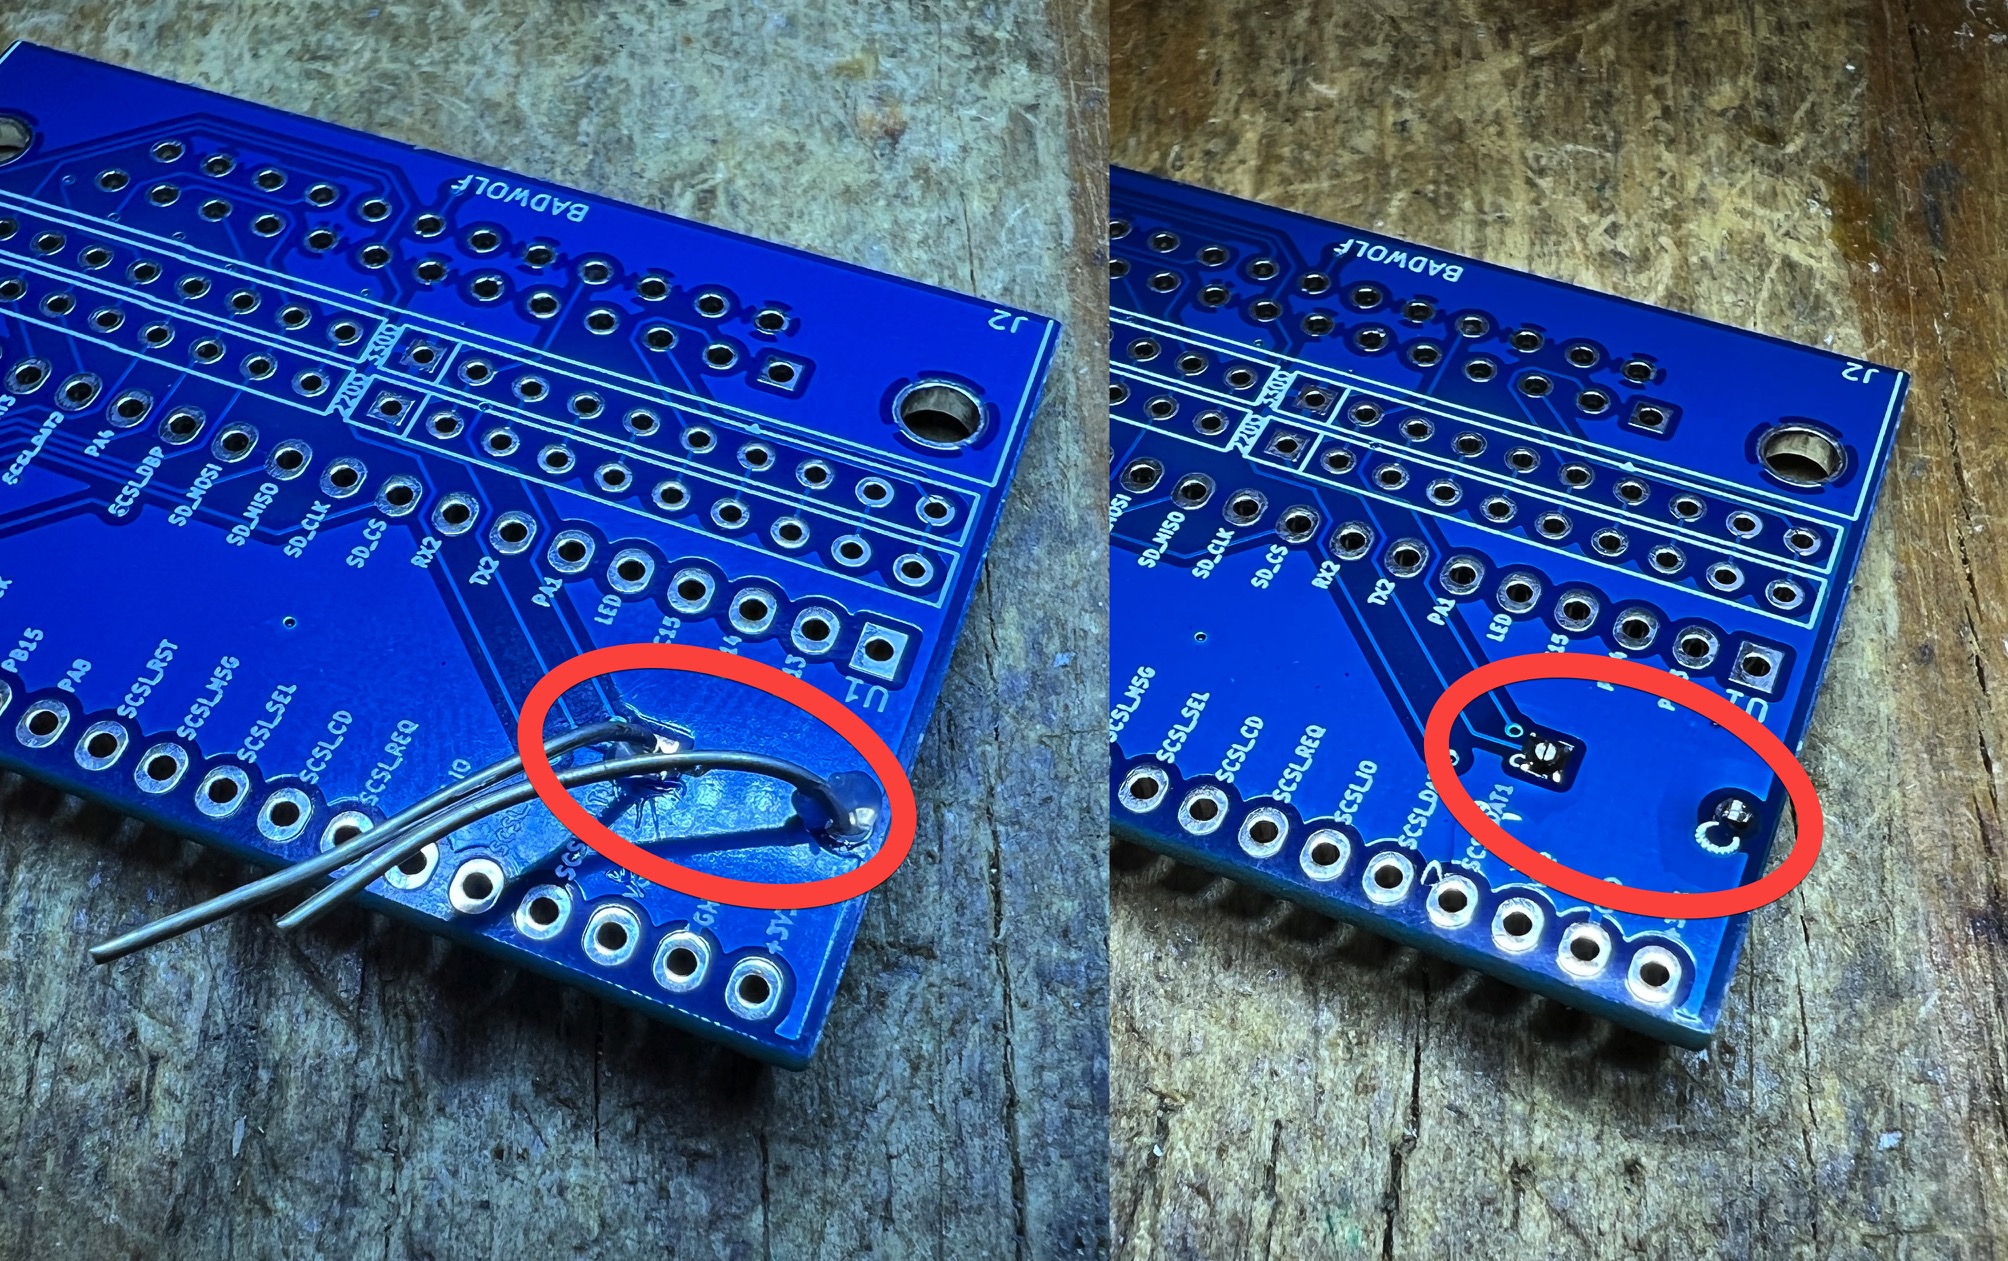
- Solder on the resistor nets, take note of the orientation, and the location of the 220's and 330's. Use the guide below for help. The dot on the resistor net should be on the left, signifying the first pin. The dot and text on the resistor net should be facing toward where the BluePill will be installed.
- Note: The resistor net components may have a slightly different number printed on them. For example, the 300 ohm resistor net may have 331 printed on it and the 220 ohm resistor net may have 221 printed on the part.

Note: Some assemblers have preferred to solder the BluePill's yellow headers onto the board before soldering on the resistor nets. This may reduce the chance of installing the resistor nets in a way where they would block the installation of the BluePill later on.
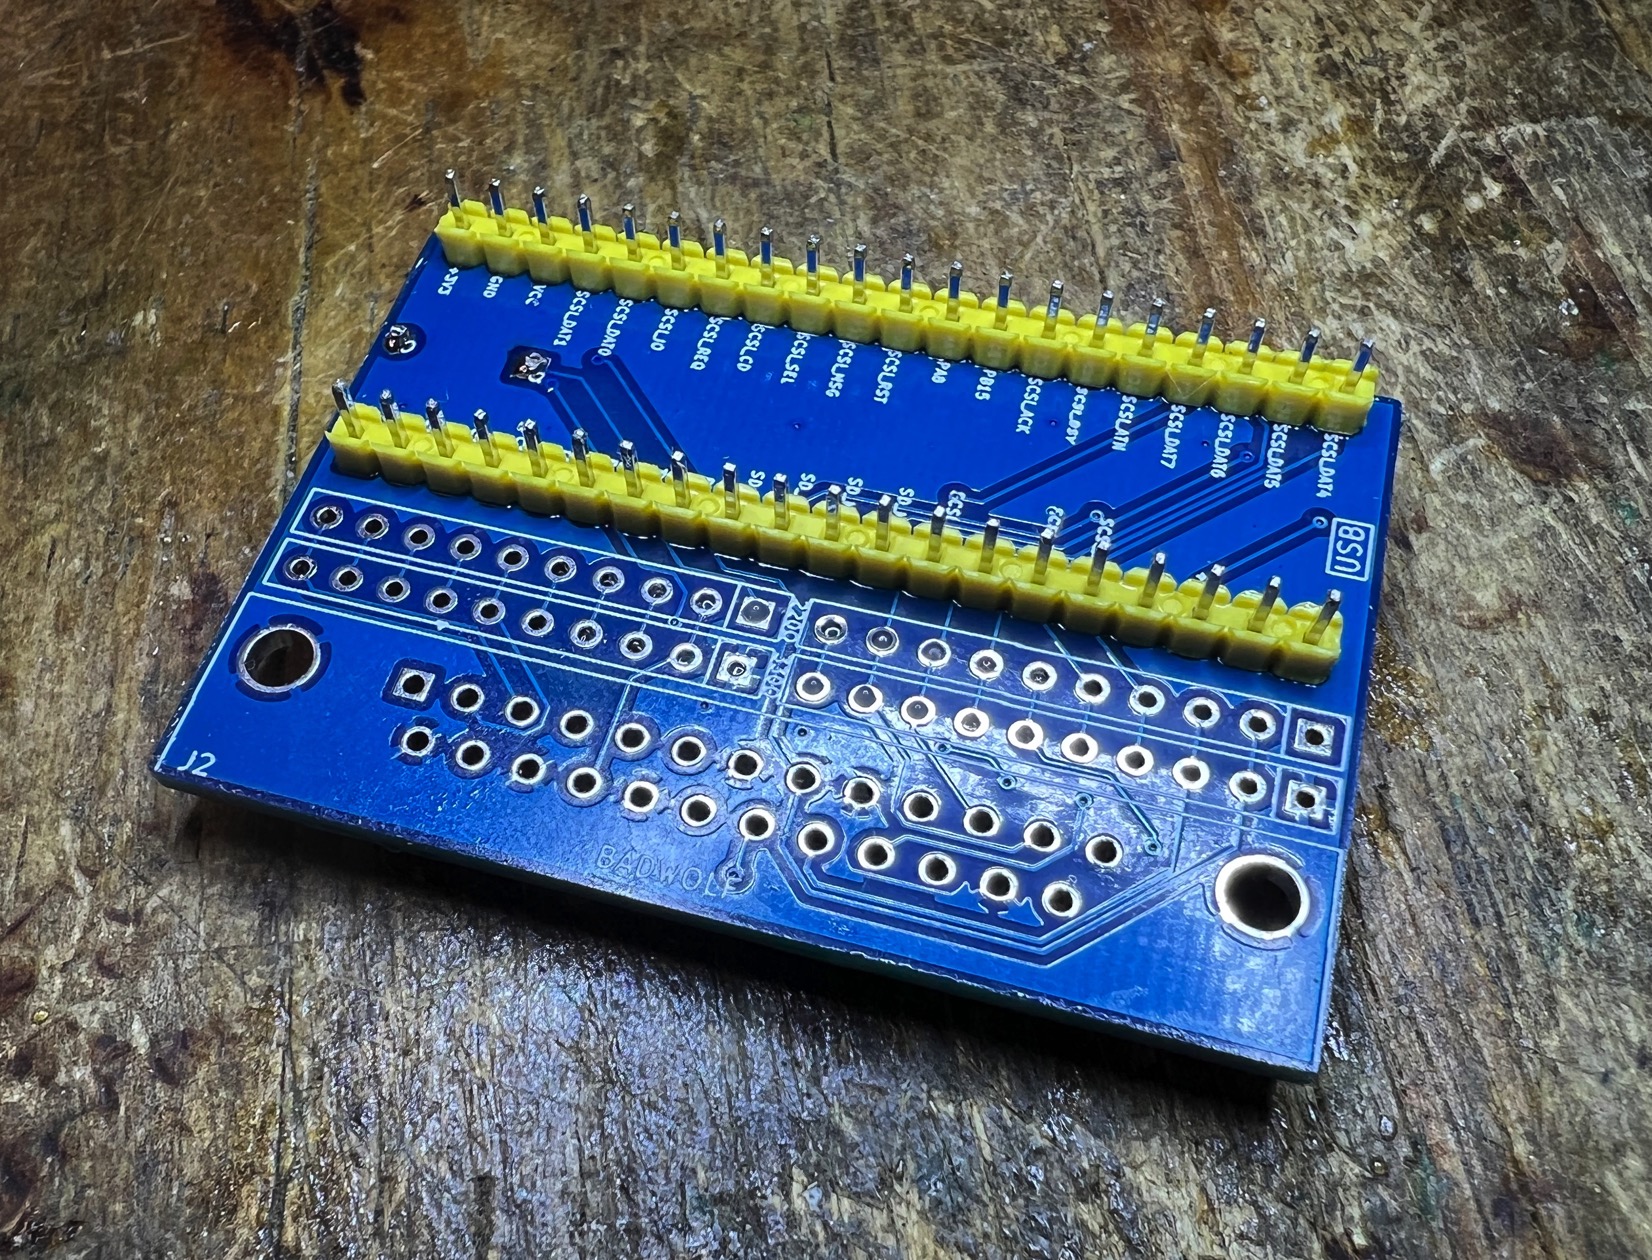
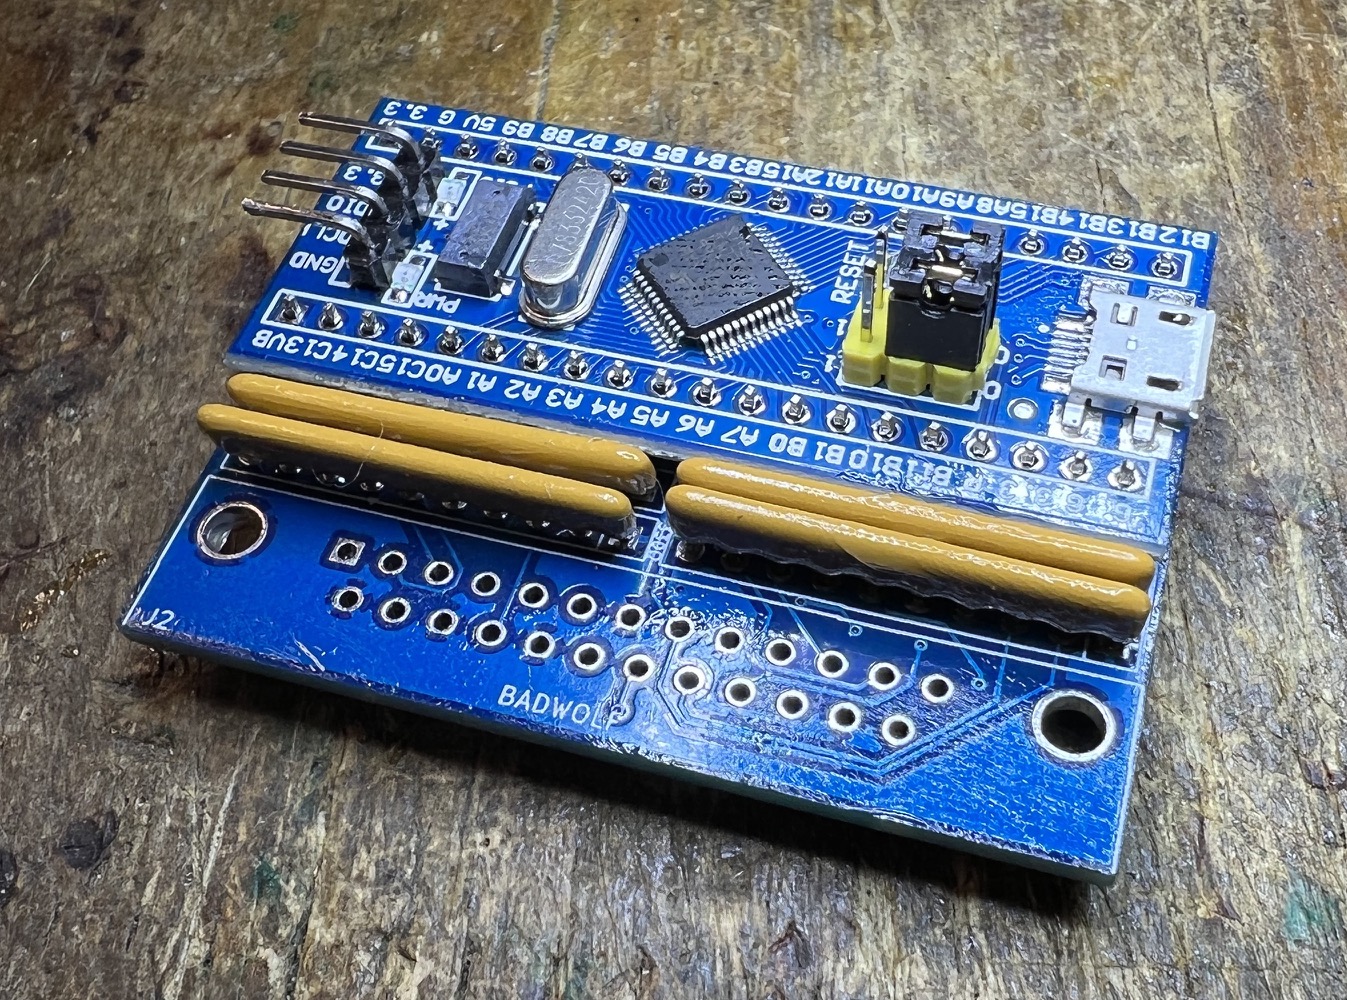
- Solder on the BluePill
- If you are putting this in a case and don't want to trim the extra length of the two 20 pin headers, you can put the long side of the headers up. But it's recommended you put the long side down and trim the extra legs
- Ensure the orientation of the BluePill. The USB port will be above the SD slot.
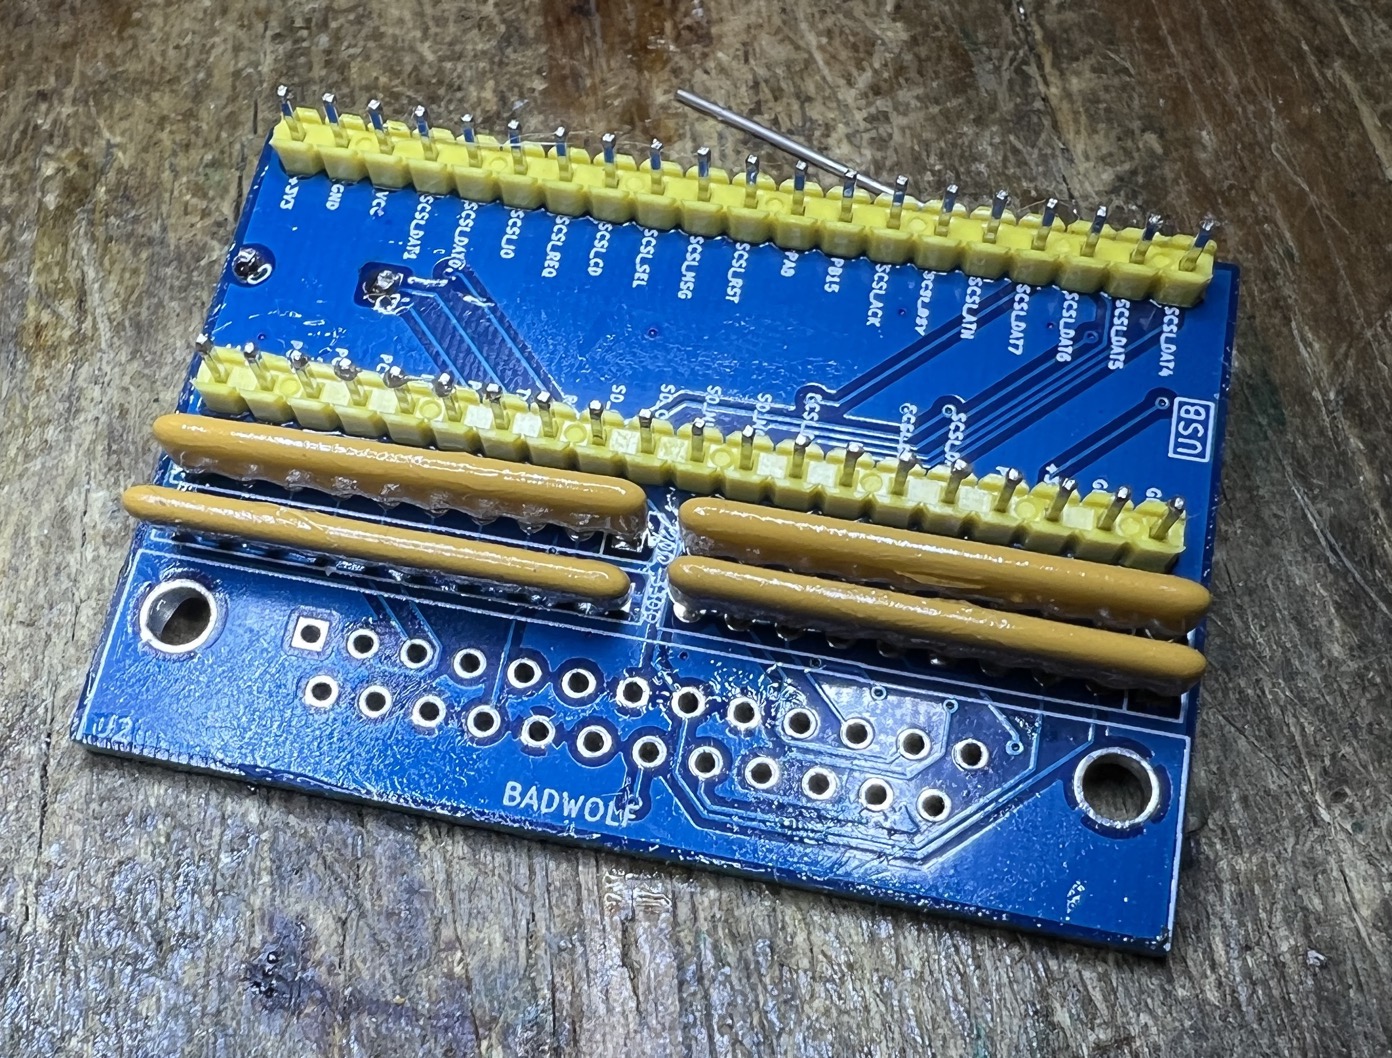
- Once you solder on the headers on the bottom of the board, ensure they're not shorting out with the SD slot.
- Recommended: Cut the header legs sticking out of the bottom of the BlueSCSI so it will fit in a case.
- Solder on the DB25 connection
- Inspect your work
- Double check for shorted/bridged pins, spots missing solder, etc.
- Put it in the 3d printed case
- Configure it
- Test it!
- Plug it into your favorite Mac, run a benchmark with SCSI Director Pro, play some Lemmings, write a document in ClarisWorks, enjoy!
Built