Drive Selection - elementary/installer GitHub Wiki
We need to know where the install is going.
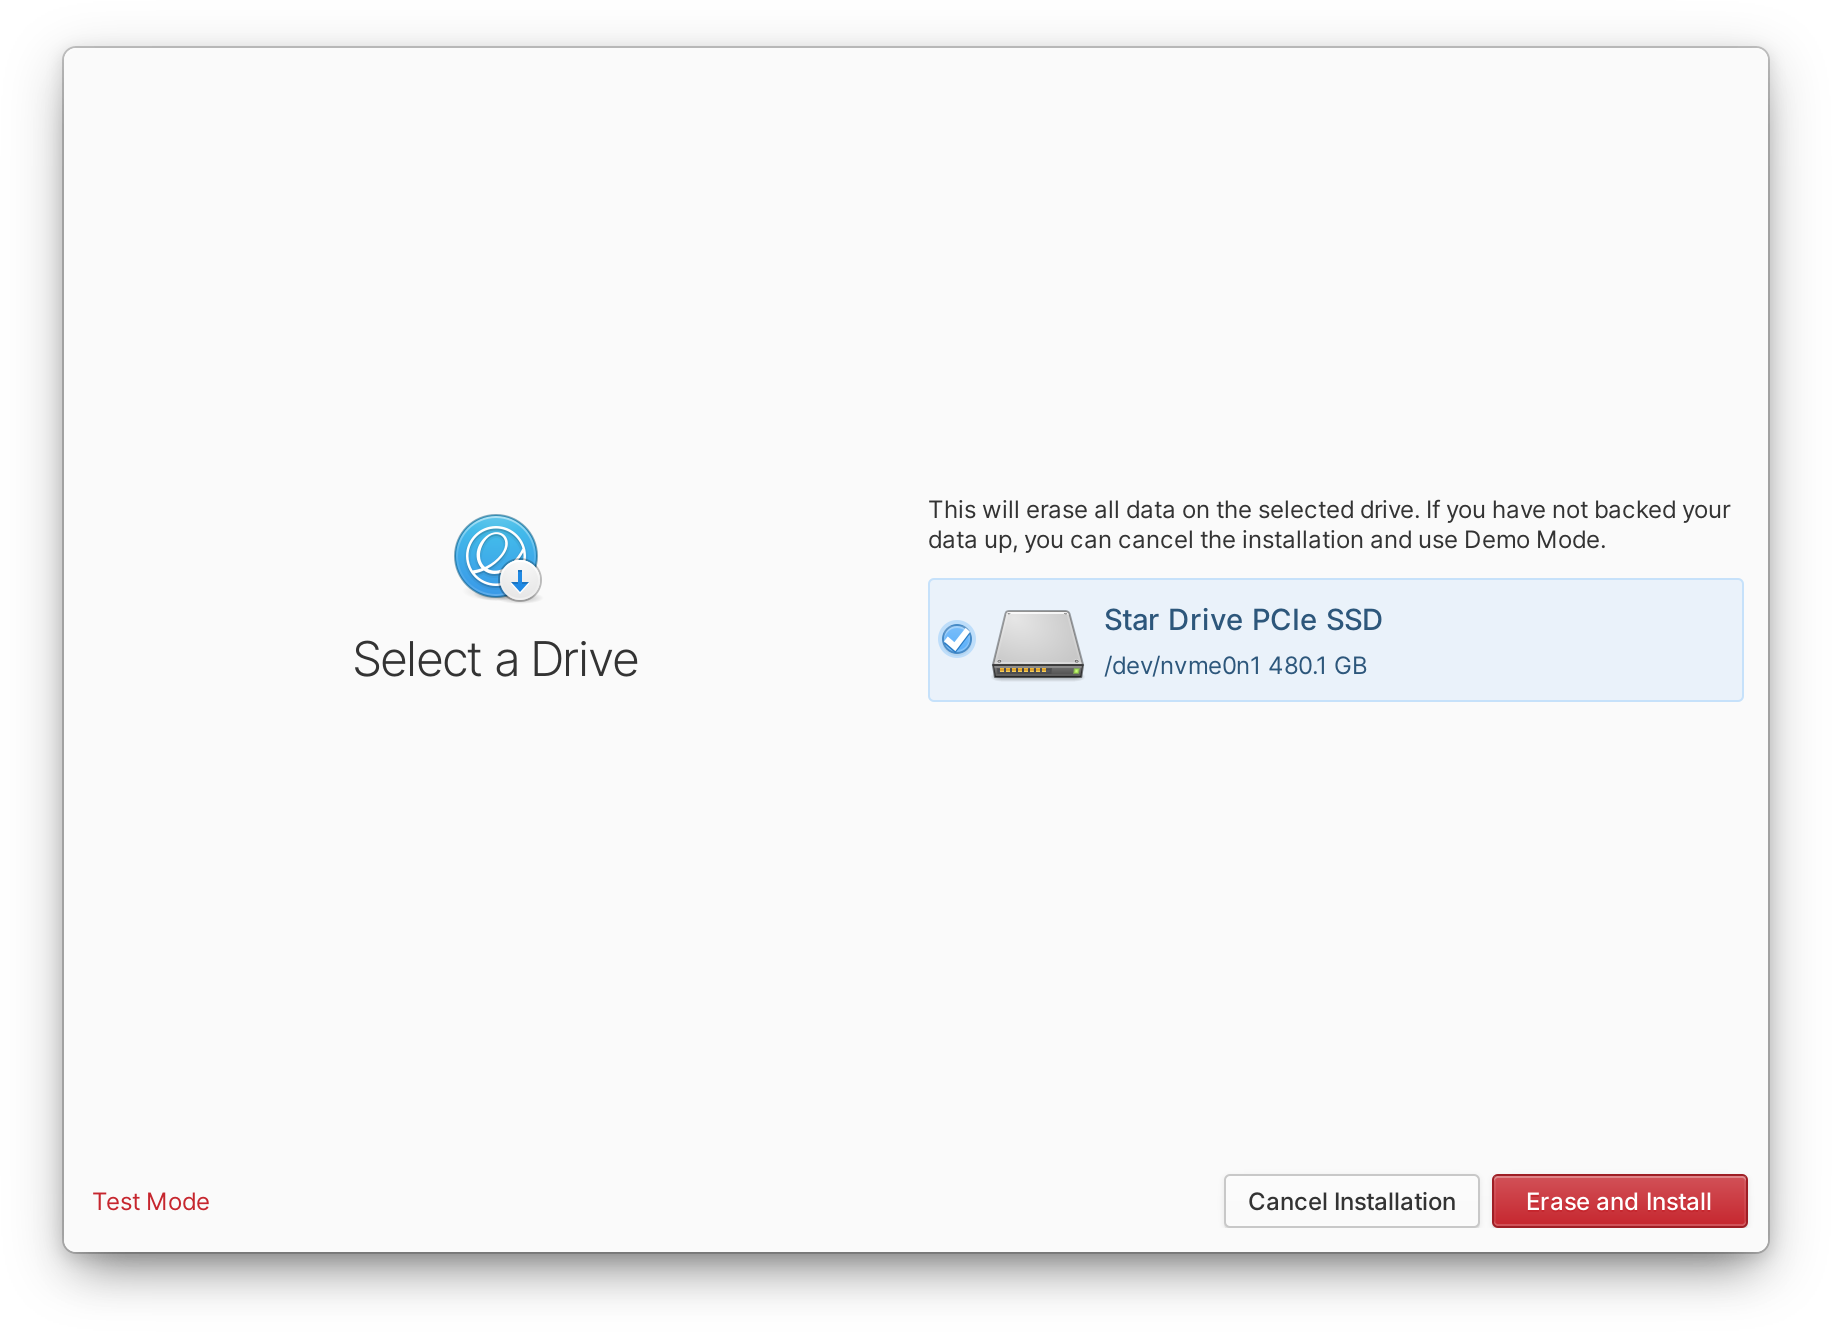
For an mvp, we'll present a list of detected drives for the user to perform a clean install. This will initially only support erasing all data from a single drive, and will not support dual booting, custom partitioning, etc.
We should display each physical drive to the user, and if possible, use iconography according to the device type (external, SD card, HDD, SSD, etc.). The drives should be labeled with a human-readable name if present, otherwise some other unique identifier like a serial number.
We should also display the mount point and detected size of the device to help with disambiguation, recall, and association.
Invalid drives—i.e., the boot drive and drives that are too small for the install—should still be displayed (so it doesn't look like the device or installer is not detecting it), but should be disabled and sorted to the end of the list.
Custom
A "Customize Partitions…" button should be in the incidental button position that takes the user to the Custom Partitioning view.
Order Reasoning
We spent a lot of time playing with different orders for the Encryption and Drive Selection views. We treat Drive Selection as the point of no return because it gives us:
-
Clear association between the non-reversible destructive action and the drive or partitions being "destroyed." We leave this decision and destructive action on the disk view.
This is important because we don't want the user to feel like they have to go backwards to recall which drive or data is going to be erased, but we also didn't want to add yet another view in the mix (i.e. a summary) since the whole process is relatively fast and configuration-free.
-
Consistent placement of the non-reversible destructive action, whether or not the user is encrypting. We always show it on the last drive-related screen, whether that's the blow-away-a-disk screen, the custom screen, or—in the future—a smarter dual boot screen.
This is necessary because it simplifies the primary and secondary actions available when choosing encryption. If encryption were to be the last screen before starting the actual install, we'd have to communicate a combination of a suggested and a destructive action in one place. Since these two types of actions are styled differently, we'd have to choose between potentially making encryption itself look dangerous, or not communicating the non-reversible nature of starting the install.
Instead, putting Drive Selection last lets us encourage encryption with a suggested action and properly communicate the non-reversible nature of starting the install in two different steps. Further, it associates the non-reversible destructive action of starting the install with the drive that is being erased.
-
Explicit user action outside of the button area to continue; the destructive button is disabled until you explicitly choose a drive to blow away (or partitions to reuse), so you can never just click through and start the installation without an extra precaution.
This helps us prevent the "next, next, next, whoops I blew away my drive!" problem. We make this step dangerous and require explicit action, then don't allow going backwards after this since it's the point of no return.