Panel View Clip - ekatrukha/BigTrace GitHub Wiki
The panel under the ![]() icon specifies volumetric dataset internal and rendering parameters:
icon specifies volumetric dataset internal and rendering parameters:
View
In this sub panel you can toggle:
- show the origin of coordinates
 , where each axis is colored according to the icon (X red, Y green, Z blue). A right-handed system is used.
 - render a box
 around the original volume;
 - save
and load
current view, including current displayed brightness/color/LUT for each channel/source and all current BigTrace settings.
- interface and render settings dialog
 , described in detail below.
Render
Data
This selection box defines the way the dataset is rendered.
One can choose between "Max intensity" projection and "Volumetric" rendering.
"Volumetric" here corresponds to the "transparency rendering" or "alpha-blending" ray-casting.
Alternatively, one can switch between them using the shortcut O
Here is an example illustrating the difference of Maximum intensity vs Volumetric render:
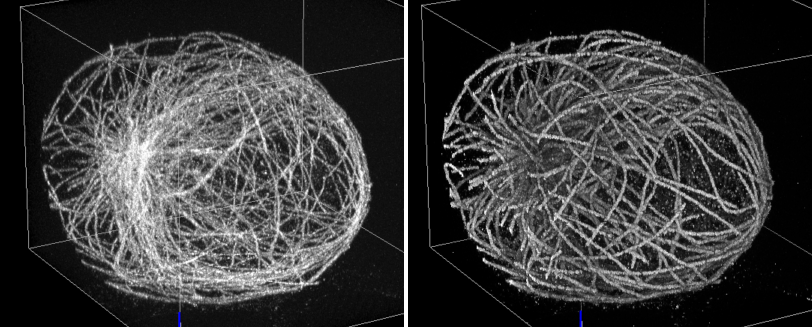
Each representation has its pros and cons, depending on the dataset.
Usually, the "volumetric" rendering can be tweaked to look better
using a separate opacity ("α range") slider in the Brightness and color (and opacity) dialog.
ROI Surface
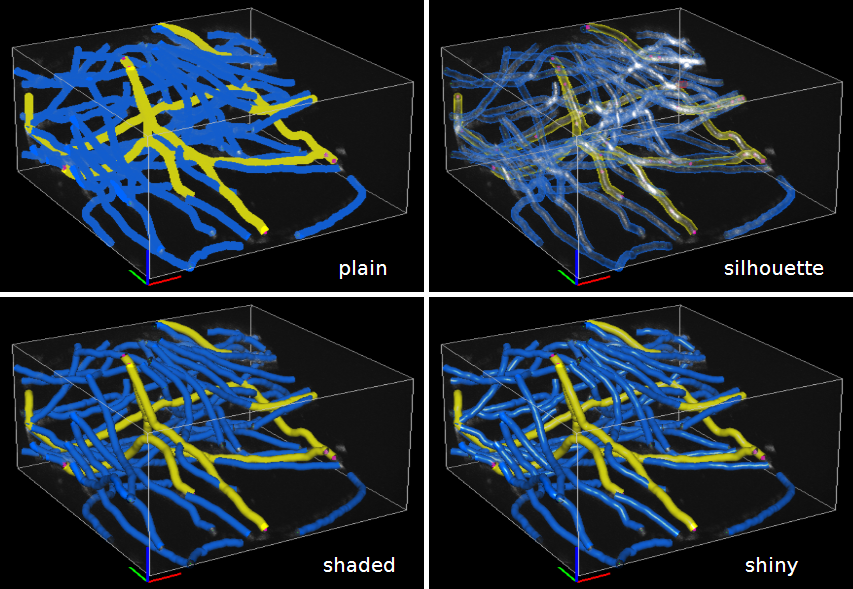
This box defines a choice of ROI's rendering in the 'Surface' mode: "plain", "silhouette", "shaded" or "shiny".
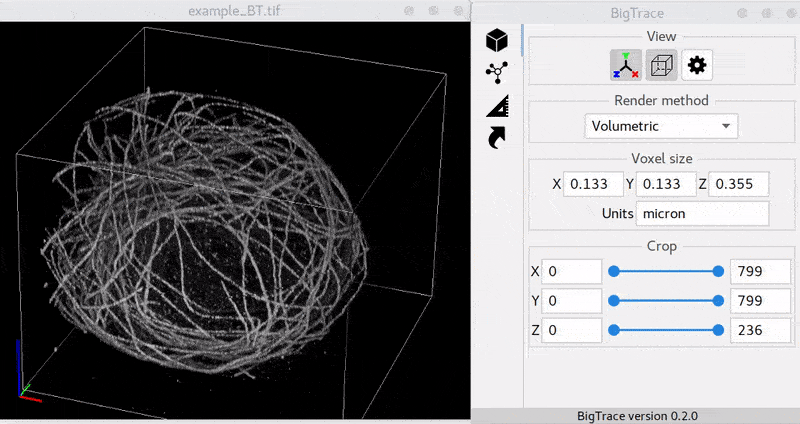
Voxel size
This subpanel specifies the dataset's voxel dimensions (anisotropy) and physical units.
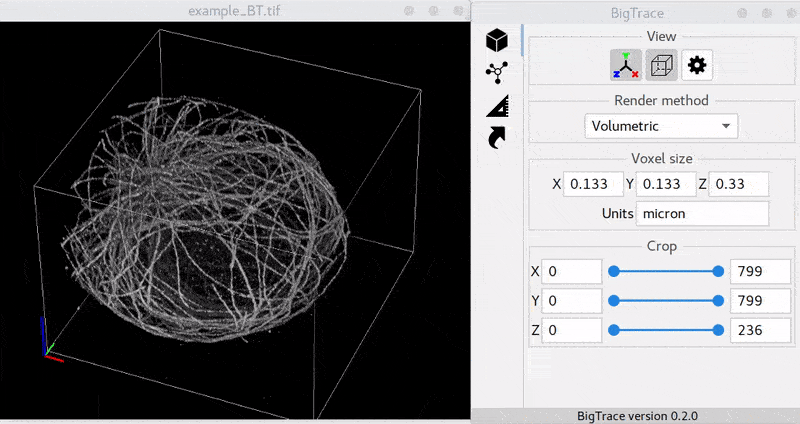
NB: Pay attention, all measurement results take these parameters into account.
Clipping
This subpanel allows dataset clipping by adjusting the range in each axis (in voxel units, not physical units).
The range can be moved by clicking and dragging the middle of the slider.
The clipping can be reset to the full volume using shortcut X.
"Show box?" checkbox adds an extra box around the clipped volume.
"Clip ROIs" checkbox will additionally clip rendered ROIs.
"Extract" button allows to extract clipped part as a new ImageJ window or save it to disk.
View Clip panel settings
This dialog under button defines user-interaction and rendering settings
Background color option allows you to change the canvas background color. White can be handy for poster presentations.
Snap area size on click (screen px) specifies an area where the maximum intensity voxel will be found upon clicking on the canvas. It is used in zoom/ROI point specification. The smaller area allows a more precise/narrow search of the voxel around the clicked location.
Transform animation duration (ms) refers to the smooth visual dataset transforms displayed on the canvas upon zoom-in, voxel change, etc. One can set it to zero to speed up the visualization.
Zoom settings
Clip volume when zooming in? will apply clipping equal to the zoom box size (see below) upon zoom in (shortcut D). See an example here.
Zoom box volume size (px): is the length of a cube box (in pixels) around the voxel with maximum intensity used to "focus" the view upon "zoom-in click".
Zoom box screen fraction (0-1): parameter defines how much of the canvas window width (or height, whatever is limiting) is going to be occupied by the final zoom box render at the end of zoom-in. This parameter also affects the final screen fraction of "zooming-in" on ROIs, when double-clicked in the ROI list of Panel Tracing.
Perspective
Camera position and Near/far clipping plane positions parameters define viewing frustum of the perspective projection virtual camera. See the picture below to get an idea. “Camera distance” should always be larger than “clip distance near”: