Creating an Artifact Registry - dteck/Mediawiki-GCP-CR GitHub Wiki
Getting Started
Our Cloud Run instance will rely on a Docker Container that contains all of the code to run our wiki. In order for google to use this container we need to upload it to a place that Google can read it from. This the purpose of an Artifact Registry it holds our Container Images so that other google resources can access them. The basic typology of an artifact registry is as follows: Artifact Registry -> Repository -> Container Image -> Version
Navigate to Artifact Registry
On the top left of the screen there are three horizontal white lines. This is generally known as a "Hamburger" menu. Clicking on this will fly out a list of Google Cloud Resources that you can set up inside of your project. To start we will want to go to our Artifact Registry page. We will need to scroll down this list until we find the Continuous Improvement Continuous Development “CI/CD” section and the item “Artifact Registry”.
Activate API
It is likely that you will be asked to activate the API for the artifact registry at this point. Like in previous steps this is nessessary to tell Google that you accept using this service and its associated costs.
Create a New Repository Inside of the Artifact Registry
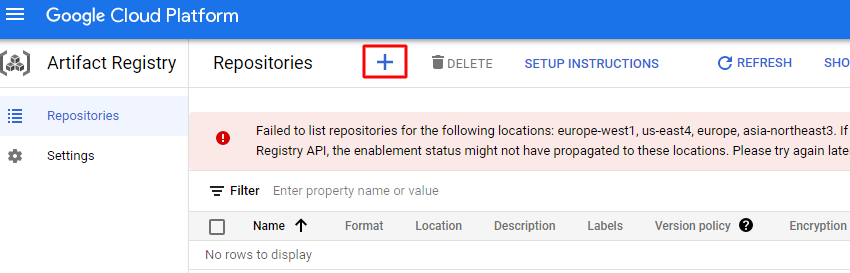
Once the API is enabled you will be shown an Overview screen that will list any Repositories in your Artifact Registry. Here there is not a clear "create repository" button, but at the top of the scree there is a blue plus sign that will allow you to create a new Repository inside of your Registry. This is required before we will be able to upload any images to the registry.
Repository Details
You will be asked to fill in some details for your new Repository.
- Name: This is the name you want to use for your repository
- Format: This is where you will tell Google what types of files you will be uploading. For our purposes we will be using Docker Images.
- Region: This is where you tell Google what region to store your artifacts in. You will want to select the same region you used for all of your other resources.
- Description: Here you can add some context about what you intend to use this repository for. So later when reviewing you can easily tell its purpose
- Encryption Keys: Again you can allow google to manage the keys for you or you can provide your own. I will be allowing Google to manage mine for me.
Repository Location
With your Repository created you will need to note the location of the repository inside of your Artifact Registry. We will use this as the name for our customized Docker Image when uploading it later.