pigpio library and GPIO Fault detection - cu-ecen-aeld/buildroot-assignments-base GitHub Wiki
pigpio is a C library for the Raspberry Pi which allows control of the GPIO. This page describes how pigpio library can be exploited for various GPIO applications and how we can use it to test Raspberry Pi gpio pins for possible damage.
While connecting different sensors every now and then to Raspberry Pi, there is a high chance that your pins might get damaged. Now, in order to check if your pins are damaged or not, you can use a switch or connect a simple LED and write a code that turns on/off the LED everytime the switch is pressed. However, a simpler method exists that I came across while working with GPIO during this project. This method deploys the usage of a simple gpiotest.sh script which can be run using pigpiod daemon.
The procedure to perform the same is listed below:
- Go to buildroot directory and run
make menuconfig. - Go to
Target Packages -> Hardware handling -> raspi-gpio - Go to
Target Packages -> Hardware handling -> pigpio - Run the build and load the image in your target hardware.
- By default, your pigpio daemon shall start running on boot in your hardware. You can confirm the same using the following command:
ps aux | grep pigpiodThis should show the pid of your pigpio daemon as shown in the below screenshot:

If it's not running, don't worry about it. You can run the daemon by simply running pigpiod in your terminal.

Sample code for DHT11 humidity sensor based on pigpio library can be found here
Make sure to add -lpigpio as LIBS in your makefile.
Run this script to check which gpio pins are damaged and which are working. You can see the output after running this script as shown below:

Note: For the duration of the test nothing must be connected to the GPIO (no LEDs, wires, ribbon cables etc.).
- Error: Can't lock /var/run/pigpio.pid
If you encounter an error similar to the below screenshot,

write the following commands on the terminal:
ps aux | grep pigpiod
kill -9 <pid>- If you can not find your pid using ps aux | grep pigpiod,

run the following command from the root directory:
cat /var/run/pigpio.pid
kill -9 <pid>- Error: Unhandled signal , terminating
If you get an error like the below screenshot every time you give signal like SIGINT or SIGTERM to terminate your pigpio-based code,
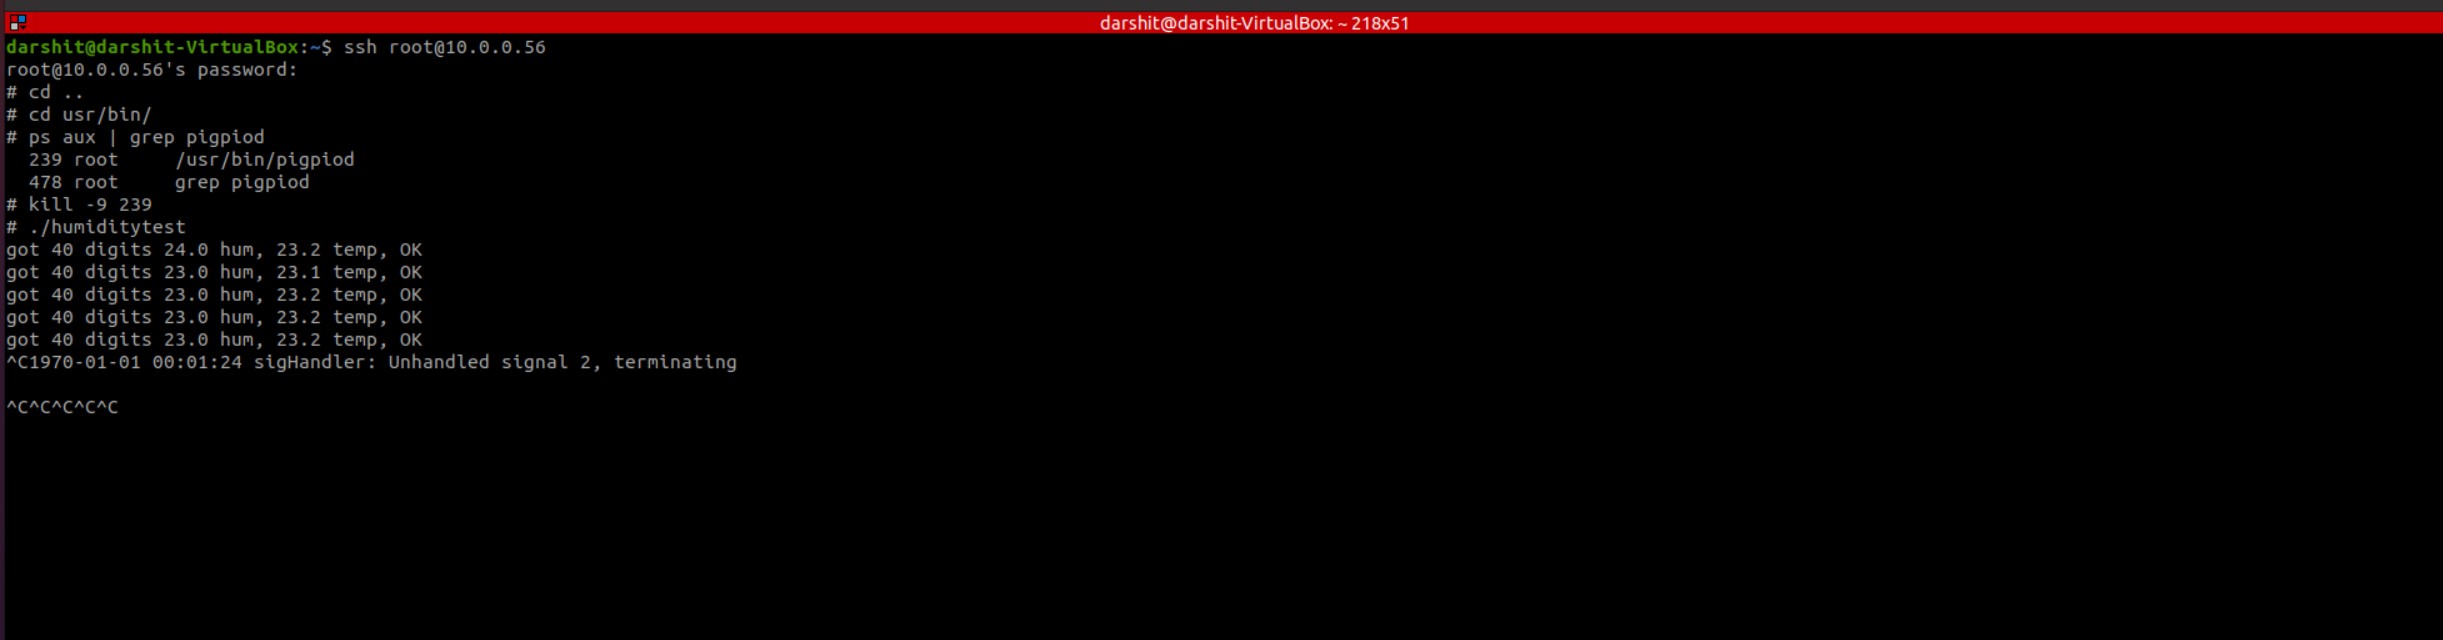
By default, pigpio sets up to handle all signals but you have to attach a function to the signal. You can use gpioSetSignalFunc() like gpioSetSignalFunc(SIGINT, function) to handle the signal. You can find more information on this function here.
- https://abyz.me.uk/rpi/pigpio/pigs.html
- https://github.com/joan2937/pigpio/blob/master/EXAMPLES/Shell/GPIOTEST/gpiotest
- Check out this video understanding the working of this test.