Setting Up Azure Block Storage - cu-ecen-aeld/buildroot-assignments-base GitHub Wiki
Basic guide to create a Azure Blob storage account and push a sample file using Rest Interface.
As more and more businesses rely on cloud computing to store and manage their data, Microsoft Azure has become a popular choice for its reliable and secure cloud services. One of the key offerings of Azure is its Blob Storage, which allows users to store and access large amounts of unstructured data, such as images, videos, and documents, from anywhere in the world. However, for those working with a 32-bit ARM controller, the popular data transfer tool, AzCopy, is not supported as it is only compatible with ARM 64-bit. In this article, an alternative ways will be discussed to synchronize data with Azure Blob Storage using REST API and local scripting. By following the steps outlined below, one can start storing and managing your data with ease, even without the use of AzCopy.
Below are the steps one can follow to create Azure Blob stroage and start storing data using REST API.
Step1:
Create an azure account and please choose Pay As You Go service. A credit card is needed at this step.
Step 2:
After step 1, one can see the following screen.

Step 3:
Click on resource icon. This will take to the next screen, where storage service will be searched.

Step 4:
Search for a storage account and once it appears on the screen, click on the green icon named as “Storage Account”

Step 5:
After clicking on the account, below screen will appear and one has to click on the “create” button.

Step 6:
After Step 5, next page will appear. Where one has to create a “Resource Group”. Next one has to provide storage account name as shown below.


Step 7:
Under advanced tab, select REST API, storage account key access. Also, enable Blob storage, select region as shown below.


Step 8:
In the review tab, ensure all desired settings are present. Once satisfied, hit create,

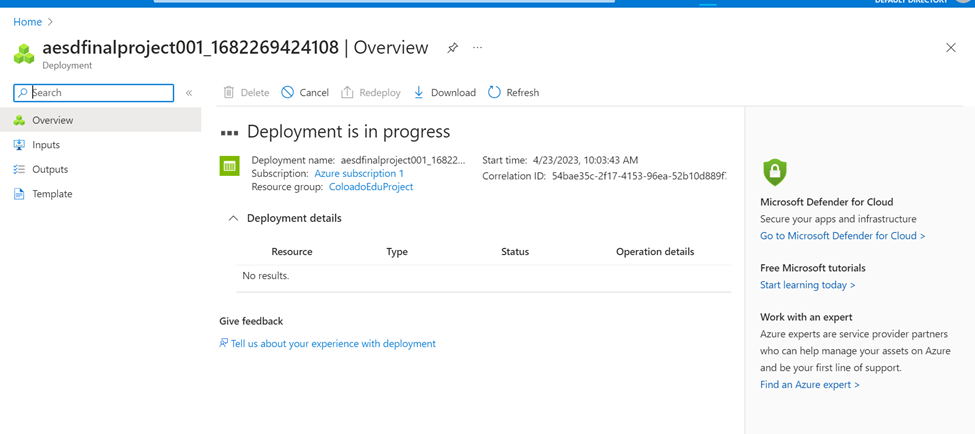
Step 9:
Once create button is pressed, deployment screen will start and eventually it will finish as shown below. Click on “Go to resource”

Step 10:
After Step 9, following screen will appear. Click on the Blob Service.

Step 11:
In this step storage container will be created. Click on the +Container which will bring-up New Container page, provide the name and hit create button.

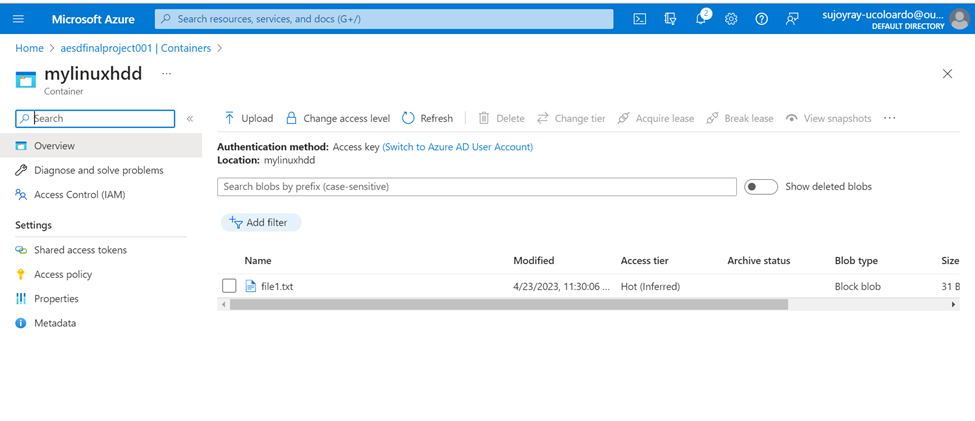
Step 12:
Screen below shows the new container called mylinuxhdd

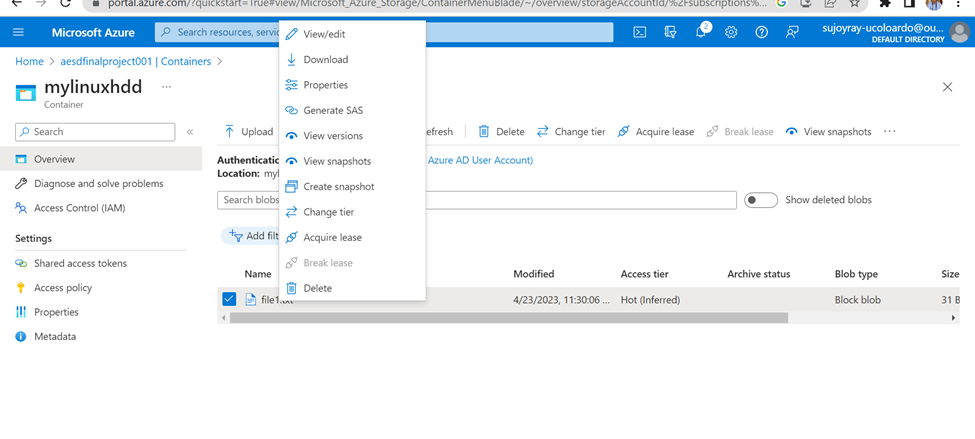
Step 13:
In order to access the container using REST API, SAS token is created by hitting the “…” beside the name of storage container name.

Step 14:
Set access rights as shown below

Step 15:
Using curl, push a file to cloud

Step 16:
Verify data by right clicking on file1.txt, view/edit option.

In conclusion, creating an Azure Blob Storage account is a straightforward process that can greatly benefit businesses of all sizes. With its scalability, security, and accessibility features, Azure Blob Storage is a reliable solution for storing and managing large amounts of unstructured data. Whether you're a small startup or a large corporation, Azure Blob Storage can help to streamline the data management and improve overall business operations. I hope this guide has been helpful in getting someone started with Azure Blob Storage, and I encourage the reader to explore the many other features that Azure has to offer.
Important point
In this example the SAS token has been exposed to public. Please consider having a better approach in future.
References
- Rest API: https://learn.microsoft.com/en-us/rest/api/azure/
- Basics of Azure blob storage : https://www.youtube.com/watch?v=Zm7vPBlq8Wg
- How create Azure blob storage : https://www.youtube.com/watch?v=S5nqaQRHXrE