Linux Server Tutorial - cps-vip/cps-cosimulation-env GitHub Wiki
We have a server for our VIP class that can be used to run tools and access hardware. This also provides common development environment for simulation tools and software side channel experiments.
The Linux server must be accessed through GT's VPN. It's IP address is 130.207.202.21. Email me to request an account. Include your GT username
Currently, it can only be accessed via SSH. The tutorials below will help you setup SSH and XForwarding. Tool specific tutorials will also be linked to help you run tools like Vivado.
If you are new to the Linux command line, I recommend going through this tutorial: [https://ryanstutorials.net/linuxtutorial/]
Note: Currently, we are borrowing a server from another VIP class. We will hopefully have our own server soon. Until then, we are limited in software versions and attaching hardware.
These tutorials will help you get tools up and running on the class Linux server.
SSH (Secure Shell) allows you to securely access a remote terminal over a network. The command should be available by default on all up-to-date Windows and MacOS compuaters. The most straightforward way to SSH into the VIP server is to run the following command in the system terminal.
ssh <username>@130.207.202.21The command will prompt for your password, and, if entered correctly, you will be logged in to a remote bash terminal on the VIP server.
If you don't want to type out your username/IP address each time, you can create a bash config. To do so, first create a file at /.ssh/config. Then add the following entry and save the file.
Host vip
   HostName 130.207.202.21
   User <username>
   ForwardX11Trusted yes
You can then login with
ssh vipTo avoid typing in your password everytime you SSH, you can generate a SSH key. This can be done with
ssh-keygenThen keep pressing enter to select all the default options. To copy your public key to the VIP server, you'll have to run
ssh-copy-id <username>@130.207.202.21or if you setup your ssh config
ssh-copy-id vipNote that Windows users will have to have either git bash or an updated version of OpenSSH installed for the ssh-copy-id command to work.
X-Forwarding will allow you to open up graphical user interface (GUI) programs on the server.
To enable X-Forwarding over SSH, you have to add the -Y flag
First we have to add a flag:
ssh -Y <username>@130.207.202.21or if you have the ForwardX11Trusted yes included in your SSH config file, you can just do
ssh vipHowever, even with this flag/config, you need to install an X11 server before you can get X-Forwarding working.
First, we need to make sure we have an X11 server on our host machine. X11 is a protocol Linux uses to display graphical applications, and so the VIP server needs an X11 server it can connect to on your computer to send the graphical programs to.
Links on how to install X11-servers on Windows and Mac can be found below.
The recommended way to get an X11-server running on Windows is to install the Windows Subsystem for Linux or (WSL). This is a lightweight Linux VM that is built by Microsoft to integrate directly into Windows. WSL2 includes a built-in X11 server.
Instructions on how to install WSL2 can be found here: https://learn.microsoft.com/en-us/windows/wsl/install
Once installed, you will use WSL to SSH into the server, instead of cmd/PowerShell (you will also have to re-setup your SSH config on the WSL2 side).
If you do not want to install WSL2, you can also install and configure a standalone X11 Server: VcXsrv.
Mac uses XQuartz as it's the previously-official (but now community supported) X11 Server. The steps are as follows:
- Download XQuartz from www.xquartz.org.
- Install XQuartz.
- Make sure XQuartz is running whenever you SSH into the server.
Now that you have the an X11-server up and running you can test it by SSHing into the server.
ssh -Y <username>@130.207.202.21and running
xeyesIf you've done everything correctly you should see a pair of eyes that are always looking at your mouse.
Congratulations! You can now run any graphical program over SSH on the server.
- Error: Error: Can't open display: or DISPLAY is not set
Windows: Ensure VcXsrv/Xming is actively running in your system tray (bottom-right corner near the clock) before opening your SSH session.
Mac: Ensure you logged out and back in after installing XQuartz. Try running export DISPLAY=:0 before starting your SSH session if it fails.
- Graphics are very laggy/slow
X11 sends graphics commands over the network. If your internet connection is slow or off-campus, windows may lag.
Enable compression by adding the -C flag to your SSH command:
ssh -YC @130.207.202.21
Alternatively, ask your professor or TA if your server supports VS Code Remote - SSH or Jupyter Notebooks, which are usually much faster over remote connections than X11.
- "Permission denied" or Security Errors
Try using -X instead of -Y:
ssh -X @130.207.202.21
(The -Y flag enables "Trusted X11 Forwarding", which bypasses security controls that sometimes block X11 applications on modern OS versions).
Now that you've connected to SSH, how do you edit files?
One way is by using a command line text editor, such as vim. While some claim these CLI (command line interface) editors boost productivity, they have a rather steep learning curve.
Instead, I recommend using an IDE with an SSH plugin. There are many such IDEs out there, but my personal favorite is the lightweight VS Code.
VS Code is a lightweight IDE (not to be confused with Visual Studio Code) that allows you to add functionality through extensions. One such extension is the Remote - SSH extension. This extension allows you to access and edit files and directories over SSH using VS Code running on your host machine.
Here's how to get SSH w/ VS Code up and running:
- Download and install VS Code.
- Install the "Remote - SSH" extension
- Click on the remote explorer icon in the sidebar:
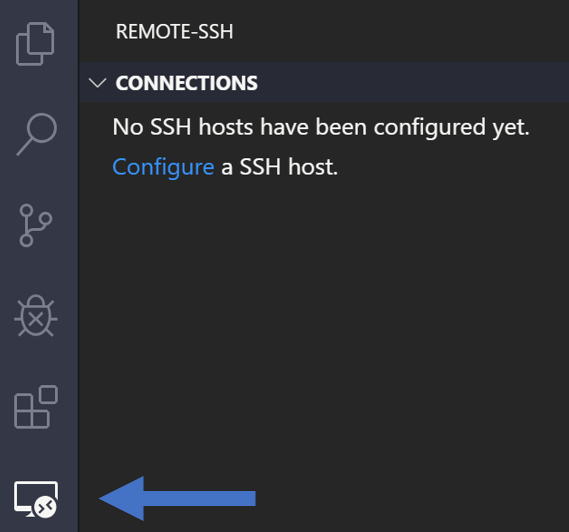
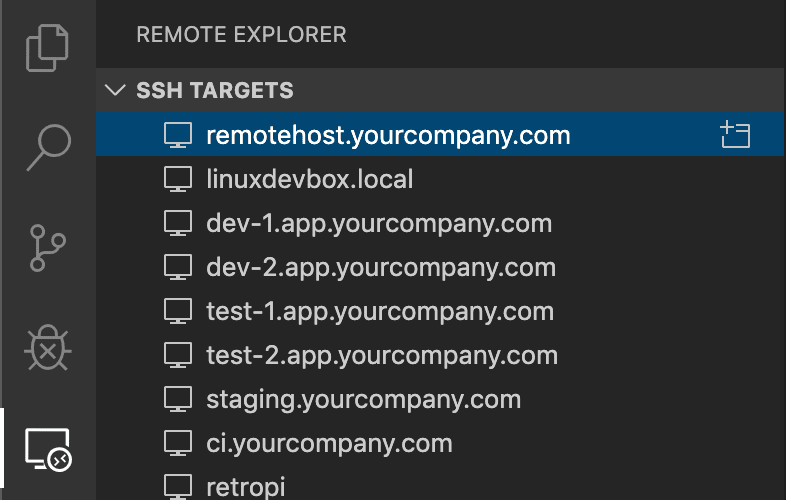
- If you've set up an SSH config file, the server's connection will appear in this window automatically. Alternatively you can add it manually with the plus button at the top of the remote explorer window.
- Click on the + window icon next to the server's name to open up a remote VS Code session.