10. Organize Bin Inventory - connectedbusiness/connectedwarehouse GitHub Wiki
Organize Bin Inventory
The bin inventory feature allows you to create bins for your inventory and organize them into zones, an organization system that is crucial for maintaining a systematized warehousing setup. You can also view items that are currently located in one bin or remove items from their assigned bin.
How to Create New Bins
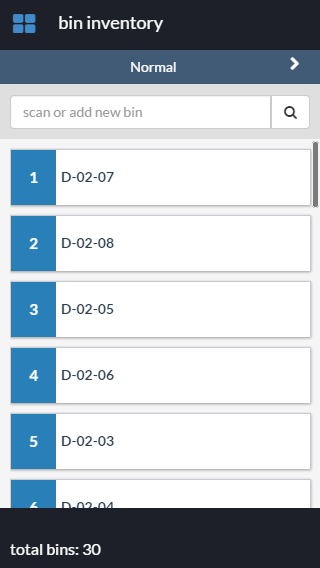
- Tap on the Bin Inventory button to load a screen that displays the full list of existing bins in one location. They are differentiated using unique bin codes.
Included in the interface is a search bar that allows you to look up a specific bin or create a new one.

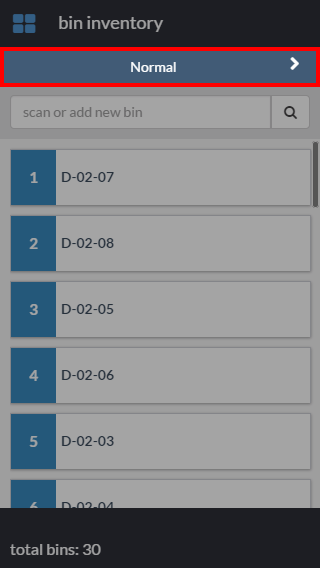
- The blue bar located on top of the screen indicates the zone in which a bin is located. The zones have been defined through the Connected Business backend.
One of the functionalities of the bin inventory feature is the ability to re-assign an existing bin to a new zone. Tapping on the bar allows you to change this designation.

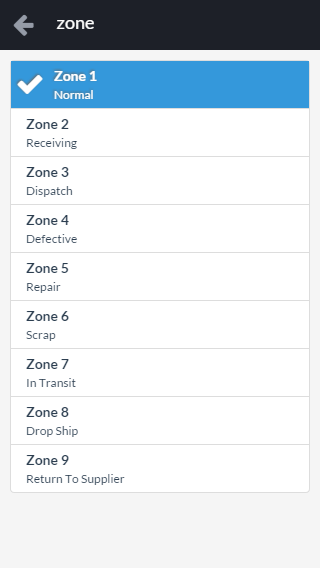
- The zone screen lists the different zones that have been pre-assigned different functions across your warehousing system. To select a zone for your bin, tap one of the listed choices. The selected zone is highlighted in blue and marked by a check.
Tap on the arrow at the upper right corner of the screen to save your choices.

Notes: To learn more about defining bin locations and organizing your warehouse inventory in general, read our documentation on how to Set Up Store and Warehouse Locations.
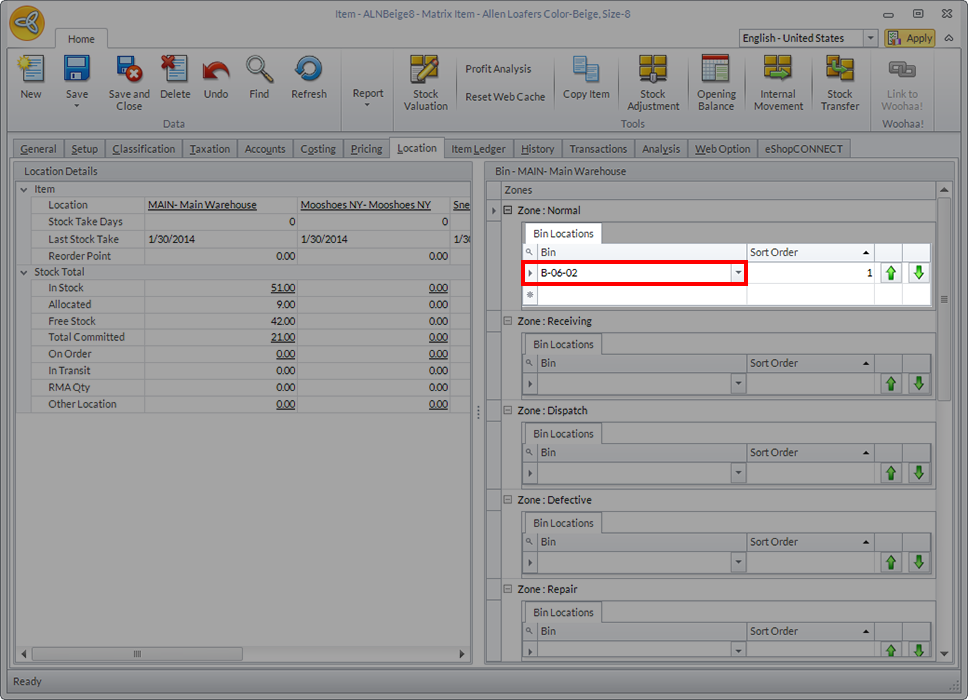
- At Connected Business you will be able to view which bin houses an item by viewing the item form. Go to Inventory > Item > Find Itemand click on the relevant entry. In the Item form, go to the Location tab to find information about the item’s bin location.
