09. Manage Physical Inventory - connectedbusiness/connectedwarehouse GitHub Wiki
Manage Physical Inventory
The physical inventory feature available on Connected Warehouse helps you stay on top of your stock take for all the stock items in your inventory. This feature is fully integrated into Connected Business, eliminating the chances of misplaced inventory, understocked items, and other issues.
Schedule Items for Stock Takes
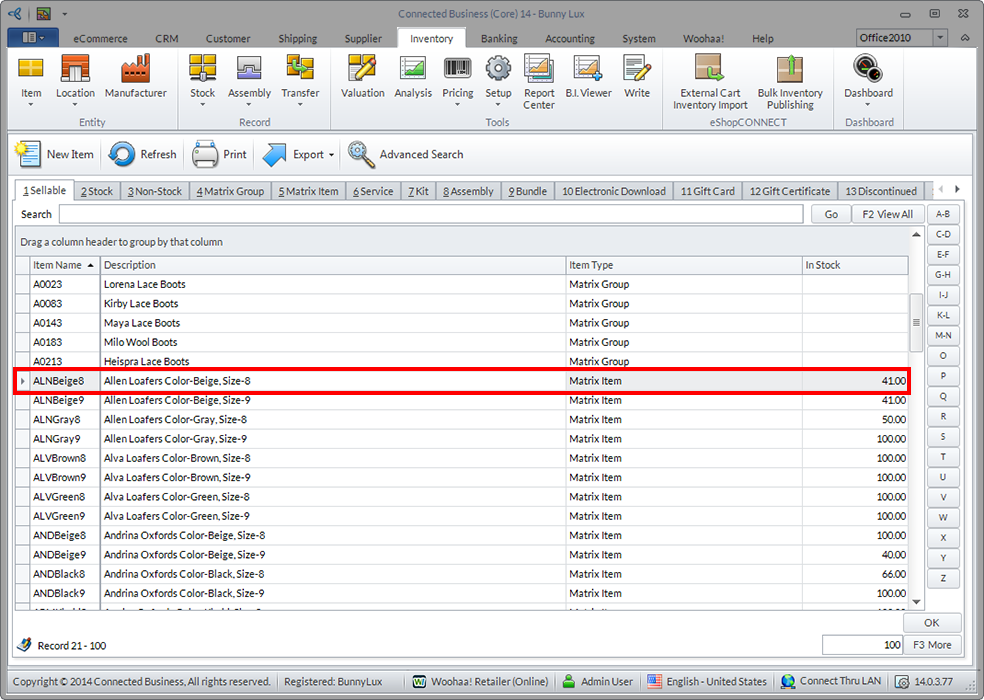
- This feature processes stock that has been scheduled for stock taking beforehand. To configure items for stock taking, load Connected Business and access the Inventory module > Item.
Click on one of the items to launch the Item form and go to the Location tab.
- In the Location Details window, find the field labeled Stock Take Days. You can then input the interval of days for individual locations.
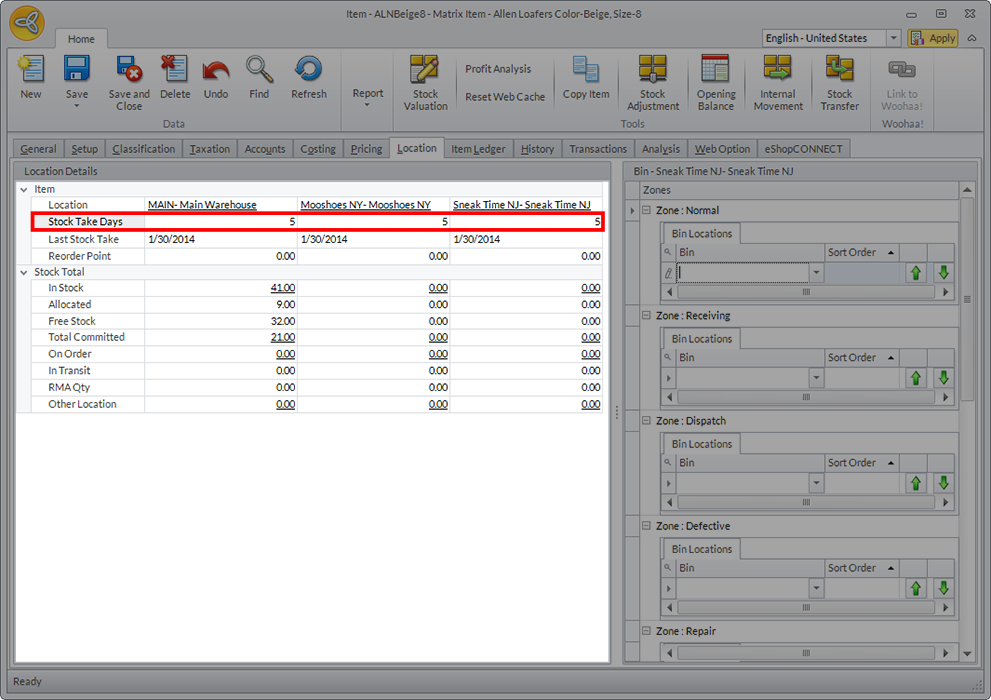
For example, entering five (5) in the fields means that the Connected Warehouse app assigned to every location has been scheduled to alert you to perform a physical inventory after every five days.
- Click the Save and Close button.
Process Stock Take Through Physical Inventory Feature
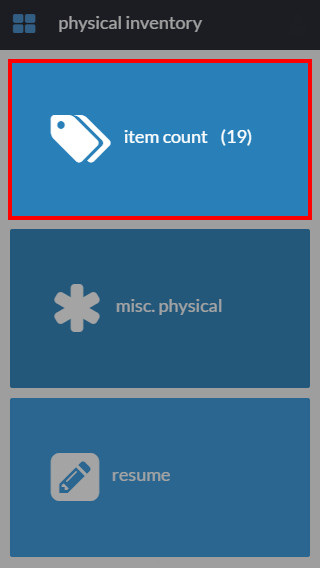
- On the day of the scheduled stock take, the Connected Warehouse app will display the number of items that are ready to be scanned and inventoried. Tap the top button to begin processing your stock take.
- The interface displays one item at a time. The information presented on the screen includes the item name, description, Universal Product Code (UPC), and bin location, if applicable.
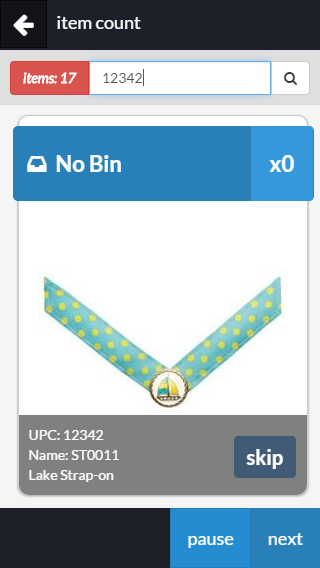
In order to count an item as one (1) quantity, either type the UPC or use your barcode scanner to scan the item’s label.
- You can also configure your Connected Warehouse settings to automatically show the quantity input screen. Enter the UPC code or scan an item once. The display screen will then allow you to enter the quantity for a given item.
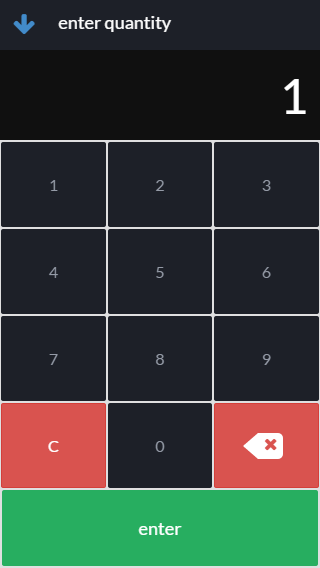
You can modify the quantity for a given item by entering the UPC again and changing the amount that you enter into the field.
Notes: To learn how to configure feature settings so that a quantity input screen will appear for this feature, read the Getting Started document for Connected Warehouse.
- There are two buttons at the lower right corner of the physical inventory screen that allows you to control the stock taking process.
Tap the Pause button in order stop the process and use the app for other tasks. Performing this action does not mean that you are skipping the items that are yet to be processed. On the other hand, the Next button allows you to pass over a specific item without erasing its data from the physical inventory feature.
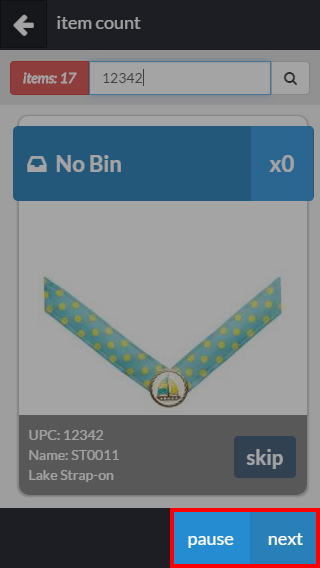
Notes: Connected Warehouse loads the data for physical inventory in batches of ten (10) to optimize your workflow and prevent the app from crashing. Once you’ve reached the tenth item from the batch, tapping the Next button will pre-load the next ten items for processing.
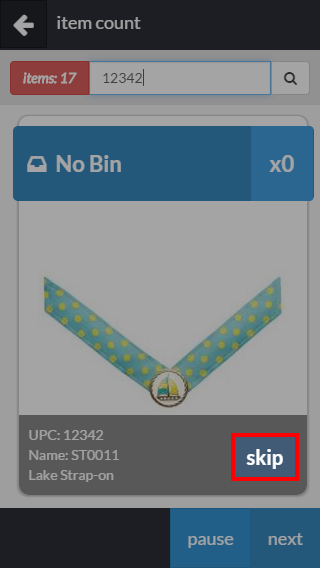
- Tapping the Skip button means that you are not recording the stock take for one item. This action cannot be reversed, so make sure that you want to skip an item before pressing the button.
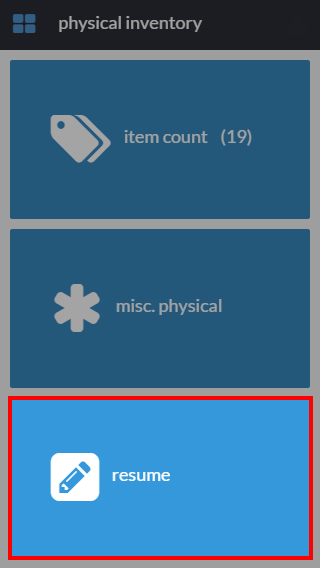
- When you want to resume the stock take process that you have paused, tap the Physical Inventory button at the landing page of the Connected Warehouse app. You can then tap the Resume button at the bottom of the screen.
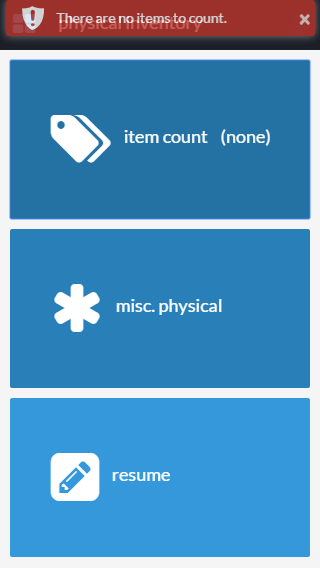
- If there are no items scheduled for a physical inventory on a given day, message will appear on top of the interface screen.
