2. Set up GCP services - clarelgibson/tableau-public-autorefresh GitHub Wiki
This project uses Google Drive to store the data needed for the project and Google Cloud Platform (GCP) for automated authentication (so that when your scripts run themselves on a schedule, they can log in to your Google account without you being physically present). If this is your first time using GCP it can be a little daunting. Following the steps below will get you all set up for this project. If you're interested in learning more about GCP, Google offers a wide range of training materials.
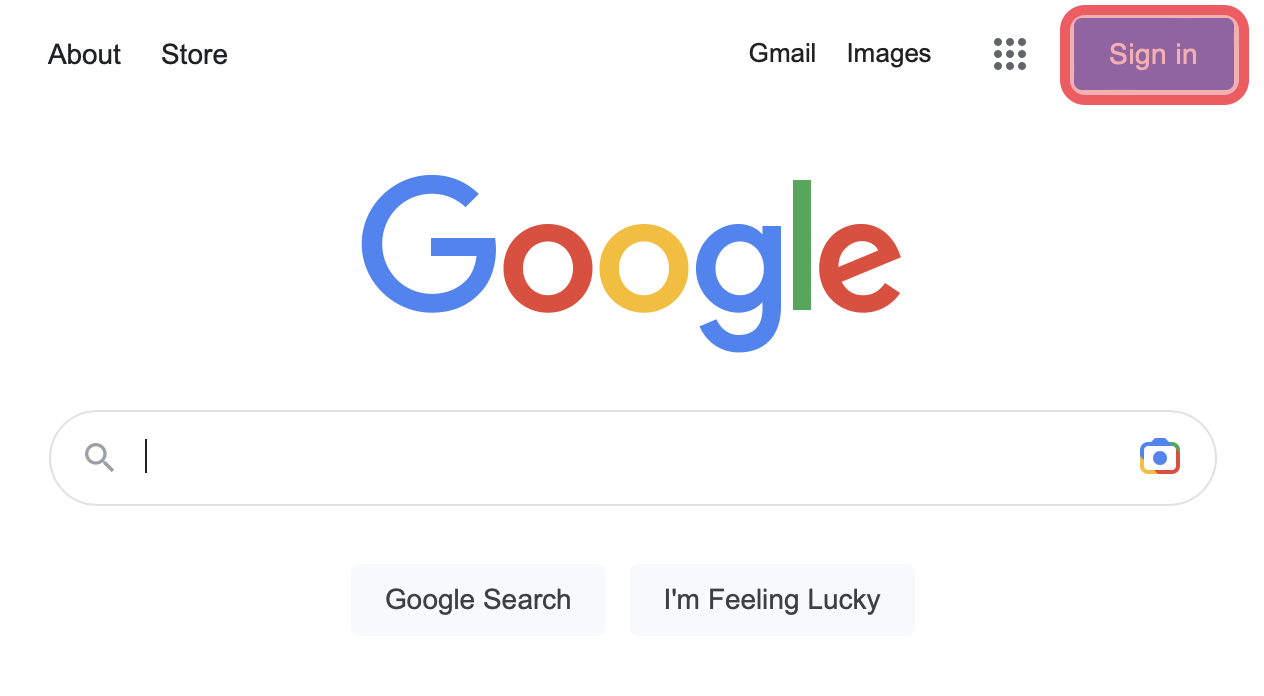
Navigate to google.com and sign in to the account you wish to use for this project. I have a Google account that I use solely for data science work and which is not linked to any of my personal emails or files.
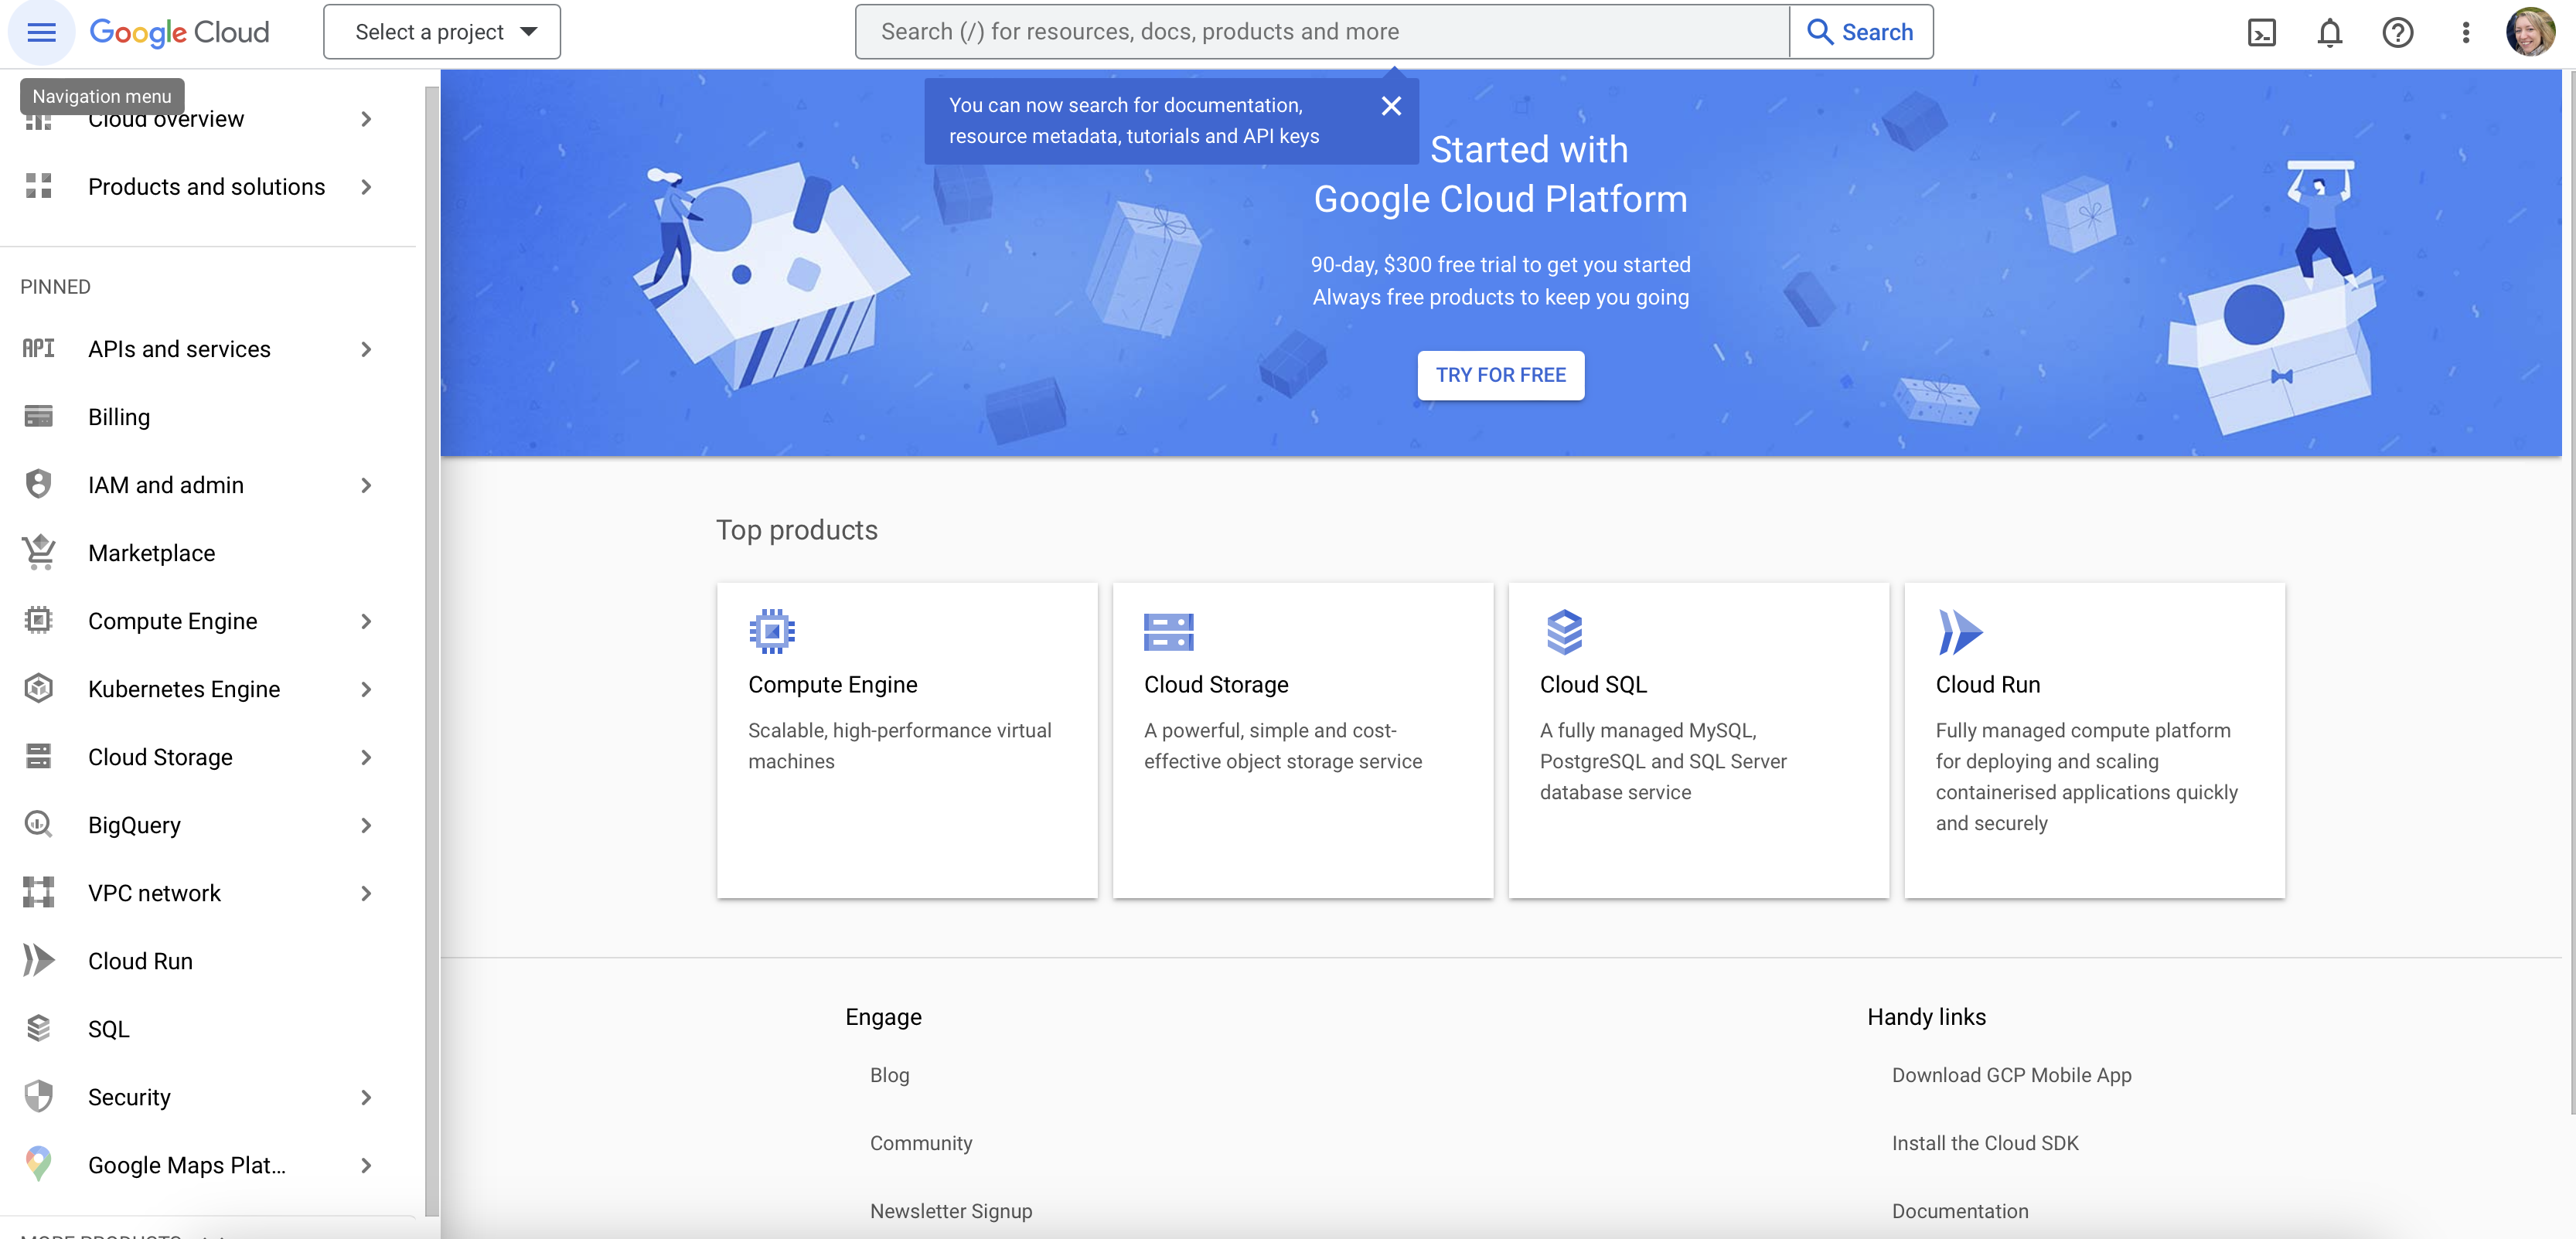
Now navigate to Google Cloud Platform Console to enter your GCP console. You should see a screen that looks like the one below. However, if you have ever previously created a project, your screen may look a little different and display the landing page for the last project you accessed.
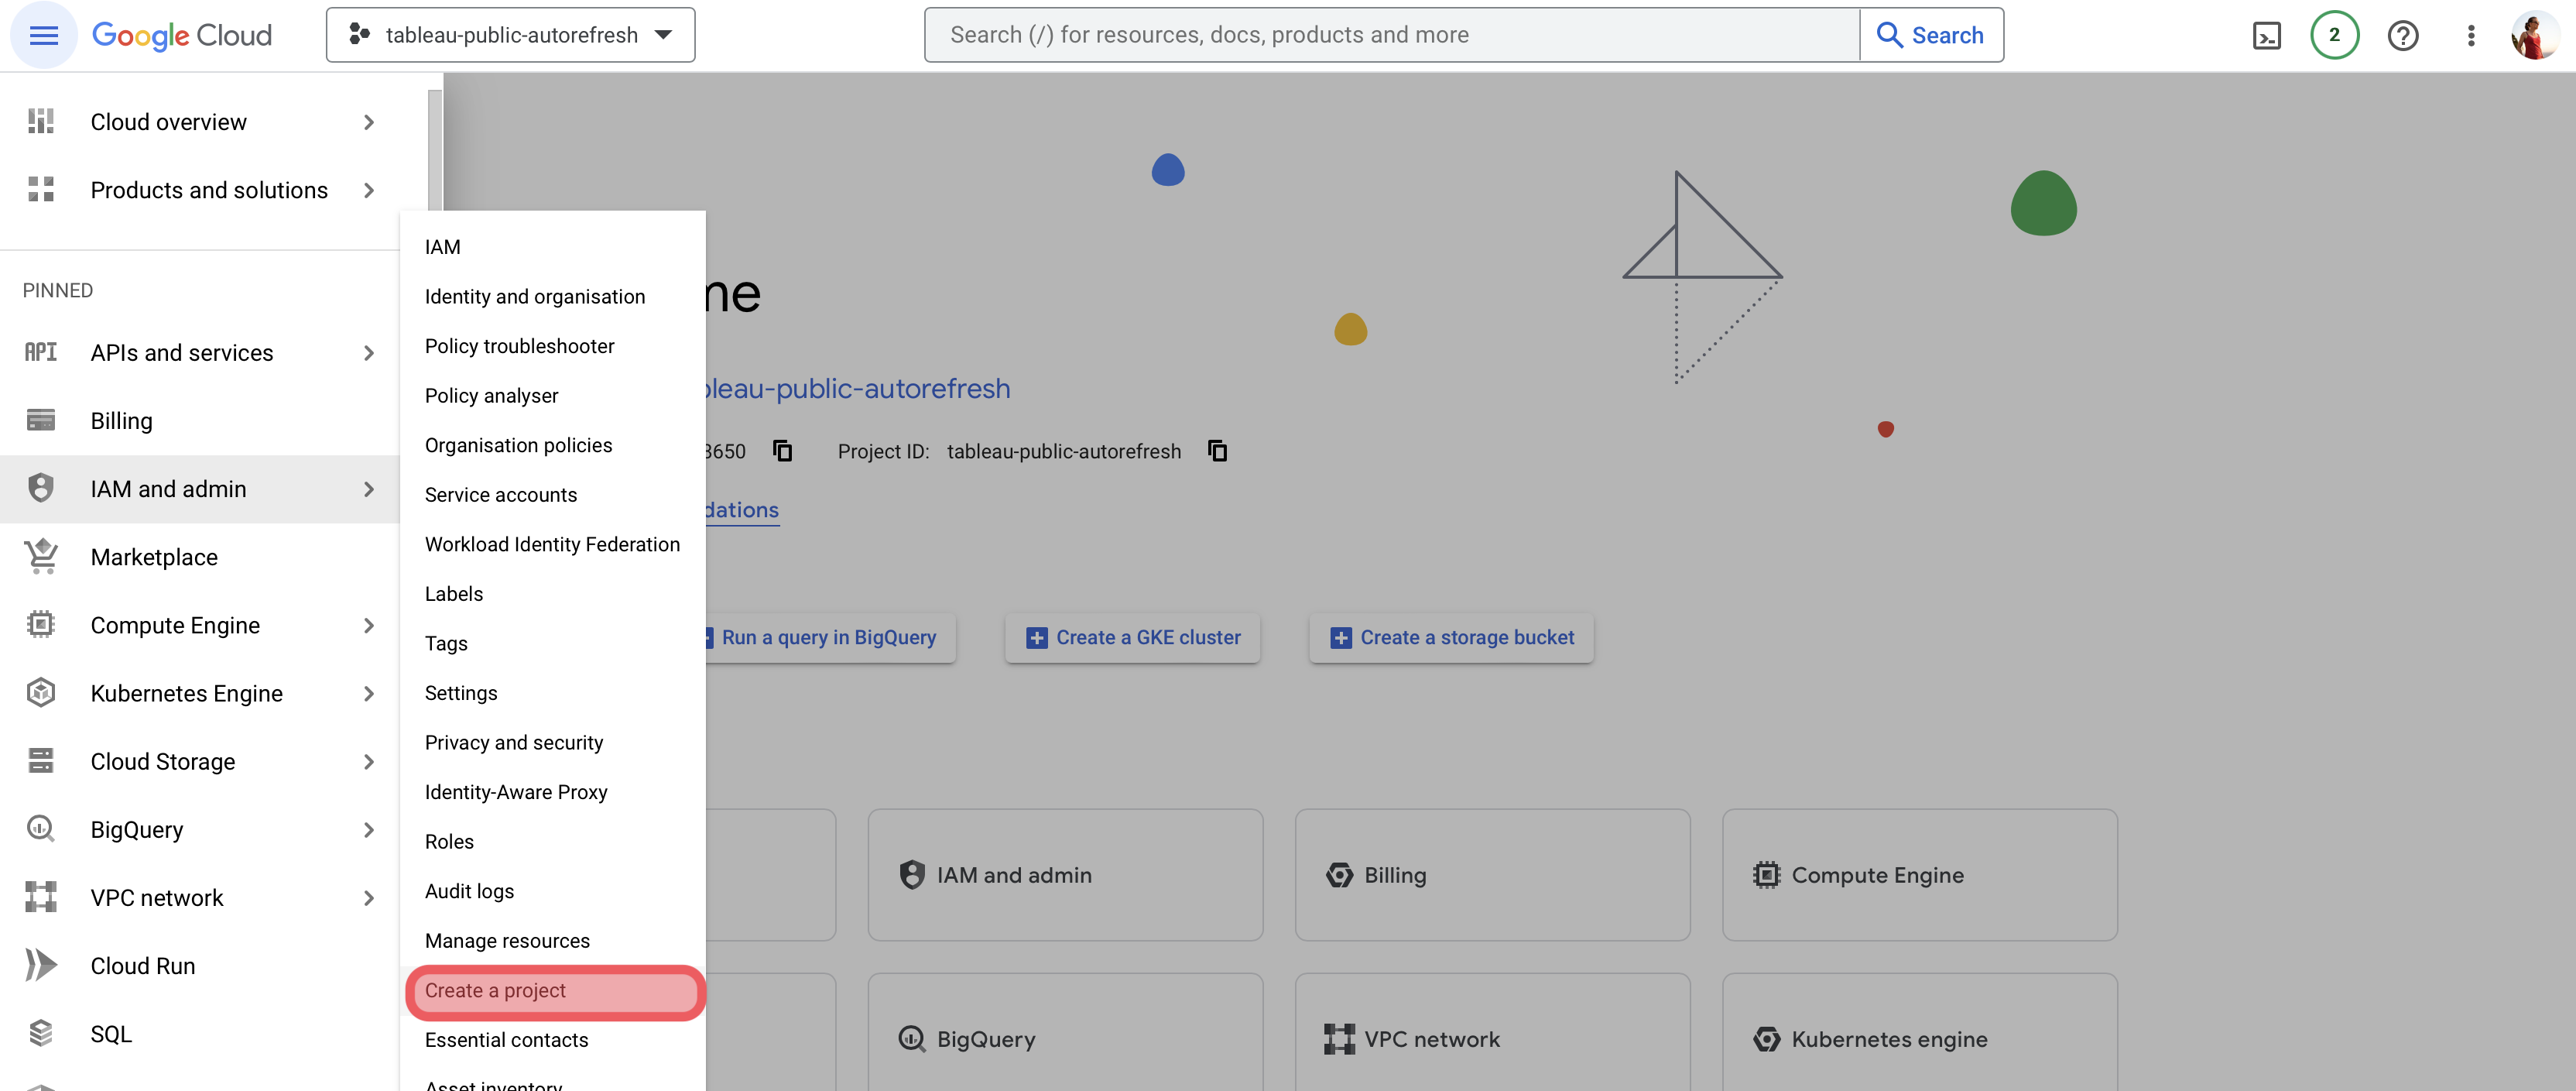
On the left-hand menu sidebar, hover over IAM and admin to open its sub-menu. You may need to click on the Navigation menu icon at the top left of the screen to open the sidebar.
Identity and Access Management (IAM) allows you to authorise who can take action on specific resources, giving you full control and visibility to manage Google Cloud resources centrally.

Click on Create a project to create a new project.
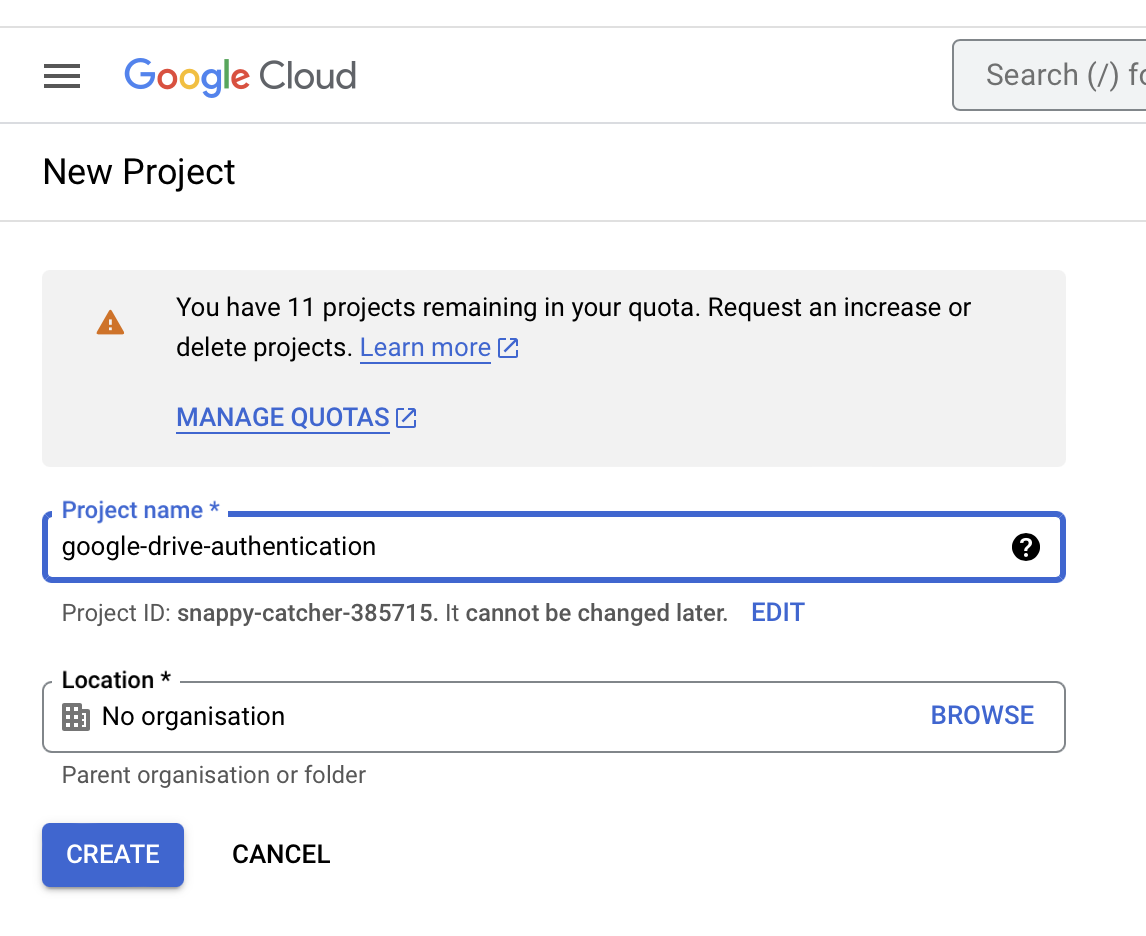
Give your project a name that states its purpose. The purpose of this project will be to allow automated authentication with Google Drive, and you will be able to use this Google Cloud project across many of your data analysis projects, so you may wish to choose a name like google-drive-authentication.
The system will suggest a Project ID for your project. You can choose to accept the suggestion or edit it to something more memorable for you. I chose to set the Project ID to be the same as the Project Name. You can leave the Location field set to "No organisation" and click Create.
Next, you need to create a Service account for this project. Click on Service account under IAM and admin.

Click on CREATE SERVICE ACCOUNT.

Fill out the service account details. Give the account a descriptive name like gdrive-service-account and a description of what the service account will be used for, e.g. Automated access to Google Drive.
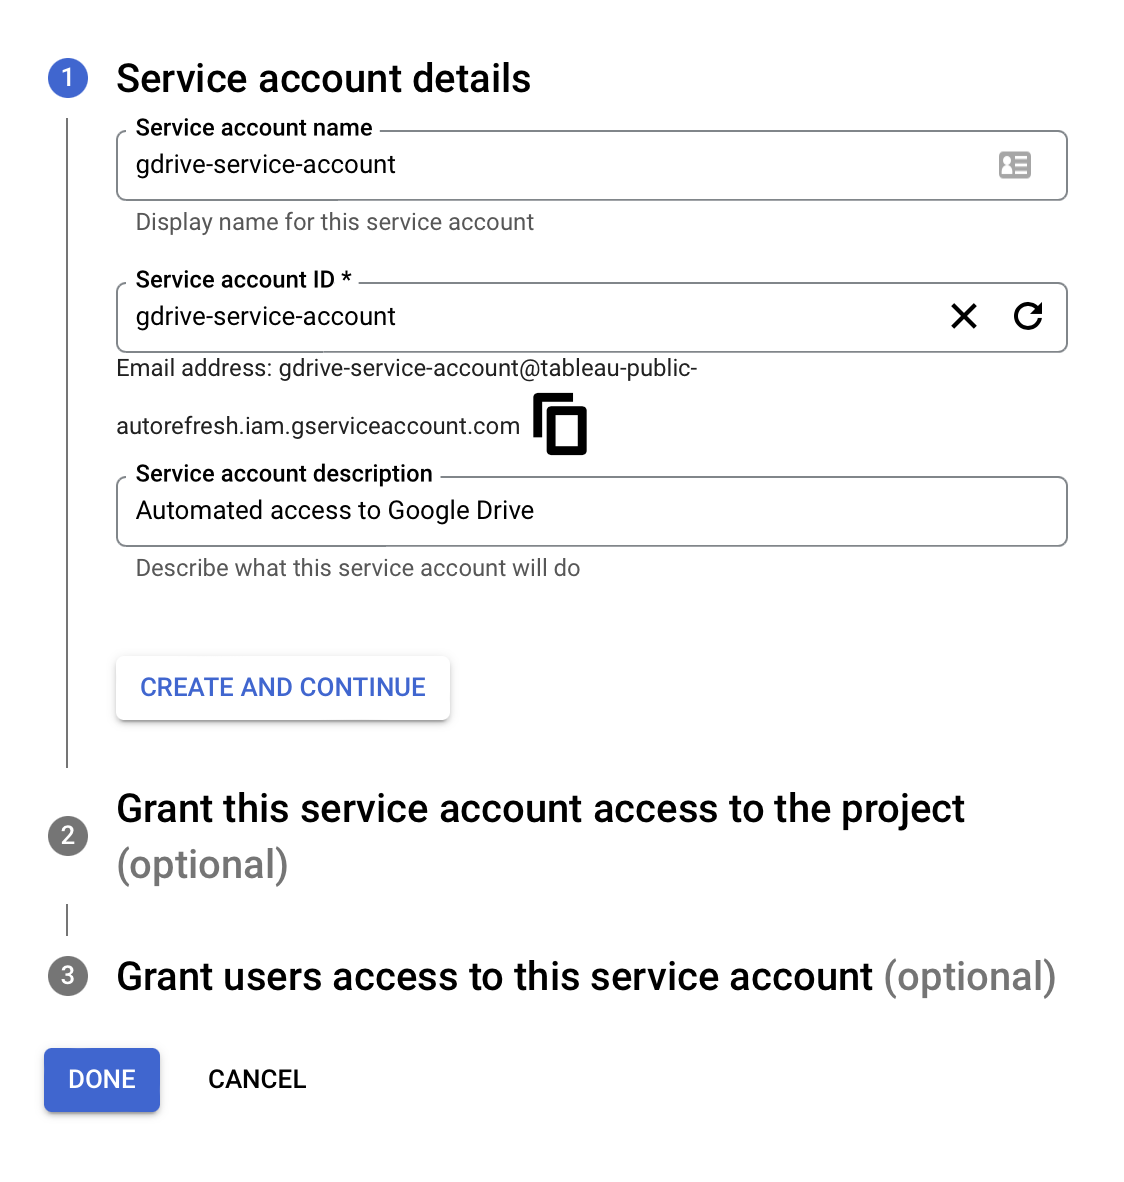
Click CREATE AND CONTINUE, then grant the service account the role of Owner.
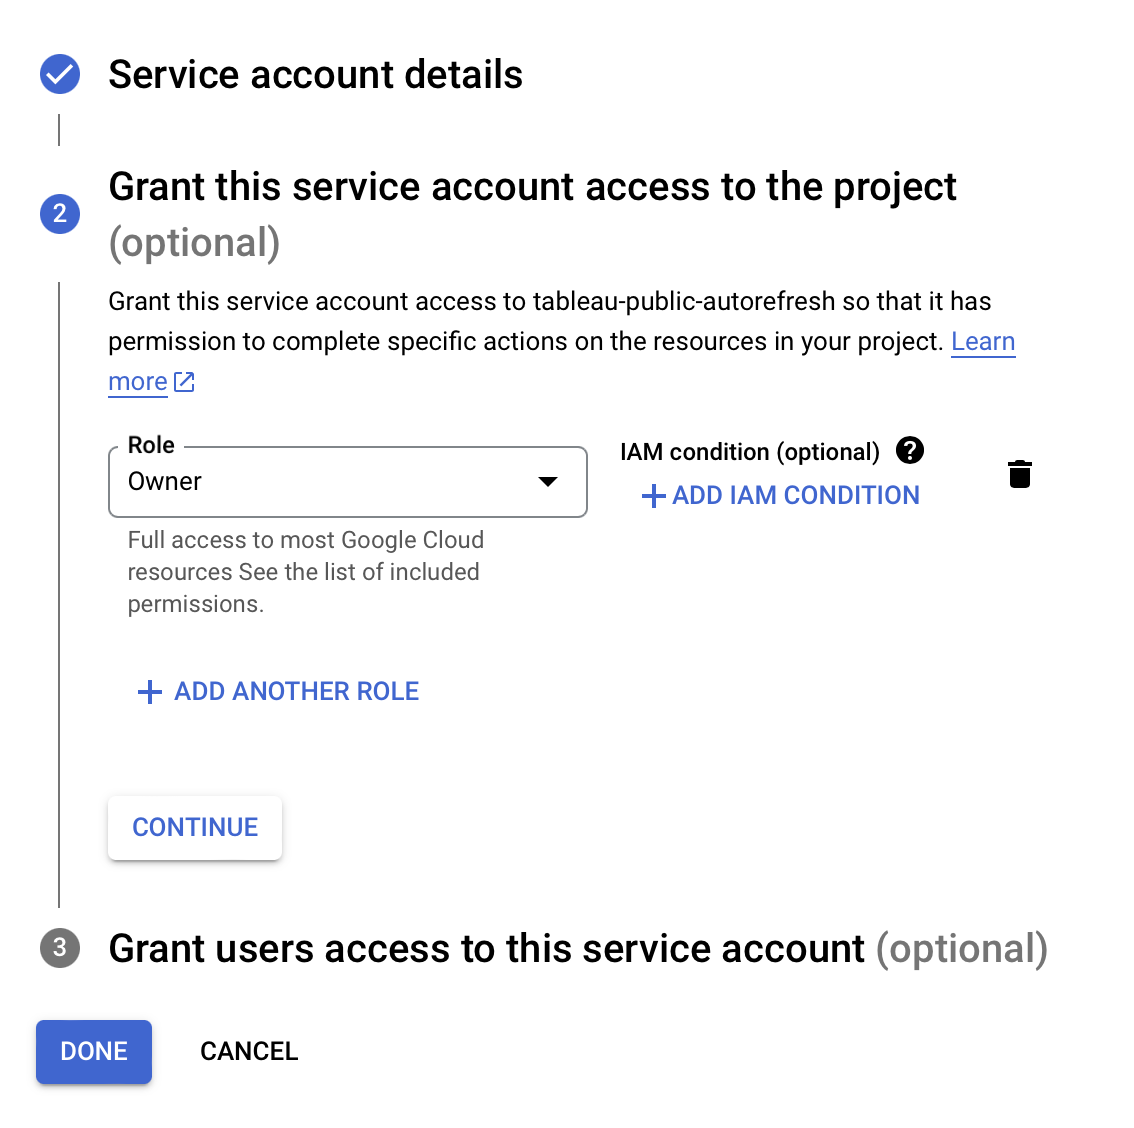
At this point you can click on DONE. Click on your newly created service account from the project page. The email you see listed is something you will need later on, so keep a copy of it somewhere.
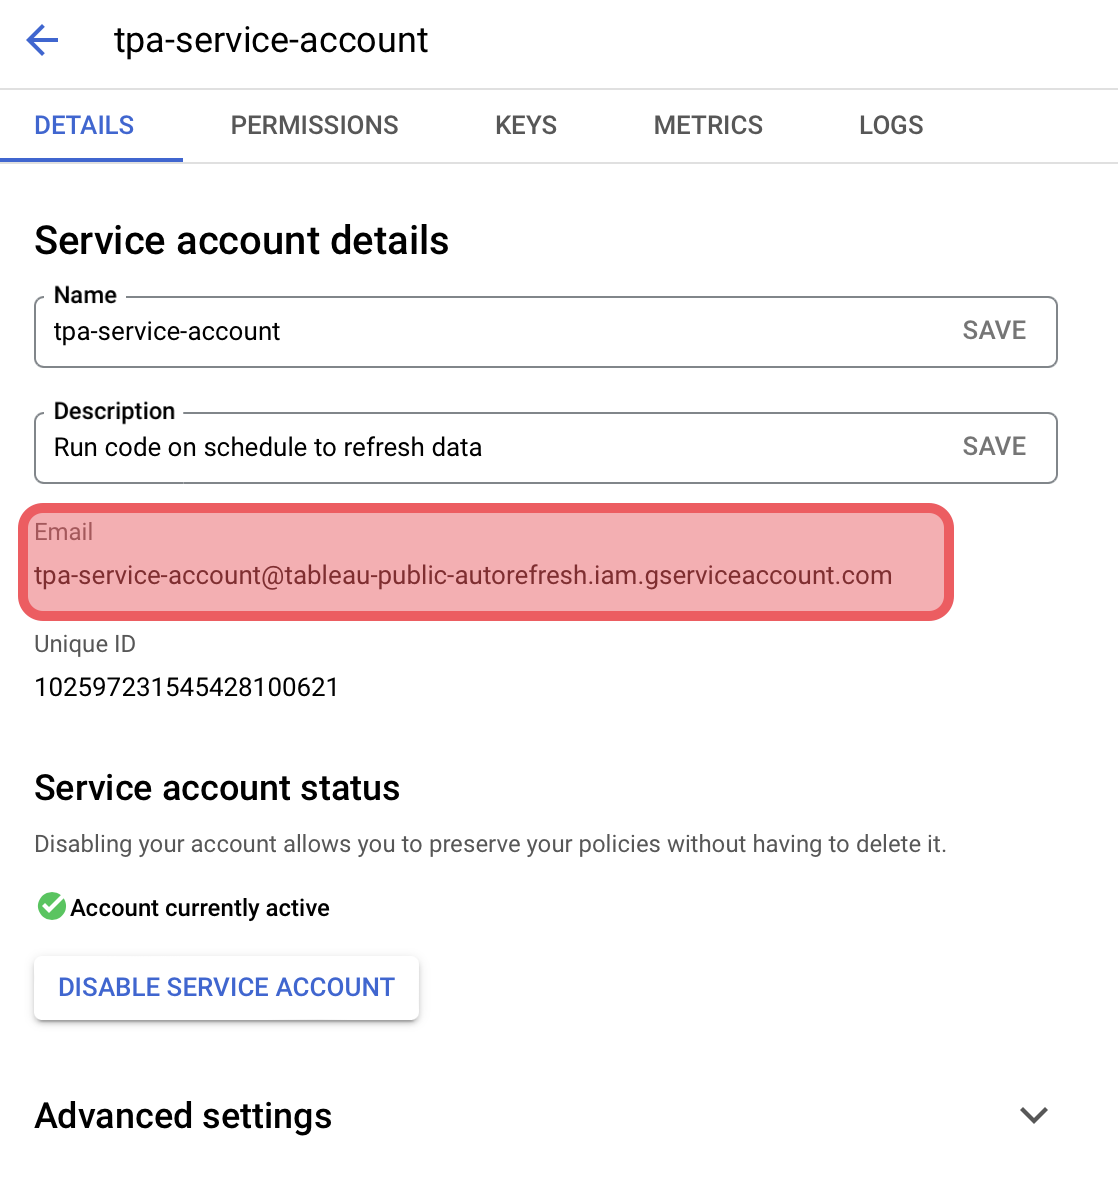
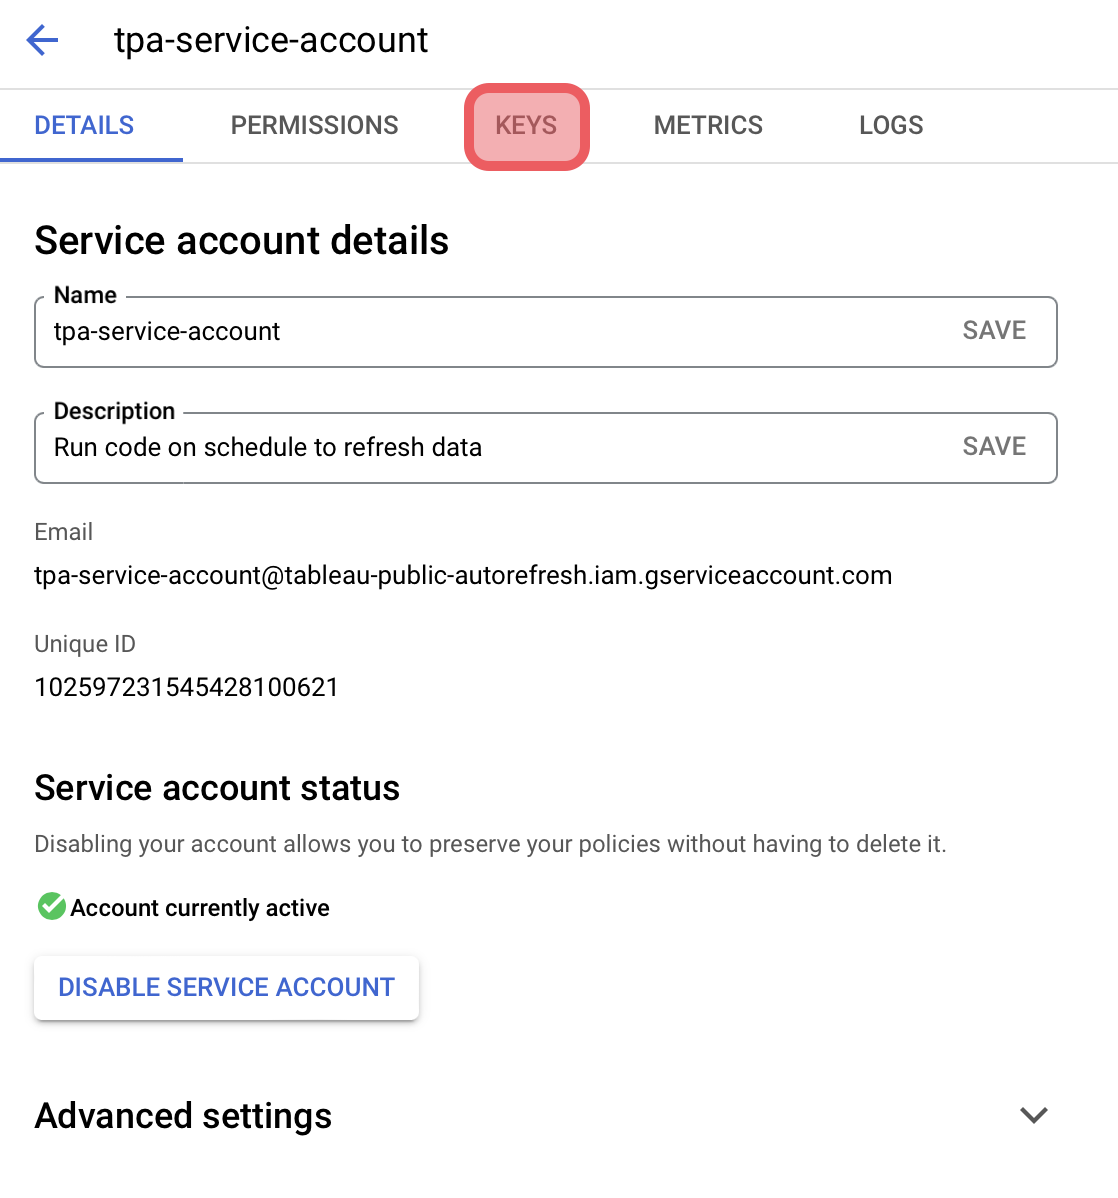
From the Service account details page, click on KEYS to create a new key.
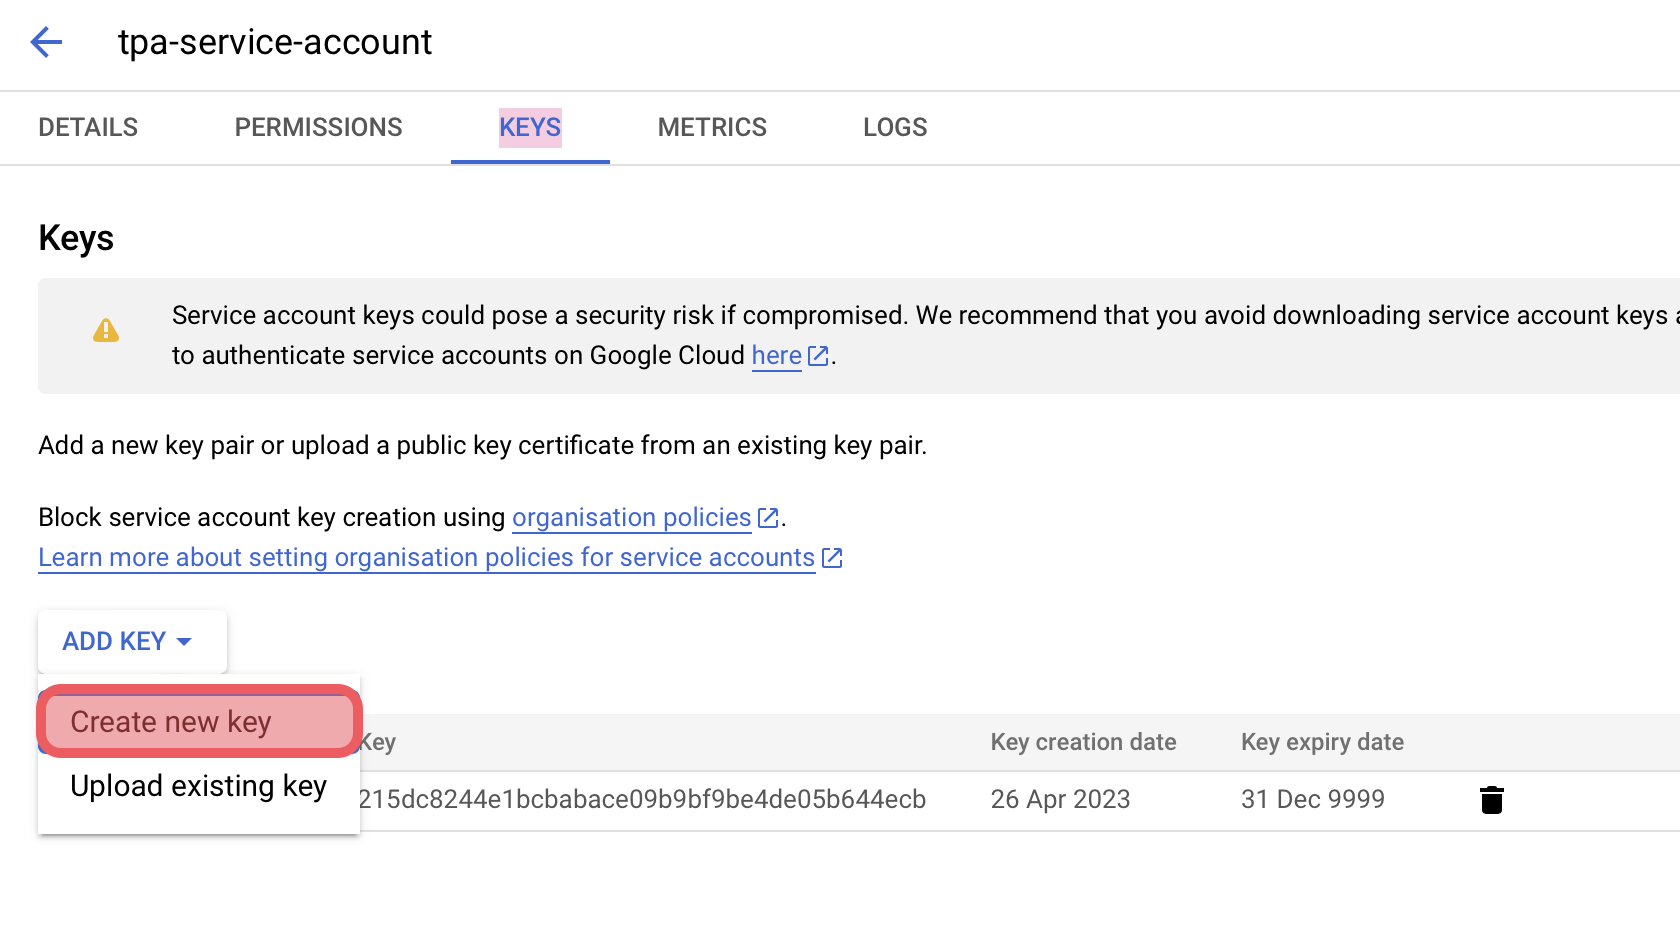
Click on ADD KEY and Create new key.
Make sure that the Key type is set to JSON then click CREATE.
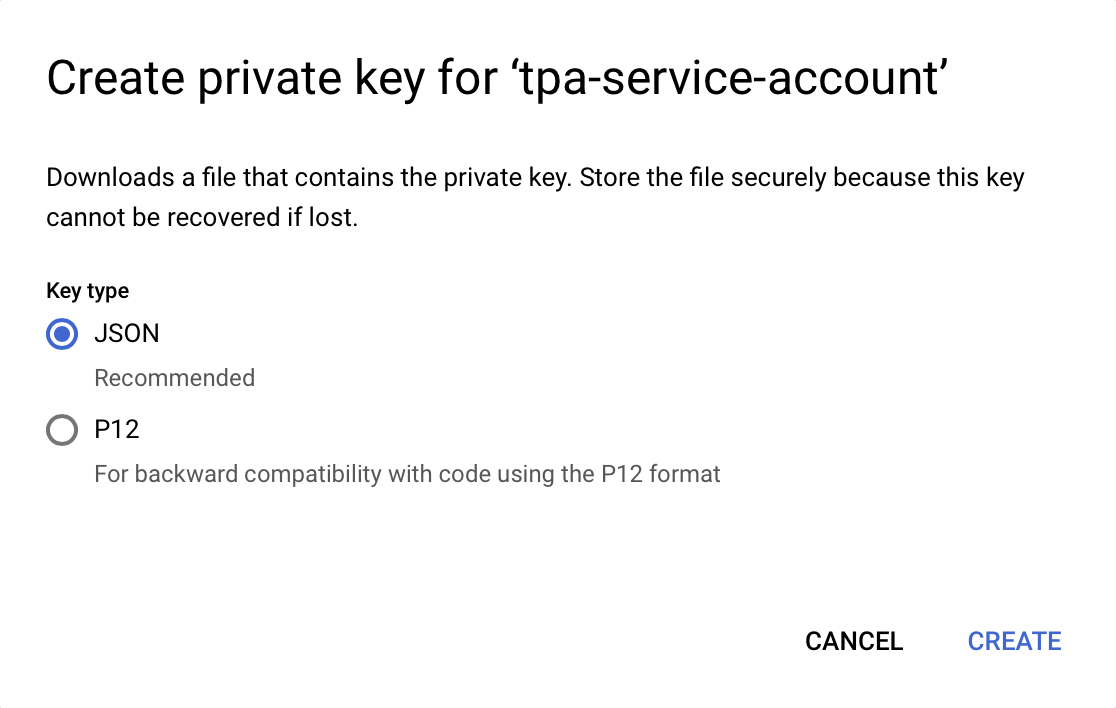
You will see a message box and the JSON file will download to your computer. Store the file in a secure space, where it will not be uploaded to a public repository on GitHub. You can do this by adding it to your .gitignore file or by making it an environment variable.
Go back to the main navigation sidebar, hover over APIs and services and then click on Library.
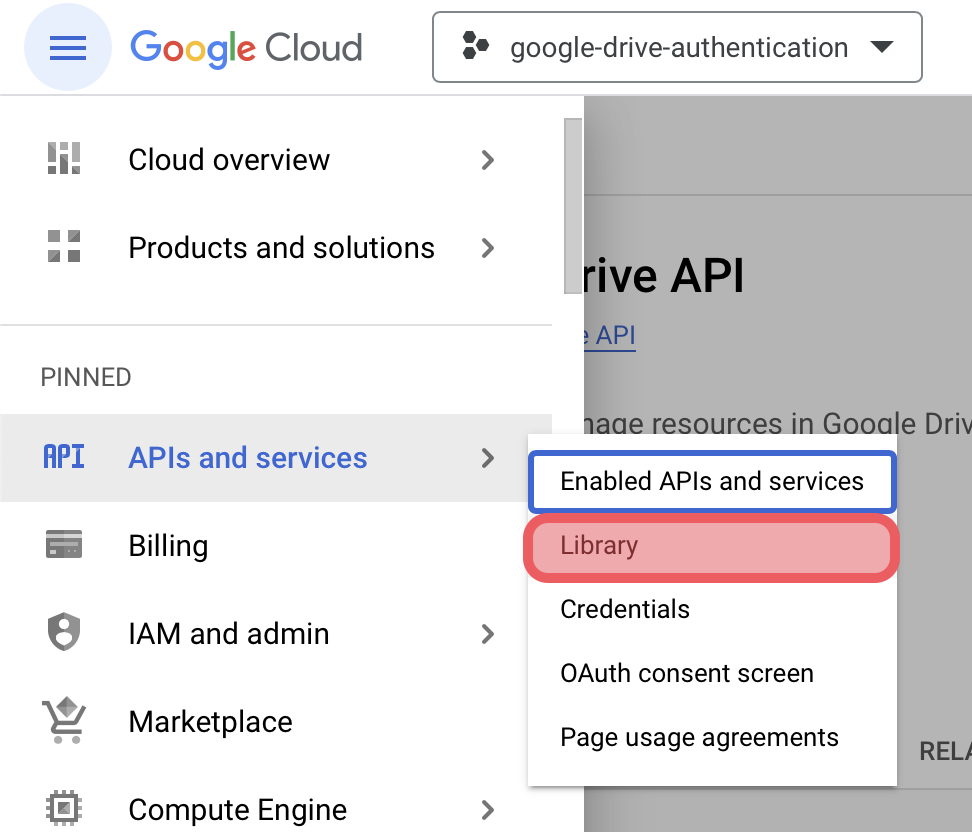
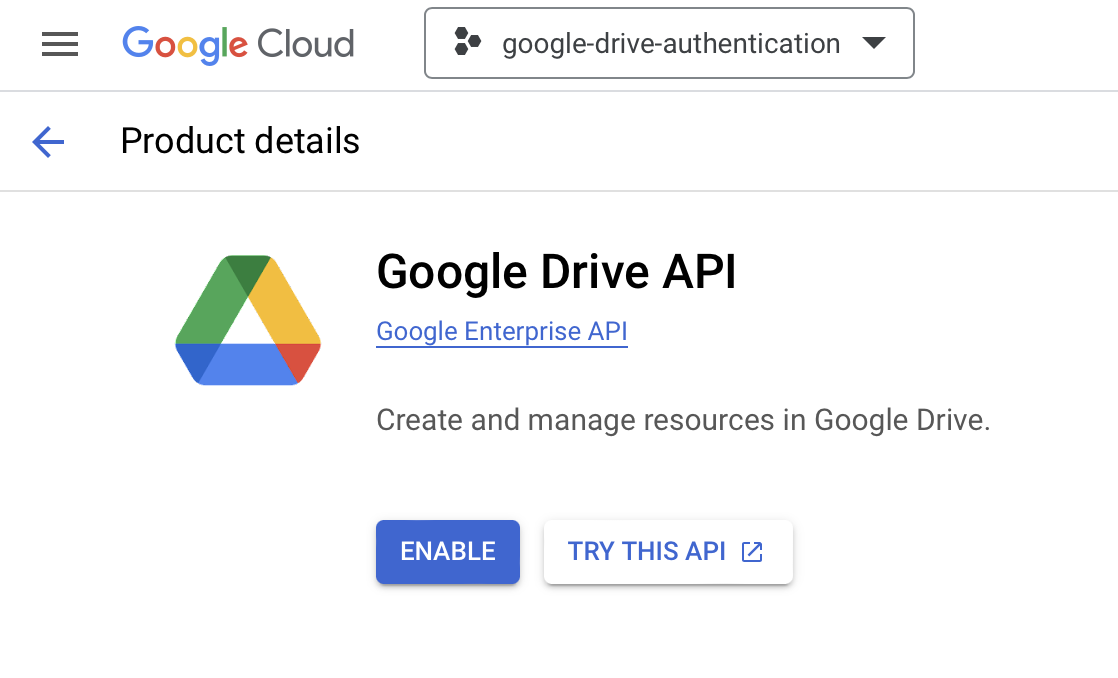
From the library scroll down or search for Google Drive API and click on it.

On the next screen click ENABLE.
